


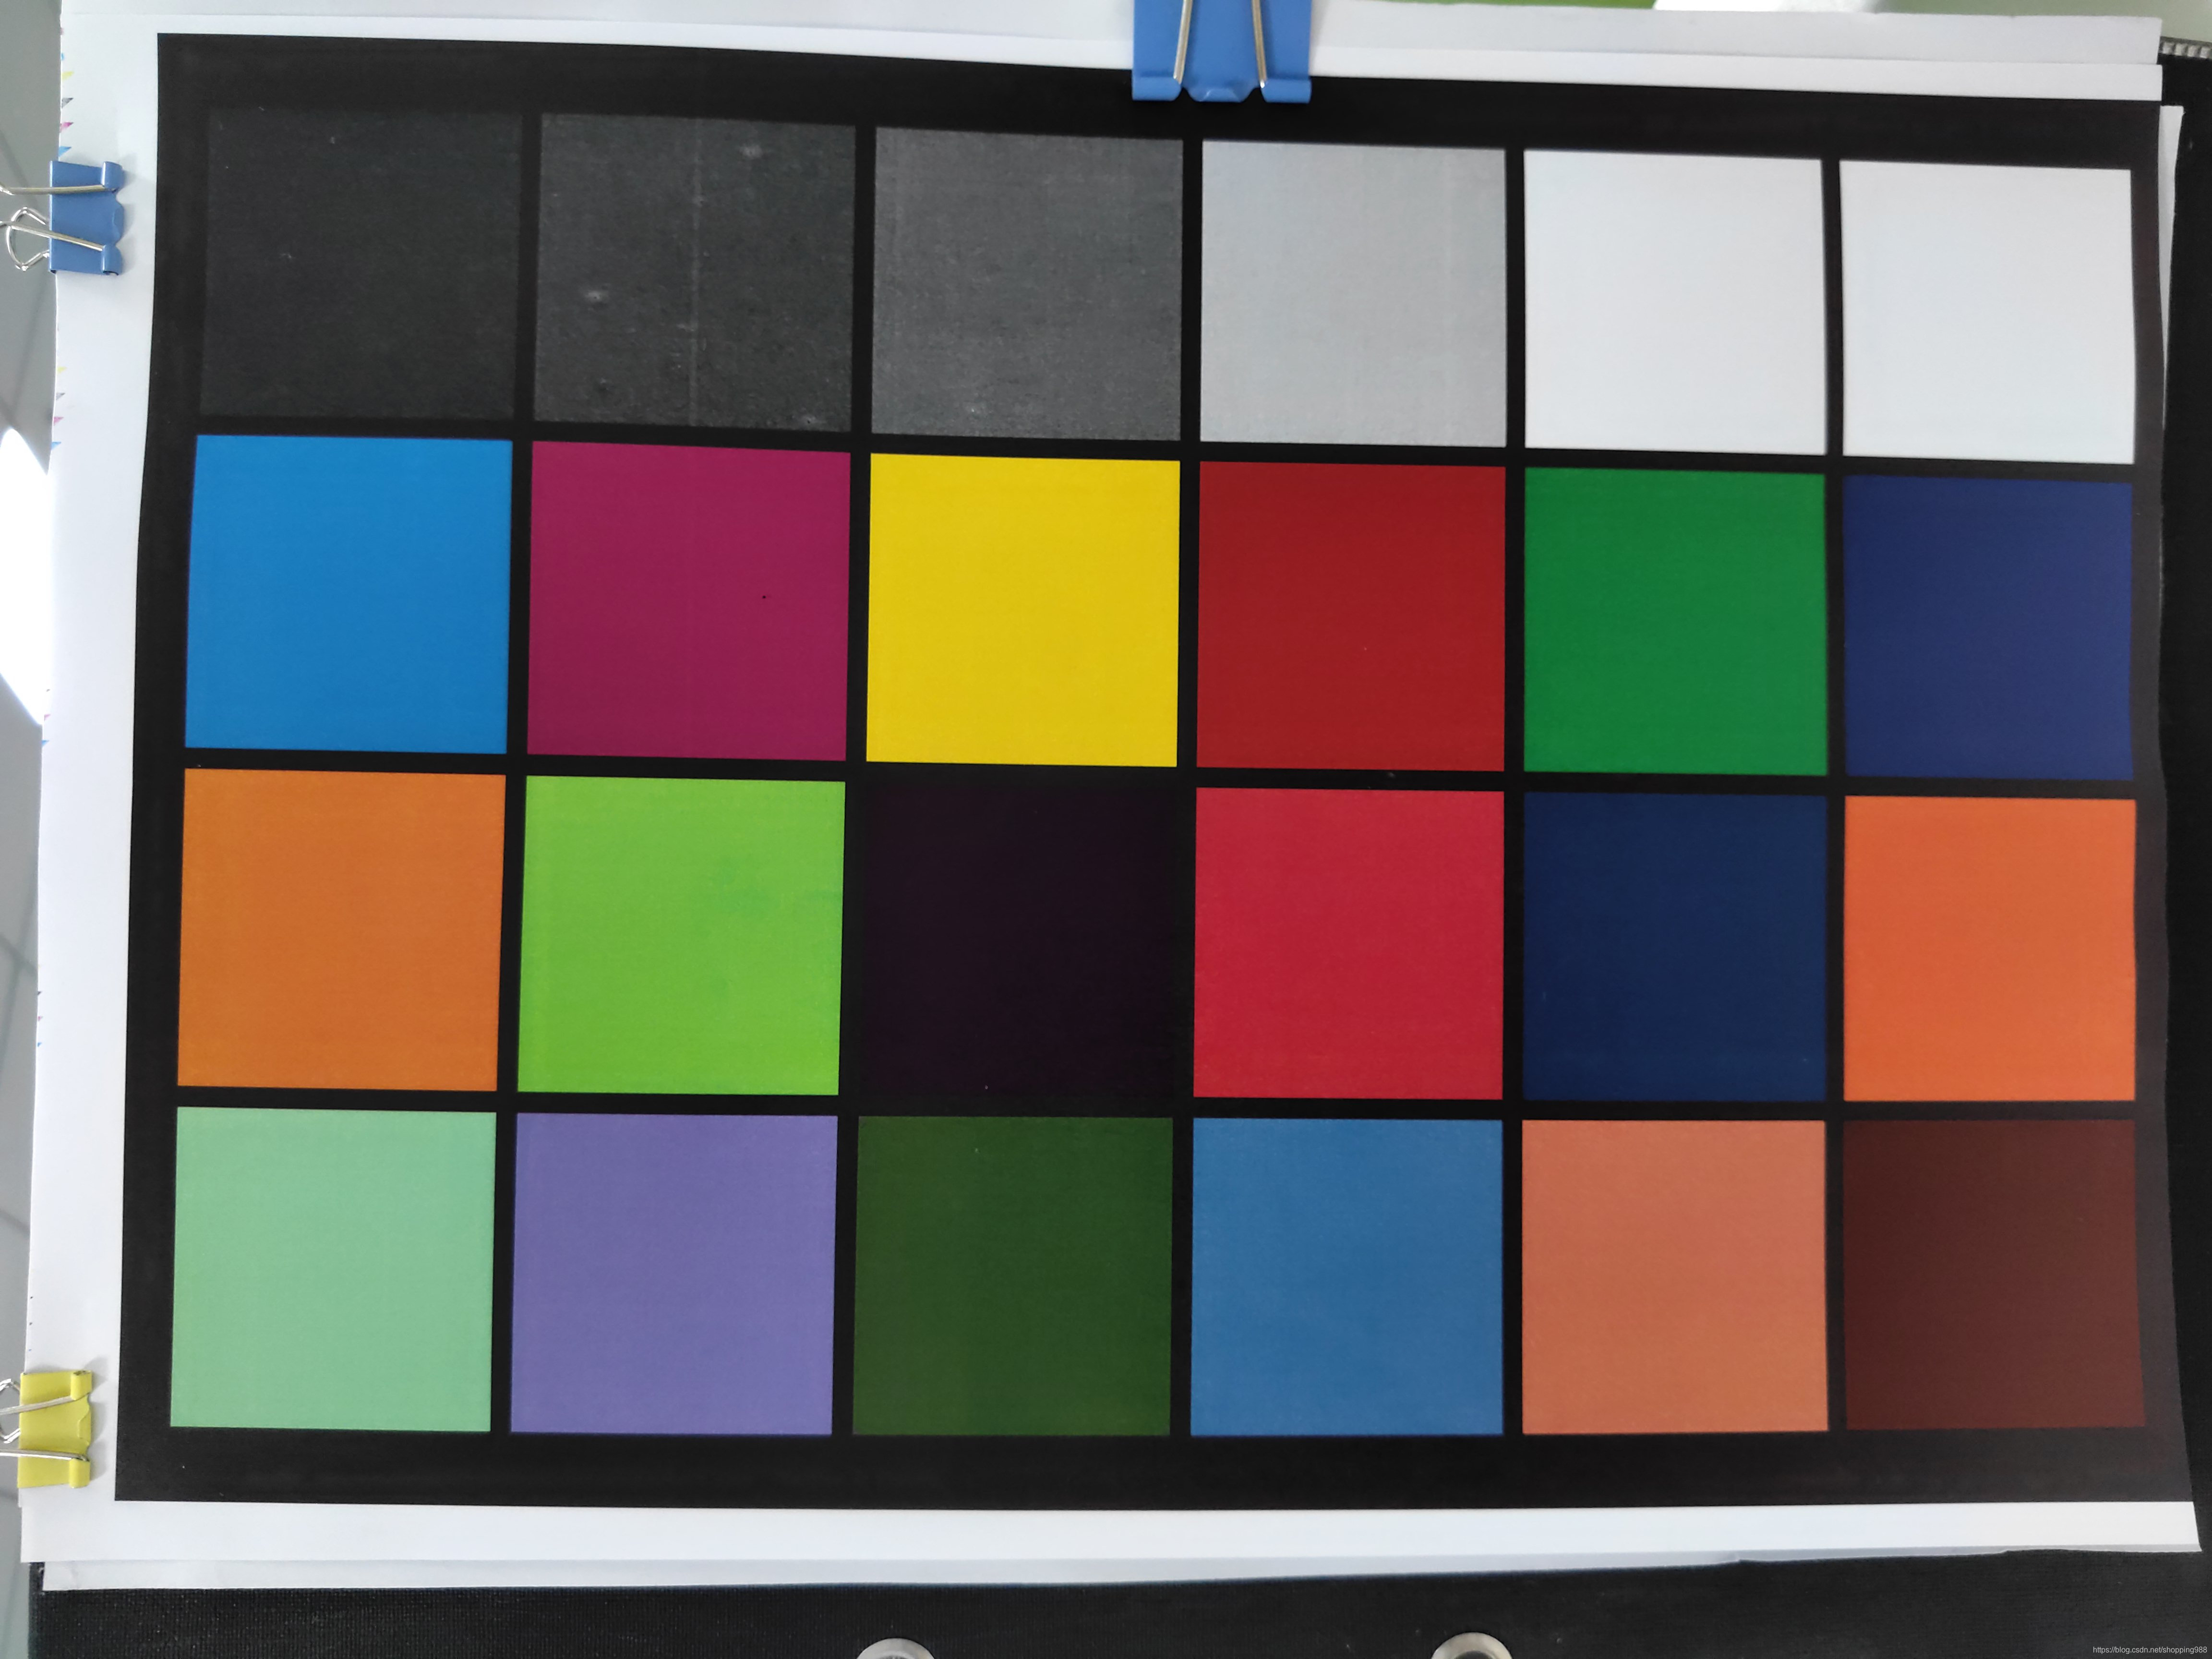
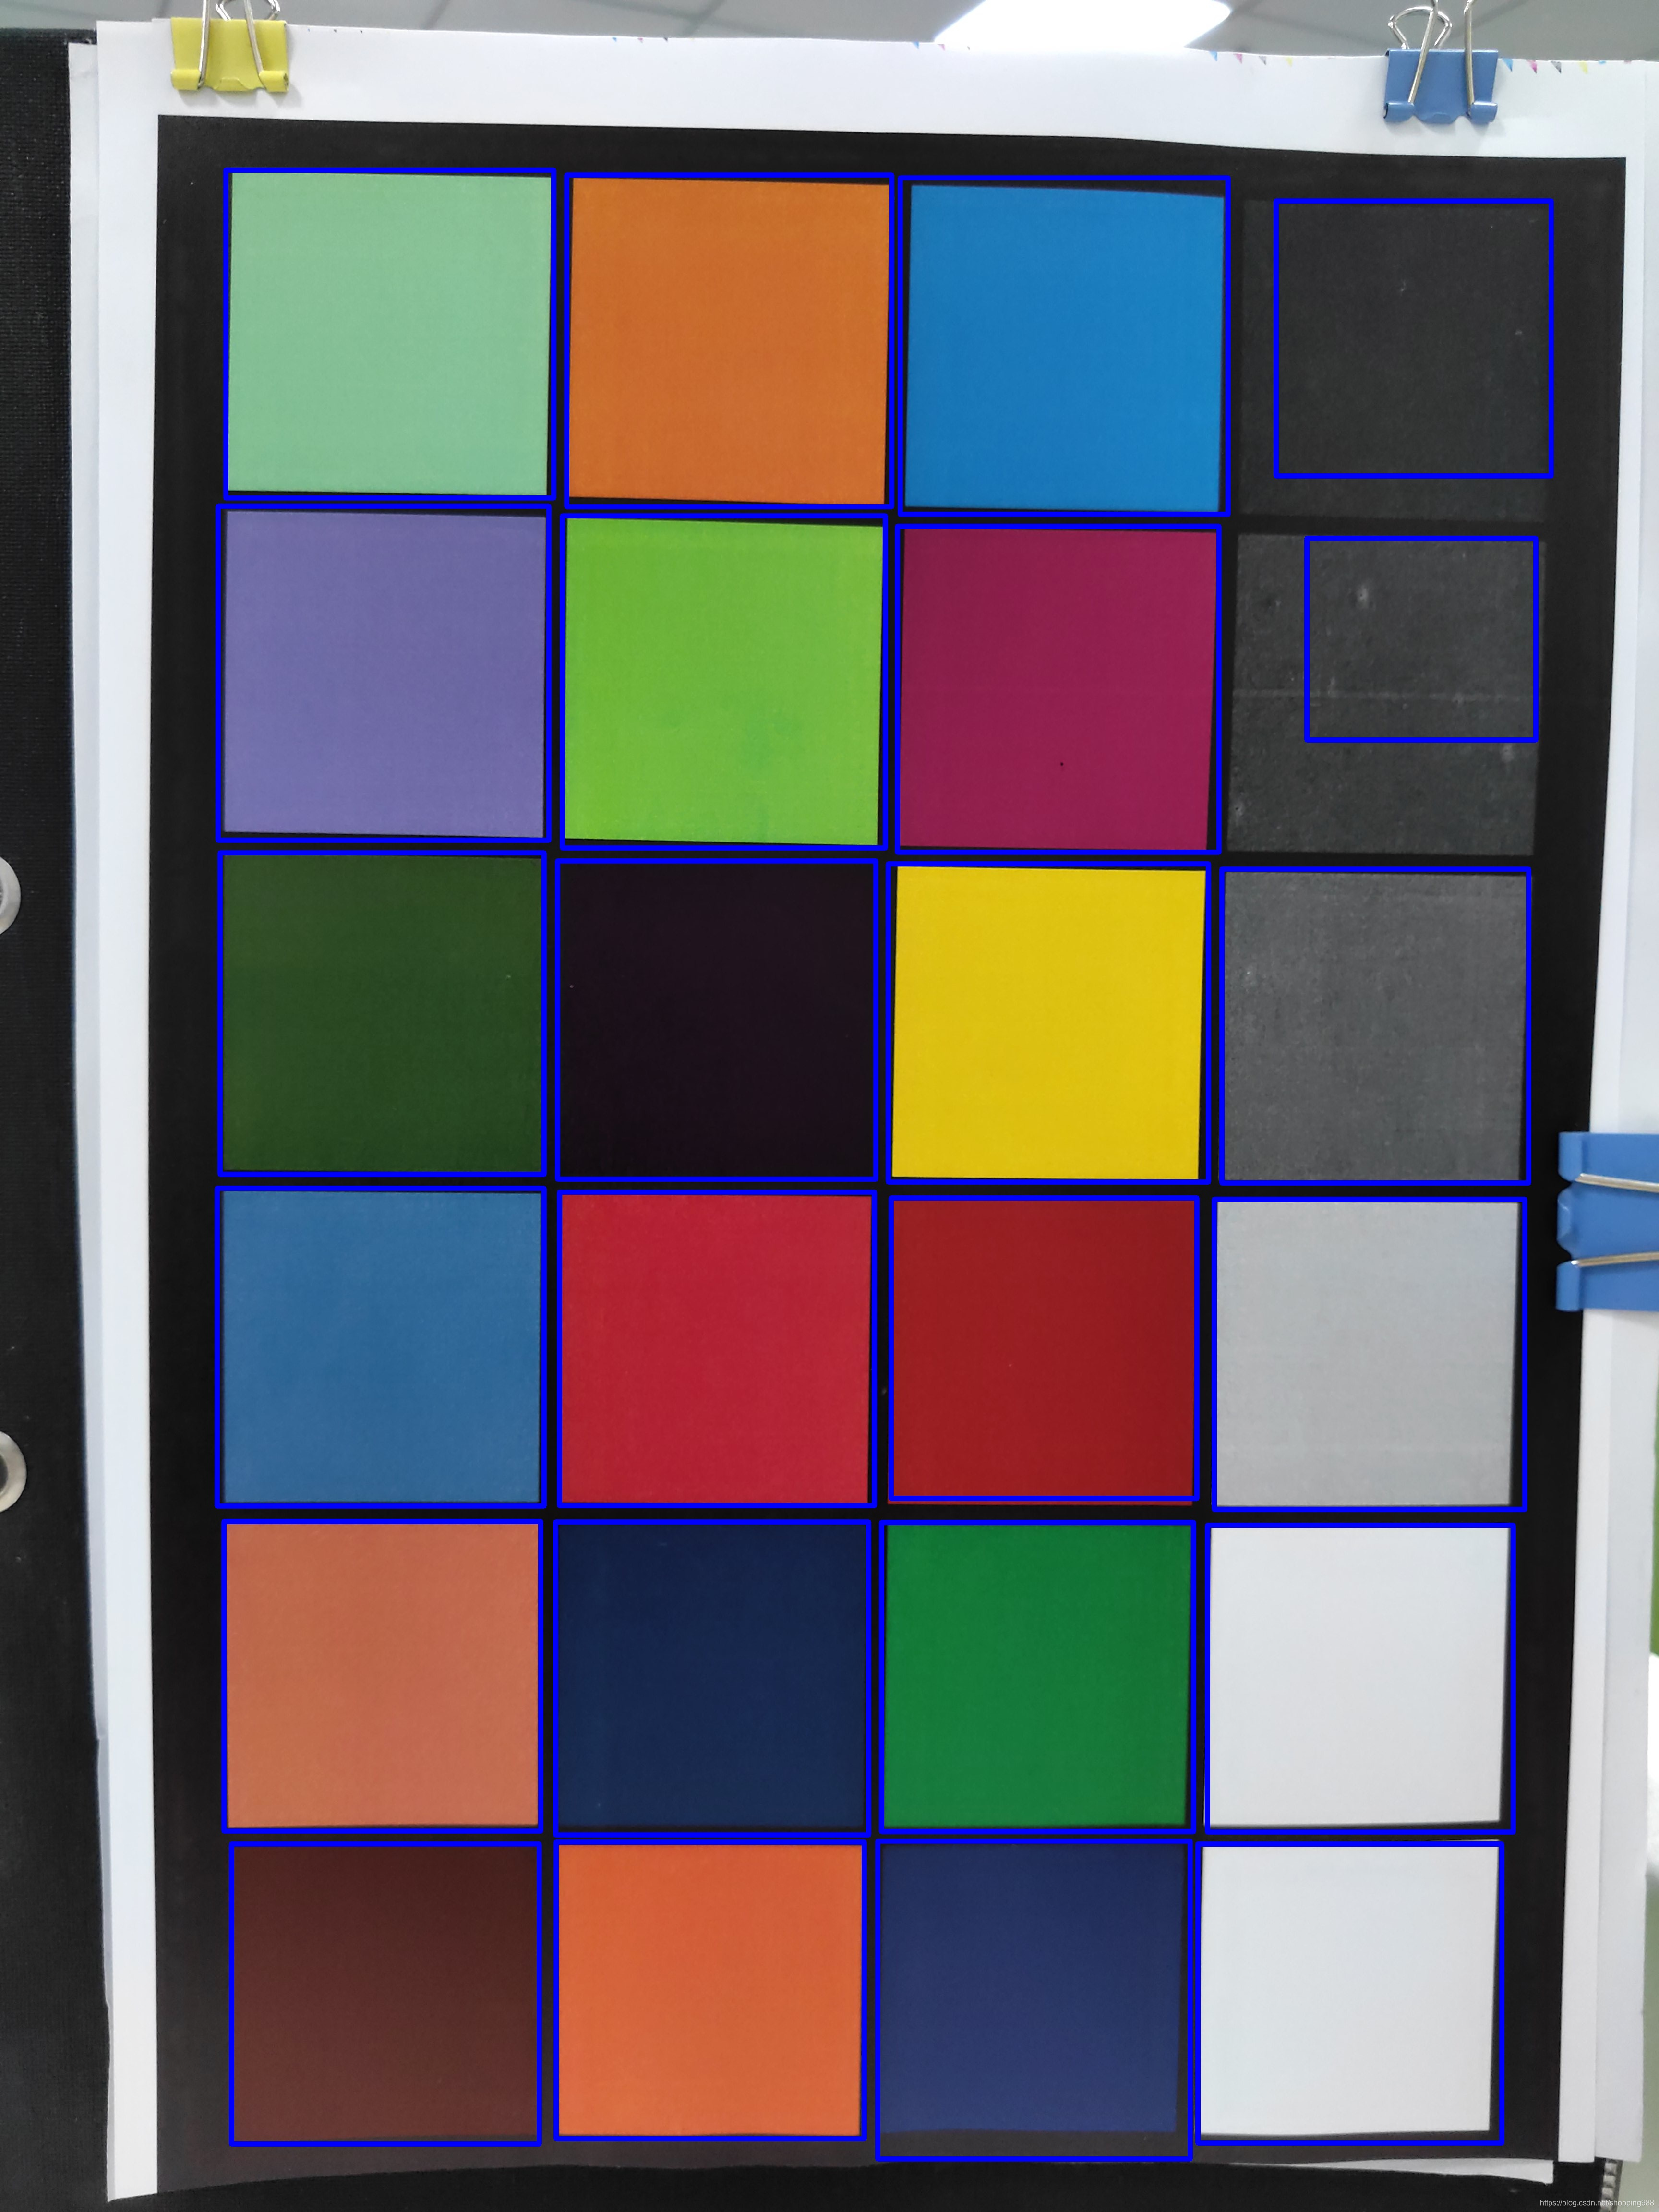
最近要做个24色卡相关工作,随便打印了一张,用手机拍照成图如下:
拍完照就顺手发到qq群看看是不是能白嫖到相关代码,例如怎么定位到每个色块?高手还是很多的,一位大佬马上给出了方案 canny+膨胀+findContours 而且不一会大佬给出了其代码运行结果如图:
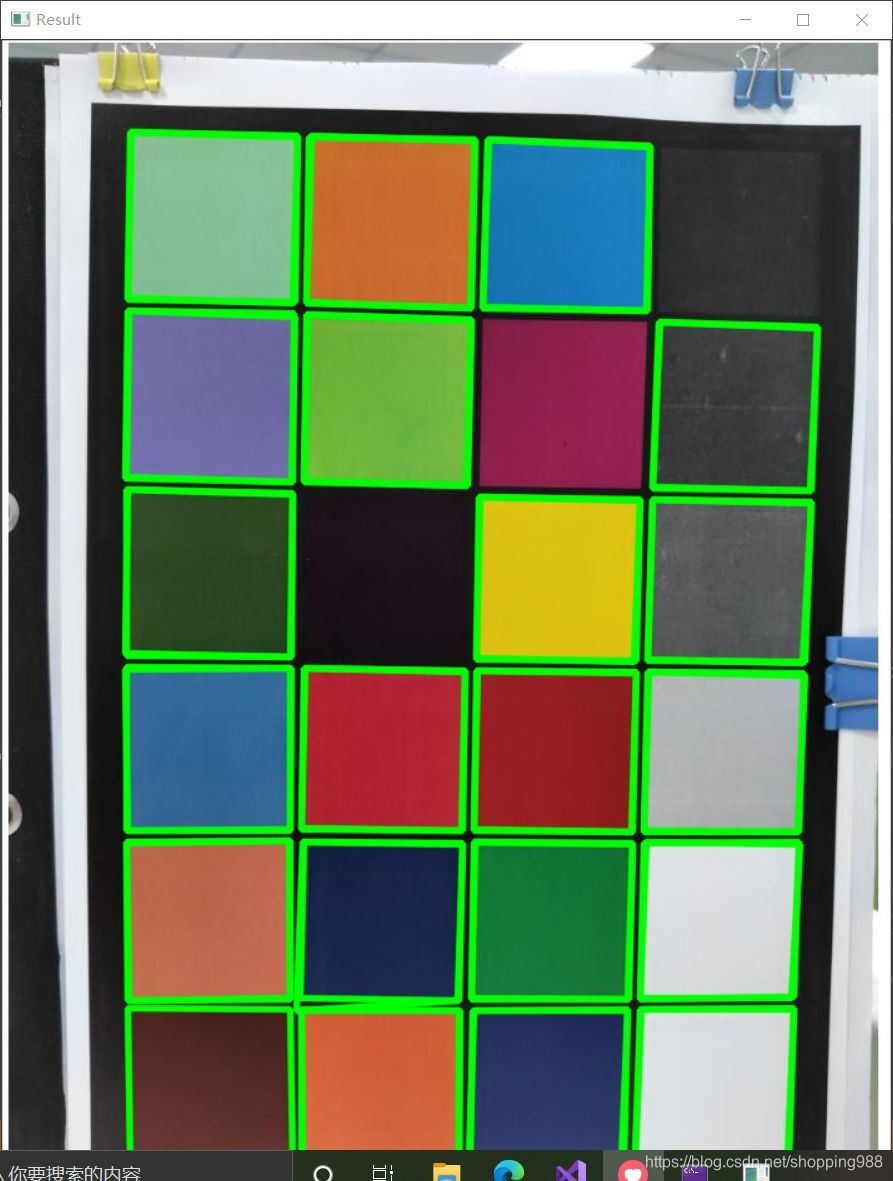
简直堪称完美迅速啊!!! ... 估计大佬为了督促我学习,没有给具体代码 所以我自己一步一步的来 ...
首先canny是找边缘,也听过梯度,我这里首先对图片X 和 Y 分别求梯度然后如何其结果得到如下边缘图:
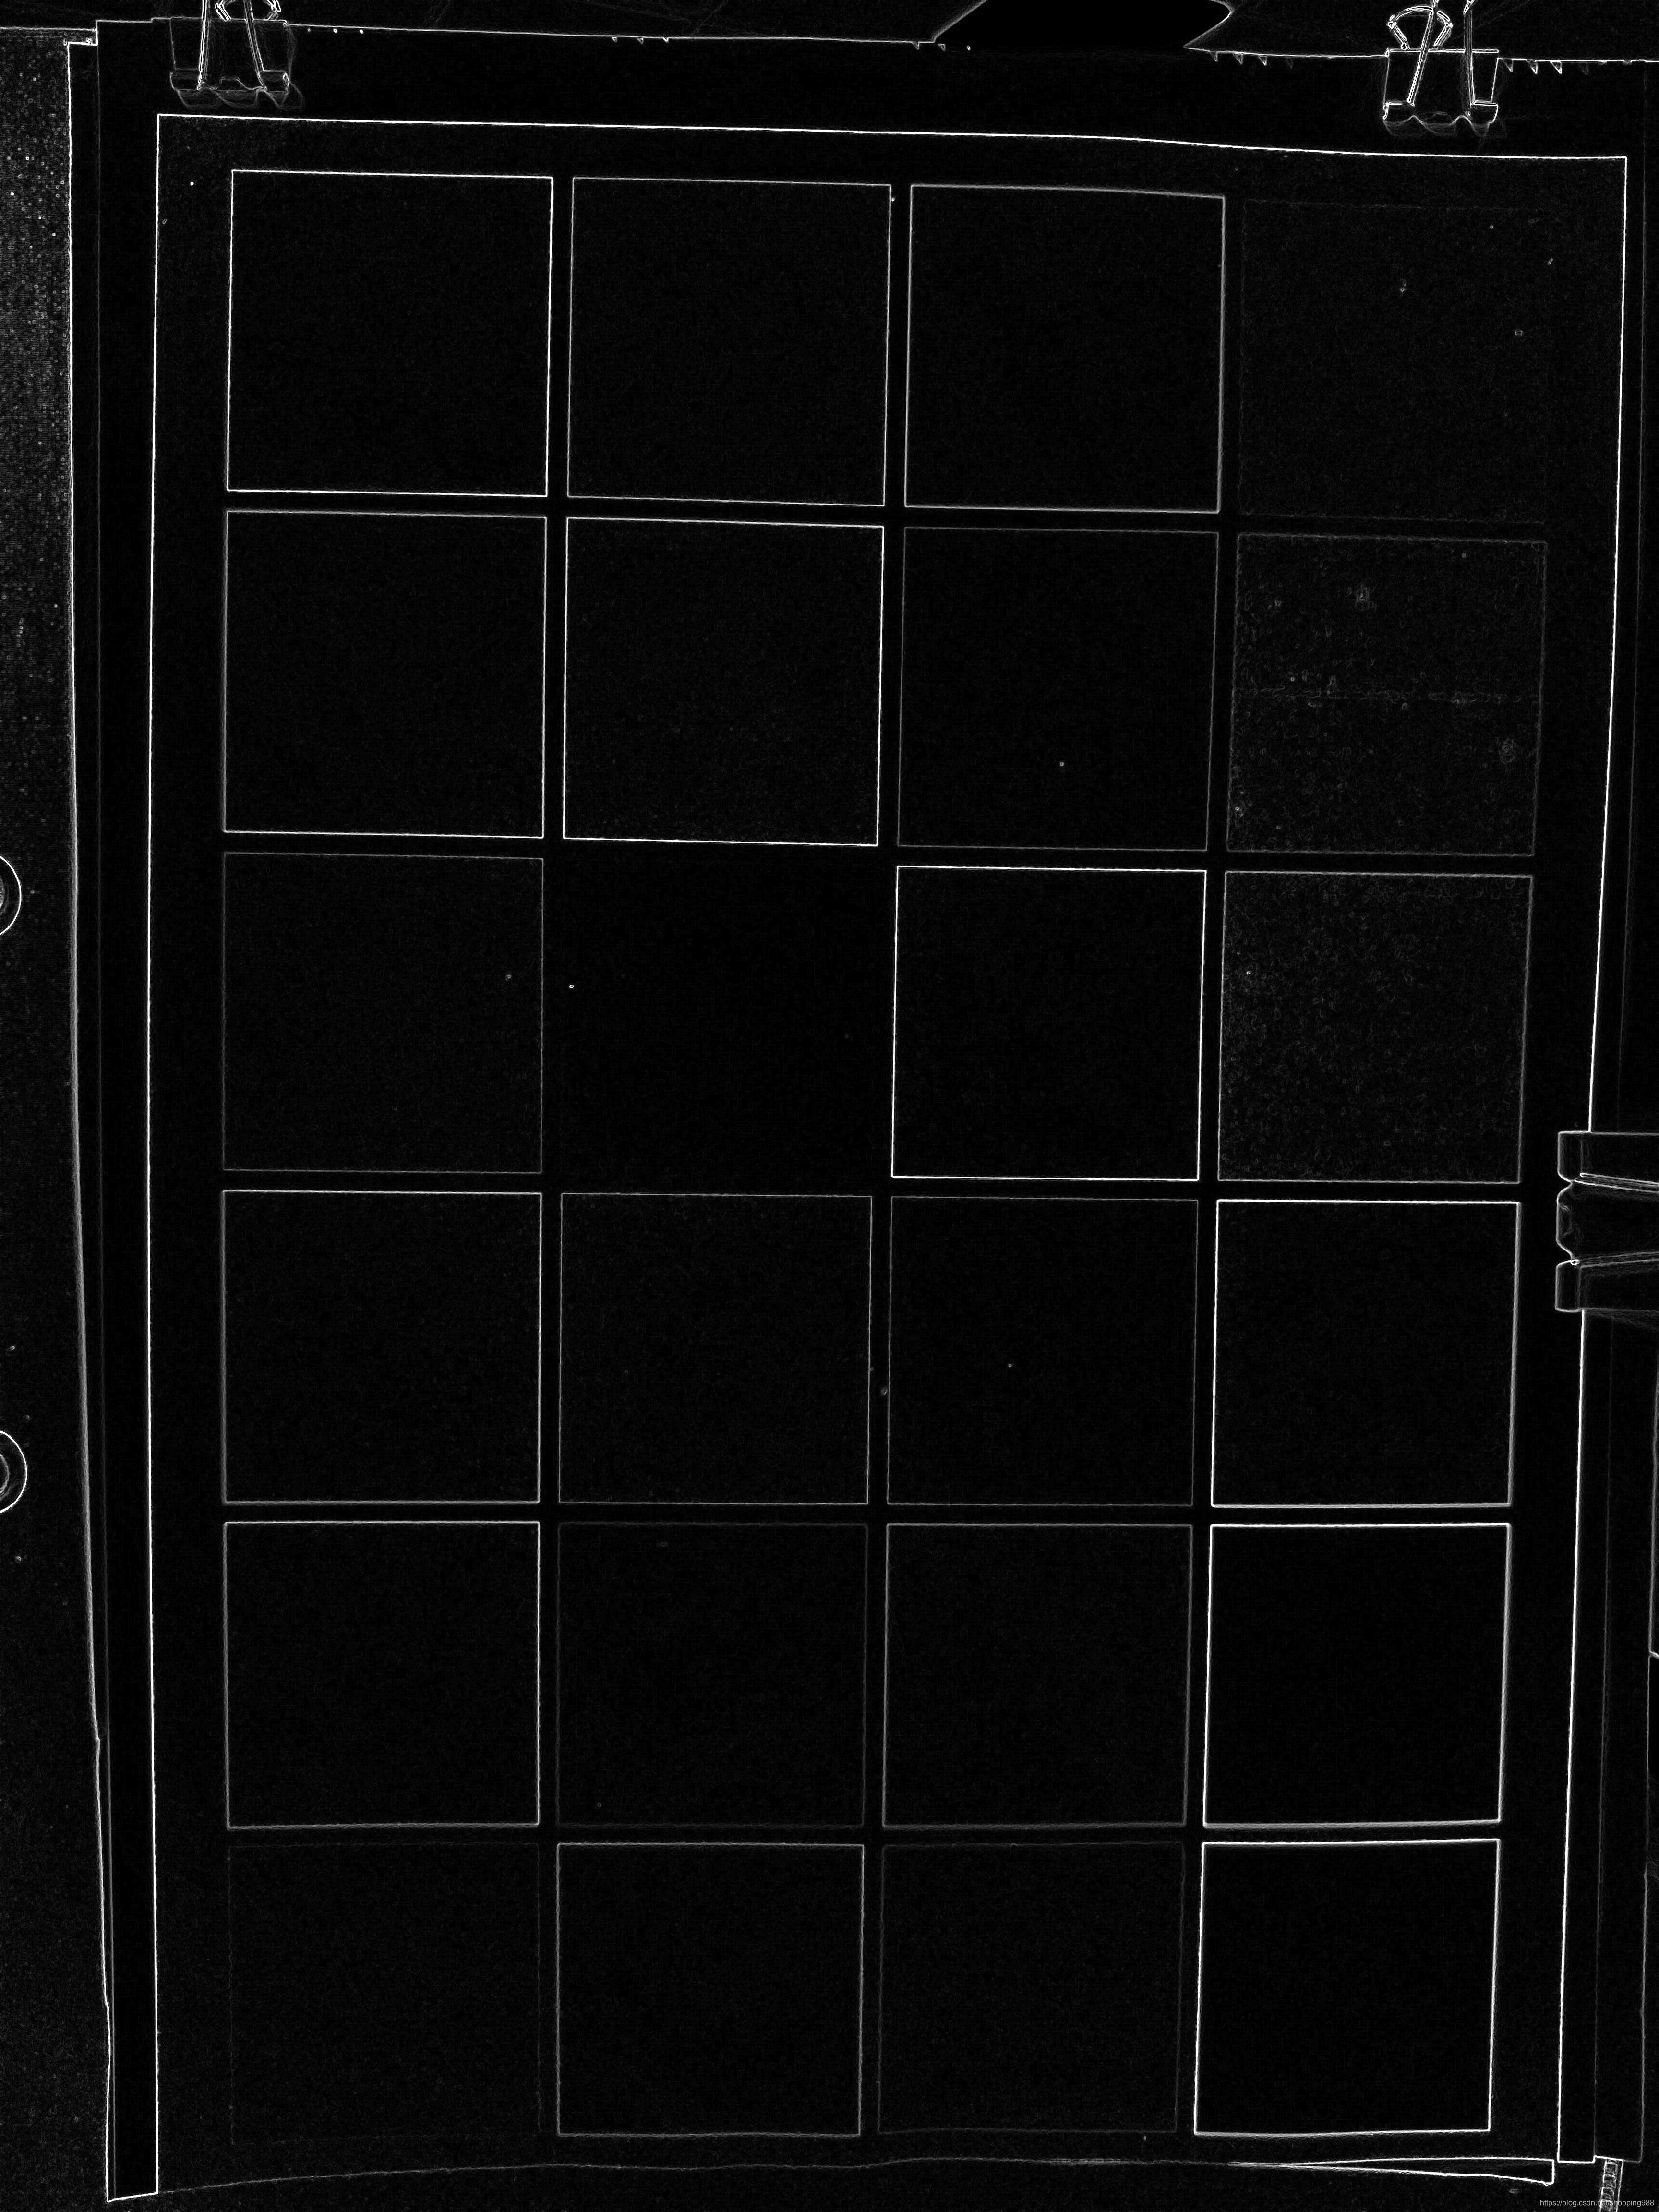
最后我简单阈值后使用findContours函数得到的结果如下:
从中很明显能看出有的色块框没有被框出来,有的色块框了几次 ... 代码如下:
#include "opencv2/core.hpp"
#include "opencv2/imgproc.hpp"
#include "opencv2/video.hpp"
#include "opencv2/videoio.hpp"
#include "opencv2/highgui.hpp"
#include "opencv2/imgproc/imgproc_c.h"
#include <iostream>
#include <fstream>
#include<iomanip>
using namespace std;
using namespace cv;
int main(int argc, const char** argv)
{
// 加载图像到内存
Mat myImg = imread("C:\\Users\\Administrator\\Desktop\\IMG_20210324_174937.jpg", IMREAD_COLOR);
// 判断图像是否存在
if (myImg.empty())
{
cout << "could not find image..." << endl;
return -1;
}
Mat showimg = myImg.clone();
cvtColor(showimg, showimg, CV_RGB2GRAY);
imwrite("1.灰度图.jpg", showimg);
Mat imageX16S, imageY16S;
Mat imageSobelX, imageSobelY, imageSobelOut;
Sobel(showimg, imageX16S, CV_16S, 1, 0, 3, 1, 0, 4);
Sobel(showimg, imageY16S, CV_16S, 0, 1, 3, 1, 0, 4);
convertScaleAbs(imageX16S, imageSobelX, 1, 0);
convertScaleAbs(imageY16S, imageSobelY, 1, 0);
imageSobelOut = imageSobelX + imageSobelY;
imwrite("2.1X方向梯度.jpg", imageSobelX);
imwrite("2.2Y方向梯度.jpg", imageSobelY);
imwrite("2.3XY方向梯度差.jpg", imageSobelOut);
Mat imageSobleOutThreshold;
threshold(imageSobelOut, imageSobleOutThreshold, 18, 255, CV_THRESH_BINARY);
imwrite("3.二值化.jpg", imageSobleOutThreshold);
vector<vector<Point> > contours_all;
vector<Vec4i> hierarchy_all;
double timeAt;
timeAt = static_cast<double>(getTickCount());
findContours(imageSobleOutThreshold, contours_all, hierarchy_all, RETR_TREE, CHAIN_APPROX_NONE);
timeAt = ((double)getTickCount() - timeAt) / getTickFrequency();
cout << "findContours计算耗时:" << timeAt << endl << endl;
for (int i = 0; i < contours_all.size(); i++)
{
Rect rect = boundingRect((Mat)contours_all[i]);
double height = rect.height, width = rect.width;
double rate = height / width;
if (rect.height < 550 || rect.height > 800 || rate > 1.2 || rate < 0.8) {
continue;
}
rectangle(myImg, rect, (255), 10);
}
imwrite("4.找出矩形区域.jpg", myImg);
waitKey(0);
return 0;
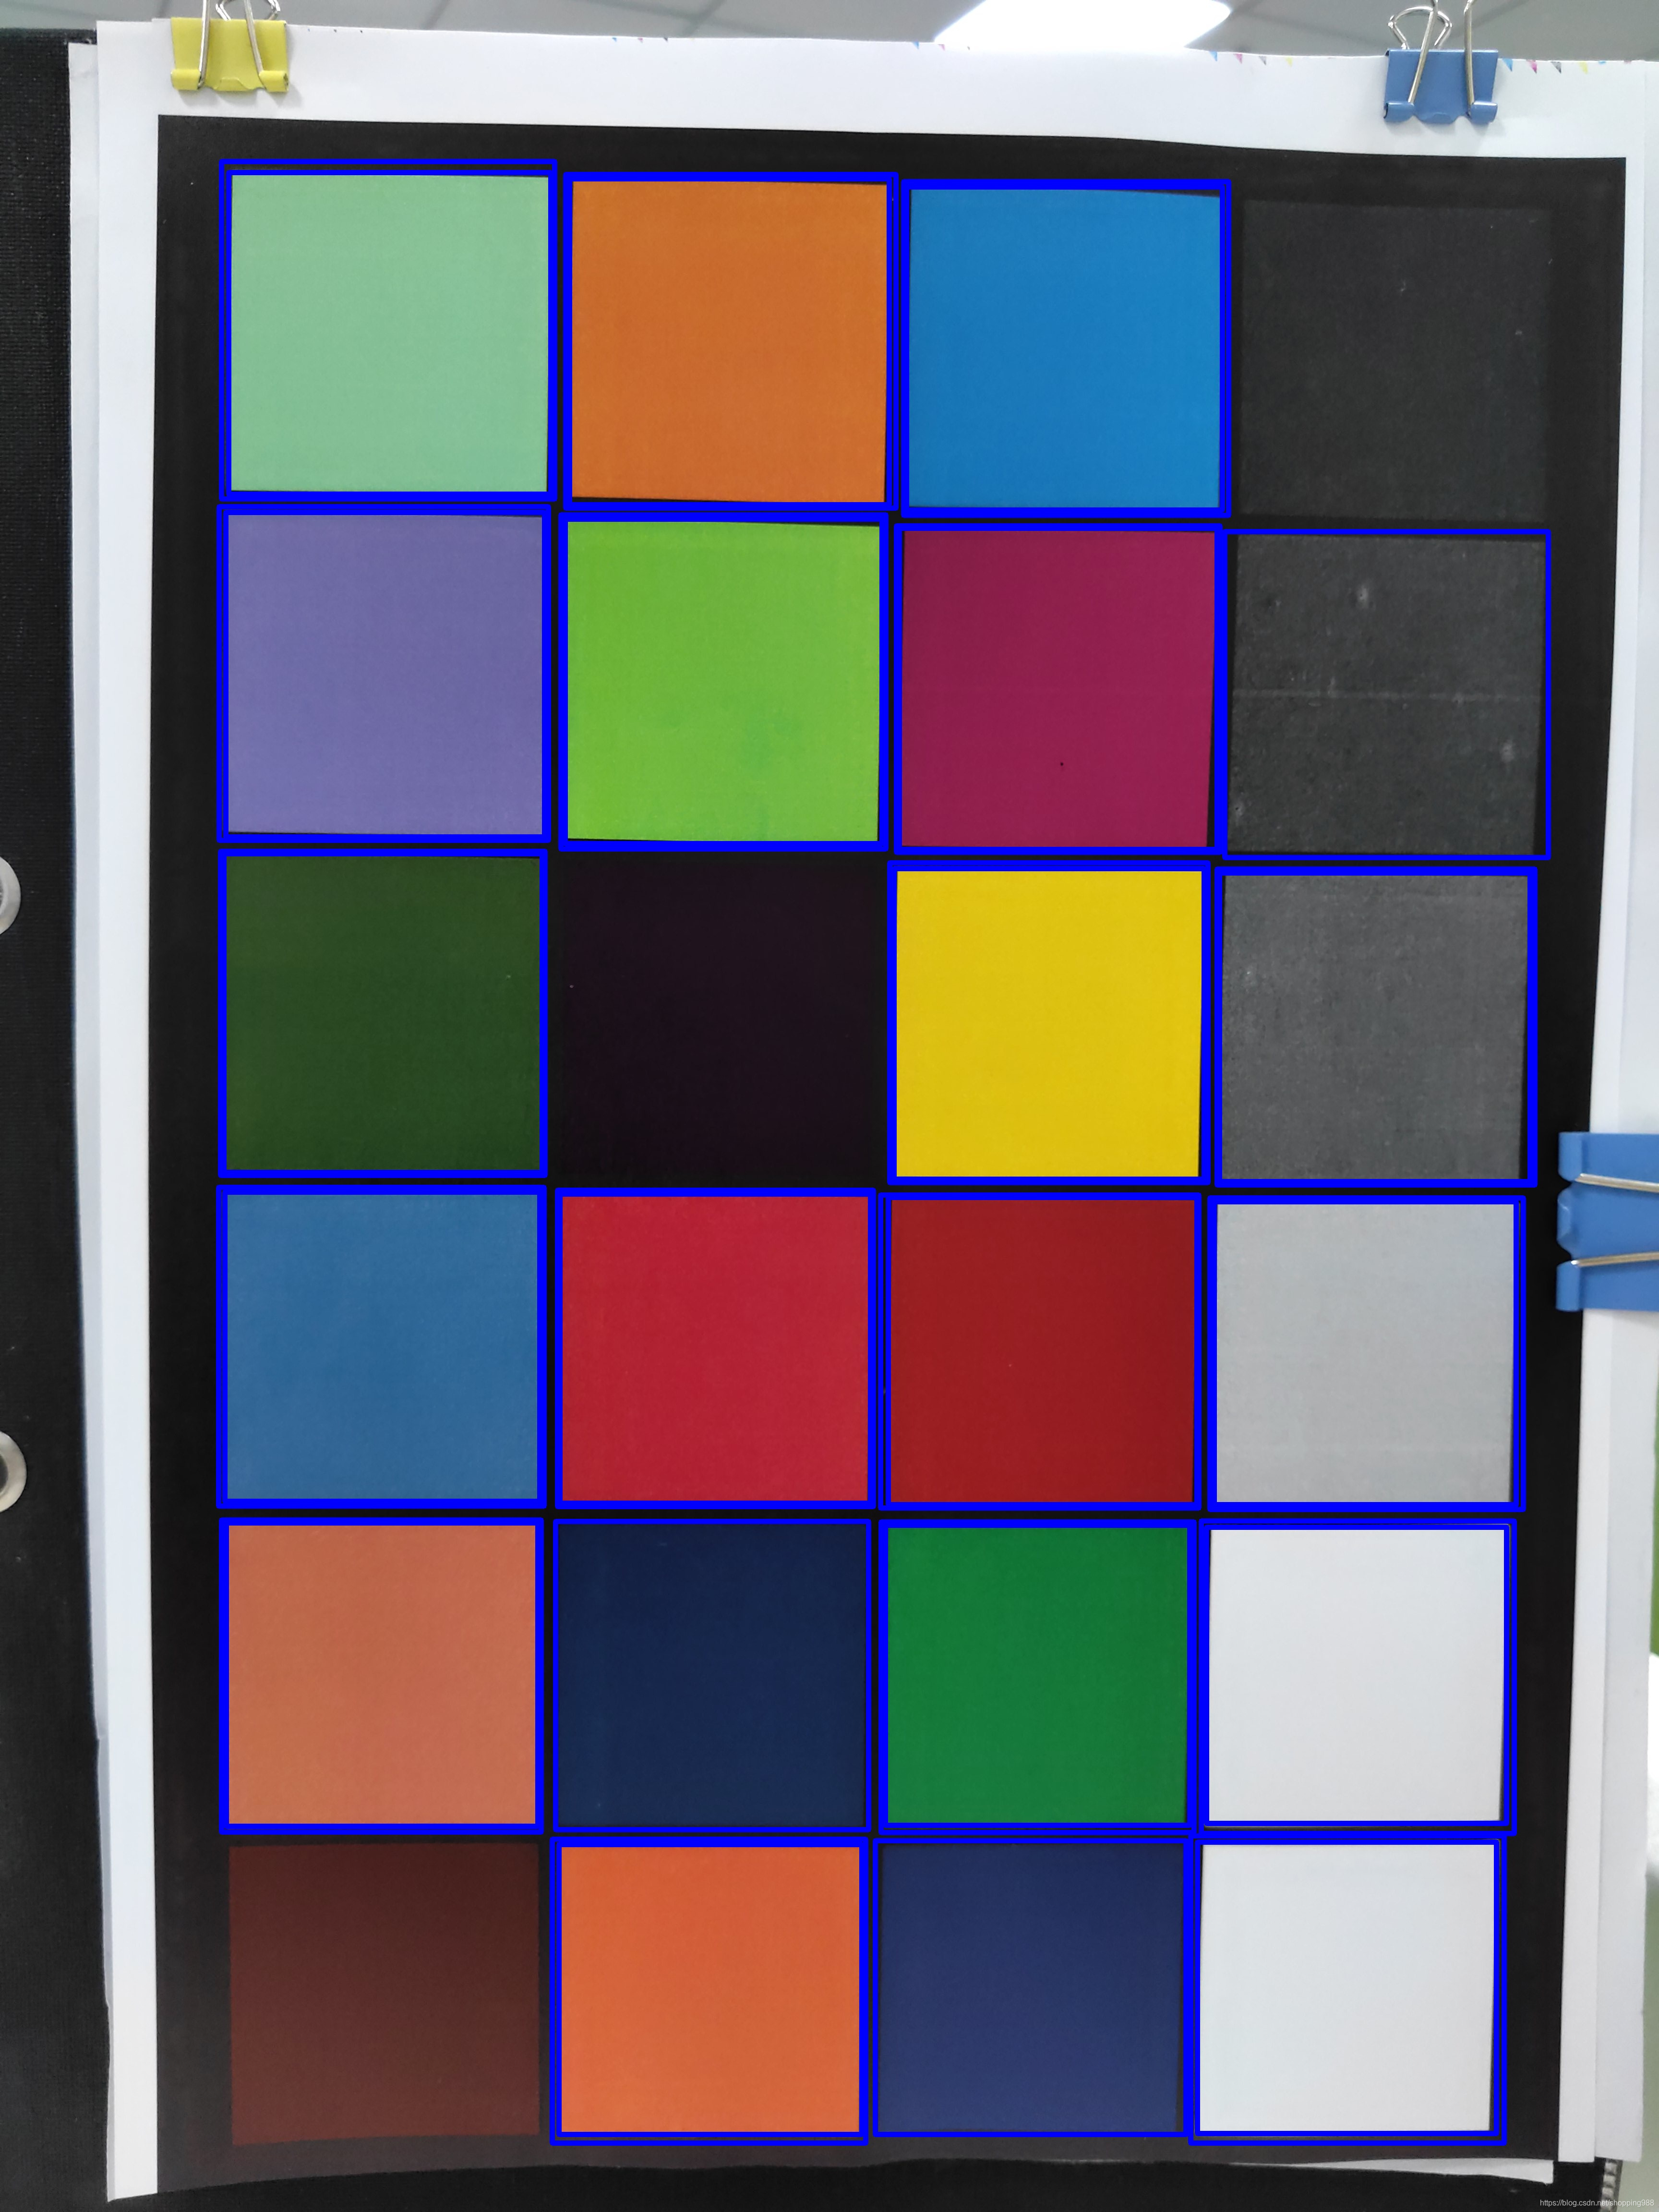
}上面的有问题,接着我又换个办法,首先我能不能根据每个色块的RGB的值先处理一下,把色块区域整成白色,色块周围的整成黑色这样处理后再来找框...
例如色块中每个像素点的RGB差异应该大于其周围区域每个像素点RGB的差异,在电脑上可以事先了解每个色块中像素点RGB的差异值,例如RGB差异值大于10,但是事实上在代码中时,利用这个差值效果并不明显,不知是不是电脑读出的每个像素点RGB和opencv读出的RGB不一样的缘故
根据实际操作,我代码中是差1 详见下面代码,另外对最后找到的框,有的偏大有的偏小,但这里并不影响到我的实际应用场景,因为我只要找到色块框,然后在里面取一个像素点,读取其LAB值就好.但是这里又有另外一个问题,例如取的那个点刚好是所拍照片中的瑕疵点呢?? ---- 其实这里可以首先对图片做一次平滑滤波处理,先剔除掉有关瑕疵点...参考代码如下:
#include "opencv2/core.hpp"
#include "opencv2/imgproc.hpp"
#include "opencv2/video.hpp"
#include "opencv2/videoio.hpp"
#include "opencv2/highgui.hpp"
#include "opencv2/imgproc/imgproc_c.h"
#include <iostream>
#include <fstream>
#include<iomanip>
using namespace std;
using namespace cv;
int main(int argc, const char** argv) {
Mat myImg = imread("C:\\Users\\Administrator\\Desktop\\IMG_20210324_174937.jpg", IMREAD_COLOR);
if (myImg.empty())
{
cout << "could not find image..." << endl;
return -1;
}
Mat colorImage = myImg.clone();
medianBlur(colorImage, colorImage, 3);
for (int i = 0; i < colorImage.rows; ++i)
{
Vec3b* p = colorImage.ptr<Vec3b>(i);
for (int j = 0; j < colorImage.cols; ++j)
{
if (abs(p[j][0] - p[j][1]) + abs(p[j][0] - p[j][1]) + abs(p[j][0] - p[j][1]) > 3) {
p[j][0] = 255;
p[j][1] = 255;
p[j][2] = 255;
}
else
{
p[j][0] = 0;
p[j][1] = 0;
p[j][2] = 0;
}
}
}
cvtColor(colorImage, colorImage, CV_RGB2GRAY);
Mat element = getStructuringElement(0, Size(20, 20));
erode(colorImage, colorImage, element);
dilate(colorImage, colorImage, element);
vector<vector<Point> > contours_all;
vector<Vec4i> hierarchy_all;
double timeAt;
timeAt = static_cast<double>(getTickCount());
findContours(colorImage, contours_all, hierarchy_all, RETR_TREE, CHAIN_APPROX_NONE);
timeAt = ((double)getTickCount() - timeAt) / getTickFrequency();
cout << "findContours计算耗时:" << timeAt << endl << endl;
Mat labImg;
cvtColor(myImg, labImg, COLOR_BGR2Lab);
double L = 0.0, A = 0.0, B = 0.0;
// 建立输出文件流
ofstream ofile;
ofile.open("24seka3.txt");
ofile << "24seka.png每一像素的LAB值:" << endl;
ofile << "序号\t坐标\tL\tA\tB" << endl;
int w = 0;
int h = 0;
for (int i = 0; i < contours_all.size(); i++)
{
Rect rect = boundingRect((Mat)contours_all[i]);
double height = rect.height, width = rect.width;
double rate = height / width;
if (rect.height < 400 || rect.height > 800 || rate > 1.3 || rate < 0.7) {
continue;
}
rectangle(myImg, rect, (255), 10);
w = rect.x + rect.width / 2;
h = rect.y + rect.height / 2;
// 读取每一点LAB值,存在L,A,B变量中。
L = labImg.at<Vec3b>(w, h)[0];
A = labImg.at<Vec3b>(w, h)[1];
B = labImg.at<Vec3b>(w, h)[2];
L = L * 100 / 255;
A = A - 128;
B = B - 128;
cout << "像素点(" << w << "," << h << ")的LAB值为:"
<< " L: " << L << " A: " << A << " B: " << B << endl;
// 将图片的LAB值写入文件
ofile << w * labImg.rows + h << "\t" << "(" << w << "," << h << ")" << "\t" << L << "\t"
<< A << "\t" << B << endl;
}
imwrite("找出矩形区域.jpg", myImg);
waitKey(0);
return 0;
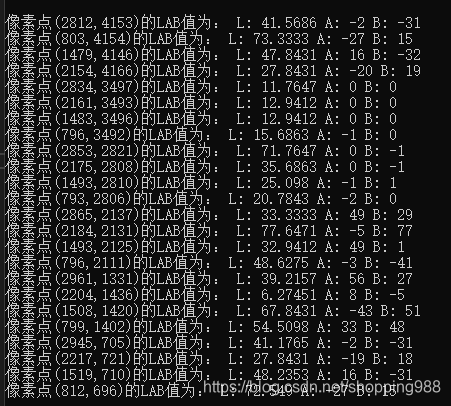
}得到的框框图见下:
得到的LAB值如下:


 742
742

 被折叠的 条评论
为什么被折叠?
被折叠的 条评论
为什么被折叠?
 到【灌水乐园】发言


