


这篇文章介绍UIBezierPath的详细的使用, 以及一些细节!
创建一个XTBezierPath继承于UIView的类 使用drawRect 完成图形的绘制
在drawRect方法完成绘制 使用 moveToPoint, addLineToPoint两个方法绘制一个任意多边形 其中w, h 代表自定义View的宽, 高 代码如下:
            // 初始化一个UIBezierPath对象.
            UIBezierPath *bPath = [UIBezierPath bezierPath];
            // 线宽.
            bPath.lineWidth = 10;
            // 拐点处理.
            bPath.lineCapStyle = kCGLineCapRound;
            // 终点处理.
            bPath.lineJoinStyle = kCGLineCapRound;
            // 添加线上的点.
            [bPath moveToPoint:CGPointMake(w / 2, 0.0)];
            [bPath addLineToPoint:CGPointMake(w, h / 2)];
            [bPath addLineToPoint:CGPointMake(w / 2, h)];
            [bPath addLineToPoint:CGPointMake(0.0, h / 2)];
            [bPath closePath];
            // 填充内部颜色.
            // 绘制线.
            [bPath stroke];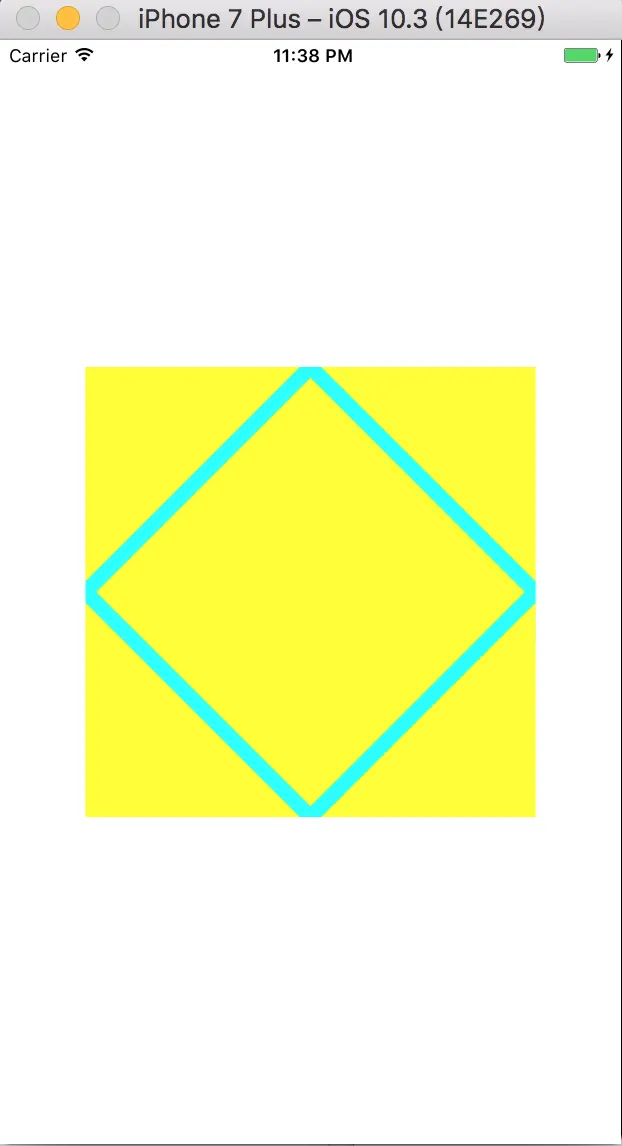
绘制一个矩形, 直接使用bezierPathWithRect这个方法
            // 创建矩形.
            UIBezierPath *bPath = [UIBezierPath bezierPathWithRect:CGRectMake(30, 30, w - 60, h - 60)];
            bPath.lineWidth = 10;
            [bPath stroke];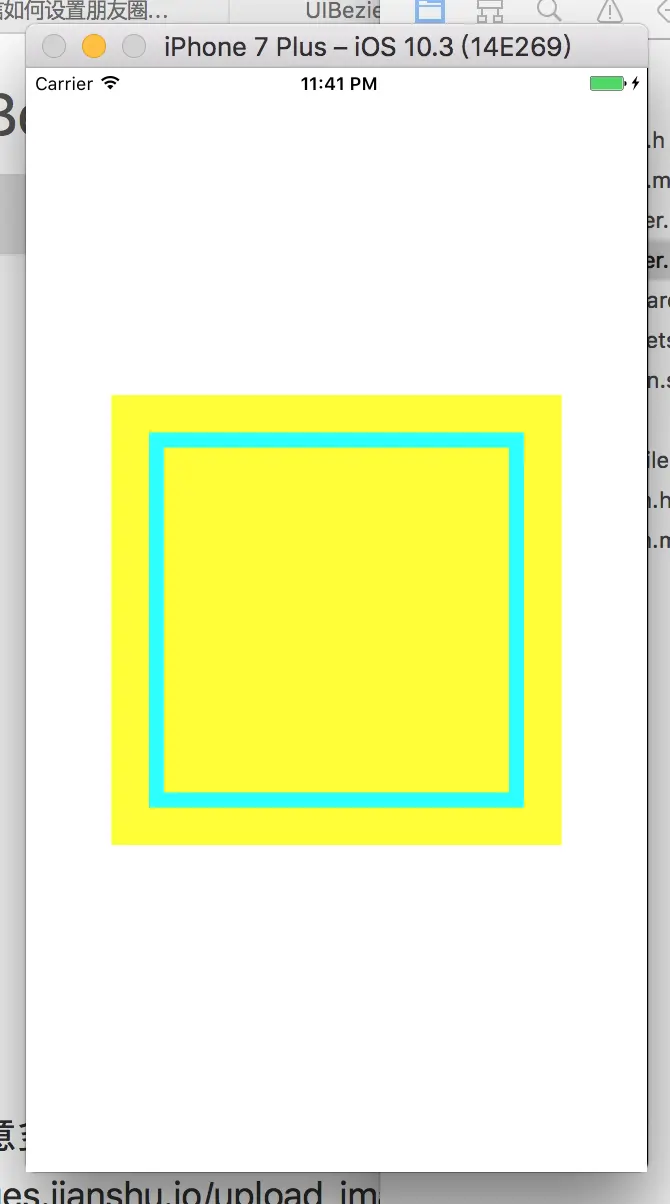
绘制内切曲线, 直接使用这个方法bezierPathWithOvalInRect
             // 这个方法, 是做一个内切曲线.
            // 圆形就是宽高相等.
            UIBezierPath *bPath = [UIBezierPath bezierPathWithOvalInRect:CGRectMake(5, 5, w - 10, h - 100)];
            bPath.lineWidth = 10;
            [bPath stroke];
绘制一条弧线, bezierPathWithArcCenter这个方法
            UIBezierPath *bPath = [UIBezierPath bezierPathWithArcCenter:CGPointMake(150, 150) radius:130 startAngle:0 endAngle:M_PI_2 clockwise:YES];
            bPath.lineWidth = 10;
            [bPath stroke];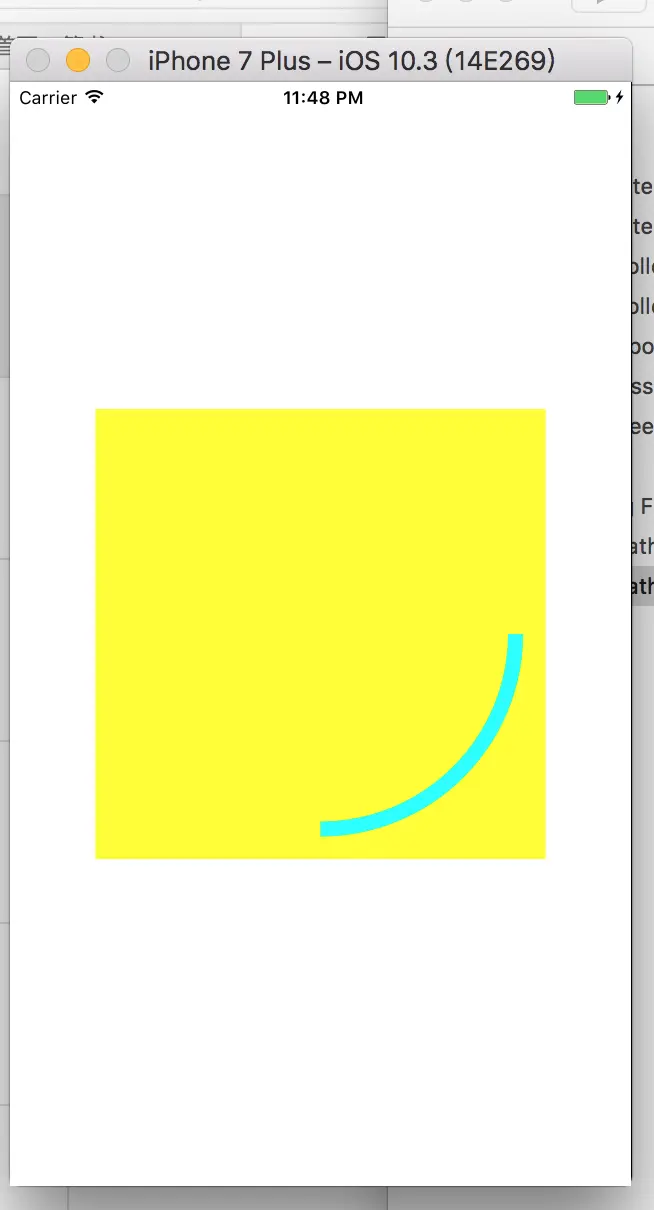
绘制二次贝塞尔曲线,moveToPoint, addQuadCurveToPoint这两个搭配使用

            // 二次贝塞尔曲线的支持.
            UIBezierPath *bPath = [UIBezierPath bezierPath];
            // 开始的点.
            [bPath moveToPoint:CGPointMake(0, h)];
            // 终止点, 控制点.
            [bPath addQuadCurveToPoint:CGPointMake(w, h) controlPoint:CGPointMake(0, 0)];
            [bPath fill];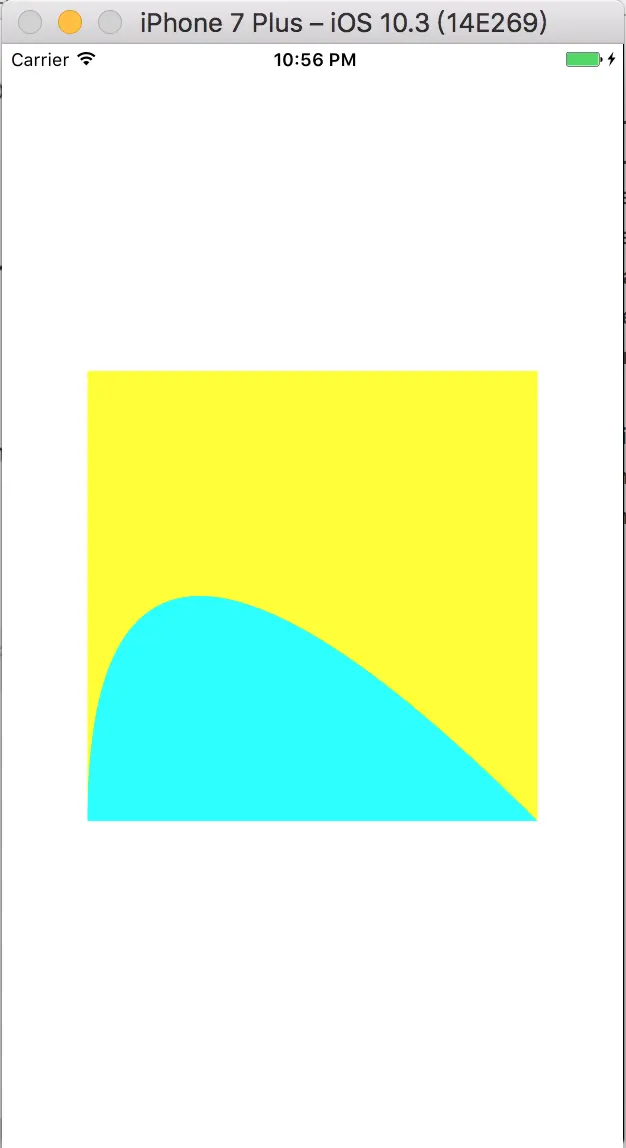
绘制三次贝塞尔曲线, moveToPoint, addCurveToPoint

// 三次贝塞尔曲线
            UIBezierPath *bPath = [UIBezierPath bezierPath];
            [bPath moveToPoint:CGPointMake(0, h / 2)];
            [bPath addCurveToPoint:CGPointMake(w, h / 2) controlPoint1:CGPointMake(w / 2, 0) controlPoint2:CGPointMake(w / 2, h)];
            bPath.lineWidth = 10;
            [bPath stroke];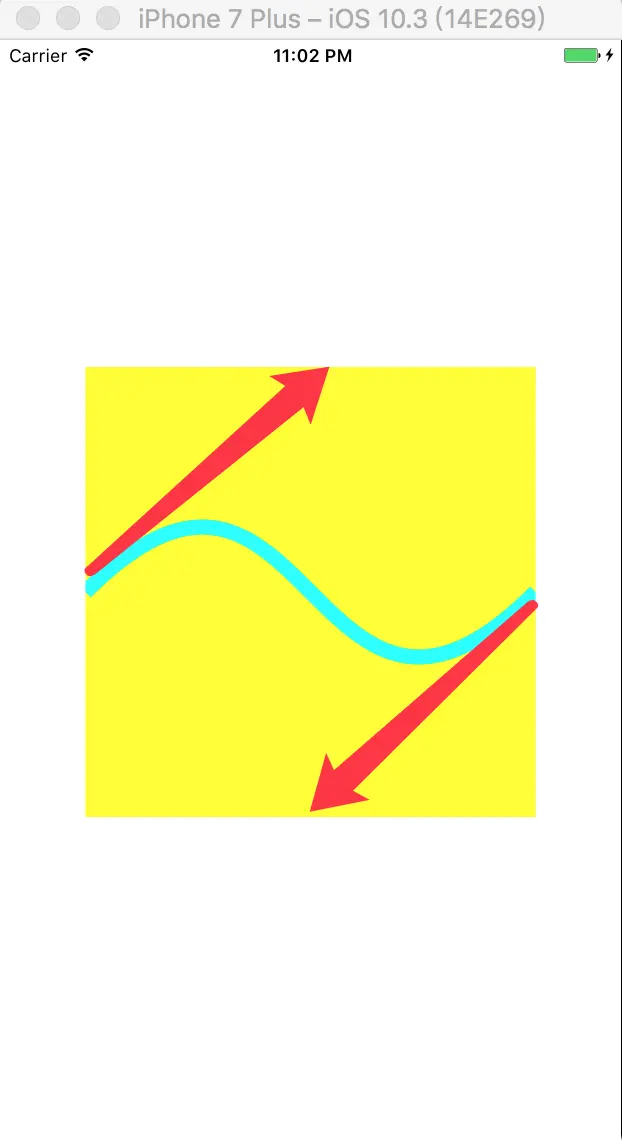
UIBezierPath类只是CGPathRef数据类型和path绘图属性的一个封装, 我们可以用来直接修改底层的path, 通过CGMutablePathRef, 1. 完全的使用Core Graphics函数去修改path
#if 0
            CGMutablePathRef cgPath = CGPathCreateMutable();
            CGPathAddEllipseInRect(cgPath, NULL, CGRectMake(0, 0, 300, 300));
            CGPathAddEllipseInRect(cgPath, NULL, CGRectMake(50, 50, 200, 200));

            // Now create the UIBezierPath object
            UIBezierPath* bPath = [UIBezierPath bezierPath];
            bPath.CGPath = cgPath;
            bPath.usesEvenOddFillRule = YES;
            bPath.lineWidth = 5;
            // After assigning it to the UIBezierPath object, you can release
            // your CGPathRef data type safely.
            [bPath stroke];
            CGPathRelease(cgPath);

#endif
// 2.搭配使用 UIBezierPath类拥有自己底层的CGPathRef data type, 所以需要使用一个副本来修改, 之后再赋值
#if 1
            UIBezierPath *bPath = [UIBezierPath bezierPathWithOvalInRect:CGRectMake(0, 0, 300, 300)];

            // Get the CGPathRef and create a mutable version.
            CGPathRef cgPath = bPath.CGPath;
            CGMutablePathRef  mutablePath = CGPathCreateMutableCopy(cgPath);

            // Modify the path and assign it back to the UIBezierPath object
            CGPathAddEllipseInRect(mutablePath, NULL, CGRectMake(50, 50, 200, 200));
            bPath.CGPath = mutablePath;

            // Release both the mutable copy of the path.
            bPath.lineWidth = 5;
            [[UIColor purpleColor] set];
            [bPath stroke];
            CGPathRelease(mutablePath);
#endif
绘制一个圆, 同时画一个边框
            // Create an oval shape to draw.
            UIBezierPath *bPath = [UIBezierPath bezierPathWithOvalInRect:
                                   CGRectMake(0, 0, 200, 200)];

            // Set the render colors
            [[UIColor lightGrayColor] setStroke];
            [[UIColor greenColor] setFill];

            CGContextRef aRef = UIGraphicsGetCurrentContext();

            // If you have content to draw after the shape,
            // save the current state before changing the transform
            //CGContextSaveGState(aRef);

            // Adjust the view's origin temporarily. The oval is
            // now drawn relative to the new origin point.
            CGContextTranslateCTM(aRef, 50, 50);

            // Adjust the drawing options as needed.
            bPath.lineWidth = 5;

            // Fill the path before stroking it so that the fill
            // color does not obscure the stroked line.
            [bPath fill];
            [bPath stroke];
总结 : UIBezierPath 使用这个就可以完成多种演示的图形了.
Demo https://github.com/summerxx27/iOSUI
我的文章首发公众号:


 1万+
1万+

 被折叠的 条评论
为什么被折叠?
被折叠的 条评论
为什么被折叠?
 到【灌水乐园】发言


