


#Python图像校正
##实现内容:图像校正
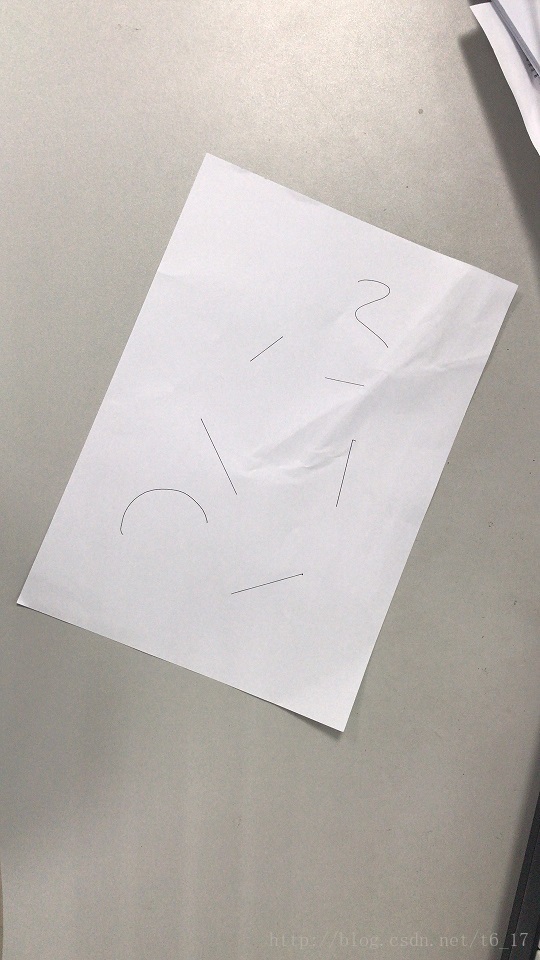
一张图像中有一张A4纸,通过图像处理的方法将其校正
输入图像:
输出图像:

##使用方法(Python):基于边缘检测
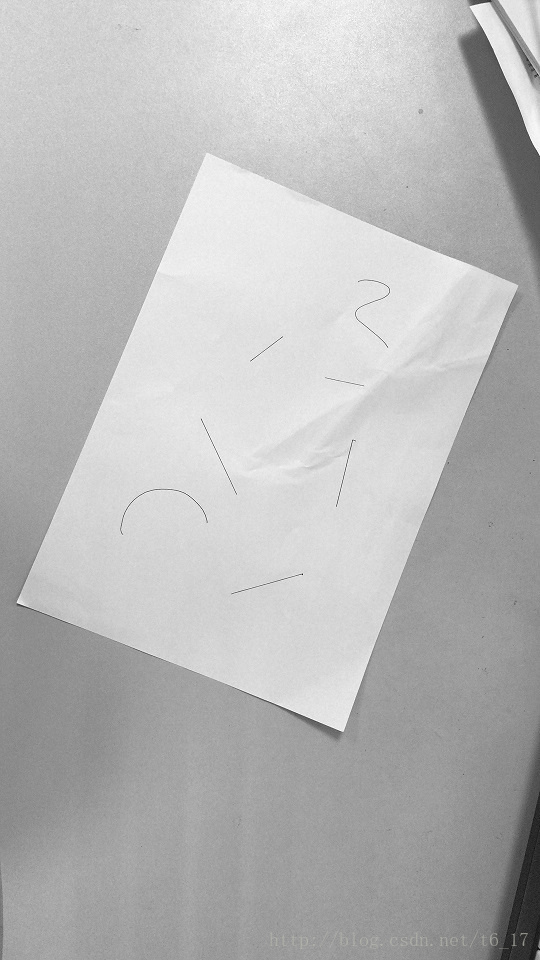
- 将图像转成灰度图
先将input.jpg高斯模糊,再进行灰度化处理,方便转换。
img = cv2.GaussianBlur(img,(3,3),0)
gray = cv2.cvtColor(img,cv2.COLOR_BGR2GRAY)
输出结果:
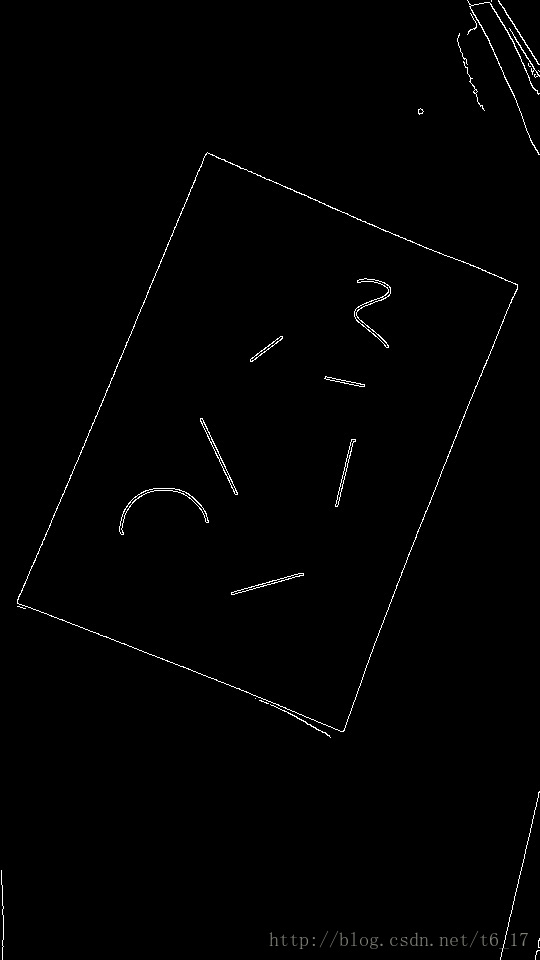
2. 边缘检测(检测出图像的边缘信息)
edges = cv2.Canny(gray,50,250,apertureSize = 3)
cv2.imwrite("canny.jpg", edges)
输出结果:
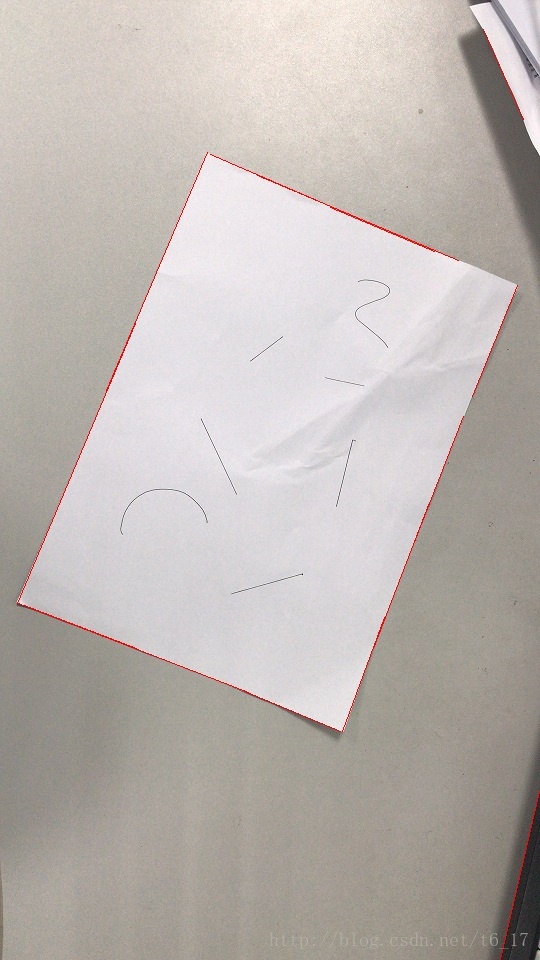
3. 通过霍夫变换得到A4纸边缘(可以看到A4纸中还有A4纸外有一些线,可以通过霍夫变换来去掉这些线)
lines = cv2.HoughLinesP(edges,1,np.pi/180,50,minLineLength=90,maxLineGap=10)
for x1,y1,x2,y2 in lines[0]:
    cv2.line(result1,(x1,y1),(x2,y2),(0,0,255),1)
输出结果:
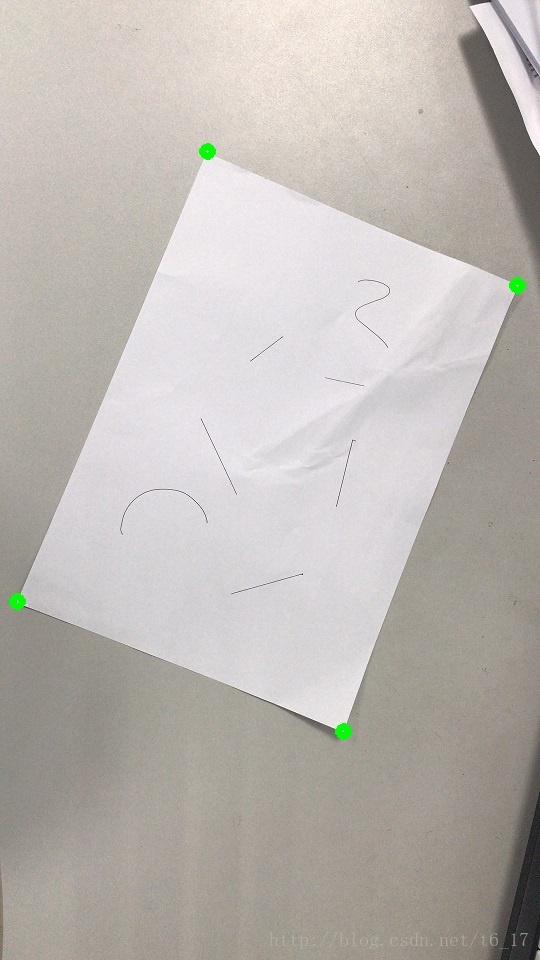
4. 通过A4纸的边计算A4纸的四个角点
记录四条边中每条边的两个点,分别求出四条边的直线函数,然后两两直线联合取四个交点,得到:
(207,151),(517,285),(17,601),(343,731)
cv2.circle(result2,(207,151),2,(0,255,0),2)
cv2.circle(result2,(517,285),2,(0,255,0),2)
cv2.circle(result2,(17,601),2,(0,255,0),2)
cv2.circle(result2,(343,731),2,(0,255,0),2)
输入结果:
- 根据四个角点做透视变换
src = np.float32([[207, 151], [517, 285], [17, 601], [343, 731]])
dst = np.float32([[0, 0], [337, 0], [0, 488], [337, 488]])
m = cv2.getPerspectiveTransform(src, dst)
result = cv2.warpPerspective(result3, m, (337, 488))
输出结果:
完整代码:

import cv2
import numpy as np

img = cv2.imread('input.jpg')
result1 = img.copy()
result2 = img.copy()
result3 = img.copy()

img = cv2.GaussianBlur(img,(3,3),0)
gray = cv2.cvtColor(img,cv2.COLOR_BGR2GRAY)

edges = cv2.Canny(gray,50,150,apertureSize = 3)
cv2.imwrite("canny.jpg", edges)
#hough transform
lines = cv2.HoughLinesP(edges,1,np.pi/180,50,minLineLength=90,maxLineGap=10)
for x1,y1,x2,y2 in lines[0]:
    cv2.line(result1,(x1,y1),(x2,y2),(0,0,255),1)
    print (x1,y1)
    print (x2,y2)
cv2.circle(result2,(207,151),5,(0,255,0),5)
cv2.circle(result2,(517,285),5,(0,255,0),5)
cv2.circle(result2,(17,601),5,(0,255,0),5)
cv2.circle(result2,(343,731),5,(0,255,0),5)

cv2.imwrite("result1.jpg", result1)
cv2.imwrite("result2.jpg", result2)

src = np.float32([[207, 151], [517, 285], [17, 601], [343, 731]])
dst = np.float32([[0, 0], [337, 0], [0, 488], [337, 488]])
m = cv2.getPerspectiveTransform(src, dst)
result = cv2.warpPerspective(result3, m, (337, 488))
cv2.imwrite("result.jpg", result)
cv2.imshow("result", result)
cv2.waitKey(0)


 1615
1615

 被折叠的 条评论
为什么被折叠?
被折叠的 条评论
为什么被折叠?
 到【灌水乐园】发言


