


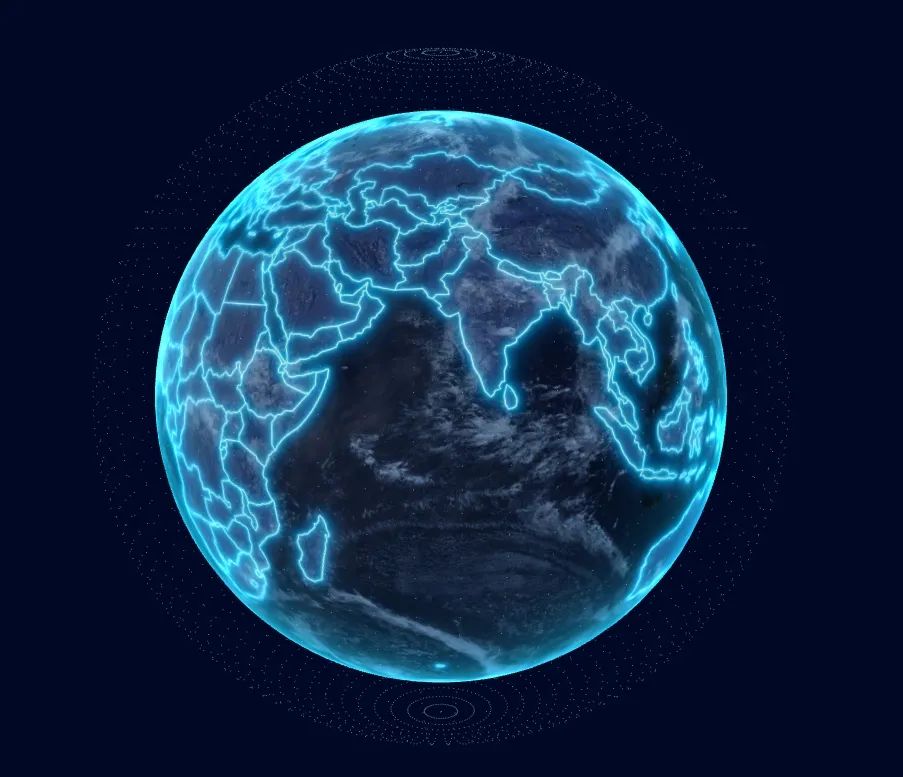
# 实现效果

# Threejs 基础概念简单介绍
Threejs和Webgl的关系
Three.js经常会和WebGL混淆, 但也并不总是,Three.js其实是使用WebGL来绘制三维效果的。WebGL是一个只能画点、线和三角形的非常底层的系统。想要用WebGL来做一些实用的东西通常需要大量的代码, 这就是Three.js的用武之地。它封装了诸如场景、灯光、阴影、材质、贴图、空间运算等一系列功能,让你不必要再从底层WebGL开始写起。
基础Threejs场景
一个最基础的Three.js程序包括渲染器(Renderer)、场景(Scene)、相机(Camera)、灯光(灯光),以及我们在场景中创建的物体(Earth)。
#入口文件
使用webpack打包,src/index.html是入口文件
文件列表

index.html
<div id="loading">
  <div class="sk-chase">
    <div class="sk-chase-dot"></div>
    <div class="sk-chase-dot"></div>
    <div class="sk-chase-dot"></div>
    <div class="sk-chase-dot"></div>
    <div class="sk-chase-dot"></div>
    <div class="sk-chase-dot"></div>
  </div>
  <div>加载资源中...</div>
</div>
<div id="html2canvas" class="css3d-wapper">
  <div class="fire-div"></div>
</div>
<div id="earth-canvas"></div>-
#loading: 加载中的loading效果
-
#earth-canvas:将canvas绘制到此dom下面
-
#html2canvas:将html转换成图片,显示地球标点
index.ts
webpack 会将此文件打包成js,放进 index.html 中
import World from './world/Word'
// earth-canvas
const dom: HTMLElement = document.querySelector('#earth-canvas')
// 将dom传进去
new World({ dom, })
World.ts 创建3D世界
// 传入dom,创建出threejs场景、渲染器、相机和控制器。
this.basic = new Basic(option.dom)
this.scene = this.basic.scene
this.renderer = this.basic.renderer
this.controls = this.basic.controls
this.camera = this.basic.camera
// 传入dom,主要进行dom尺寸计算和管理resize事件。
this.sizes = new Sizes({ dom: option.dom })

this.sizes.$on('resize', () => {
  this.renderer.setSize(Number(this.sizes.viewport.width), Number(this.sizes.viewport.height))
  this.camera.aspect = Number(this.sizes.viewport.width) / Number(this.sizes.viewport.height)
  this.camera.updateProjectionMatrix()
})
// 传一个function,资源加载完成后会执行此function。
this.resources = new Resources(async () => {
  await this.createEarth()
  // 开始渲染
  this.render()
})
// 地球相关配置
type options = {
data: {
startArray: {
name: string,
E: number, // 经度
N: number, // 维度
},
endArray: {
name: string,
E: number, // 经度
N: number, // 维度
}[]
}[]
dom: HTMLElement,
textures: Record<string, Texture>, // 贴图
earth: {
radius: number, // 地球半径
rotateSpeed: number, // 地球旋转速度
isRotation: boolean // 地球组是否自转
}
satellite: {
show: boolean, // 是否显示卫星
rotateSpeed: number, // 旋转速度
size: number, // 卫星大小
number: number, // 一个圆环几个球
},
punctuation: punctuation,
flyLine: {
color: number, // 飞线的颜色
speed: number, // 飞机拖尾线速度
flyLineColor: number // 飞行线的颜色
},
}
// 1.将earth中的group添加到场景中
this.scene.add(this.earth.group)

// 2.通过await init创建地球及其相关内容,因为创建一些东西需要时间,所以返回一个Promise
await this.earth.init()

// 3.地球创建完之后隐藏dom,添加一个事先定义好的类名,使用animation渐渐隐藏掉dom
const loading = document.querySelector('#loading')
loading.classList.add('out')
// 1.将earth中的group添加到场景中
this.scene.add(this.earth.group)
// 2.通过await init创建地球及其相关内容,因为创建一些东西需要时间,所以返回一个Promise
await this.earth.init()
// 3.地球创建完之后隐藏dom,添加一个事先定义好的类名,使用animation渐渐隐藏掉dom
const loading = document.querySelector('#loading')
loading.classList.add('out')#加载资源
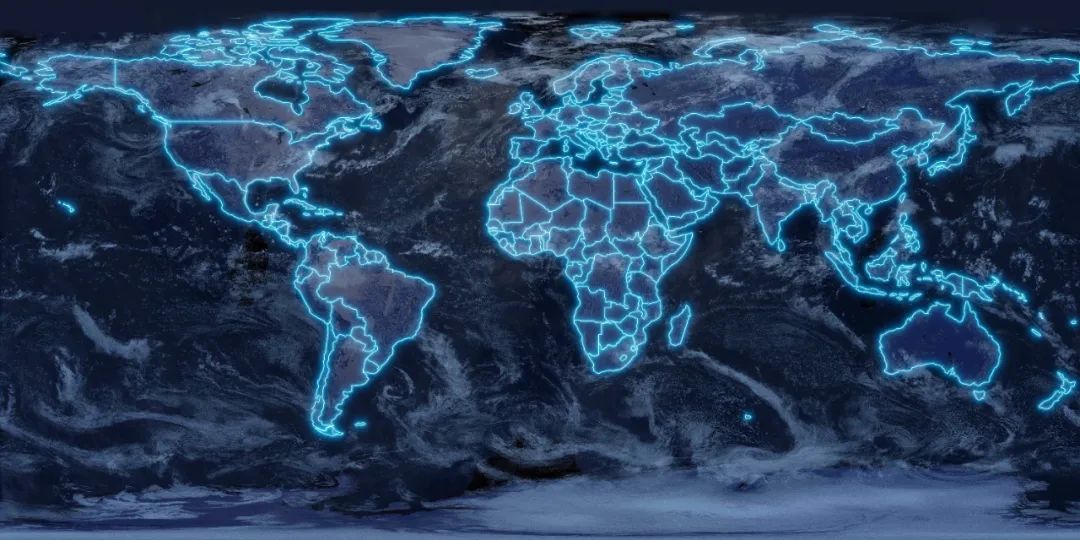
地球中需要若干个贴图,在创建地球前,先把贴图加载进来。
Assets.ts 整理资源文件
/**
 * 资源文件
 * 把模型和图片分开进行加载
 */

interface ITextures {
  name: string
  url: string
}

export interface IResources {
  textures?: ITextures[],
}

const filePath = './images/earth/'
const fileSuffix = [
  'gradient',
  'redCircle',
  "label",
  "aperture",
  'earth_aperture',
  'light_column',
  'aircraft'
]

const textures = fileSuffix.map(item => {
  return {
    name: item,
    url: filePath + item + '.png'
  }
})

textures.push({
  name: 'earth',
  url: filePath + 'earth.jpg'
})

const resources: IResources = {
  textures
}

export {
  resources
}
通过使用threejs提供的LoadingManager方法,
管理资源的加载进度,以及保存一个textures对象,
key为name,value为Texture对象
#添加地球
-
earth:创建一个地球mesh,
并赋予ShaderMaterial材质和贴上地球贴图,
之后可以通过着色器动画实现地球扫光效果。
-
points:创建一个由points组成的包围球,
放在外围。
const earth_geometry = new SphereBufferGeometry(
  this.options.earth.radius,
  50,
  50
);


const earth_border = new SphereBufferGeometry(
  this.options.earth.radius + 10,
  60,
  60
);


const pointMaterial = new PointsMaterial({
  color: 0x81ffff, //设置颜色,默认 0xFFFFFF
  transparent: true,
  sizeAttenuation: true,
  opacity: 0.1,
  vertexColors: false, //定义材料是否使用顶点颜色,默认false ---如果该选项设置为true,则color属性失效
  size: 0.01, //定义粒子的大小。默认为1.0
})
const points = new Points(earth_border, pointMaterial); //将模型添加到场景


this.earthGroup.add(points);


this.options.textures.earth.wrapS = this.options.textures.earth.wrapT =
  RepeatWrapping;
this.uniforms.map.value = this.options.textures.earth;


const earth_material = new ShaderMaterial({
  // wireframe:true, // 显示模型线条
  uniforms: this.uniforms,
  vertexShader: earthVertex,
  fragmentShader: earthFragment,
});


earth_material.needsUpdate = true;
this.earth = new Mesh(earth_geometry, earth_material);
this.earth.name = "earth";
this.earthGroup.add(this.earth);


 1628
1628


 被折叠的 条评论
为什么被折叠?
被折叠的 条评论
为什么被折叠?
 到【灌水乐园】发言


