


在许多成熟的商业软件系统中可以让用户自由切换语言,而不是修改浏览器的语言设置。一旦用户选择了自己需要使用的语言环境,整个系统的语言环境将一直是这种语言环境。
Spring MVC 也可以允许用户自行选择程序语言。本章通过 Web 应用 springMVCDemo09 演示用户自定义切换语言,在该应用中使用 SessionLocaleResolver 实现国际化,具体步骤如下:
创建应用 springMVCDemo09,并导入 Spring MVC 相关的 JAR 包。
在 WEB-INF/resource 目录下创建中英文资源文件 messages_en_US.properties 和 messages_zh_CN.properties。
messages_en_US.properties 的内容如下:
first=firstsecond=secondthird={0} third{1}language.en=Englishlanguage.cn=Chinese
messages_zh_CN.properties 的内容如下:
first=\u7B2C\u4E00\u9875second=\u7B2C\u4E8C\u9875third={0} \u7B2C\u4E09\u9875 {1}language.cn=\u4E2D\u6587language.en=\u82F1\u6587
3)创建视图 JSP 文件
在 WEB-INF/jsp 目录下创建 3 个 JSP 文件,即 first.jsp、second.jsp 和 third.jsp。
first.jsp 的代码如下:
<%@ page language="java" contentType="text/html; charset=UTF-8"pageEncoding="UTF-8"%><%@taglib prefix="spring" uri="http://www.springframework.org/tags"%><!DOCTYPE html PUBLIC "-//W3C//DTD HTML 4.01 Transitional//EN" "http://www.w3.org/TR/html4/loose.dtd"><html><head><meta http-equiv="Content-Type" content="text/html; charset=UTF-8"><title>Insert title here</title></head><body><a href="${pageContext.request.contextPath }/i18nTest?locale=zh_ CN"><spring:message code="language.cn" /> </a> --<a href="${pageContext.request.contextPath }/i18nTest?locale=en_US"><spring:message code="language.en" /> </a><br><br><spring:message code="first" /><br><br><a href="${pageContext.request.contextPath }/my/second"><spring:message code="second" /> </a></body></html>
second.jsp 的代码如下:
<%@ page language="java" contentType="text/html; charset=UTF-8"pageEncoding="UTF-8"%><%@taglib prefix="spring" uri="http://www.springframework.org/tags"%><!DOCTYPE html PUBLIC "-//W3C//DTD HTML 4.01 Transitional//EN" "http://www.w3.org/TR/html4/loose.dtd"><html><head><meta http-equiv="Content-Type" content="text/html; charset=UTF-8"><title>Insert title here</title></head><body><spring:message code="second"/><br><br><a href="${pageContext.request.contextPath }/my/third"><spring:message code="third" arguments="888,999"/></a></body></html>
third.jsp 的代码如下:
<%@ page language="java" contentType="text/html; charset=UTF-8"pageEncoding="UTF-8"%><%@taglib prefix="spring" uri="http://www.springframework.org/tags"%><!DOCTYPE html PUBLIC "-//W3C//DTD HTML 4.01 Transitional//EN" "http://www.w3.org/TR/html4/loose.dtd"><html><head><meta http-equiv="Content-Type" content="text/html; charset=UTF-8"><title>Insert title here</title></head><body><spring:message code="third" arguments="888,999" /><br><br><a href="${pageContext.request.contextPath }/my/first"><spring:message code="first" /></a></body></html>
该应用有两个控制器类,一个是 I18NTestController 处理语言种类选择请求,一个是 MyController 进行页面导航。在 src 目录中创建一个名为 controller 的包,并在该包中创建这两个控制器类。
I18NTestController.java 的代码如下:
package controller;import java.util.Locale;import org.springframework.web.bind.annotation.RequestMapping;@Controllerpublic class I18NTestController {@RequestMapping("/i18nTest")/*** locale接收请求参数locale值,并存储到session中*/public String first(Locale locale) {return "first";}}
MyController 的代码如下:
package controller;import org.springframework.stereotype.Controller;import org.springframework.web.bind.annotation.RequestMapping;@Controller@RequestMapping("/my")public class MyController {@RequestMapping("/first")public String first() {return "first";}@RequestMapping("/second")public String second() {return "second";}@RequestMapping("/third")public String third() {return "third";}}
在 WEB-INF 目录下创建配置文件 springmvc-servlet.xml 和 web.xml。web.xml 的代码与 Spring MVC 简单应用的相同,这里不再赘述。springmvc-servlet.xml 的代码如下:
<?xml version="1.0" encoding="UTF-8"?><beans xmlns="http://www.springframework.org/schema/beans"xmlns:xsi="http://www.w3.org/2001/XMLSchema-instance"xmlns:mvc="http://www.springframework.org/schema/mvc"xmlns:p="http://www.springframework.org/schema/p"xmlns:context="http://www.springframework.org/schema/context"xsi:schemaLocation="http://www.springframework.org/schema/beanshttp://www.springframework.org/schema/beans/spring-beans.xsdhttp://www.springframework.org/schema/contexthttp://www.springframework.org/schema/context/spring-context.xsdhttp://www.springframework.org/schema/mvchttp://www.springframework.org/schema/mvc/spring-mvc.xsd"><!-- 使用扫描机制扫描包 --><context:component-scan base-package="controller" /><!-- 配置视图解析器 --><beanclass="org.springframework.web.servlet.view.InternalResourceViewResolver"><property name="prefix" value="/WEB-INF/jsp/" /><property name="suffix" value=".jsp" /></bean><!-- 国际化操作拦截器,如果采用基于Session/Cookie则必须配置 --><mvc:interceptors><bean class="org.springframework.web.servlet.i18n.LocaleChangeInterceptor" /></mvc:interceptors><!-- 存储区域设置信息 --><bean id="localeResolver"class="org.springframework.web.servlet.i18n.SessionLocaleResolver"><property name="defaultLocale" value="zh_CN"></property></bean><!-- 加载国际化资源文件 --><bean id="messageSource"class="org.springframework.context.support.ReloadableResourceBundleMessageSource"><!-- <property name="basename" value="classpath:messages" /> --><property name="basename" value="/WEB-INF/resource/messages" /></bean></beans>
首先将 springMVCDemo09 应用发布到 Tomcat 服务器并启动 Tomcat 服务器,然后通过地址“http://localhost:8080/springMVCDemo08/my/first”测试第一个页面,运行结果如图 1 所示。
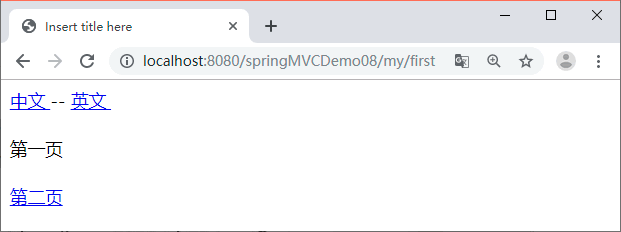
图 1 中文环境下 first.jsp 的运行结果
单击图 1 中的“第二页”超链接,打开 second.jsp 页面,运行结果如图 2 所示。
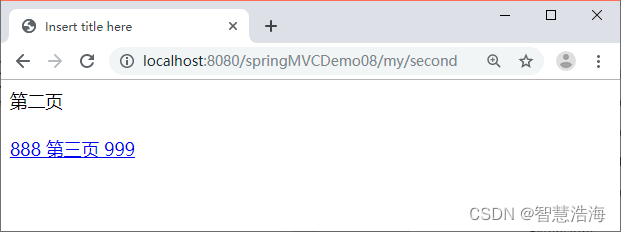
图 2 中文环境下second.jsp的运行结果
单击图 2 中的“第三页”超链接,打开 third.jsp 页面,运行结果如图 3 所示。
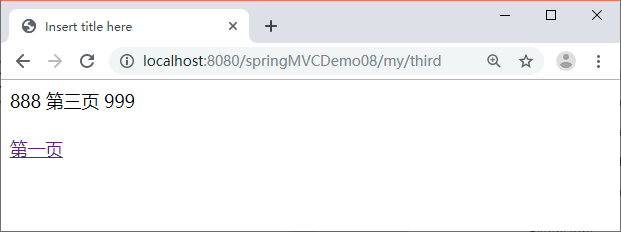
图 3 中文环境下third.jsp的运行结果
单击图 1 中的“英文”超链接,打开英文环境下的 first.jsp 页面,运行结果如图 4 所示。

图 4 英文环境下 first.jsp 的运行结果
单击图 4 中的 second 超链接,打开英文环境下的 second.jsp 页面,运行结果如图 5 所示。
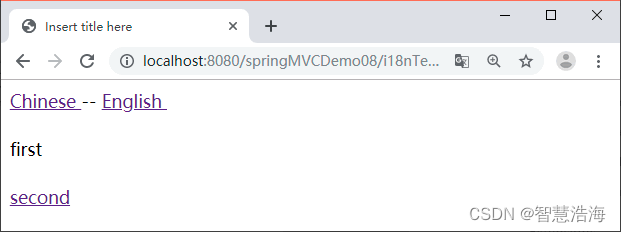
图 5 英文环境下 second.jsp 的运行结果
单击图 5 中的 third 超链接,打开英文环境下的 third.jsp 页面,运行结果如图 6 所示。
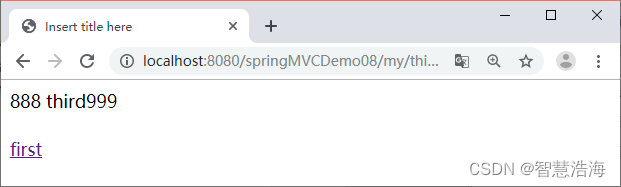
图 6 英文环境下 third.jsp 的运行结果


 1545
1545


 被折叠的 条评论
为什么被折叠?
被折叠的 条评论
为什么被折叠?
 到【灌水乐园】发言


