


Github.io上可以方便地打造自己的博客网站,相对于CSDN等社区网站来说既没有广告又能凸显个人调性。
建站步骤
建站步骤非常简单
-
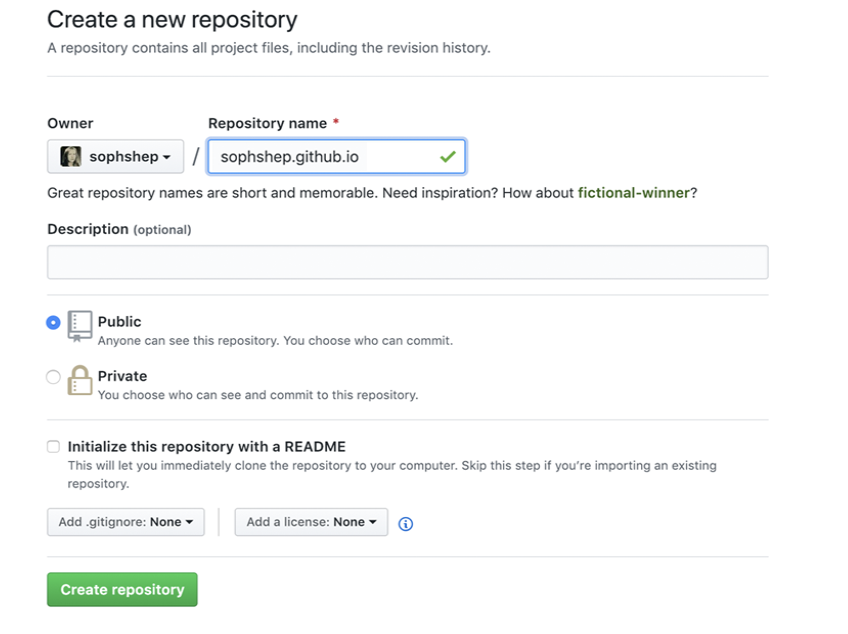
在个人github上建一个repository,名字必须是
username.github.io
-
推送一个静态html上去
# clone the prj
git clone https://github.com/username/username.github.io

# Hello World
cd username.github.io
echo “Hello World” > index.html

# Push it
git add –all
git commit -m “Initial commit”
git push -u origin master
- 通过
https://username.github.io.就可以访问网页了。
页面优化
Github.io只能静态网页浏览服务,无法通过运行后端代码提供动态功能,所以只能用于博客之类的简单网站,但是我们依然有优化空间,通过优化静态的html页面让网站更漂亮。
github推荐Jekyll这个静态网站构建工具:
Transform your plain text into static websites and blogs.
– Jekyll的Slogan
Jekyll官网的安装需求
- Ruby version 2.4.0 or above, including all development headers (ruby version can be checked by running ruby -v)
- RubyGems (which you can check by running gem -v)
- GCC and Make (in case your system doesn’t have them installed, which you can check by running gcc -v,g++ -v and make -v in your system’s
command line interface)
我使用呢win10配置了Ruby环境并进行了Jekyll安装:
参考:https://jekyllrb.com/docs/installation/windows/
1. 安装Ruby
Ruby官网 下载Ruby+Devkit 2.6.5-1
2. 安装Jekyll与Bundler
gem install jekyll bundler
3. 使用Jekyll建站
$ bundle exec jekyll new mysite --force
$ cd mysite
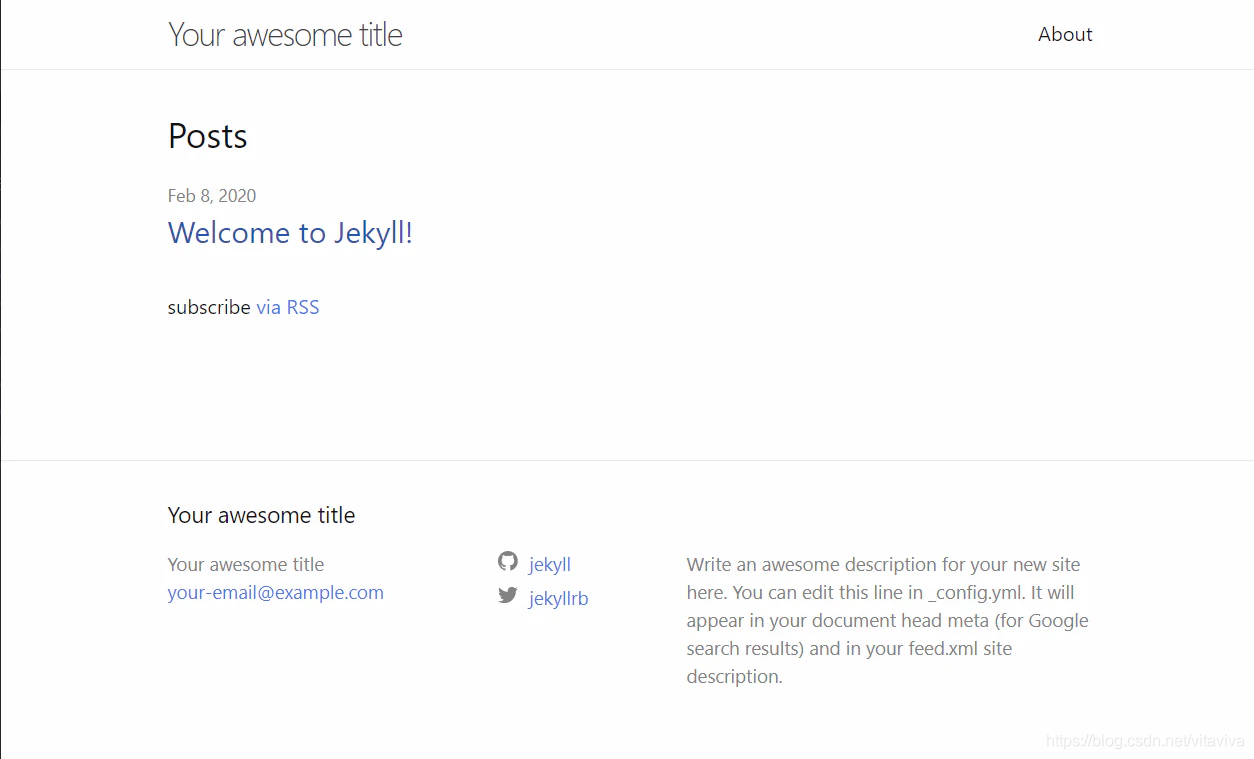
$ bundle exec jekyll serve
Configuration file: C:/Users/~~/documents/github/~~/mysite/_config.yml
Source: C:/Users/~~/documents/github/~~/mysite
Destination: C:/Users/~~/documents/github/~~/mysite/_site
Incremental build: disabled. Enable with --incremental
Generating...
Jekyll Feed: Generating feed for posts
done in 2.626 seconds.
Auto-regeneration: enabled for 'C:/Users/~~/documents/github/~~/mysite'
Server address: http://127.0.0.1:4000/
Server running... press ctrl-c to stop.
建站成功,通过http://localhost:4000/可以看到以下页面
Jekyll目录结构
建站后的目录结构简单说明一下:
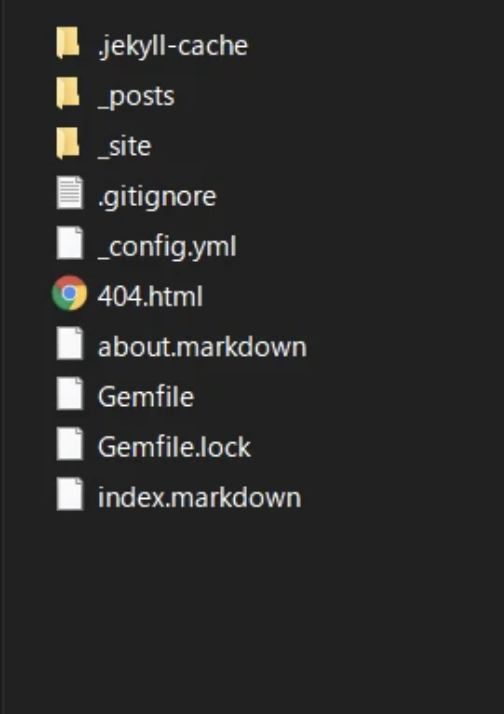
- _posts:博客站默认以markdown的形式投稿,这处理存放投稿的md文件
- _config.yml:可以对页面的Theme或者Footer等的进行配置
- about.markdown:页面的about部分
- Gemfile:使用bundler创建的Gemfile
最后
更多详细内容 参考 https://github.com/jekyll/minima


 80
80

 被折叠的 条评论
为什么被折叠?
被折叠的 条评论
为什么被折叠?
 到【灌水乐园】发言


