


介绍
FastDDS是由eProsima实现的一个开源的dds库。
目前主要用于机器人的ROS2以及一些工业领域设备间通信。
本文主要从Fastdds的安装开始,分别介绍其相关使用,以及对应的实现。
官方文档
https://fast-dds.docs.eprosima.com/en/latest/installation/sources/sources_linux.html
安装环境
20.04.1-Ubuntu
依赖其他的库
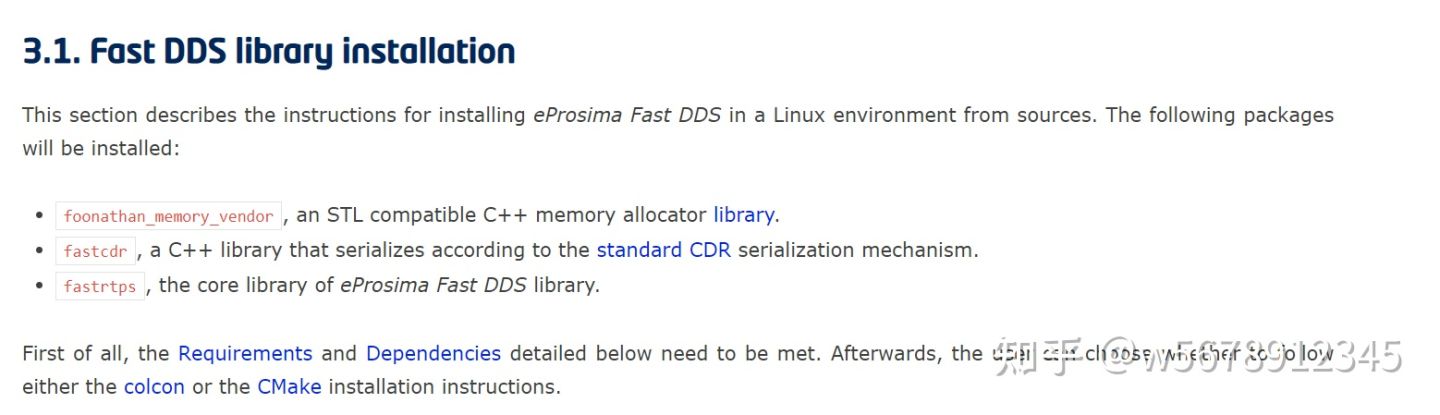
上图是官方给出的对应fastdds依赖的一些库。
后续会分别介绍和安装
安装依赖的软件
sudo apt install cmake g++ python3-pip wget git
sudo apt install libasio-dev libtinyxml2-dev
sudo apt install libssl-dev
sudo apt install libp11-dev libengine-pkcs11-openssl
sudo apt install softhsm2

sudo usermod -a -G softhsm <user
下载对应的gtest库
git clone https://github.com/google/googletest src/googletest-distribution编译gtest
mkdir googletest-distribution/build
cd googletest-distribution/build
cmake ..

cmake --build . --target install
Cmake编译
官方文档上面给出了两种方式进行安装,由于我这里的环境是ubuntu,并且我不需要ROS2,因此这里使用cmake的编译方式。
安装foonathan_memory_vendor
cd ~/Fast-DDS
git clone https://github.com/eProsima/foonathan_memory_vendor.git
mkdir foonathan_memory_vendor/build
cd foonathan_memory_vendor/build
cmake .. -DCMAKE_INSTALL_PREFIX=/usr/local/ -DBUILD_SHARED_LIBS=ON
cmake --build . --target install
执行cmake --build . --target install的时候,出现这个错误
size of array 'altStackMem' is not an integral constant-expressionIn file included from /root/code/fastdds/memory/test/test.cpp:6:
/root/code/fastdds/memory/build/_deps/doctest-src/doctest/doctest.h:4299:47: error: size of array 'altStackMem' is not an integral constant-expression
 4299 |         static char             altStackMem[4 * SIGSTKSZ];
      |                                               ^
gmake[2]: *** [test/CMakeFiles/foonathan_memory_test.dir/build.make:76: test/CMakeFiles/foonathan_memory_test.dir/test.cpp.o] Error 1
gmake[1]: *** [CMakeFiles/Makefile2:361: test/CMakeFiles/foonathan_memory_test.dir/all] Error 2
gmake: *** [Makefile:146: all] Error 2
官方给出来的命令是:

Cmake的时候添加-DFOONATHAN_MEMORY_BUILD_TESTS=OFF
不去编译对应的test,就可以了编译通过了。
cmake .. -DCMAKE_INSTALL_PREFIX=/usr/local/ -DBUILD_SHARED_LIBS=ON -DFOONATHAN_MEMORY_BUILD_TESTS=OFF其实如果安装完gtest的话,这个问题也就可以正经解决,不需要关掉test的定义。
安装fast-cdr
cd ~/Fast-DDS
git clone https://github.com/eProsima/Fast-CDR.git
mkdir Fast-CDR/build
cd Fast-CDR/build
cmake .. -DCMAKE_INSTALL_PREFIX=/usr/local/
cmake --build . --target install
安装fast-dds
cd ~/Fast-DDS
git clone https://github.com/eProsima/Fast-DDS.git
mkdir Fast-DDS/build
cd Fast-DDS/build
cmake ..  -DCMAKE_INSTALL_PREFIX=~/Fast-DDS/install
cmake --build . --target install
之后修改库加载路径
export LD_LIBRARY_PATH=/usr/local/lib/然后就可以执行对应的测试程序了
fast-discovery-server --help
添加对应编译参数
相关cmake的编译参数可以看这里
https://fast-dds.docs.eprosima.com/en/latest/installation/configuration/cmake_options.html
这里添加了编译example,security,性能测试工具。
因为我后续需要打开安全相关的能力,所以这里编译的时候选择编译安全能力。
由于安全能力的打开可能会导致相关通信的性能下降,所以实际部署时可以根据需求添加编译参数。
cmake .. -DCMAKE_INSTALL_PREFIX=/usr/local/ -DCOMPILE_EXAMPLES=ON -DSECURITY -DPERFORMANCE_TESTS=ON安装fastdds-gen
fastdds-gen主要是一个用来自动生成代码的工具。他是一个java工具,可以将对应的idl文件生成对应的C++文件。免去我们自己手写对接fastdds的代码(虽然肯定后续要手写)。
下载代码
cd ~
git clone --recursive https://github.com/eProsima/Fast-DDS-Gen.git
cd Fast-DDS-Gen
首先安装对应的jdk
sudo apt install openjdk-8-jdk编译
因为我们没有安装gradle,所以这里使用自带的命令。
./gradlew assemble编译完成之后,会在目录下面的script目录下生成对应的脚本。

linux下面就可以直接使用fastddsgen生成对应的代码了。
结束
FastDDS开源库整体安装其实是比较复杂的,但是通过fastddsgen来生成对应的代码可以极大的简化相关编码逻辑。


 1658
1658


 被折叠的 条评论
为什么被折叠?
被折叠的 条评论
为什么被折叠?
 到【灌水乐园】发言


