


At WWDC 2020, Apple introduced the LazyVStack. In my opinion, it is an improved version of VStack due to its advantage in performance.
在WWDC 2020上,苹果推出了LazyVStack 。 我认为,由于其性能优势,它是VStack的改进版本。
LazyVStack’s behaviour is similar to VStack’s with the exception of laziness. In many instances, “lazy” means if you do not see it on your screen, it is not being loaded. This, in turn, increases performances. On the other hand, VStack loads everything.
除了懒惰之外, LazyVStack的行为与VStack相似。 在许多情况下,“惰性”是指如果您在屏幕上看不到它,则表示它没有被加载。 反过来,这可以提高性能。 另一方面, VStack会加载所有内容。
Just think of it this way: If you have a huge load of data, the ideal approach is to load only what you see. This is what LazyVStack does. As you scroll, you will load the data.
只是这样想:如果您有大量数据,理想的方法是只加载您看到的内容。 这就是LazyVStack所做的。 滚动时,将加载数据。
In summary, use LazyVStack if you have a huge amount of data and VStack when you have a relatively small amount of data.
总之,使用LazyVStack如果你有一个庞大的数据和量VStack当你有数据相对较少。
“A view that arranges its children in a line that grows vertically, creating items only as needed.” — Apple Developer
“将子项排列在垂直方向上的视图,仅在需要时创建项目。” - 苹果开发商
先决条件 (Prerequisites)
To follow along with this tutorial, you’ll need some basic knowledge in:
要继续学习本教程,您将需要一些基本知识:
- Swift Swift
- At least Xcode 12+ 至少Xcode 12+
Note: This only supports iOS 14+.
注意:这仅支持iOS 14+。
LazyVStack入门 (Getting Started With LazyVStack)
The usage is similar to VStack’s, and I took this a little further and made it more interesting when playing with LazyVStack.
用法与VStack相似,我对此进行了进一步介绍,使其在使用LazyVStack时更加有趣。
This is the scenario: It’s now 2024 and you were recently hired by a company to build an employee database. The minimum iOS on each iPhone device is at least iOS16+ and the requirement for this is that it shouldn’t be laggy. You instantly think of LazyVStack. Bear in mind that the minimum iOS requirement is iOS14+.
场景是这样:现在是2024年,您最近被一家公司雇用来建立员工数据库。 每个iPhone设备上的最小iOS至少为iOS16 +,对此的要求是它不宜过时。 您立刻想到了LazyVStack 。 请记住,最低iOS要求是iOS14 +。
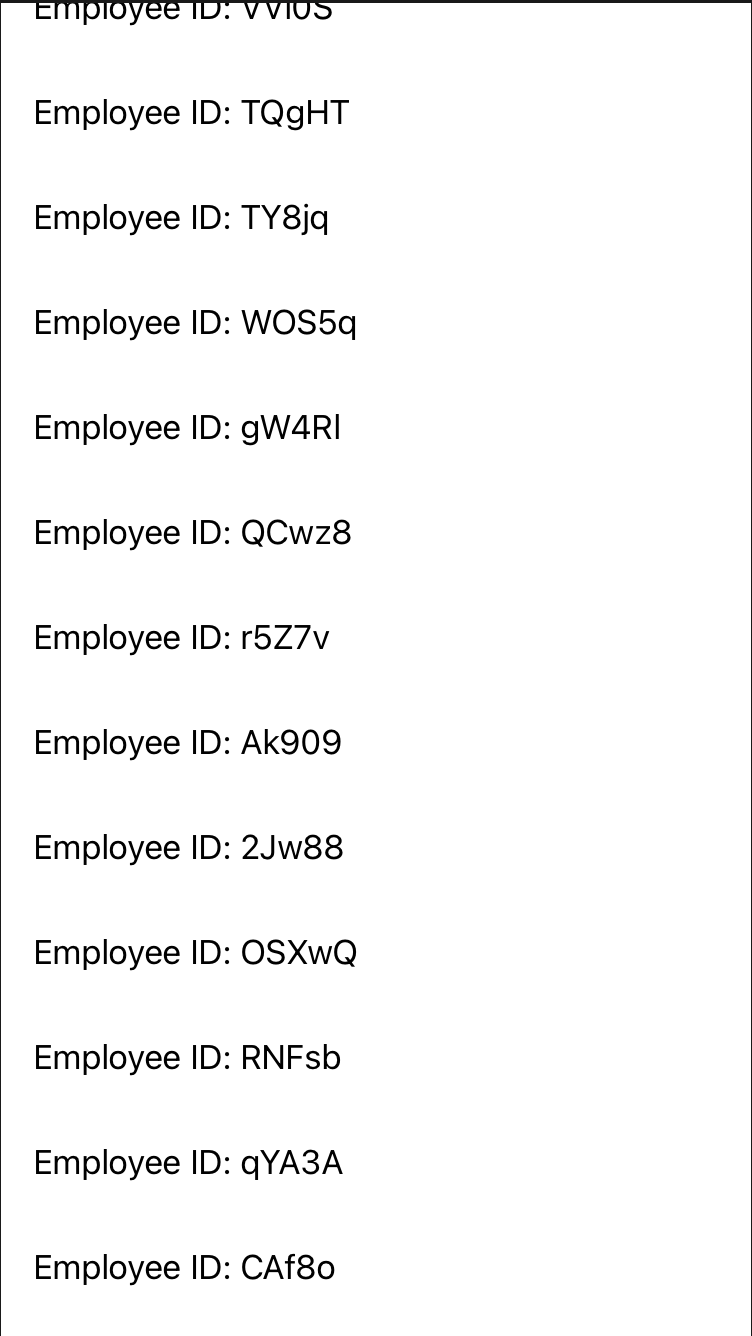
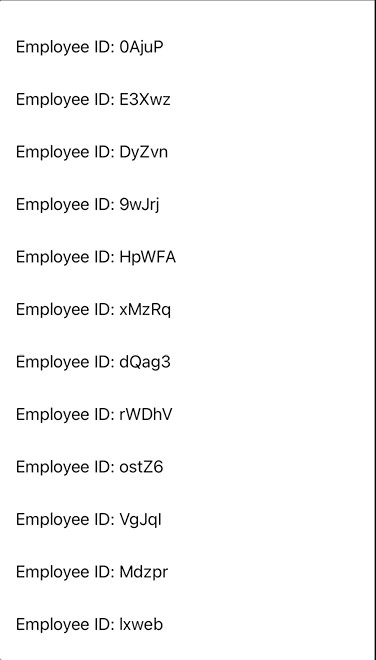
Now you are getting ready to get your hands dirty and start coding. To make it look real, I just wrote a code that randomly generated some ID:
现在,您可以开始动手并开始编码了。 为了使它看起来真实,我只是编写了一个随机生成一些ID的代码:
滚动LazyVStack (Scrolling LazyVStack)
Almost done! The only problem is it’s not scrolling. That should be an easy fix. Wrap it inside ScrollView:
快完成了! 唯一的问题是它没有滚动。 那应该很容易解决。 将其包装在ScrollView :
ScrollView {
...
...
}
Now let’s see the scrolling effect. Doesn’t this remind you of UITableView? The only differences are shorter code and no need to use the delegate and datasource.
现在让我们看一下滚动效果。 这不是让您想起UITableView吗? 唯一的区别是较短的代码,无需使用委托和数据源。
It’s only taken five minutes. Since you are getting paid hourly, you want to make this look better with more customisation.
只需要五分钟。 由于您是按小时收取工资的,因此您希望通过更多的自定义来使其看起来更好。
LazyVStack定制 (LazyVStack Customisation)
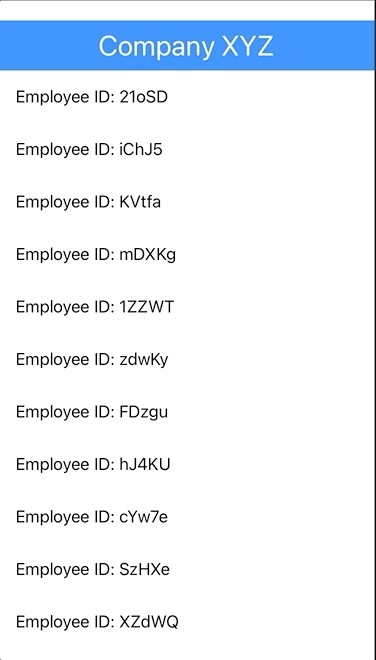
What about adding a header? It should look more like a UITableView now.
如何添加标题? 现在,它看起来应该更像一个UITableView 。
Add an extra parameter called pinnedViews and indicate that you would like a header by including .sectionHeaders as the parameter value. You may even add a footer with .sectionFooters:
添加一个名为pinnedViews的额外参数,并通过将.sectionHeaders作为参数值来指示您想要一个标头。 您甚至可以使用.sectionFooters添加页脚:
LazyVStack(alignment: .leading, pinnedViews: [.sectionHeaders]) {
...
With that, we will now have to wrap everything inside the Section:
这样,我们现在必须将所有内容包装在Section :
LazyVStack(alignment: .leading, pinnedViews: [.sectionHeaders]) {
    Section(header: Text("Company XYZ").padding()) {
        ForEach(1...100, id: \.self) { value in
        ...
        ...
The only problem is the background colour is .clear and there is much flexibility for customisation here:
唯一的问题是背景颜色是.clear并且在此处进行自定义具有很大的灵活性:

The workaround is to create your view and customise everything inside the view:
解决方法是创建视图并自定义视图中的所有内容:
Now use the newly created HeaderView as the header:
现在,使用新创建的HeaderView作为标题:
Section(header: HeaderView()) {
...
You should now see a more appealing header compared to the previous one:
与上一个相比,您现在应该看到一个更具吸引力的标题:
Well done. I am sure your company will be very pleased with the result.
做得好。 我相信您的公司会对结果感到非常满意。
翻译自: https://medium.com/better-programming/tableviews-in-swiftui-with-lazyvstack-8de9d8bc17ee


 537
537

 被折叠的 条评论
为什么被折叠?
被折叠的 条评论
为什么被折叠?
 到【灌水乐园】发言


