


swiftui
创建一个新项目(或使用现有项目) (Create a New Project (or Use an Existing One))
Open Xcode and choose “Create a new Xcode Project.” Choose “Single View App.”
打开Xcode,然后选择“创建新的Xcode项目”。 选择“单视图应用程序”。

Click “Next” and give your product a name. Be sure that your language is set to “Swift” and your user interface is set to “SwiftUI.”
单击“下一步”,然后为您的产品命名。 确保将您的语言设置为“ Swift”,并将用户界面设置为“ SwiftUI”。

Click “Next.” Choose your project file location and click “Create.” Click “Resume” in the preview window to build your project. You should now see a view identical to the screen below:
点击下一步。” 选择您的项目文件位置,然后单击“创建”。 在预览窗口中单击“恢复”以构建您的项目。 现在,您应该看到与以下屏幕相同的视图:

Navigate to your Assets.xcassets folder. This is where all of your project resources — such as images, app icon files, and colors — live.
导航到Assets.xcassets文件夹。 这是您所有项目资源(例如图像,应用程序图标文件和颜色)的所在地。
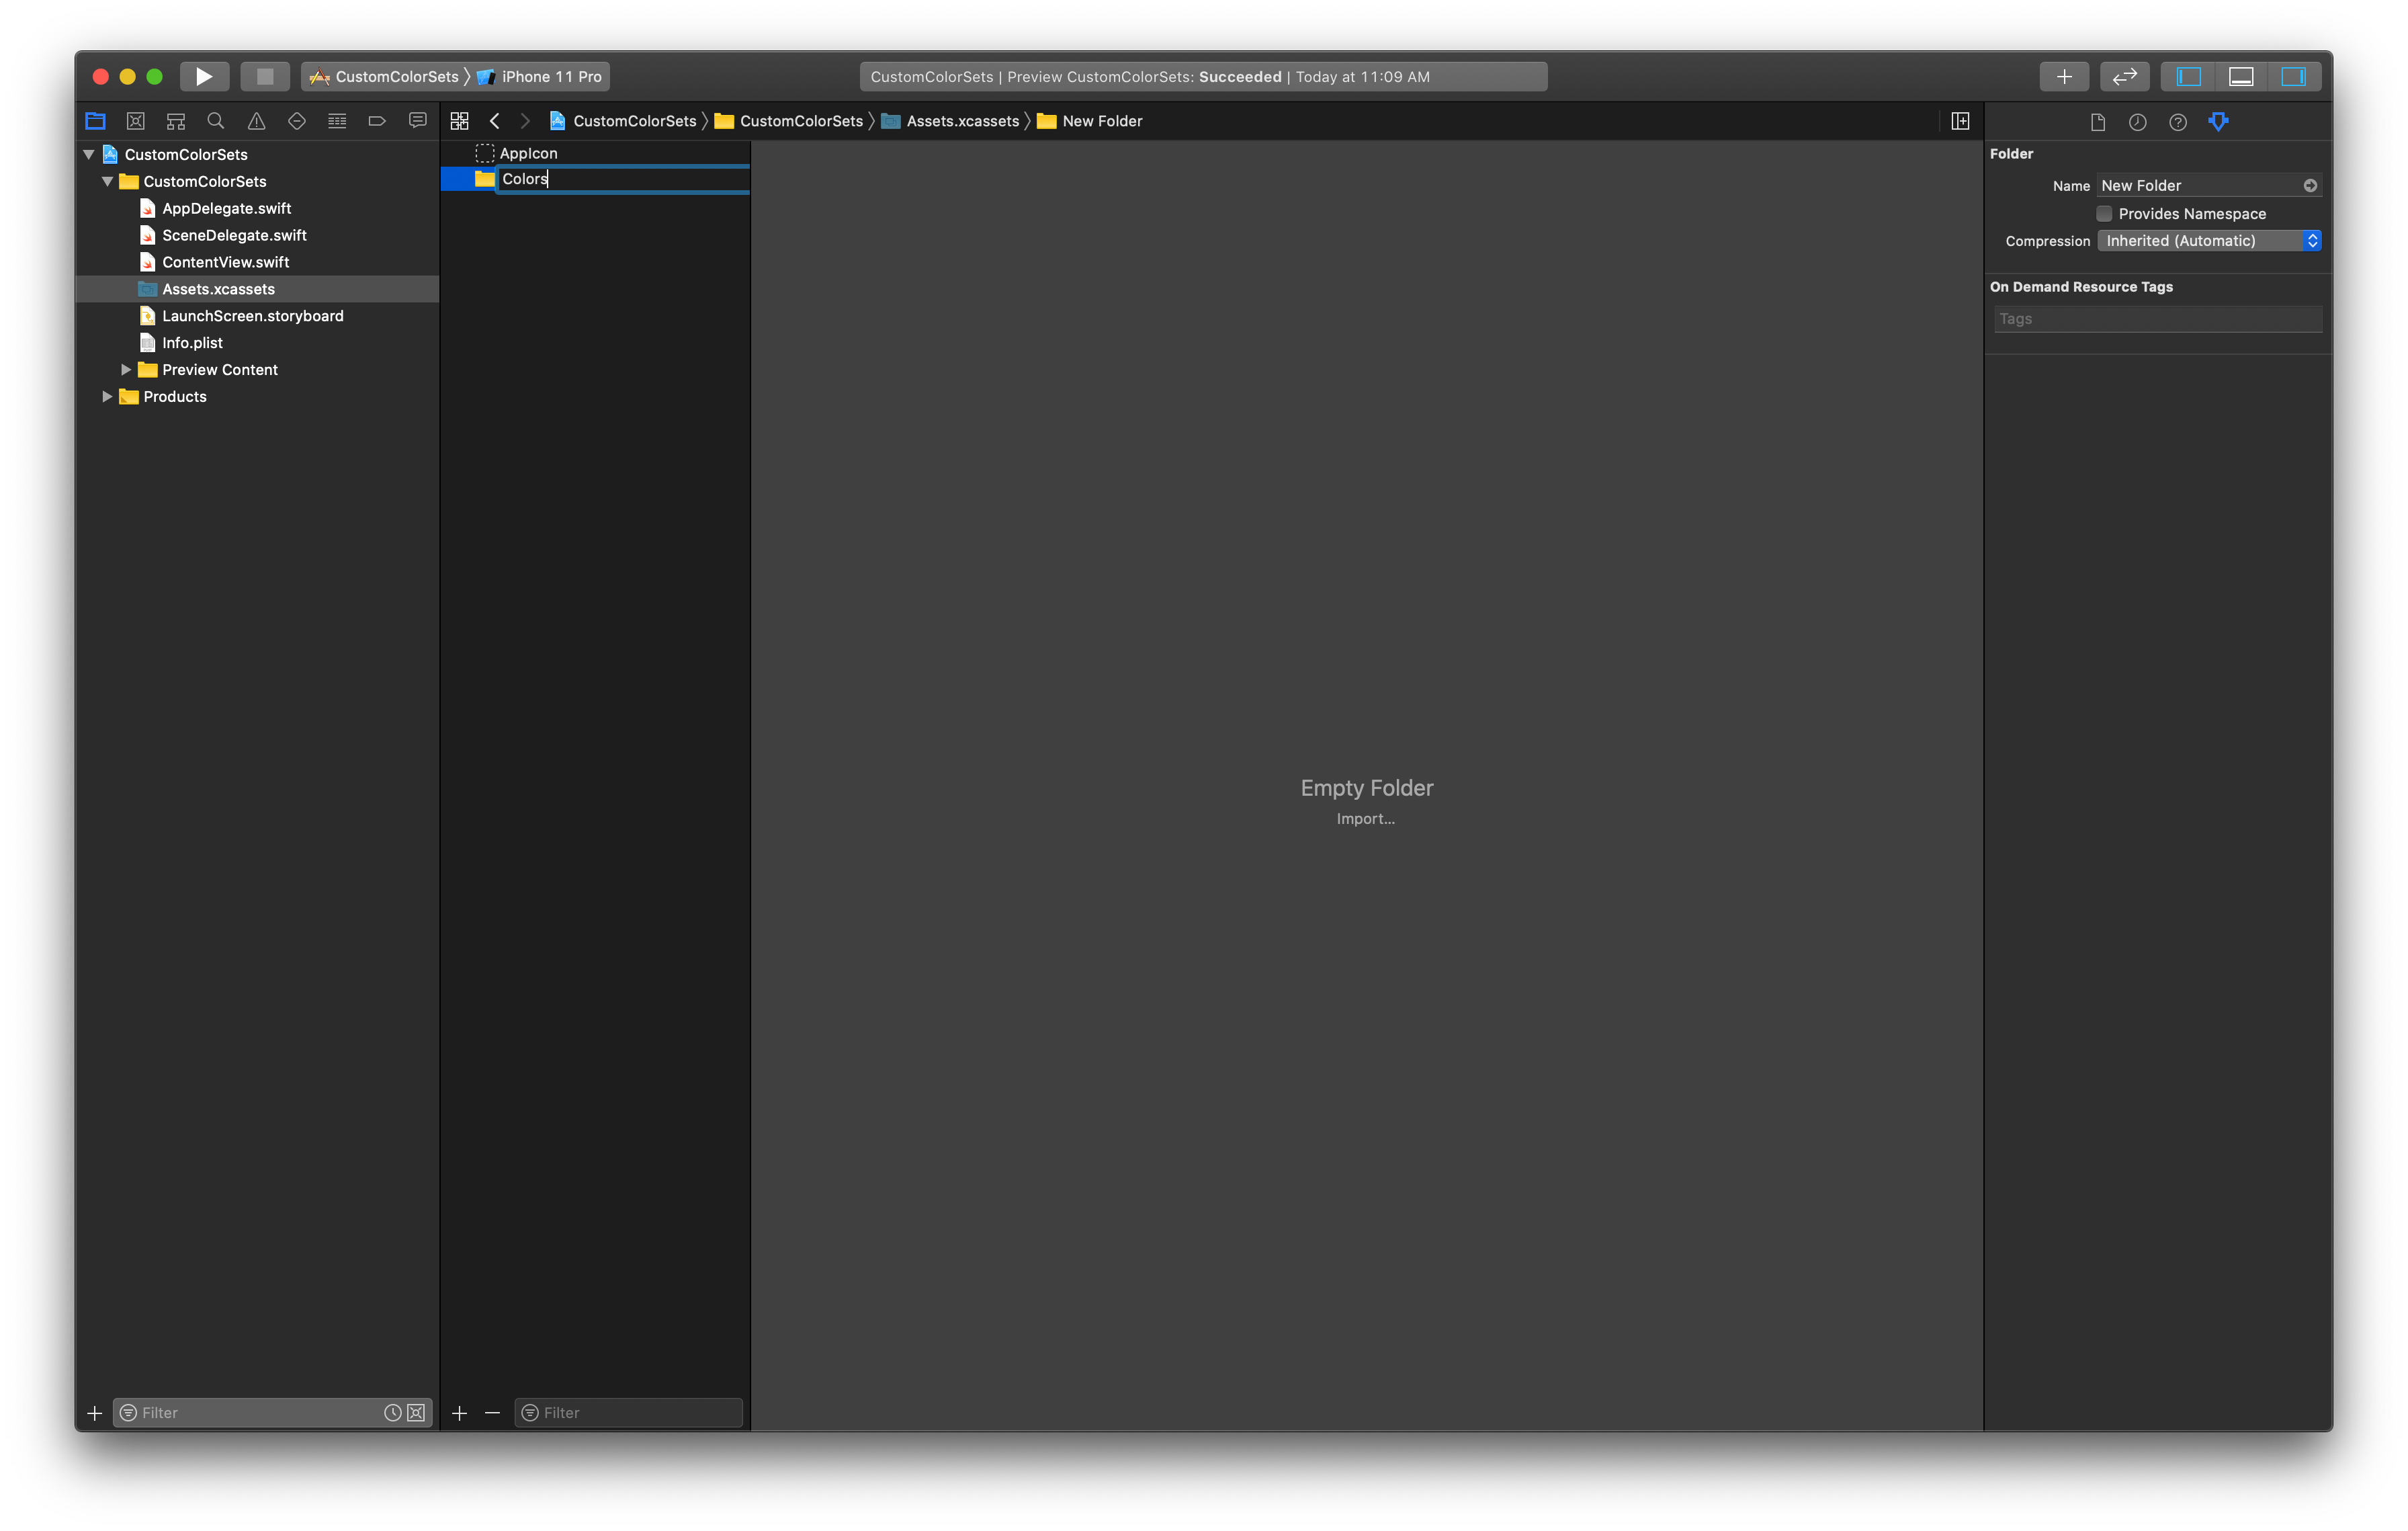
Right-click anywhere in the empty space under “Appicon,” choose “New folder,” and name it “Colors” (this step isn’t necessary, but it helps to keep things tidy).
右键单击“ Appicon”下空白处的任何位置,选择“新文件夹”,并将其命名为“颜色”(此步骤不是必需的,但有助于保持整洁)。
Right-click the folder you just created and choose “New Color Set.” A color set is an instance variable that declares a color value. In the set, you can define variations of that color for Dark Mode, Light, or any as well as variations for different device types. I’ll go over this in another article.
右键单击刚创建的文件夹,然后选择“新颜色集”。 颜色集是一个声明颜色值的实例变量。 在集合中,您可以为深色模式,浅色或任何一种定义该颜色的变体,以及不同设备类型的变体。 我将在另一篇文章中讨论。

Let’s start by importing our primary color set. Select the color swatch. In the Color Set Attributes panel to the right, you will see your options.
让我们从导入原色集开始。 选择色样。 在右侧的“颜色设置属性”面板中,您将看到您的选项。
Name your first color and choose “8-bit Hexadecimal” for the input method. This is merely my preference, but I think it makes it much easier to copy and paste from Sketch.
命名您的第一种颜色,然后为输入法选择“ 8位十六进制”。 这只是我的偏爱,但我认为这使从Sketch复制和粘贴变得更加容易。
Paste your hex code into the Hex field:
将您的十六进制代码粘贴到十六进制字段中:

You should now see your color previewed in the swatch.
现在,您应该可以在色板中预览颜色。
Repeat this step as needed to include all of your brand colors:
根据需要重复此步骤,以包含所有品牌颜色:

使用新的颜色集 (Using Your New Color Sets)
There are two ways to use your custom colors in Swift UI.
在Swift UI中有两种使用自定义颜色的方法。
- Select your object in device preview. Choose “Color” under the attributes inspector. Your custom colors now show at the bottom of the list! 在设备预览中选择对象。 在属性检查器下选择“颜色”。 您的自定义颜色现在显示在列表的底部!

The great thing about SwiftUI is that the changes you make in device preview will be reflected in your code.
SwiftUI的优点在于,您在设备预览中所做的更改将反映在您的代码中。
- You can call your new color sets by calling: 您可以通过以下方式调用新的颜色集:
Color("YourColorName")To change the text color, add this property to your text object:
要更改文本颜色,请将此属性添加到文本对象中:
.foregroundColor(Color("YourColorName"))
Thanks for reading! Look out for more SwiftUI Basics articles coming soon.
谢谢阅读! 请留意更多即将发布的SwiftUI基础知识文章。
更多SwiftUI基础 (More SwiftUI Basics)
翻译自: https://medium.com/better-programming/swiftui-basics-custom-color-sets-c882ab88f194
swiftui


 600
600


 被折叠的 条评论
为什么被折叠?
被折叠的 条评论
为什么被折叠?
 到【灌水乐园】发言


