


 本文介绍了如何制作一款更智能的镜子,探讨了其背后的物联网和人工智能技术。通过集成Python等编程语言,实现镜子的智能化功能。
智能镜子制作
A while ago I made a smart mirror for my bathroom. Maybe you’ve seen it. It started with a particular image in my mind. I wanted to build a piece of technology for the home that feels new and futuristic, yet simple and clean. The mirror blends in seamlessly with its environment and doesn’t aggressively compete for my attention. I wrote about how it works and the parts I used, source code included.
前一段时间我做了一个聪明的镜子我的浴室 。 也许你已经看过了。 它始于我脑海中的特殊形象。 我想为住宅打造一项技术,让它感觉到新的和未来的,却又简单又干净。 镜子与周围环境完美融合,不会激起我的注意力。 我写了有关它的工作原理以及所使用的部分(包括源代码)的文章 。


It’s been two years, and I’ve been using this prototype every day. I’ve since added a couple of features to the software that the initial version didn’t have. For example, I connected it to my smart scale to show my weight trend, and it tells me the traffic to work each morning.
已经两年了,我每天都在使用这个原型。 从那以后,我已经向软件添加了一些最初版本所没有的功能。 例如,我将其连接到智能秤上以显示体重趋势,并告诉我每天早晨的上班流量 。
Over time I’ve been asking myself some questions about the hardware. What if it wasn’t so bulky? What if it fit into any room? What if it wasn’t square? What if it had a better display? What if it had a camera? Eventually, I put together a new prototype.
随着时间的流逝,我一直在问自己一些有关硬件的问题。 如果不是那么大怎么办? 如果它适合任何房间怎么办? 如果不是正方形怎么办? 如果显示效果更好怎么办? 如果有相机怎么办? 最终,我组装了一个新的原型。
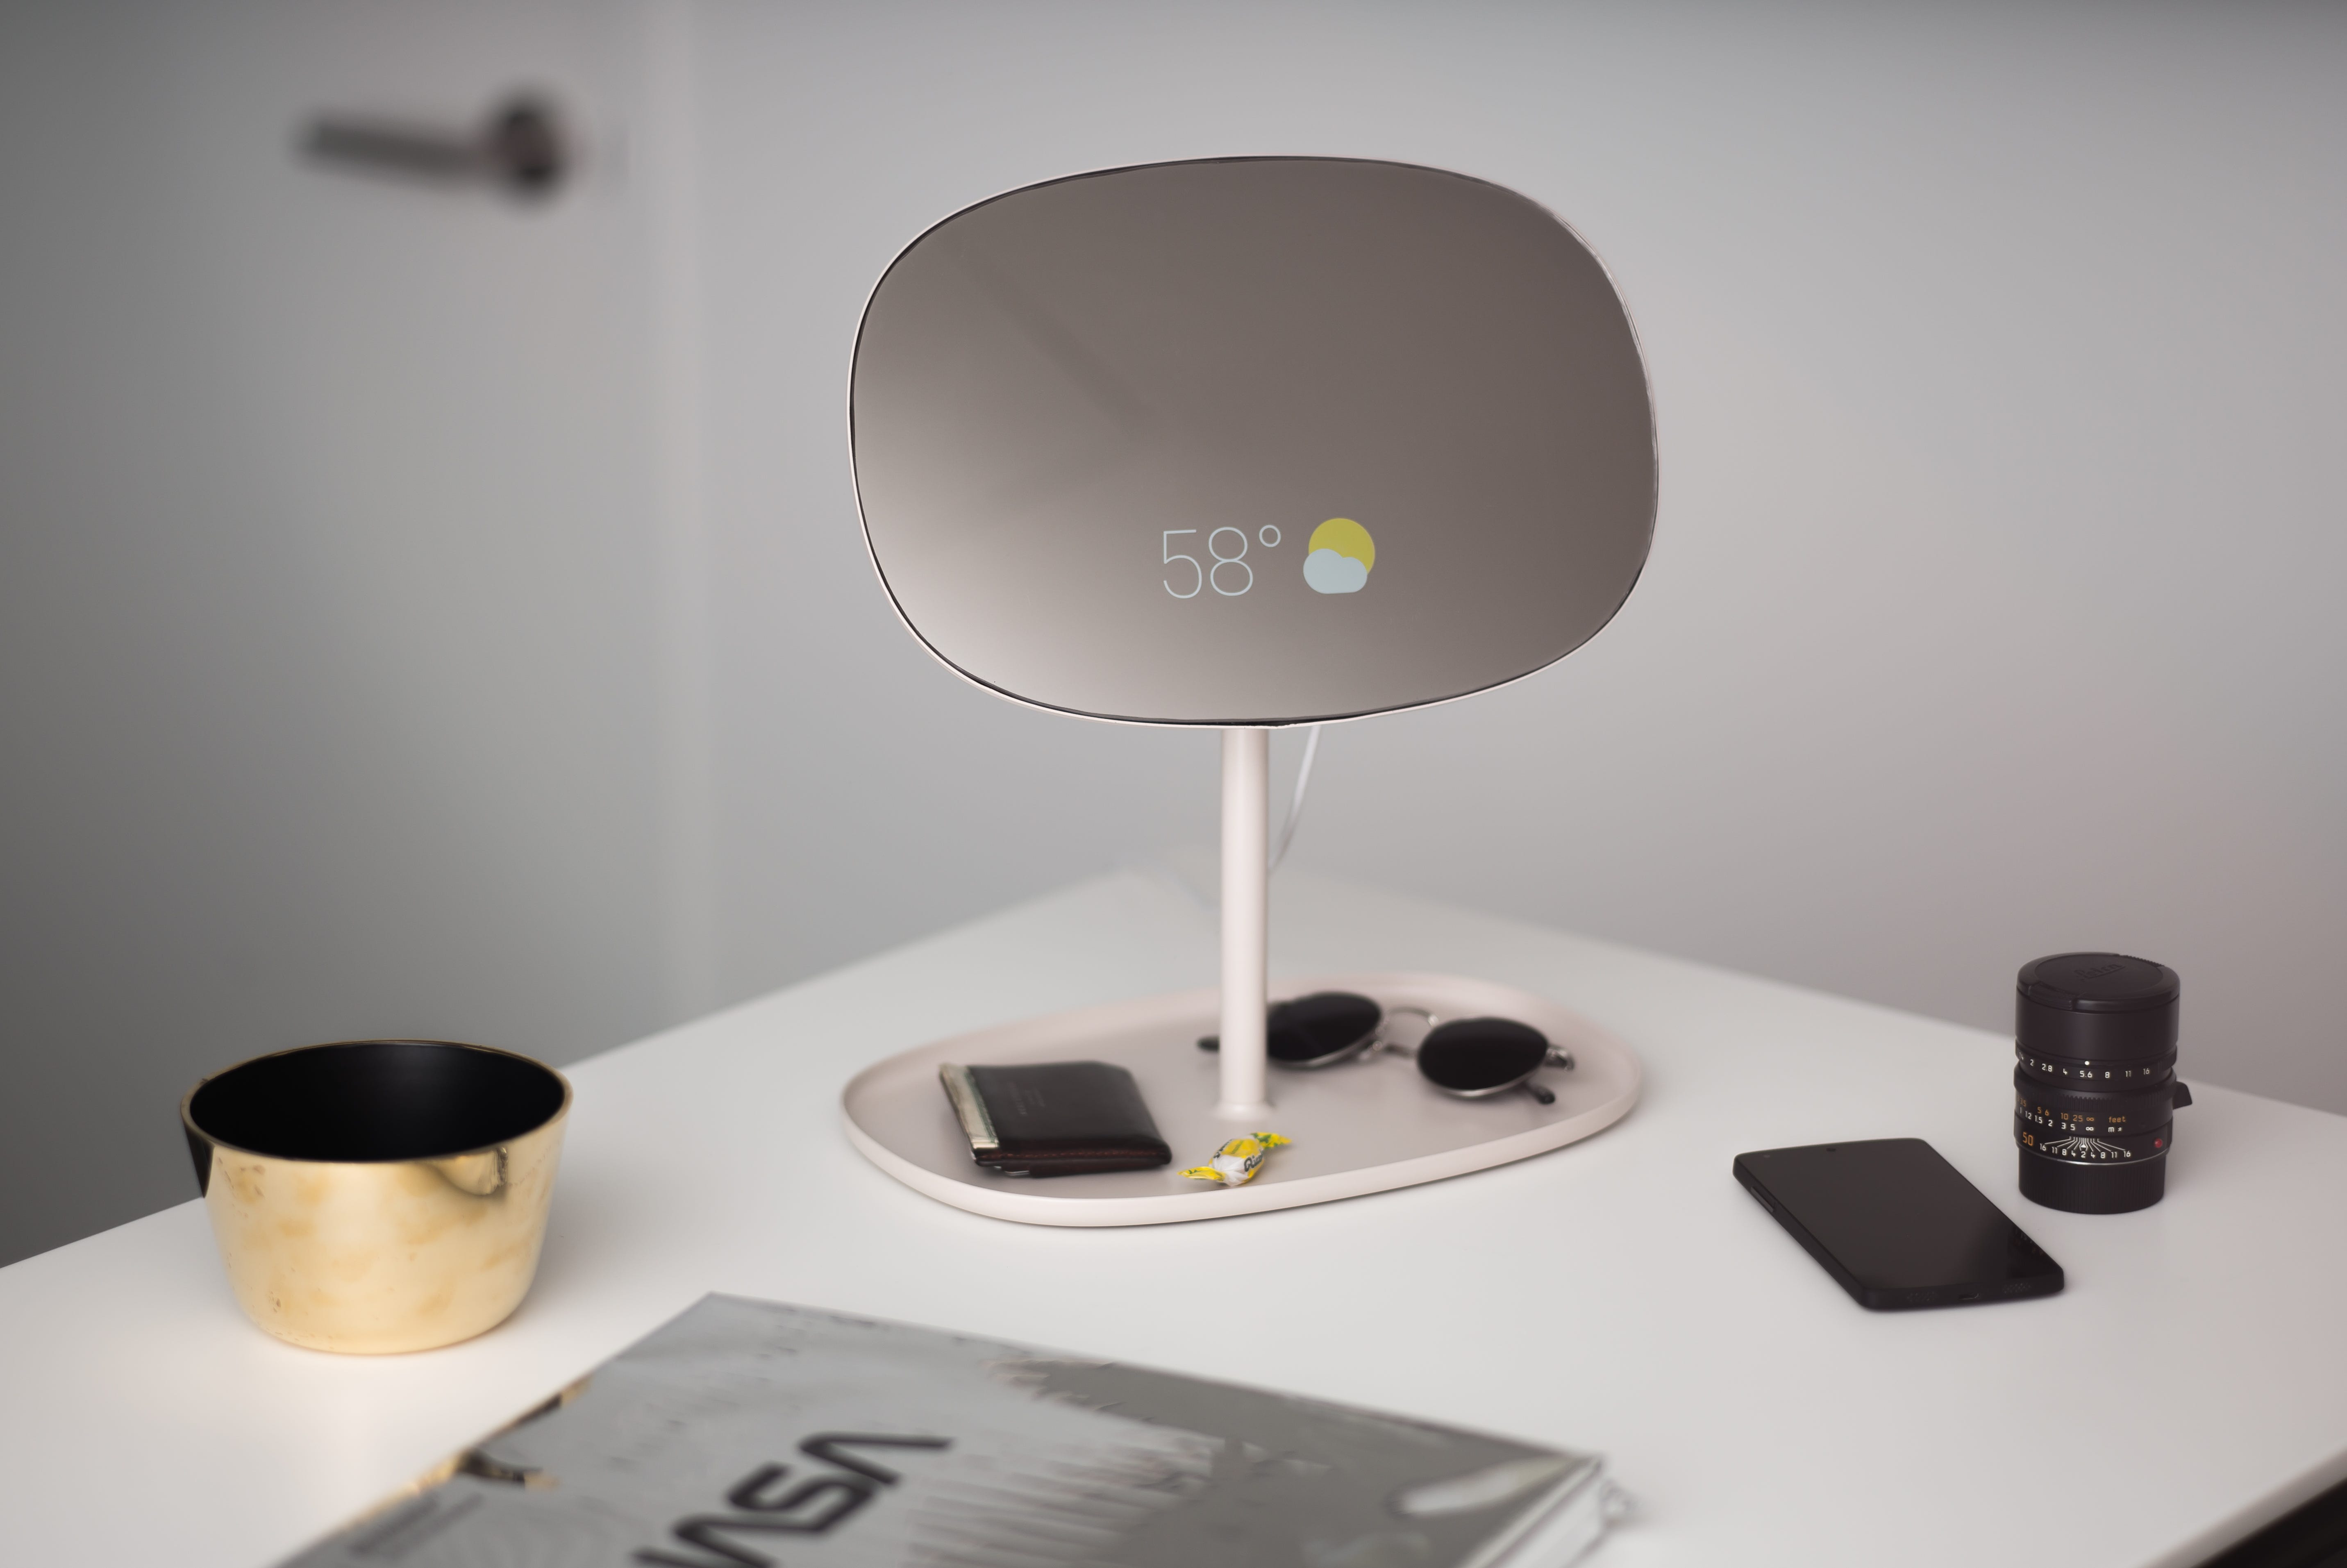
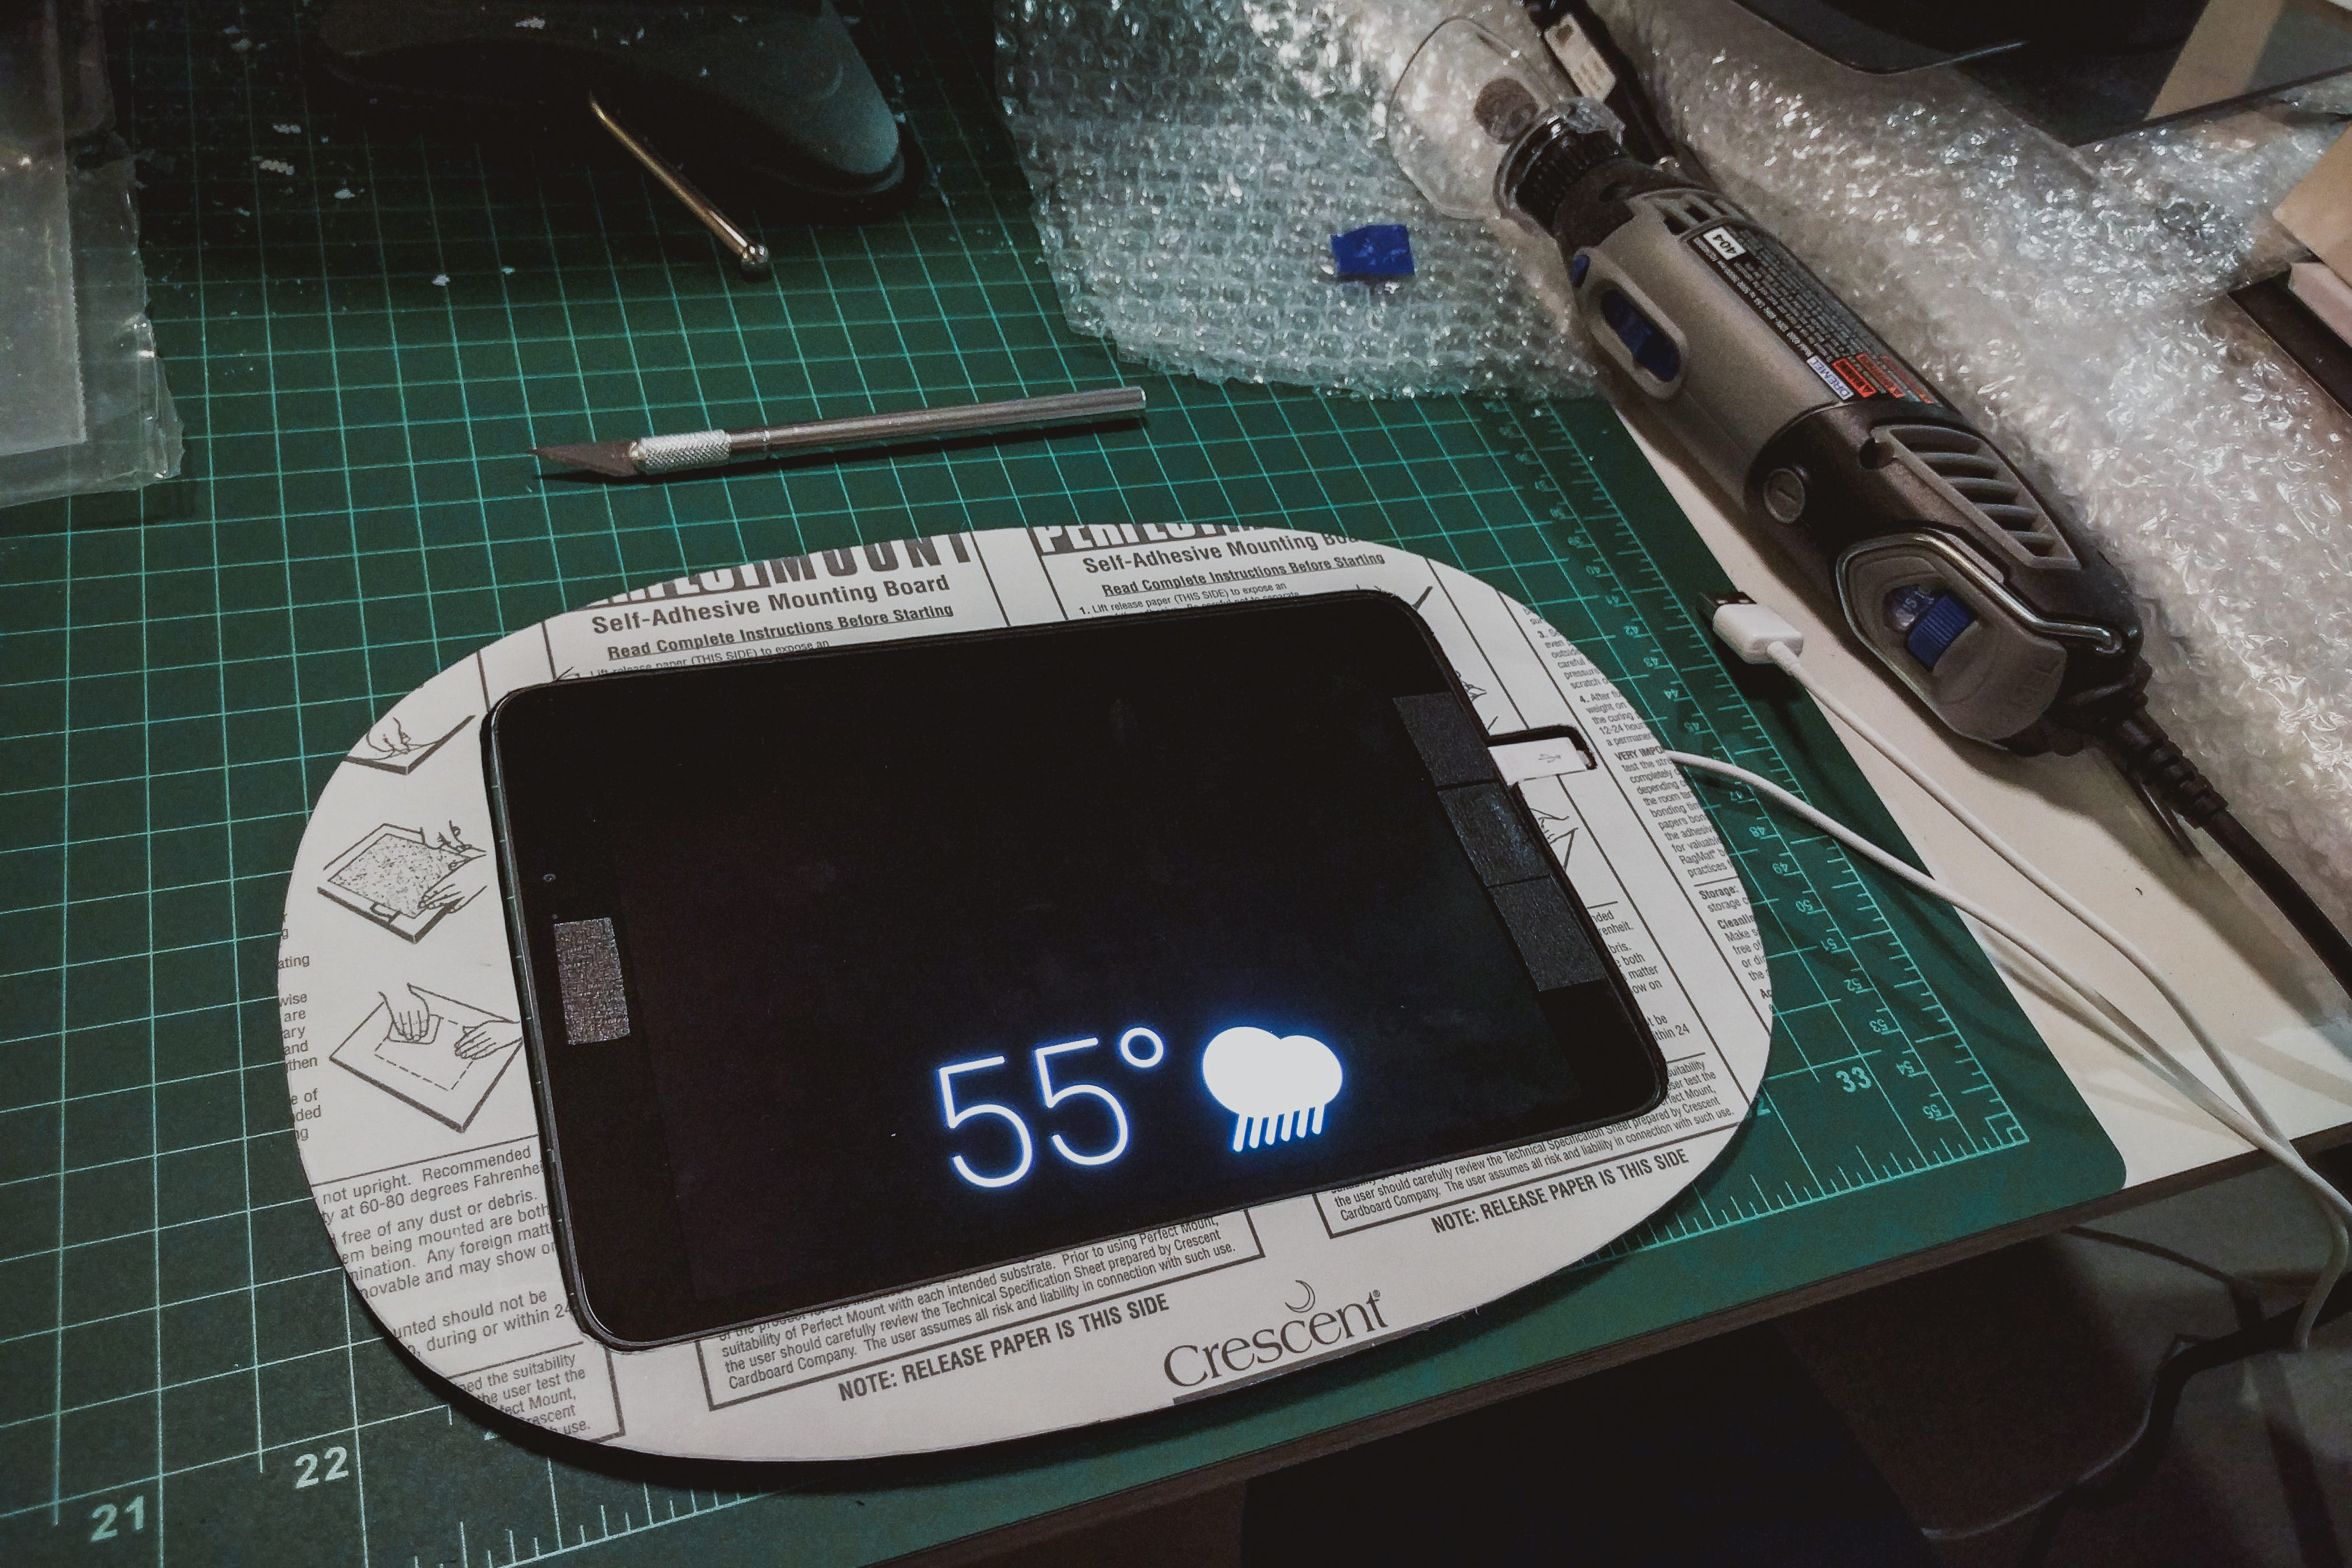
You’re looking at a small table mirror with a USB cable coming out the back and some familiar Roboto Thin on its surface. It can show me the weather, time, traffic, and more. I put the first one on my kitchen island.
您正在看一个小的台式镜子,背面带有USB电缆,并且表面上有一些熟悉的Roboto Thin 。 它可以显示天气,时间,路况等信息。 我把第一个放在厨房岛上。

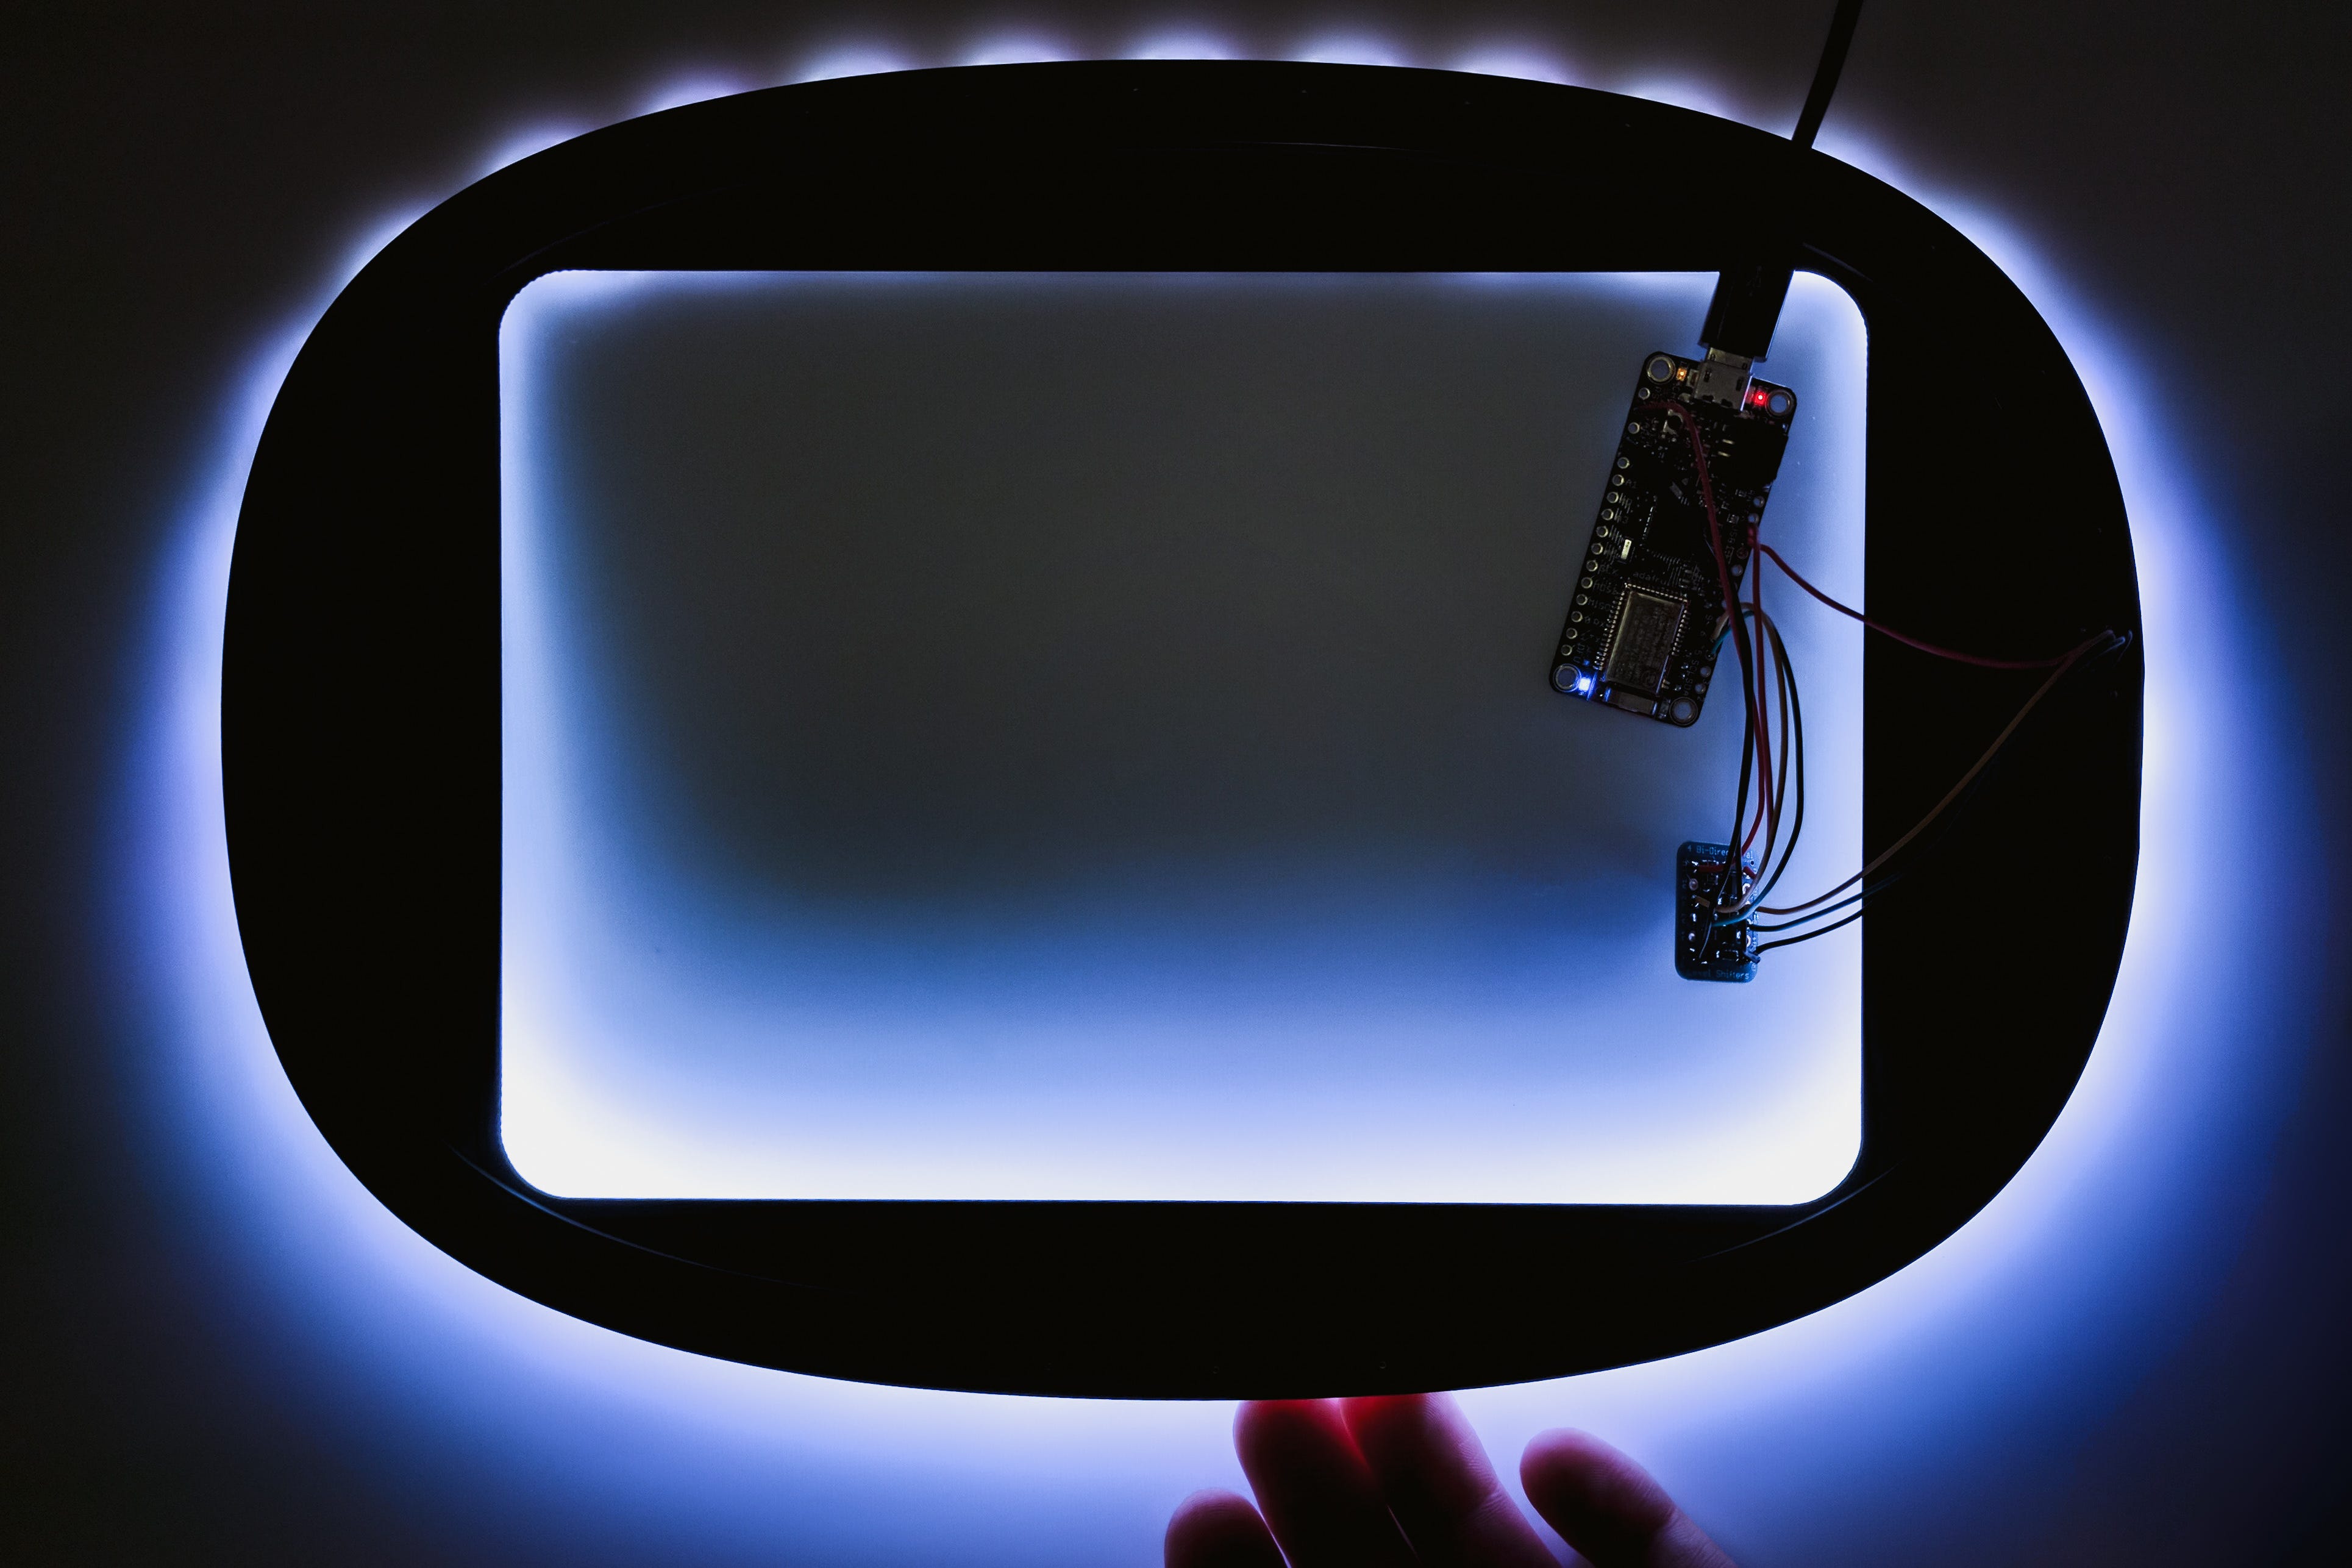
The first prototype was still a little rough around the edges. I had cut the mirror to shape by hand and made a few mistakes along the way, which left me somewhat unsatisfied with the result. I used these lessons learned to build a second prototype. This time, I picked a different color and used a laser cutter for better precision, magnets for mounting, and a nicer cable. I also added an entirely new component: a light ring along the edge to illuminate what the camera sees.
第一个原型的边缘仍然有些粗糙。 我用手将镜子切成整形,并在此过程中犯了一些错误,这使我对结果有些不满意。 我使用这些经验教训来构建第二个原型。 这次,我选择了另一种颜色,并使用激光切割机提高了精度,安装了磁铁并使用了更好的电缆。 我还添加了一个全新的组件:边缘上的光环,以照亮相机看到的内容。
These new prototypes have been a useful platform for all kinds of software experimentation. I’ve been able to build richer user experiences while keeping with the original theme of blending in and staying out of your way. For example, I played with a few different applications of face detection with the front-facing camera. One of them allows you to take pictures simply by smiling.
这些新的原型已成为各种软件实验的有用平台。 我能够建立更丰富的用户体验,同时保持融合和避免干扰的原始主题。 例如,我使用前置摄像头玩过几种不同的面部检测应用程序。 其中之一可以让您只需微笑即可拍照。
And then there’s that one unresolved matter from last time:
然后是上一次未解决的问题:
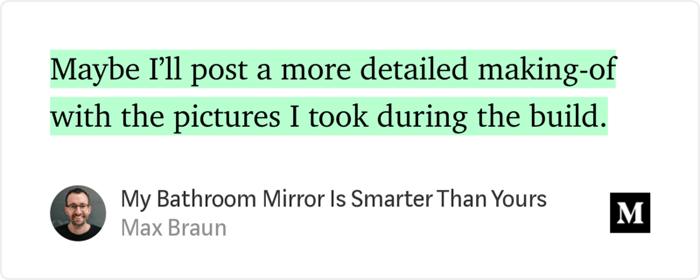
I didn’t. This time though, I’m sharing a detailed look inside the new prototypes, and I’ll take you behind the scenes of the build process, complete with pictures and links to my sources.
我没有 不过,这次,我将在新原型中分享详细的外观,并且将带您进入构建过程的幕后,并附带图片和指向我的资源的链接。
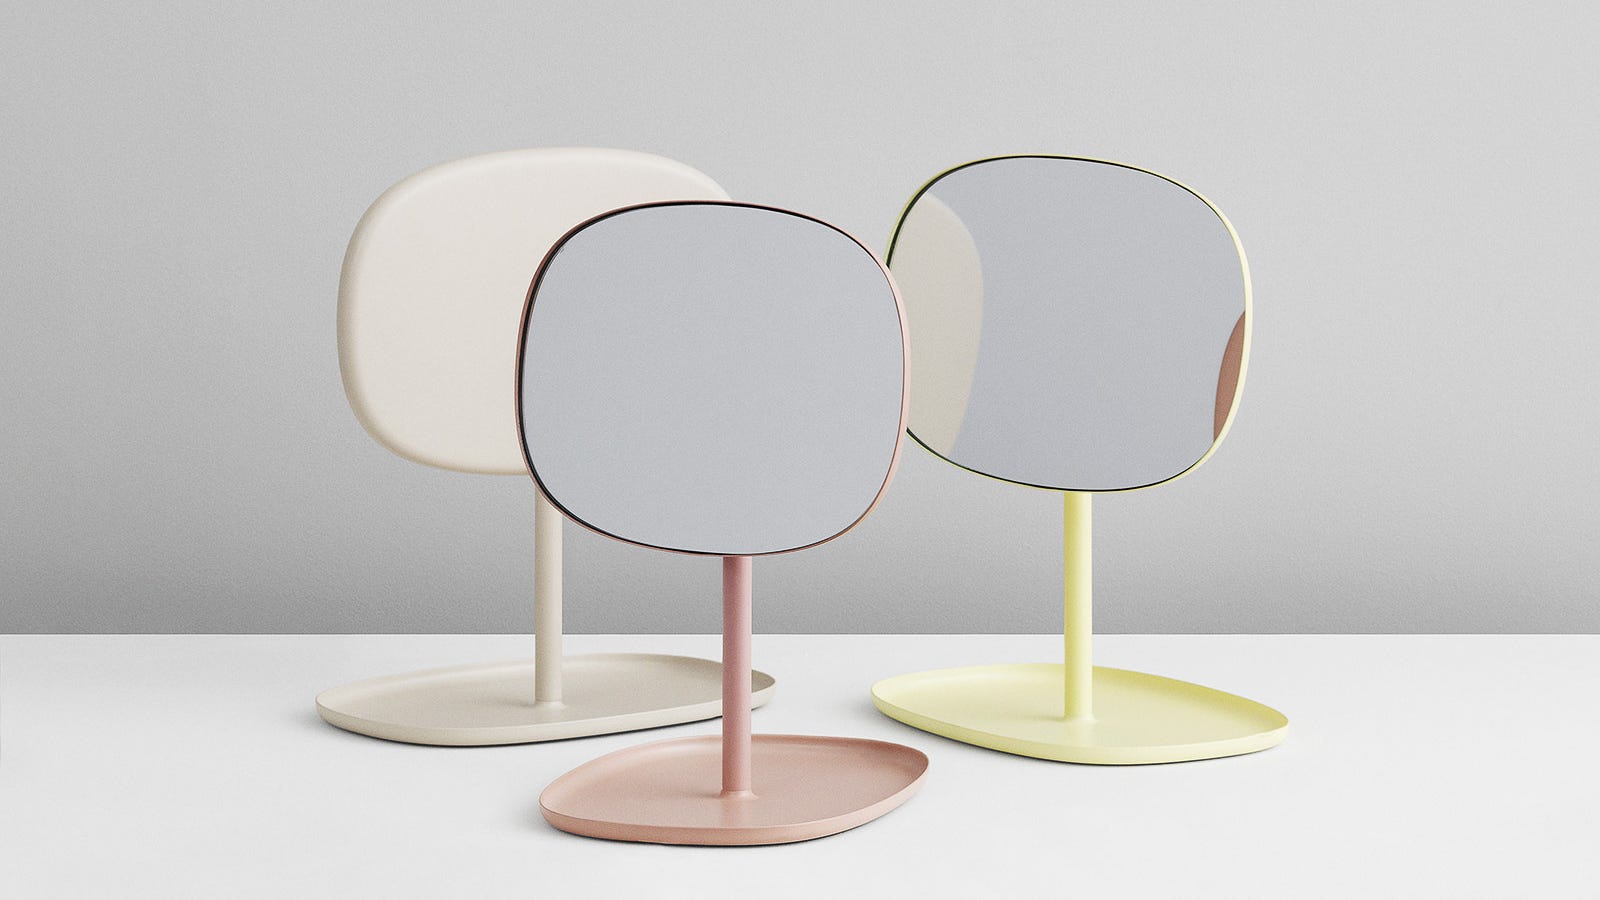
I started with the beautiful Normann Flip Mirror (not smart) as the shell. It comes in a few colors. For the first prototype I picked “sand” and the second one is “blush”.
我从漂亮的Normann翻转镜 (不灵巧)作为外壳开始。 它有几种颜色。 对于第一个原型,我选择了“ 沙子 ”,第二个原型是“ 腮红 ”。
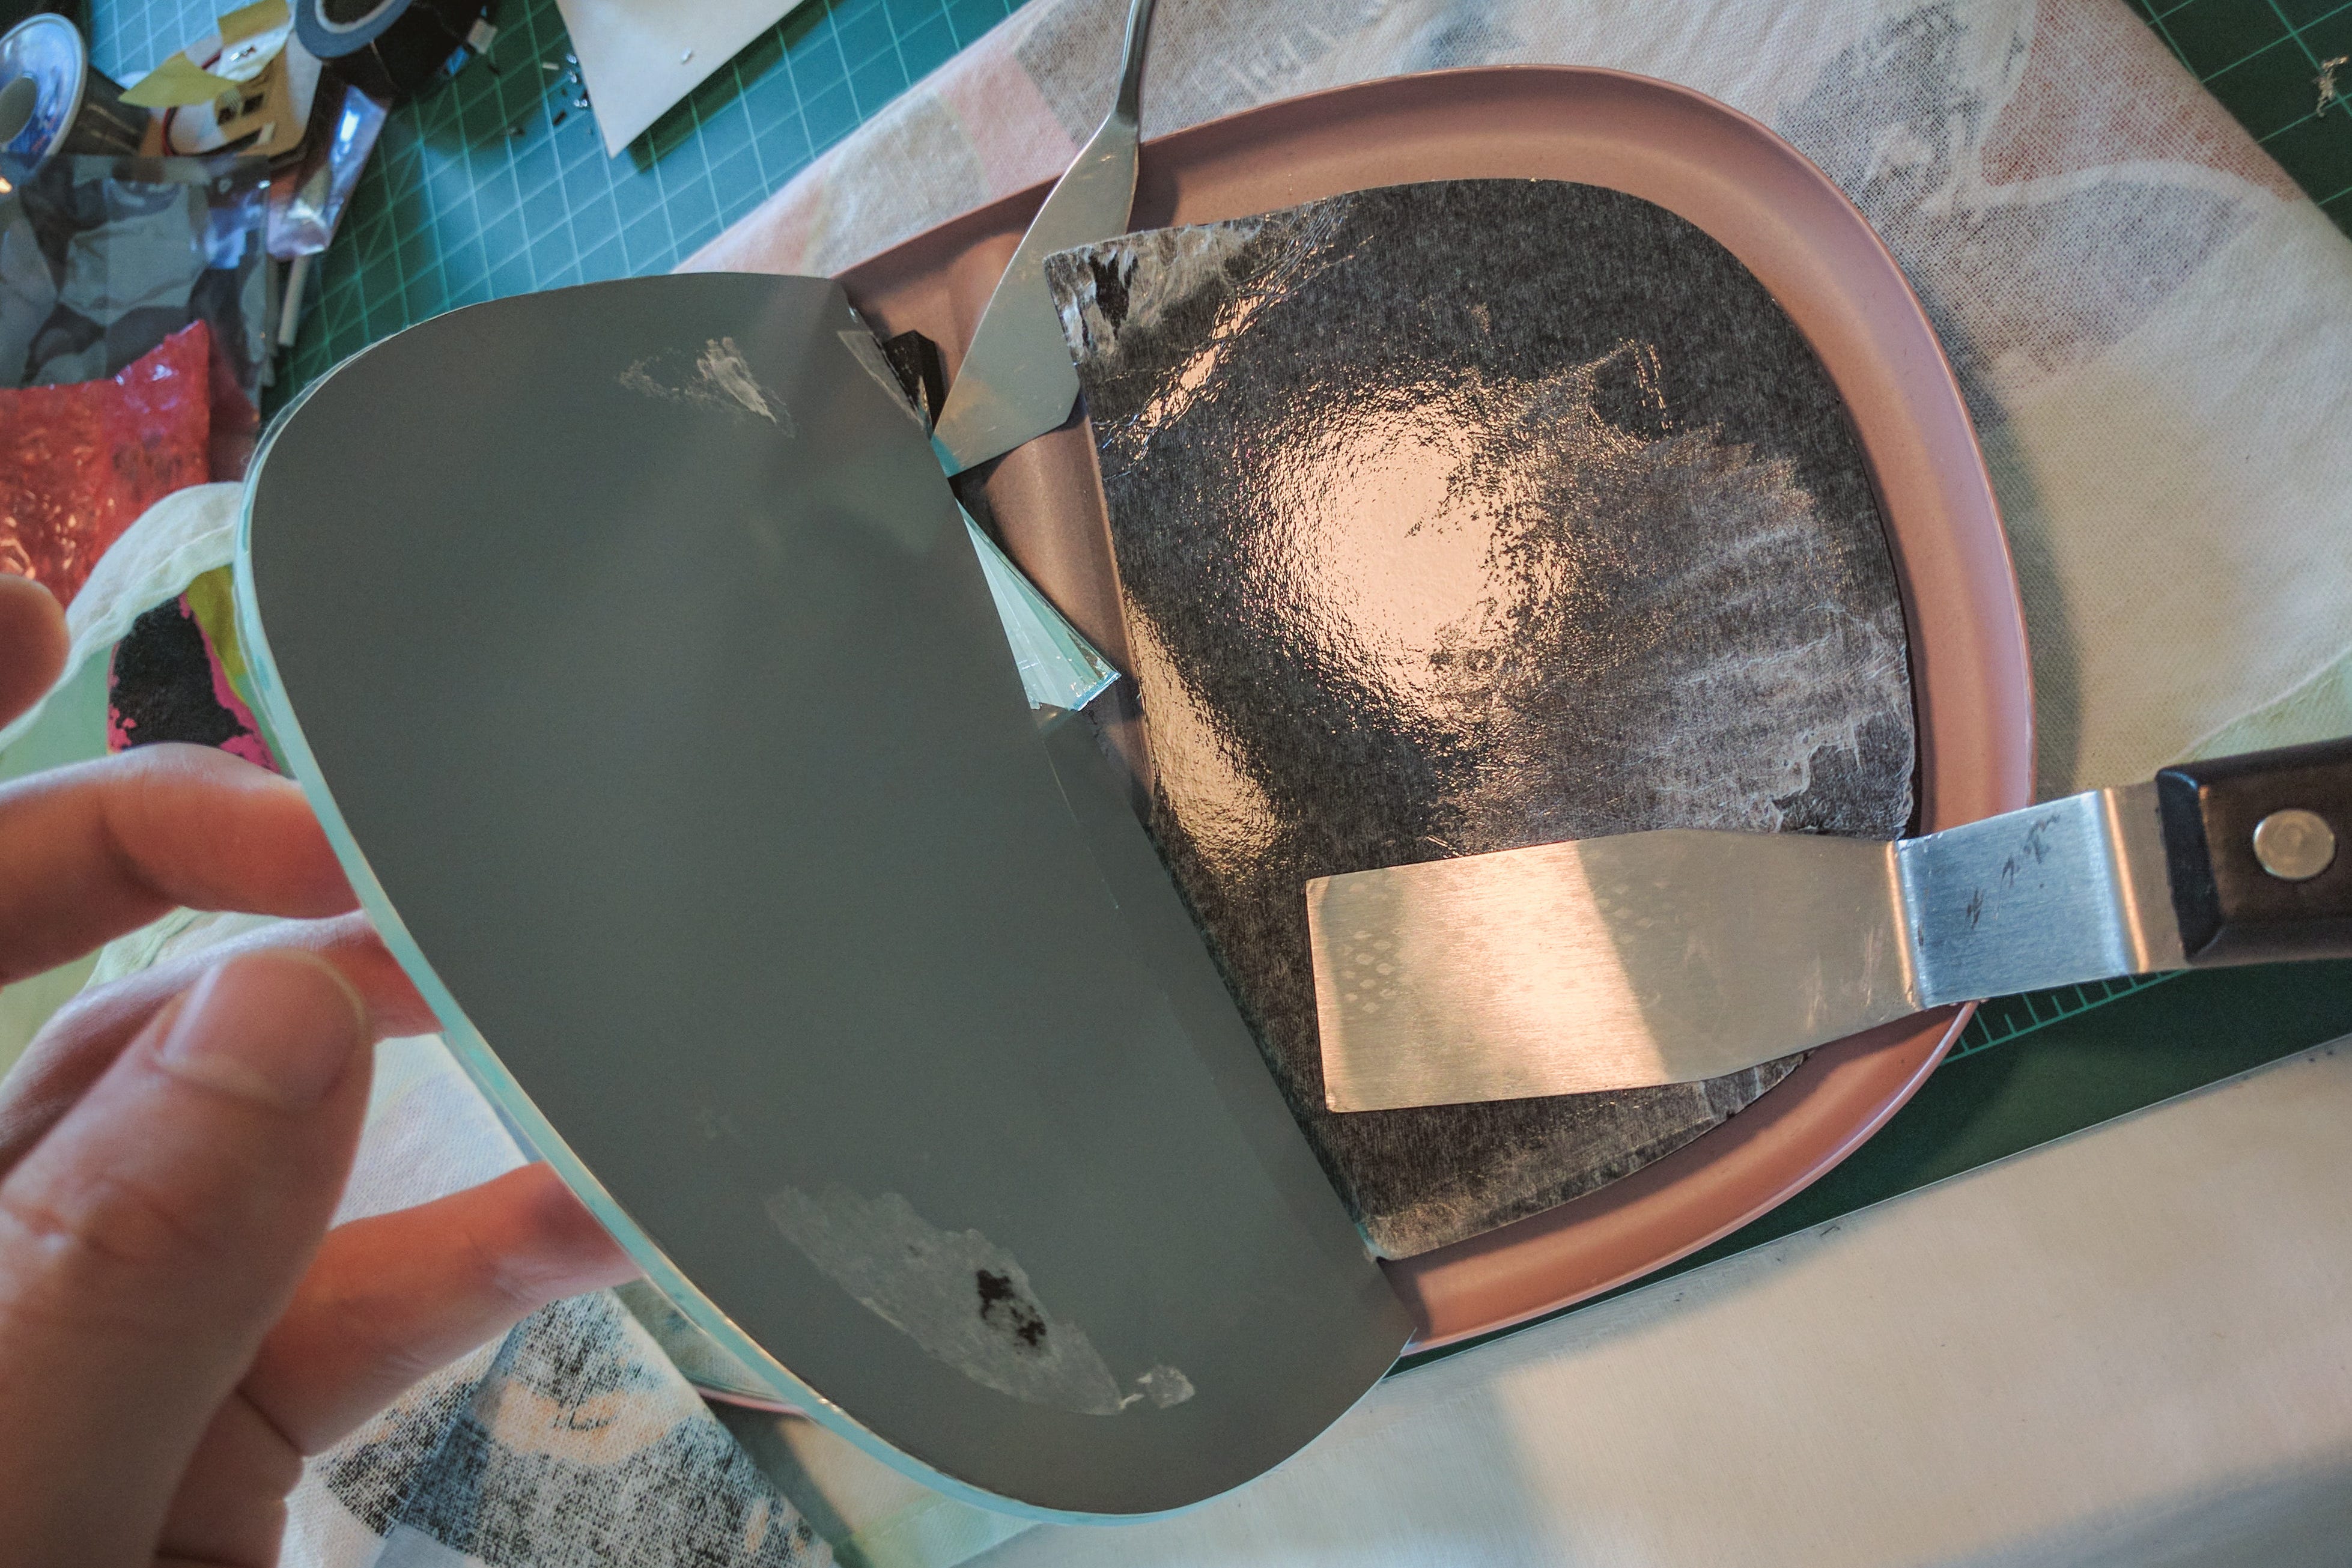
First, I had to remove the mirror glass from the metal shell. This isn’t meant to happen at all, so that part was a little difficult. After breaking and separating the glass, I also removed everything else inside. We need that room for the electronics.
首先,我必须从金属外壳上卸下镜子玻璃。 这根本不意味着要发生,所以这部分有点困难。 拆开玻璃杯后,我还取出了里面的所有东西。 我们需要电子设备的空间。
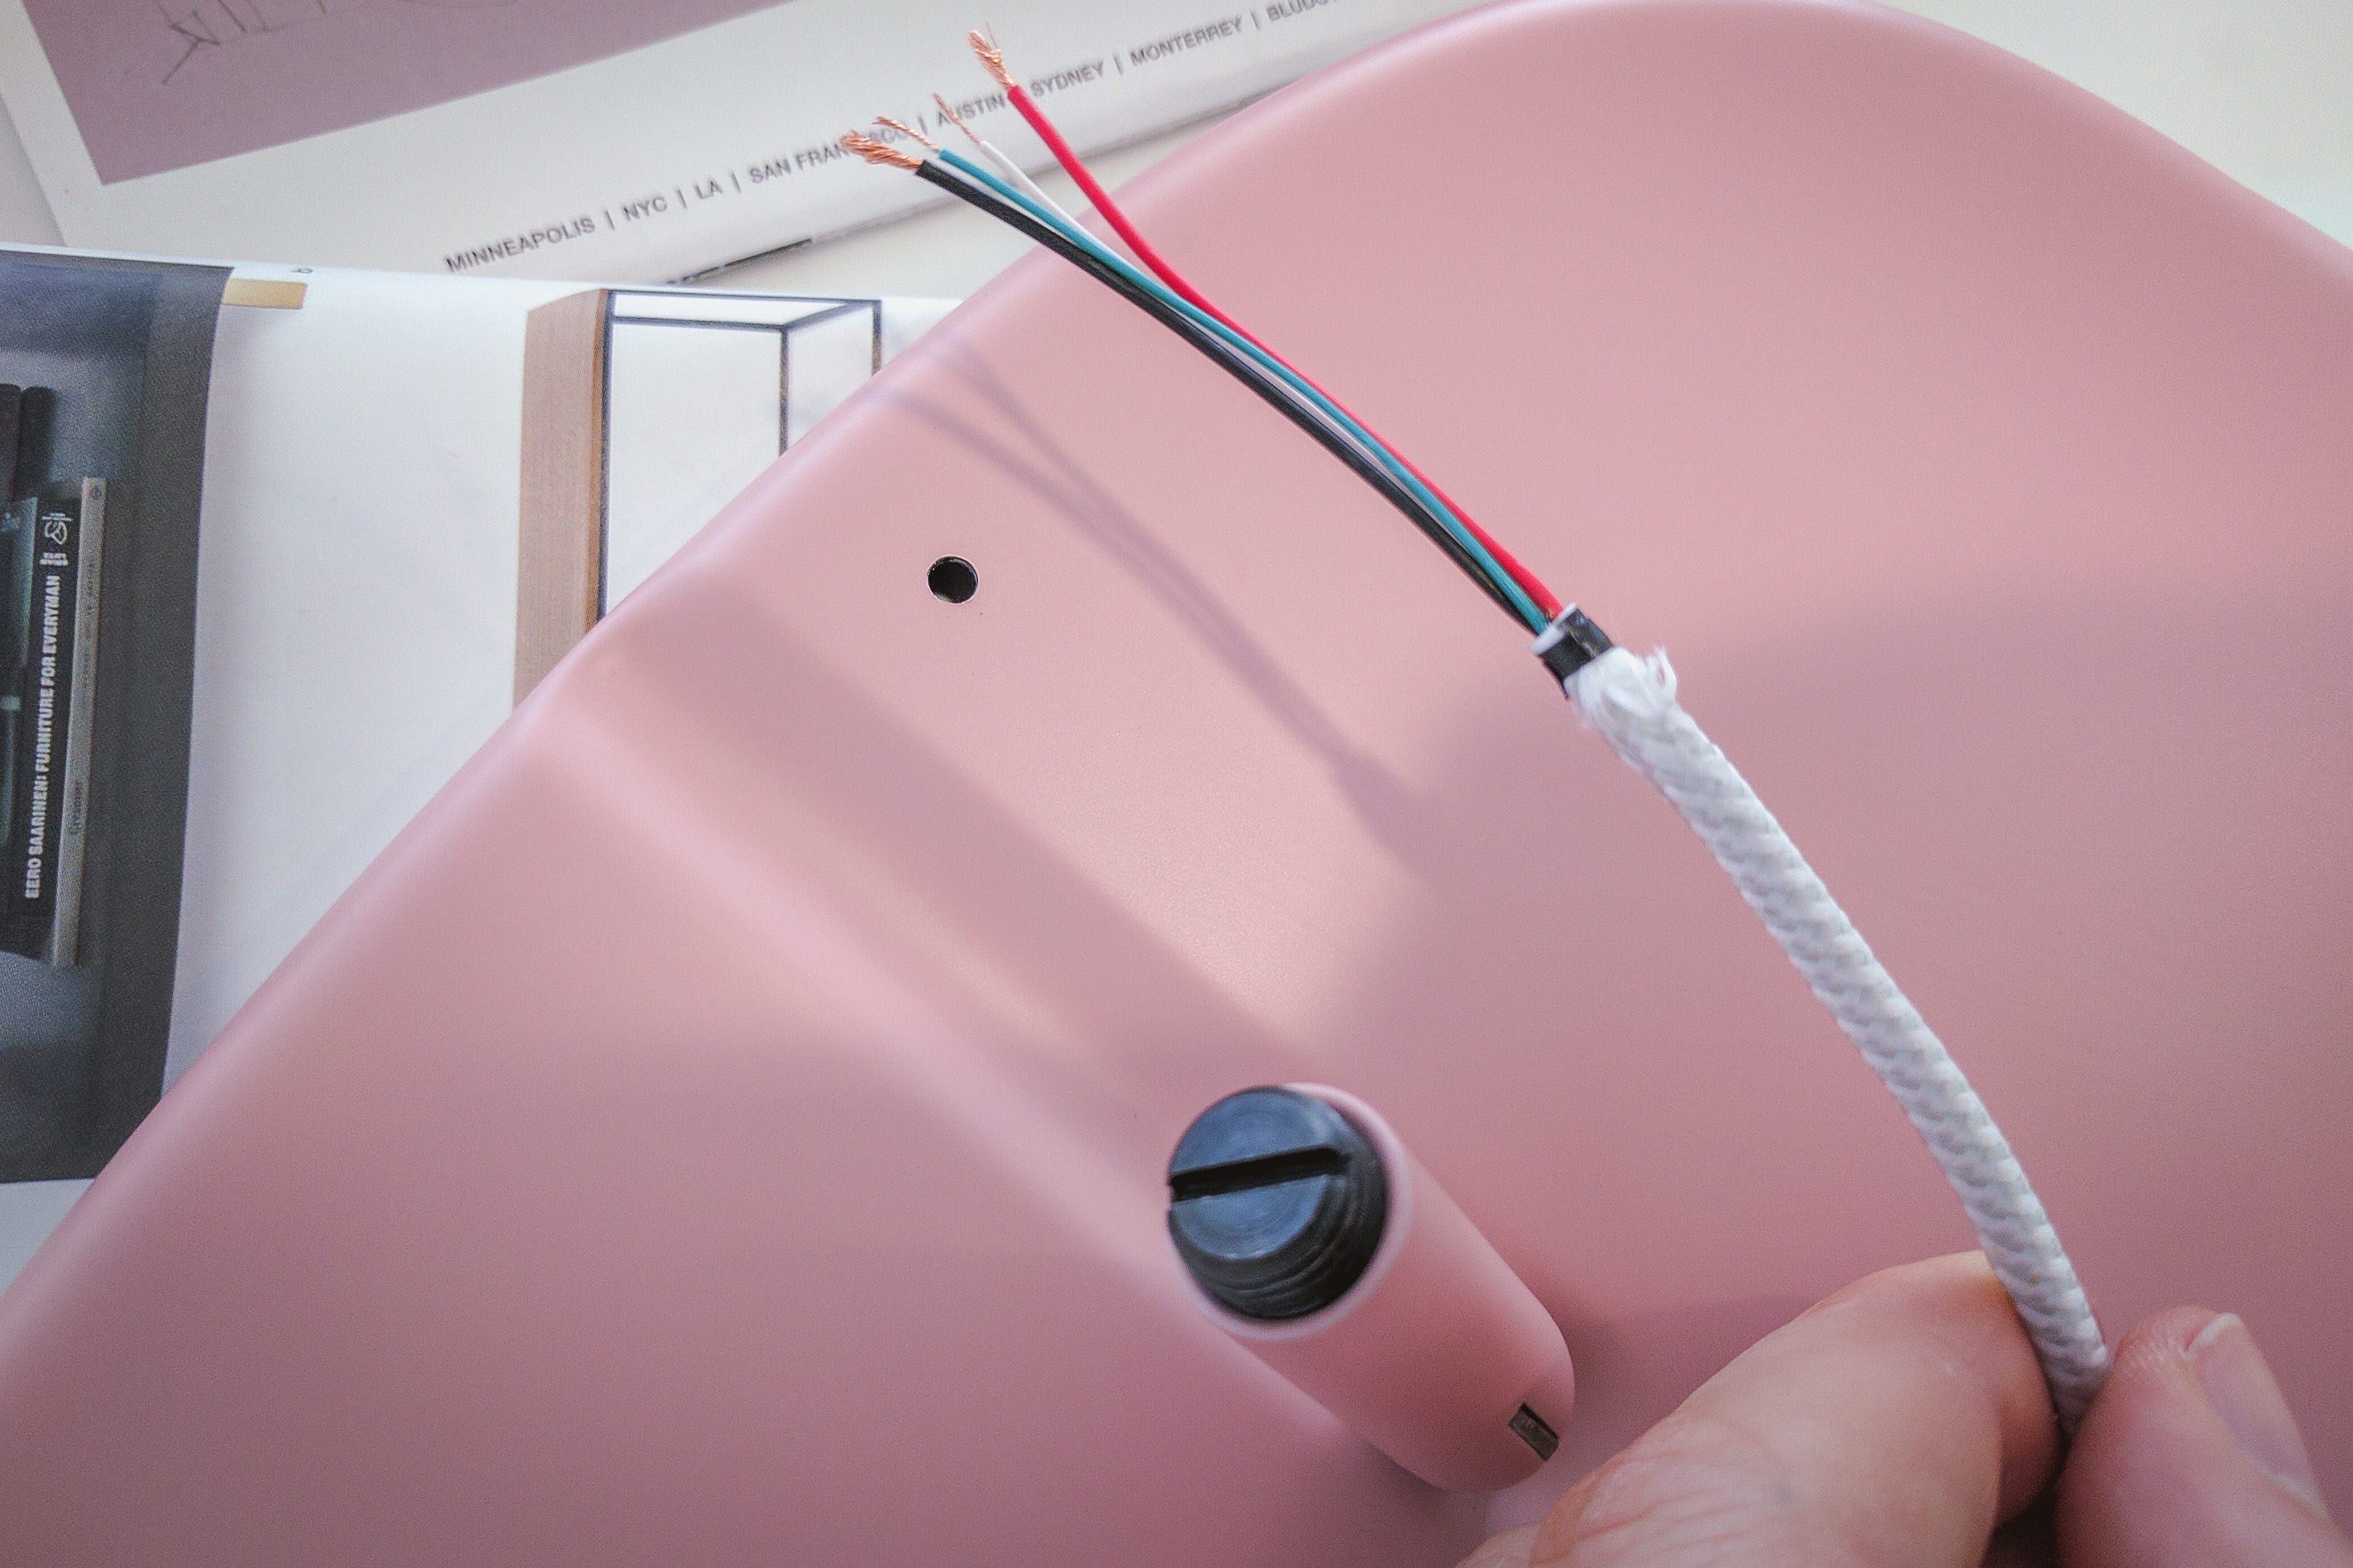
There’s a USB cable for getting power and data to the components inside. I considered routing it through the base, but couldn’t make that work mechanically. Instead, the cable simply goes through a small hole in the metal back plate.
有一条USB电缆用于为内部组件获取电源和数据。 我考虑过通过底座进行布线,但是无法使其机械地工作。 相反,电缆只是穿过金属背板上的一个小Kong。
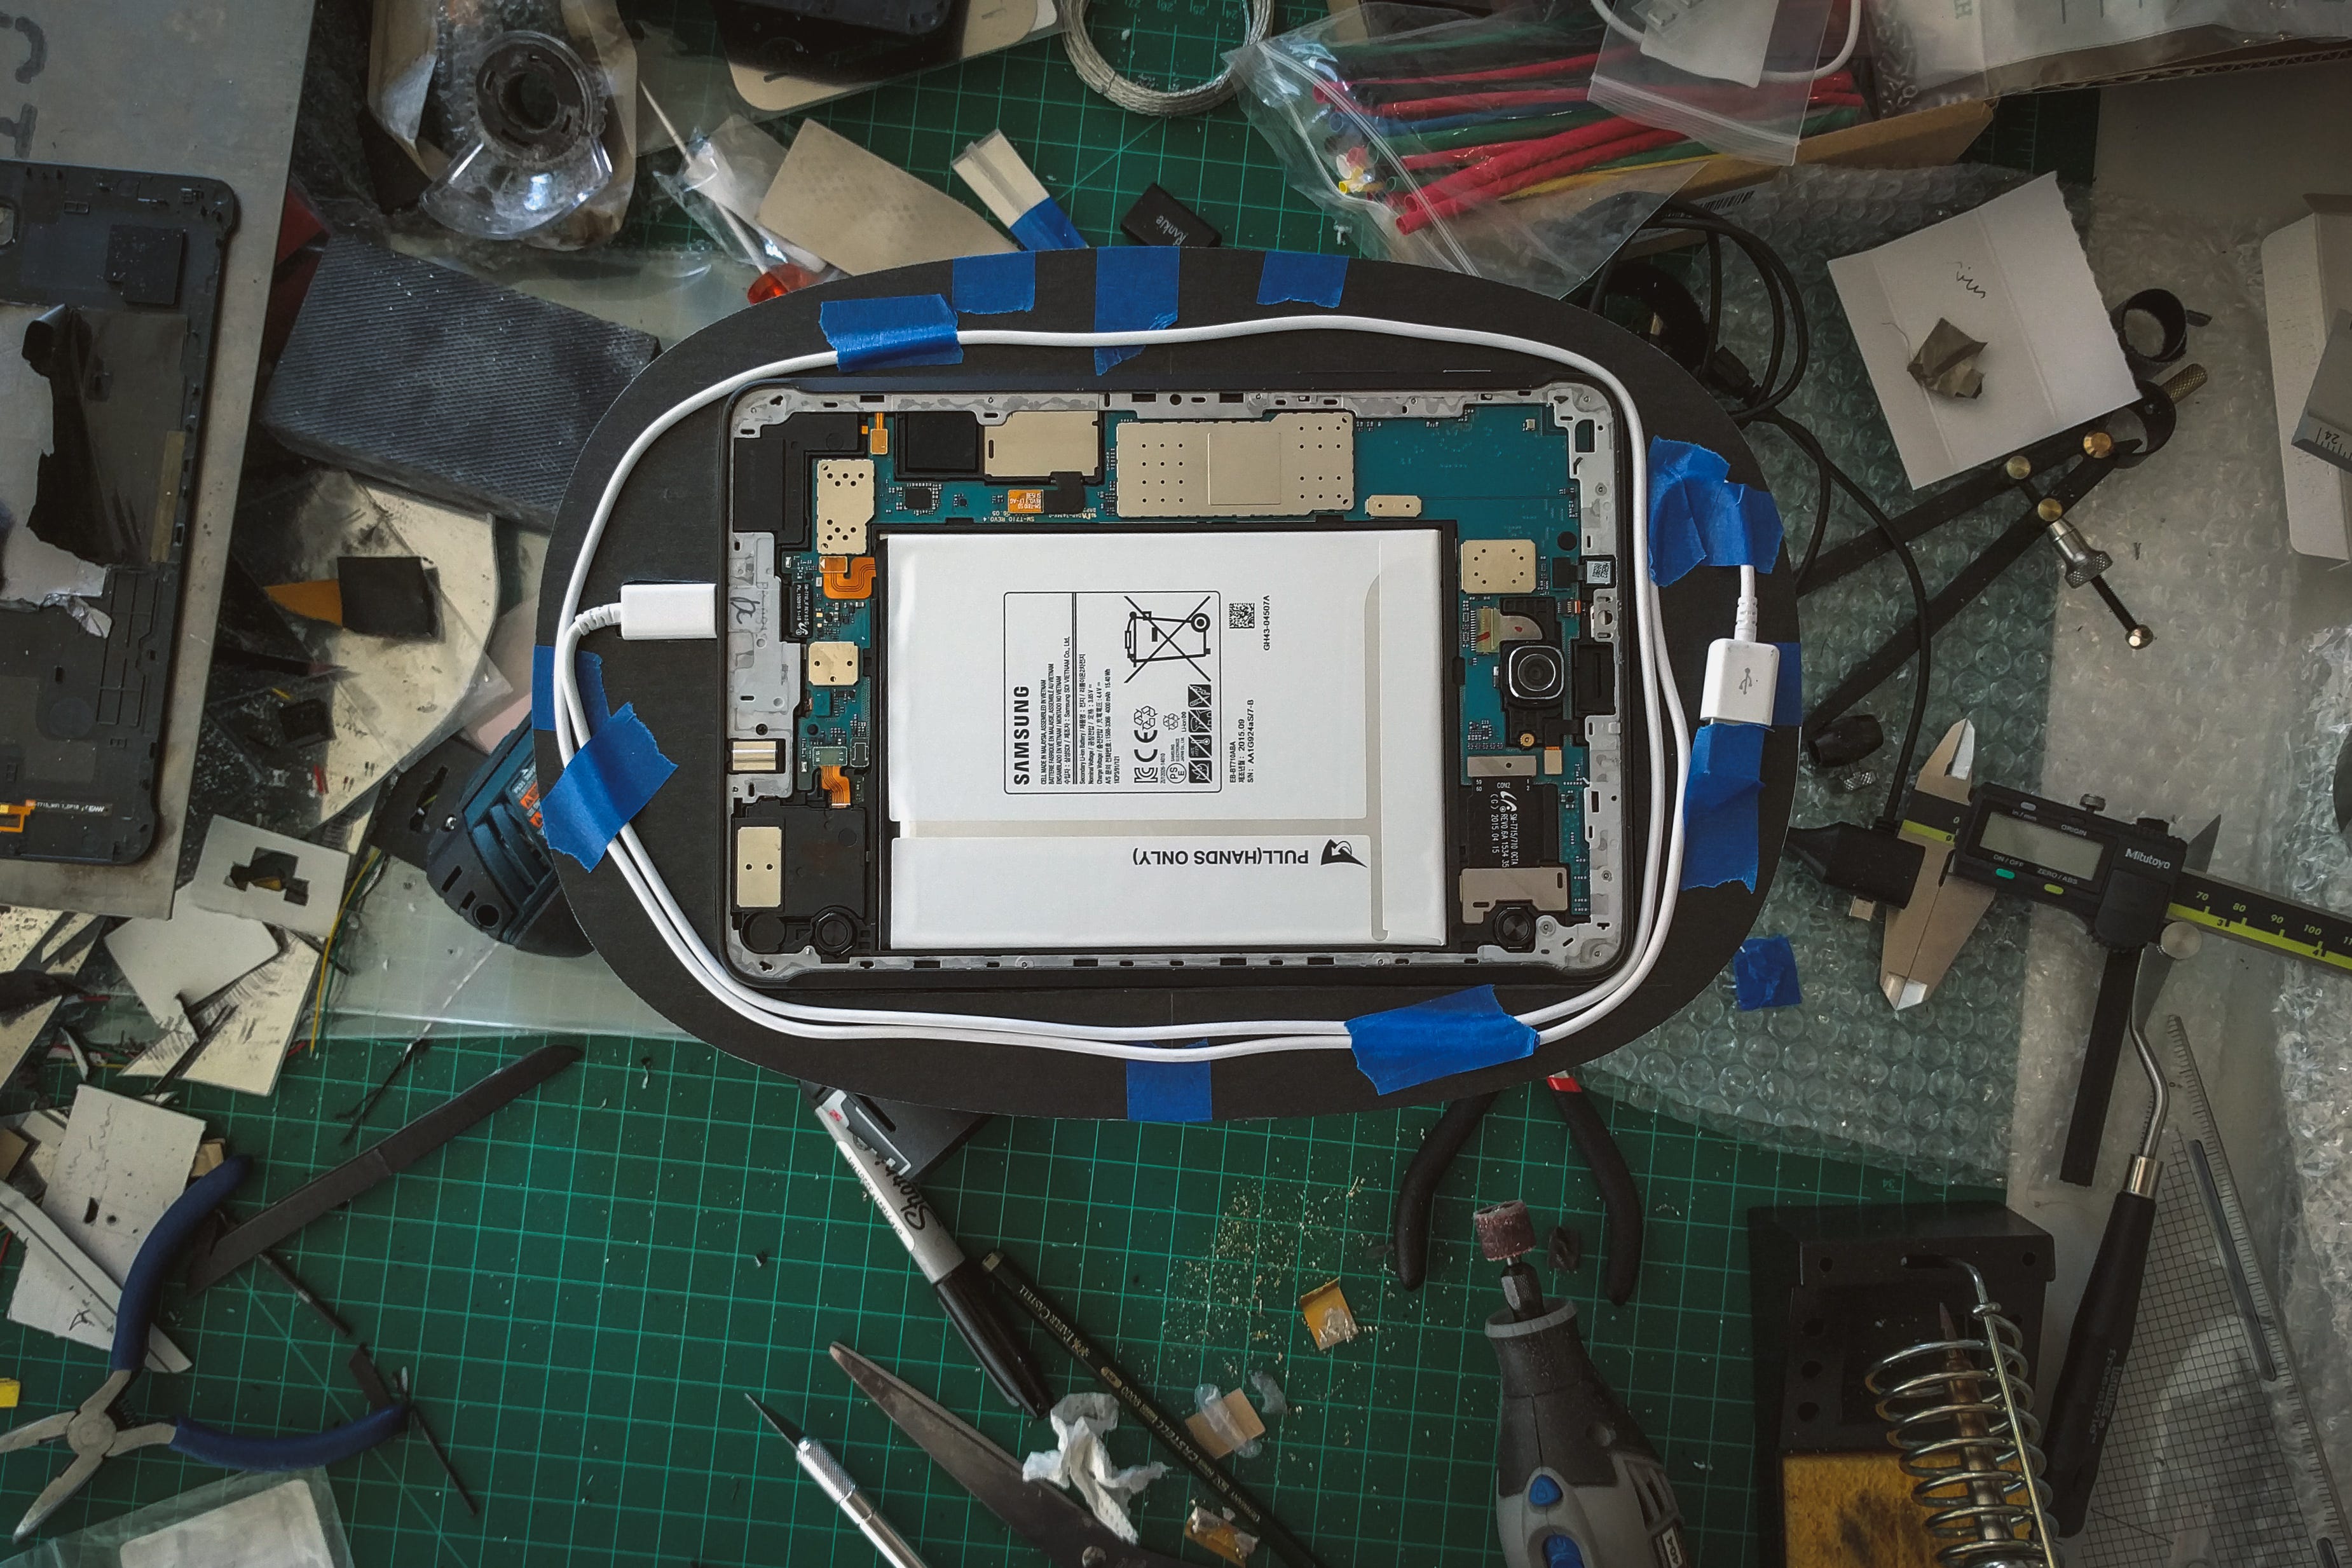
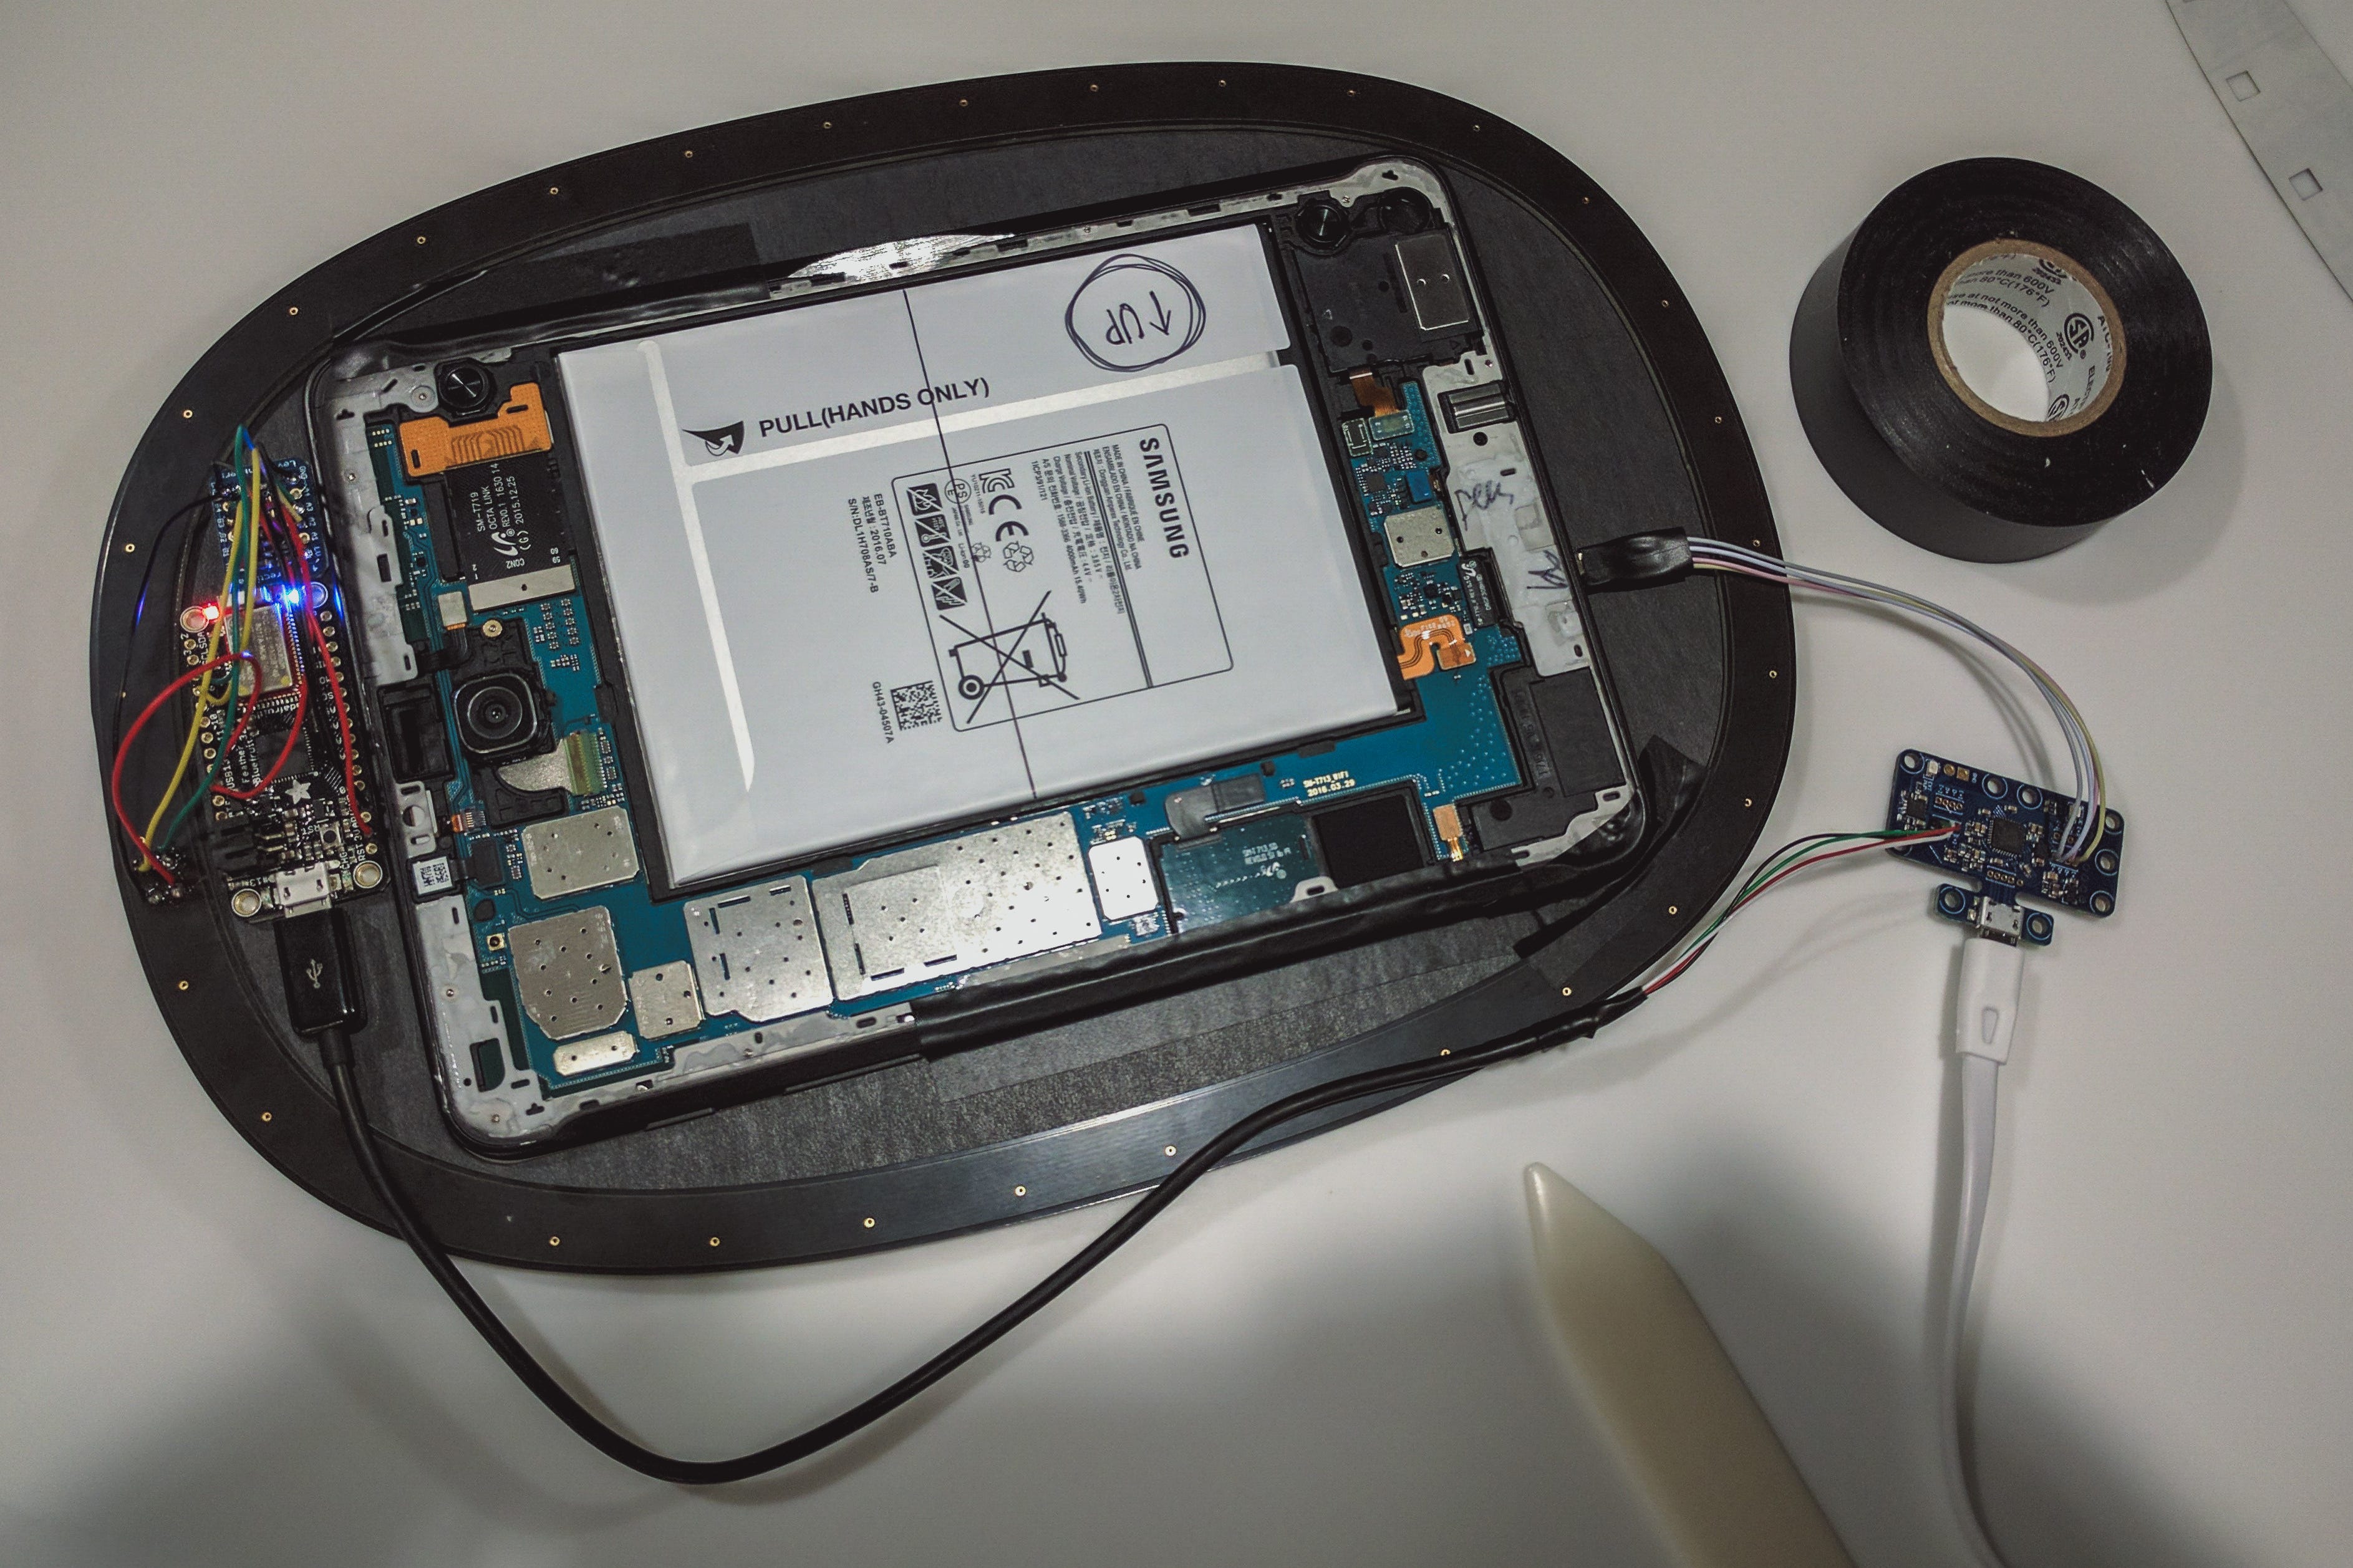
The main computer for this mirror is an Android tablet. I went looking for the thinnest one that would fit into the dimensions of the shell. I found the Samsung Galaxy Tab S2 8.0, which has a nice high-resolution OLED display, a front-facing camera, Wifi, Bluetooth, Android with Play Services, and all that good stuff. It’s pretty thin at 0.22", but I still had to shave down one metal part with a Dremel.
该镜像的主计算机是Android平板电脑。 我一直在寻找适合外壳尺寸的最薄的外壳。 我找到了Samsung Galaxy Tab S2 8.0 ,它具有出色的高分辨率OLED显示屏,前置摄像头,Wifi,蓝牙,带有Play Services的 Android以及所有这些好东西。 它非常薄,只有0.22英寸,但是我仍然不得不用Dremel刮掉一个金属零件。
The light ring version also needs a small Arduino board, which we’ll come back to. It shares the USB connection to the outside with the tablet. There’s a tiny hub inside to achieve that.
轻型环版本还需要一块小的Arduino板,我们将回到上面。 它与平板电脑共享与外部的USB连接。 内部有一个微型集线器可以实现这一目标。
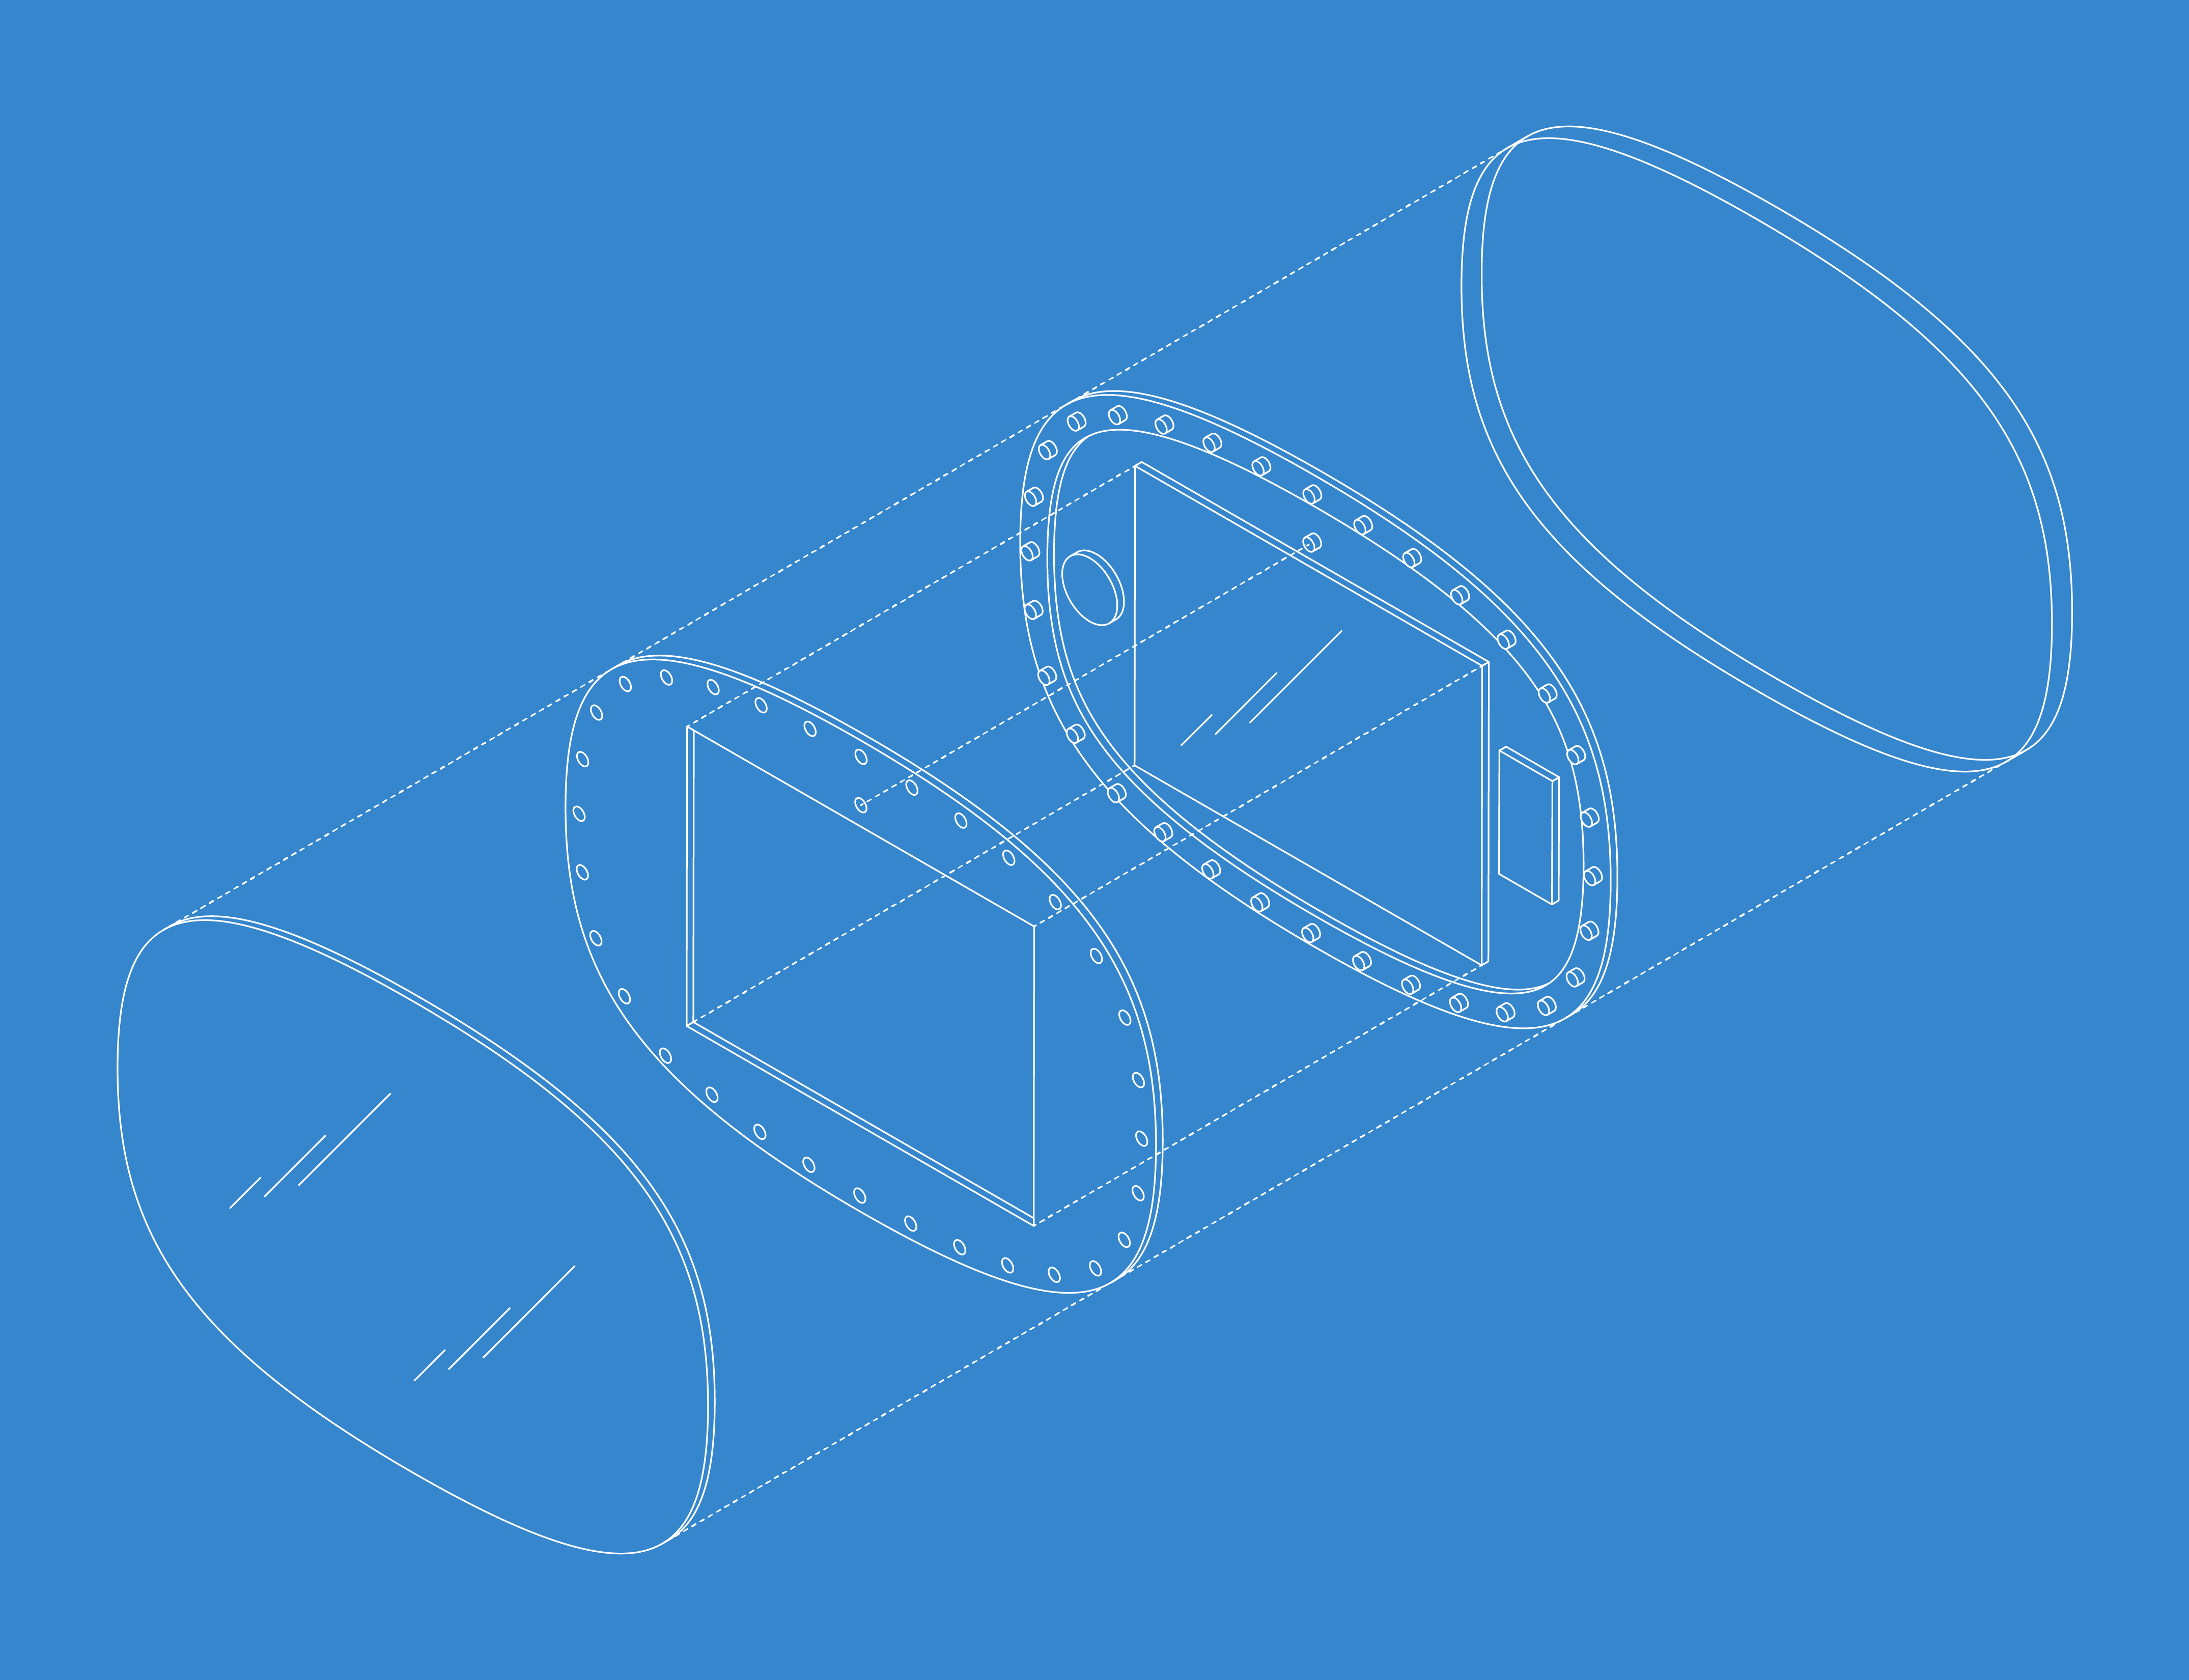
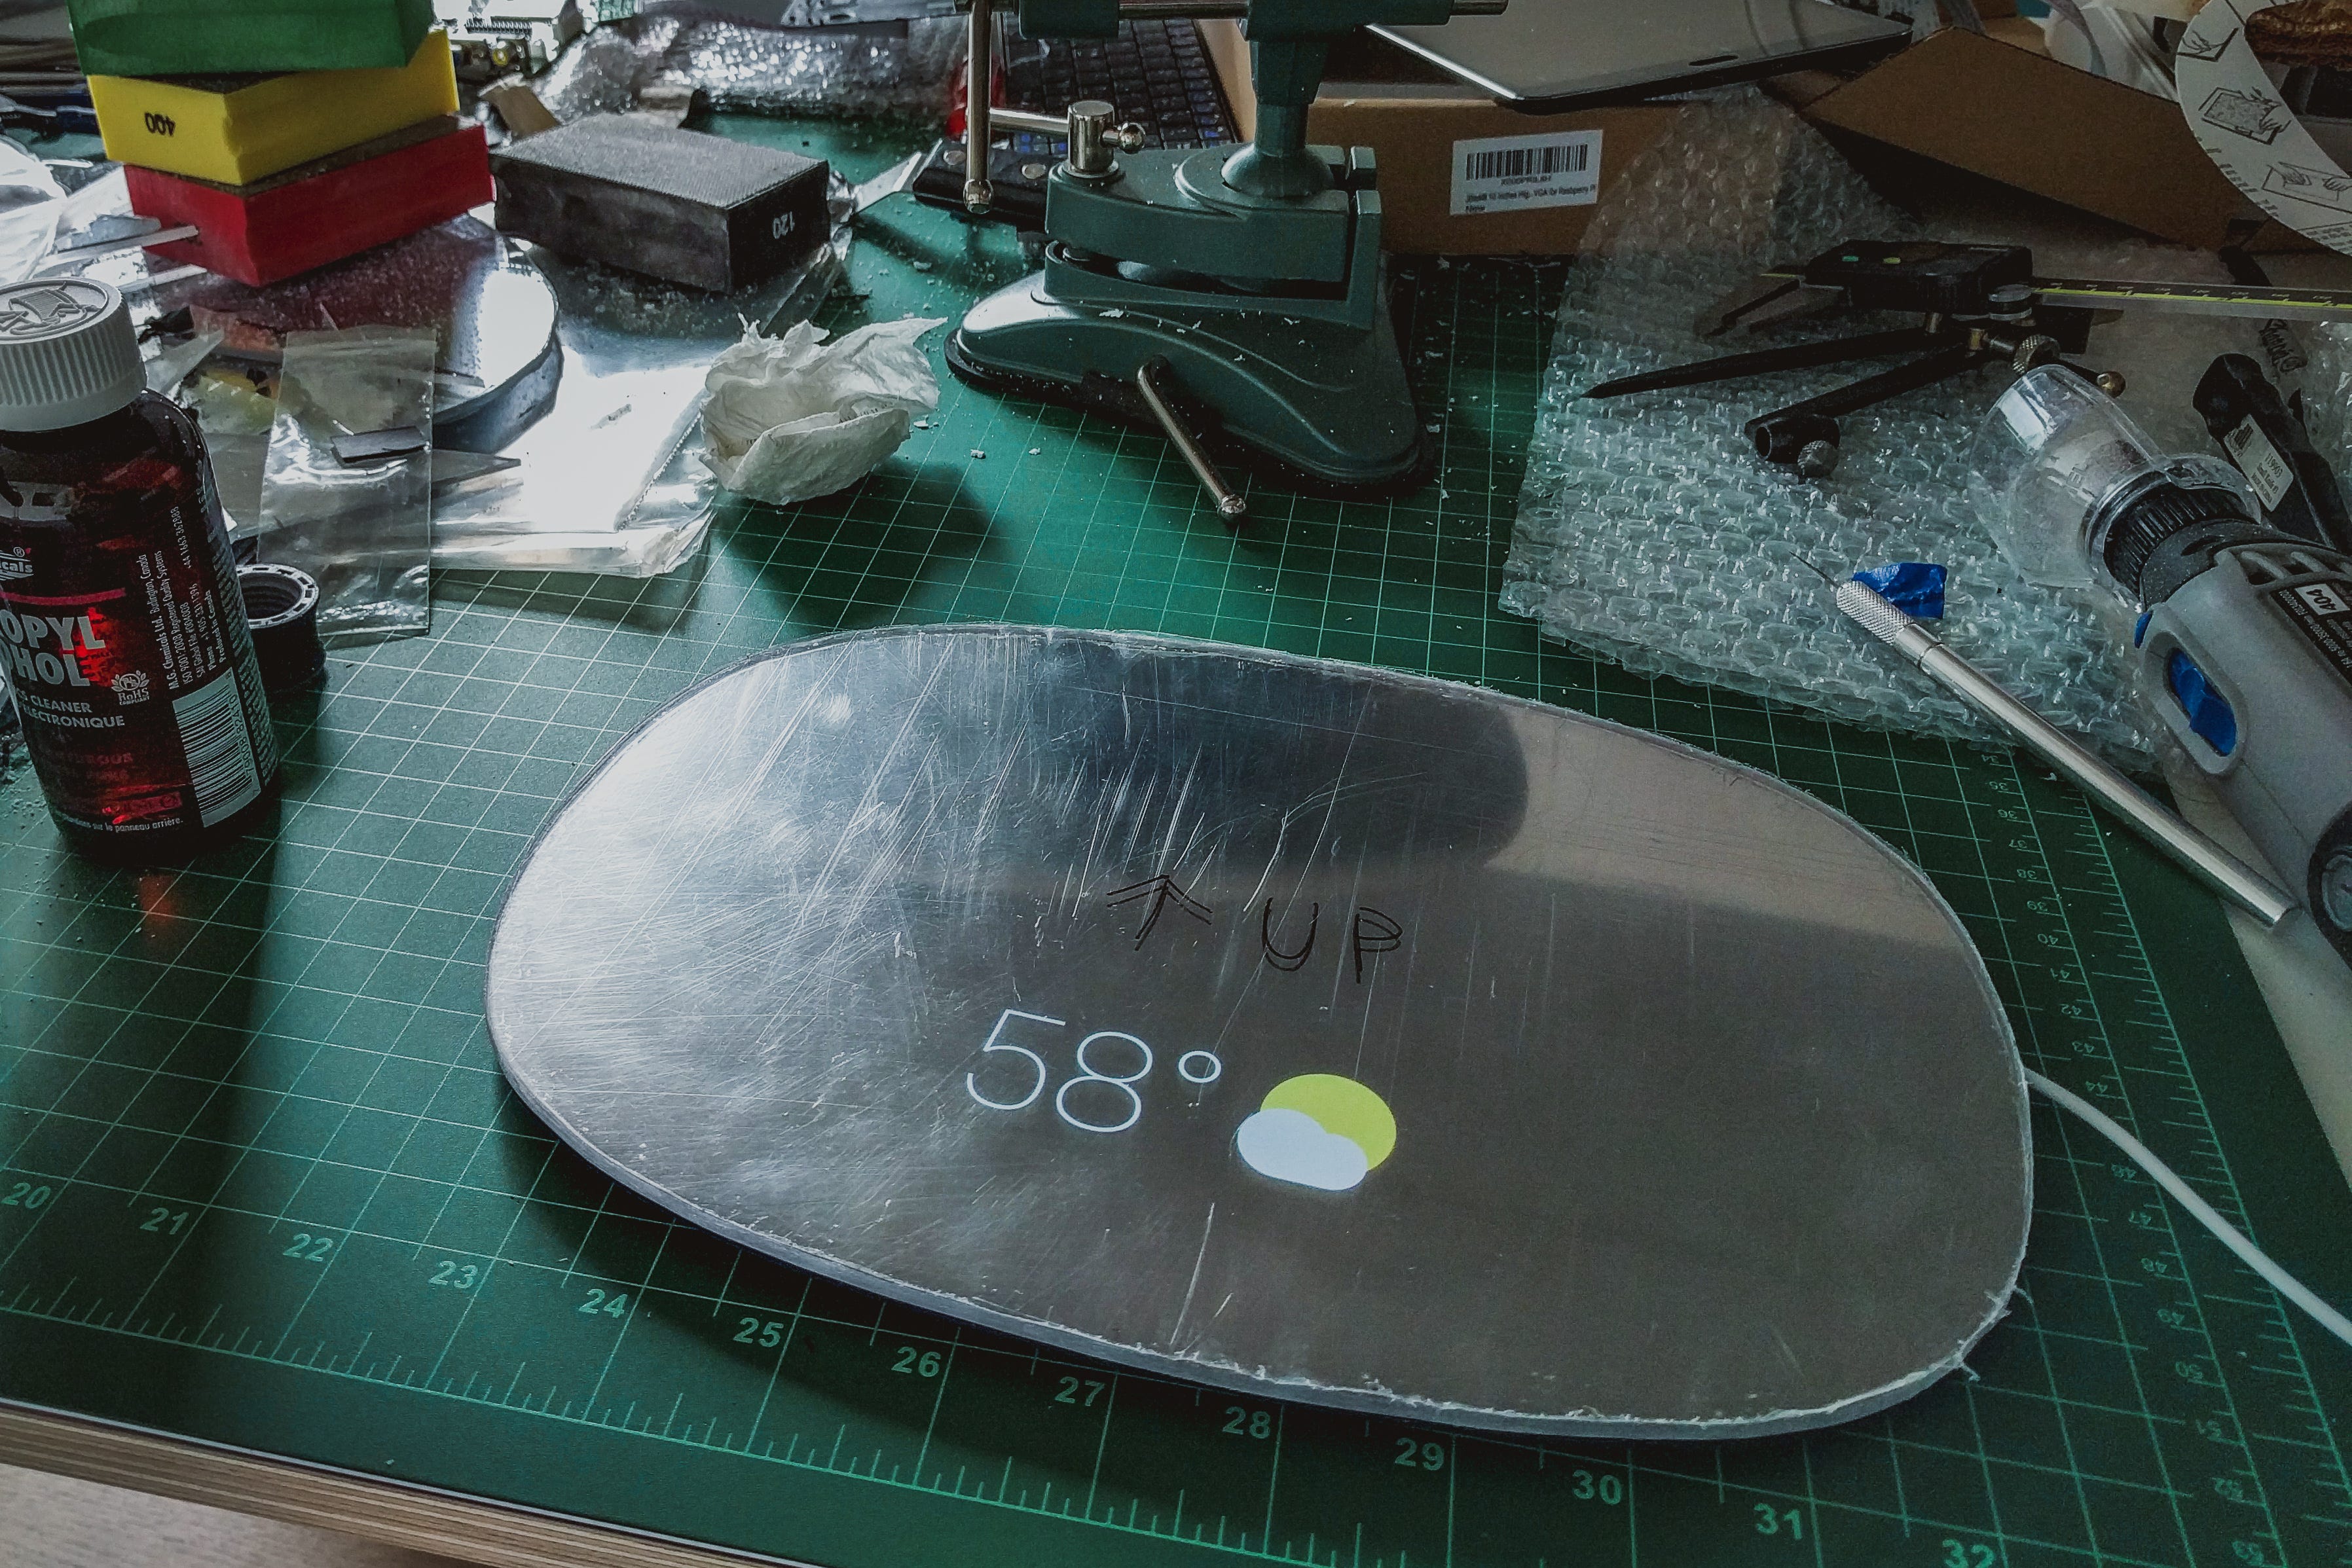
The two-way mirror goes right on top of the tablet. I used acrylic this time instead of glass because it’s easier to handle. Black adhesive cardboard and black tape cover the space around the display and hold it all together. Initially, I cut all the pieces to shape by hand. For the second round, I was able to use a laser cutter. That made things a lot easier.
双向镜正好位于平板电脑的顶部。 这次我用丙烯酸代替玻璃,因为它更容易处理。 黑色粘性纸板和黑色胶带覆盖显示屏周围的空间,并将其全部固定在一起。 最初,我将所有块切成手工形状。 在第二轮中,我可以使用激光切割机 。 这使事情变得容易得多。
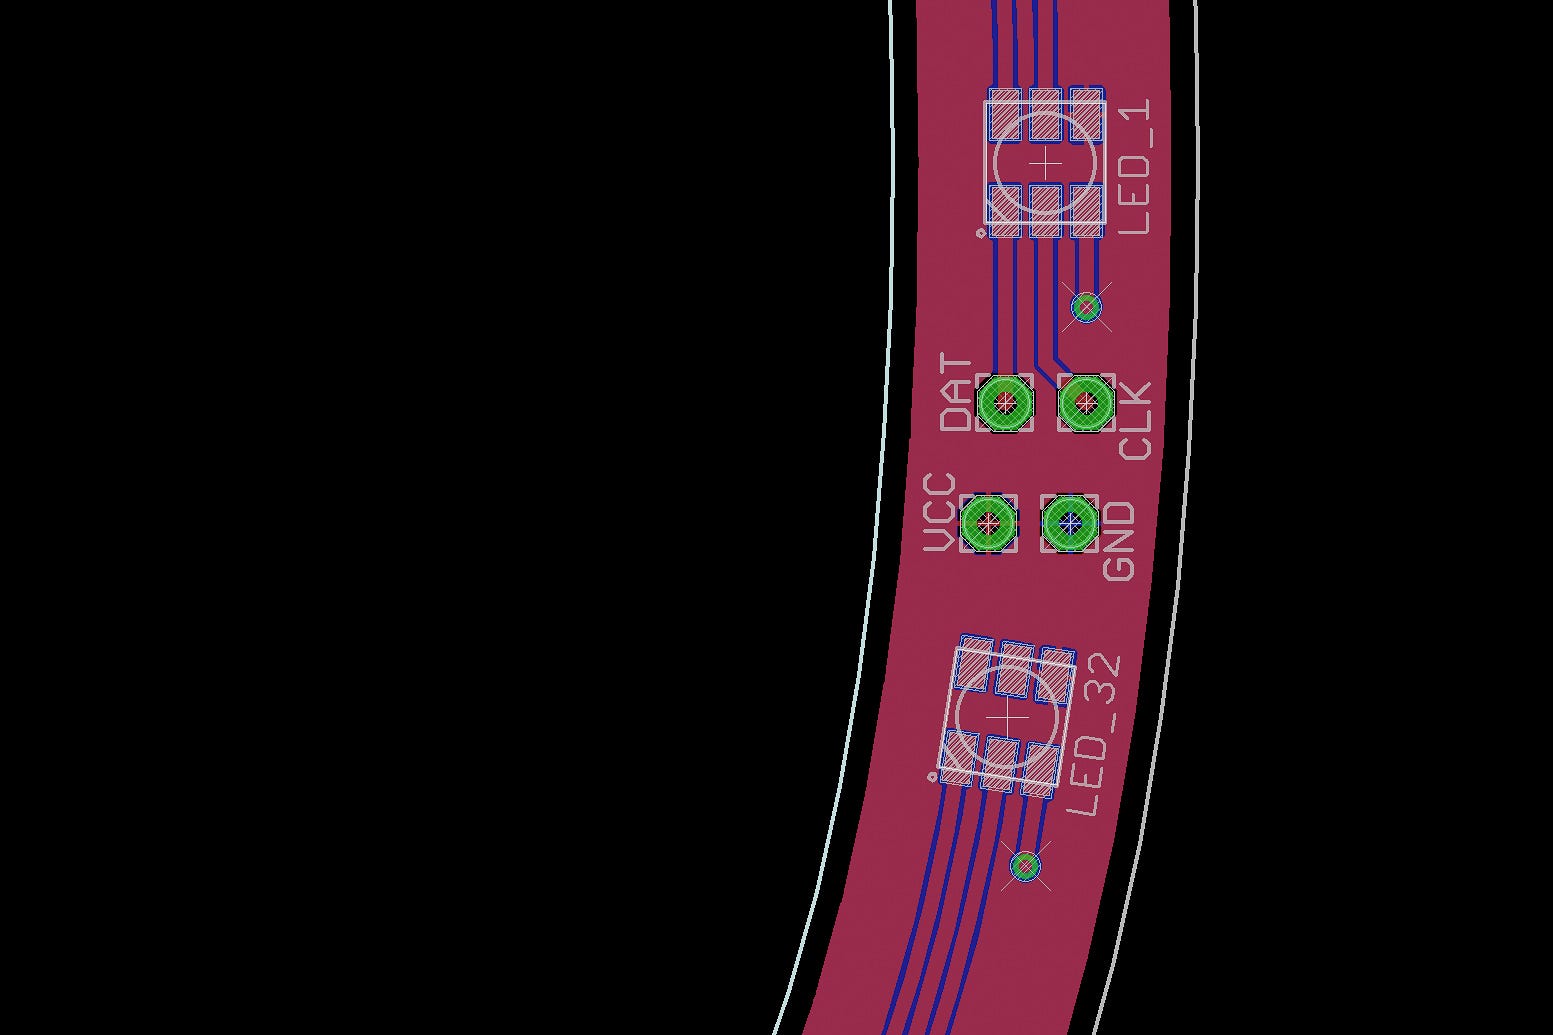
The light ring is a simple custom PCB with 32 LEDs, which I had made to order. There are many ways to do this, but I designed the board in Eagle and had it fabricated by Screaming Circuits.
灯环是一个简单的定制PCB,带有32个LED ,这是我已定购的。 有很多方法可以做到这一点,但是我在Eagle中设计了该板,并由Screaming Circuits制造。
I wanted to be able to easily turn the lights on and off or change colors, all directly from an Android app. There’s an Arduino board controlling the LEDs, and I wasn’t able to connect it over USB and provide power at the same time. So now it’s talking Bluetooth LE to the tablet right next to it. It’s not pretty, but it works. At the app level, all this is abstracted away into high-level method calls (see source code).
我希望能够直接从Android应用程序轻松打开和关闭灯光或更改颜色。 有一个用于控制LED的Arduino板 ,我无法通过USB连接它并同时提供电源。 因此,现在正在将Bluetooth LE与旁边的平板电脑通话。 它不漂亮,但是可以用。 在应用程序级别,所有这些都抽象为高级方法调用(请参阅源代码 )。
There were a few detours I didn’t show here. I tried for a while to add a USB port in the back but couldn’t make it work well within the limited space. I’ve also since upgraded one of the prototypes from acrylic to glass, which makes for a clearer picture and scratches less easily.
我没有在这里显示一些弯路。 我尝试了一段时间,在背面添加了USB端口,但无法使其在有限的空间内正常工作。 从那以后,我也将其中一个原型从丙烯酸升级为玻璃,这样可以使图片更清晰,不易刮擦。
So there’s my new experimental platform for prototyping smart home user interfaces. Let me know what you think! Maybe I’ll build some more.
因此,这里有我用于智能家庭用户界面原型制作的新实验平台。 让我知道你的想法! 也许我会再建一些。
翻译自: https://onezero.medium.com/smarter-mirrors-and-how-theyre-made-327997b9eff7
智能镜子制作


 被折叠的 条评论
为什么被折叠?
被折叠的 条评论
为什么被折叠?
 到【灌水乐园】发言


