


最近一周都在使用树莓派,前几天将一些基础的东西安装完成,并能通过wifi远程控制树莓派的界面,实现了树莓派的桌面控制和文件传输。
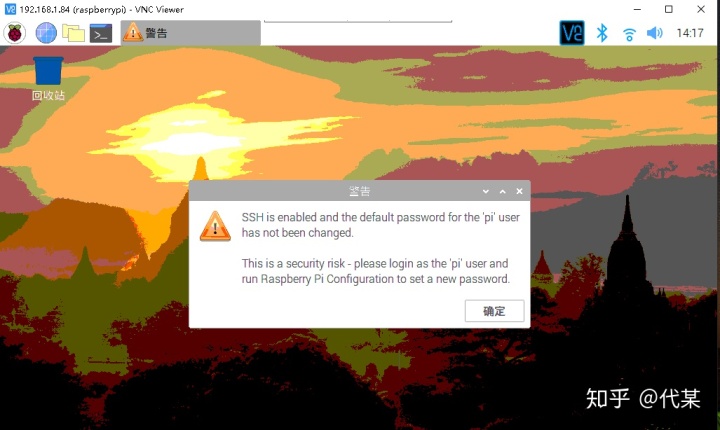
在windows上控制树莓派
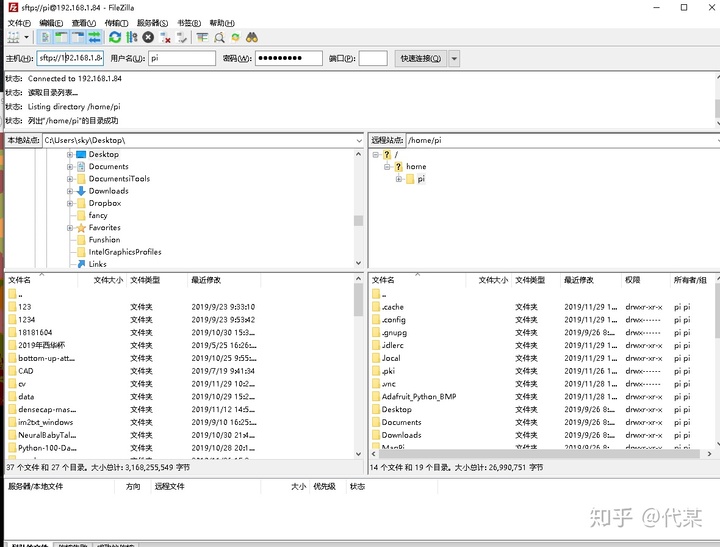
在windows上控制树莓派的文件传输
然后在树莓派上进行opencv的安装
在终端输入
sudo apt-get install libopencv-dev
sudo apt-get install python-opencv
安装时间大约需要十几分钟
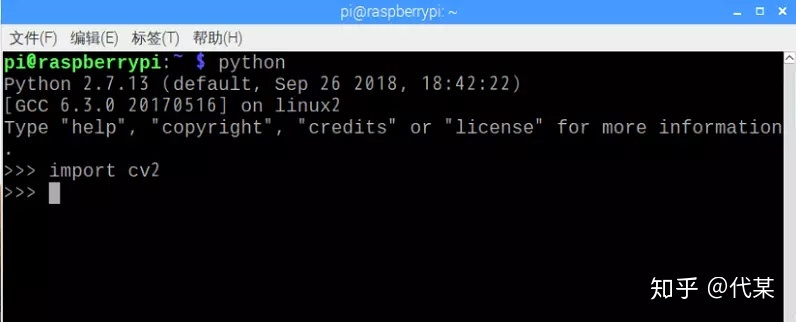
如能在python中成功import cv2 则表示成功安装
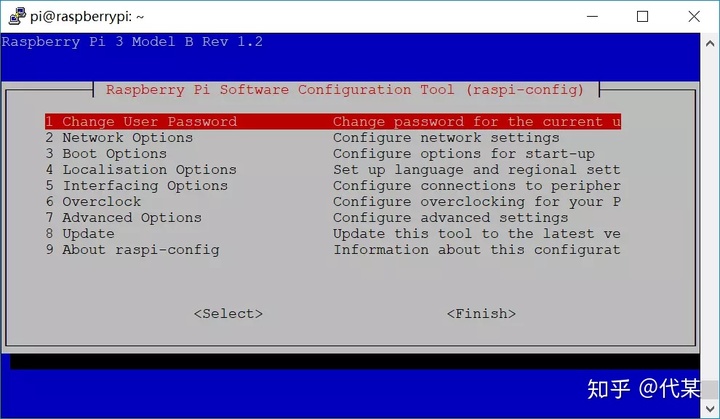
输入sudo raspi-config 并启动摄像头模块 在
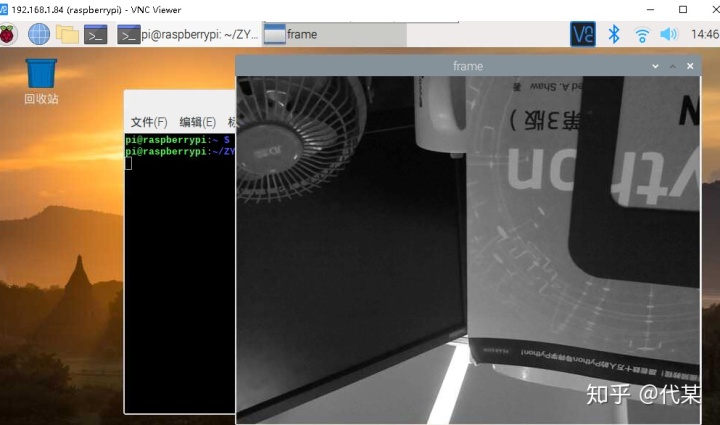
然后我们在编辑摄像头运行程序检测是否能成功运行摄像头功能
import cv2
cap = cv2.VideoCapture(0)
while(True):
# Capture frame-by-frame
ret, frame = cap.read()
# Our operations on the frame come here
gray = cv2.cvtColor(frame, cv2.COLOR_BGR2GRAY)
cv2.imshow('frame',gray)
# Display the resulting frame
if cv2.waitKey(1) & 0xFF == ord('q'):
break
# When everything done, release the capture
cap.release()
cv2.destroyAllWindows()
如出现摄像头则表示我们的摄像头没有问题,成功链接
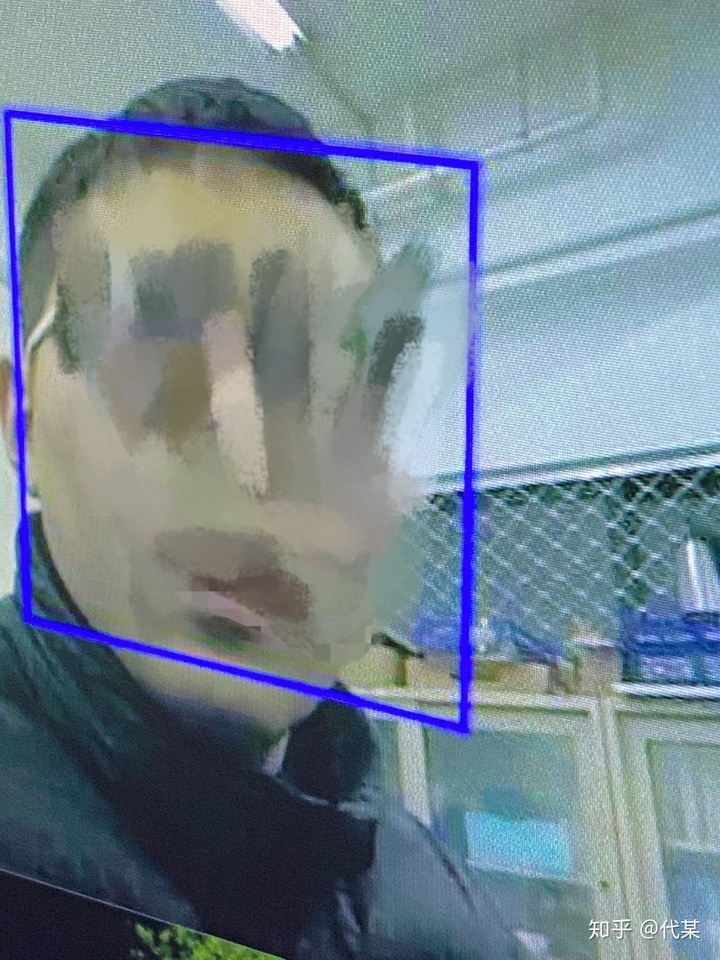
然后我们下载一个面部识别的预训练分类器
在github上进行下载https://github.com/opencv/opencv/tree/master/data/haarcascades
面部识别代码如下:
import numpy as np
import cv2
faceCascade = cv2.CascadeClassifier('Cascades/haarcascade_frontalface_default.xml')
cap = cv2.VideoCapture(0)
cap.set(3,640) # set Width
cap.set(4,480) # set Height
while True:
ret, img = cap.read()
img = cv2.flip(img, -1)
gray = cv2.cvtColor(img, cv2.COLOR_BGR2GRAY)
faces = faceCascade.detectMultiScale(
gray,
scaleFactor=1.2,
minNeighbors=5,
minSize=(20, 20)
)
for (x,y,w,h) in faces:
cv2.rectangle(img,(x,y),(x+w,y+h),(255,0,0),2)
roi_gray = gray[y:y+h, x:x+w]
roi_color = img[y:y+h, x:x+w]
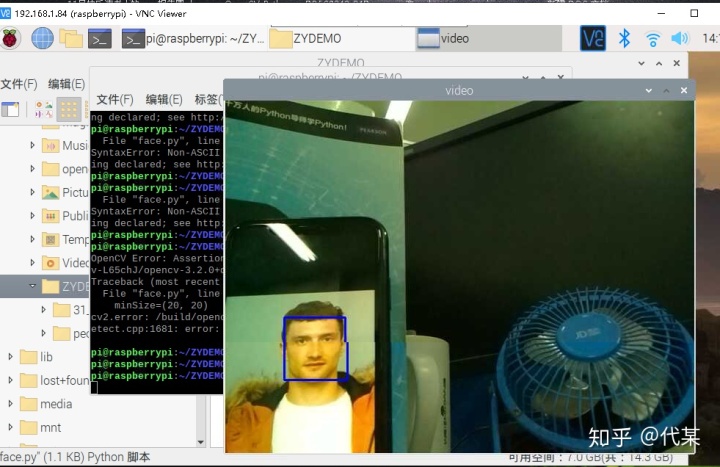
cv2.imshow('video',img)
k = cv2.waitKey(30) & 0xff
if k == 27: # press 'ESC' to quit
break
cap.release()
cv2.destroyAllWindows()


 363
363


 被折叠的 条评论
为什么被折叠?
被折叠的 条评论
为什么被折叠?
 到【灌水乐园】发言


