


这篇博客有实例代码的,见本地android-study/两个应用之间使用AIDL进行通信的例子
一般来说,aidl支持的数据类型有五种:java基本数据类型;String;CharSequence;List;Map。其中List和Map较为特殊,如果你使用的数据类型不是AIDL的基本数据类型,你必须要使用import语句将其导入,即使他们是在同一个package下。在AIDL机制中Android 会提供一系列工具会将用户定义的*.aidl文件编译生成Client端代码与Service端代码(比如Iwifimanager.aidl 在服务端会生成IWifiManager.Stub ; 在客户端绑定服务端的Ibinder对象(在ServiceManagerRegistry.java中),用户仅仅 需要1)在Service端实现所需要实现的接口。2)在Client端调用相关接口。基于Binder机制,在Clinet端的调用会自动通过binder驱动跨进程到service进程当中。
IPC(Inter-Process Communication) :指进程间通信 ,指至少两个进程或线程间传送数据或信号的一些技术或方法
桌面应用Launcher是用Binder IPC启动应用,而进程与进程之间的交流,就是使用AIDL了。不单单是进程与进程之间可以用AIDL,Service和组件之间不但可以用Messenger来通信,也可以用AIDL来通信。使用Messenger更简单,核心是使用Message和Handler来进行线程间的访问,缺点是它是串行的,不能够并发操作,而且也不能跨进程。使用AIDL更为复杂,但是它可以进行并发操作,也可以跨进程。我们要根据实际情况进行选择。
下面是一个两个应用之间通过AIDL来交互的例子
新建两个工程,一个是 Client,负责发送消息。一个是Server,负责接收消息。
搭建Client项目
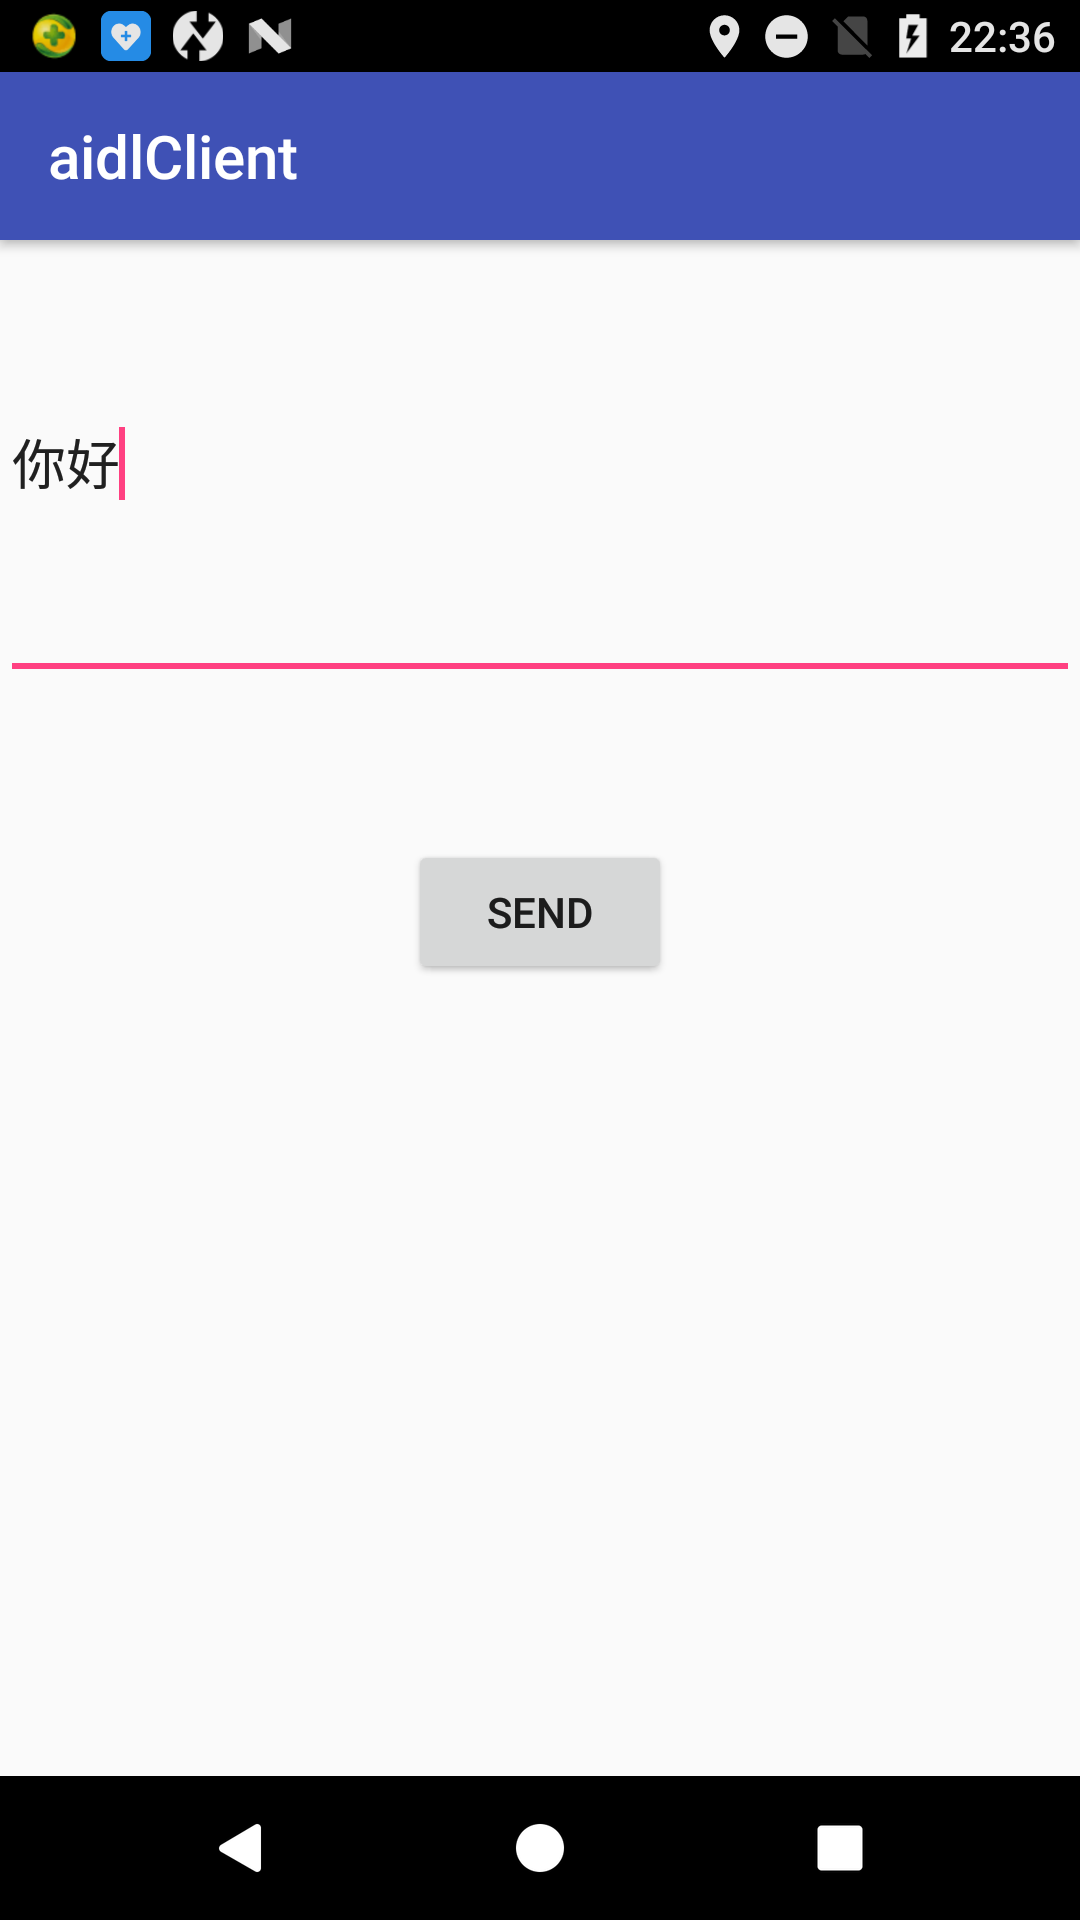
Client的界面如下,可以在输入框输入内容,然后点击按钮发送给Server

- <?xml version="1.0" encoding="utf-8"?>
- <RelativeLayout
- xmlns:android="http://schemas.android.com/apk/res/android"
- android:layout_width="match_parent"
- android:layout_height="match_parent">
- <EditText
- android:id="@+id/editText"
- android:layout_width="match_parent"
- android:layout_height="150dp"/>
- <Button
- android:id="@+id/button"
- android:layout_width="wrap_content"
- android:layout_height="wrap_content"
- android:layout_alignParentTop="true"
- android:layout_centerHorizontal="true"
- android:layout_marginTop="200dp"
- android:text="Send"/>
- </RelativeLayout>
1 新建一个AIDL文件,名字为MessageCenter,程序会帮我们生成一个目录

2 创建一个可以序列化的对象,用来做进程间传输的数据
新建一个java类,叫做Info,并实现Parcelable接口,根据Android Studio的修复完成一部份工作。此时只能由Client传数据到Server端,如果要Server端也能传数据到Client端,还需要加上readFromParcel() 方法。具体代码如下:
- package com.viii.aidlclient;
- import android.os.Parcel;
- import android.os.Parcelable;
- public class Info implements Parcelable {
- private String content;
- public String getContent() {
- return content;
- }
- public void setContent(String content) {
- this.content = content;
- }
- public Info() {
- }
- public Info(Parcel in) {
- content = in.readString();
- }
- public static final Creator<Info> CREATOR = new Creator<Info>() {
- @Override
- public Info createFromParcel(Parcel in) {
- return new Info(in);
- }
- @Override
- public Info[] newArray(int size) {
- return new Info[size];
- }
- };
- @Override
- public int describeContents() {
- return 0;
- }
- @Override
- public void writeToParcel(Parcel dest, int flags) {
- dest.writeString(content);
- }
- /**
- * 参数是一个Parcel,用它来存储与传输数据
- *
- * @param dest
- */
- public void readFromParcel(Parcel dest) {
- //注意,此处的读值顺序应当是和writeToParcel()方法中一致的
- content = dest.readString();
- }
- //方便打印数据
- @Override
- public String toString() {
- return "content : " + content;
- }
- }
3 新建Info.aldl文件
- package com.viii.aidlclient;
- //注意:Info.Info.java的包名应当是一样的
- //这个文件的作用是引入了一个序列化对象 Info 供其他的AIDL文件使用
- //注意parcelable是小写
- parcelable Info;
4 完善MessageCenter.aidl文件内容
- package com.viii.aidlclient;
- //作用是定义方法接口
- //导入所需要使用的非默认支持数据类型的包
- import com.viii.aidlclient.Info;
- interface MessageCenter {
- //所有的返回值前都不需要加任何东西,不管是什么数据类型
- List<Info> getInfo();
- //传参时除了Java基本类型以及String,CharSequence之外的类型
- //都需要在前面加上定向tag,具体加什么量需而定
- void addInfo(inout Info info);
- }
此时项目的机构如下:

5 要让gradle来识别出java包以外的java文件,还需要在项目的build的文件加上
- android {
- ......
- sourceSets {
- main {
- manifest.srcFile 'src/main/AndroidManifest.xml'
- java.srcDirs = ['src/main/java', 'src/main/aidl']
- resources.srcDirs = ['src/main/java', 'src/main/aidl']
- aidl.srcDirs = ['src/main/aidl']
- res.srcDirs = ['src/main/res']
- assets.srcDirs = ['src/main/assets']
- }
- }
- buildTypes {
- release {
- minifyEnabled false
- proguardFiles getDefaultProguardFile('proguard-android.txt'), 'proguard-rules.pro'
- }
- }
- ...
- }
6 修改MainActivity内容:
- package com.viii.aidlclient;
- import android.content.ComponentName;
- import android.content.Context;
- import android.content.Intent;
- import android.content.ServiceConnection;
- import android.os.Bundle;
- import android.os.IBinder;
- import android.os.RemoteException;
- import android.support.v7.app.AppCompatActivity;
- import android.util.Log;
- import android.view.View;
- import android.widget.EditText;
- import android.widget.Toast;
- import java.util.List;
- public class MainActivity extends AppCompatActivity implements View.OnClickListener {
- private EditText editText;
- //由AIDL文件生成的Java类
- private MessageCenter messageCenter = null;
- //标志当前与服务端连接状况的布尔值,false为未连接,true为连接中
- private boolean mBound = false;
- //包含Book对象的list
- private List<Info> mInfoList;
- @Override
- protected void onCreate(Bundle savedInstanceState) {
- super.onCreate(savedInstanceState);
- setContentView(R.layout.activity_main);
- editText = (EditText) findViewById(R.id.editText);
- findViewById(R.id.button).setOnClickListener(this);
- }
- /**
- * 按钮的点击事件,点击之后调用服务端的addBookIn方法
- */
- public void addMessage(String content) {
- //如果与服务端的连接处于未连接状态,则尝试连接
- if (!mBound) {
- attemptToBindService();
- Toast.makeText(this, "当前与服务端处于未连接状态,正在尝试重连,请稍后再试", Toast.LENGTH_SHORT).show();
- return;
- }
- if (messageCenter == null) return;
- Info info = new Info();
- info.setContent(content);
- try {
- messageCenter.addInfo(info);
- Log.e(getLocalClassName(),"客户端:"+ info.toString());
- } catch (RemoteException e) {
- e.printStackTrace();
- }
- }
- /**
- * 尝试与服务端建立连接
- */
- private void attemptToBindService() {
- Intent intent = new Intent();
- intent.setAction("com.vvvv.aidl");
- intent.setPackage("com.iiiv.aidlserver");
- bindService(intent, mServiceConnection, Context.BIND_AUTO_CREATE);
- }
- @Override
- protected void onStart() {
- super.onStart();
- if (!mBound) {
- attemptToBindService();
- }
- }
- @Override
- protected void onStop() {
- super.onStop();
- if (mBound) {
- unbindService(mServiceConnection);
- mBound = false;
- }
- }
- private ServiceConnection mServiceConnection = new ServiceConnection() {
- @Override
- public void onServiceConnected(ComponentName name, IBinder service) {
- Log.e(getLocalClassName(), "service connected");
- messageCenter = MessageCenter.Stub.asInterface(service);
- mBound = true;
- if (messageCenter != null) {
- try {
- mInfoList = messageCenter.getInfo();
- Log.e(getLocalClassName(), mInfoList.toString());
- } catch (RemoteException e) {
- e.printStackTrace();
- }
- }
- }
- @Override
- public void onServiceDisconnected(ComponentName name) {
- Log.e(getLocalClassName(), "service disconnected");
- mBound = false;
- }
- };
- @Override
- public void onClick(View view) {
- switch (view.getId()) {
- case R.id.button:
- String content = editText.getText().toString();
- // Log.i(getLocalClassName(), content);
- addMessage(content);
- break;
- }
- }
- }
搭建Server项目
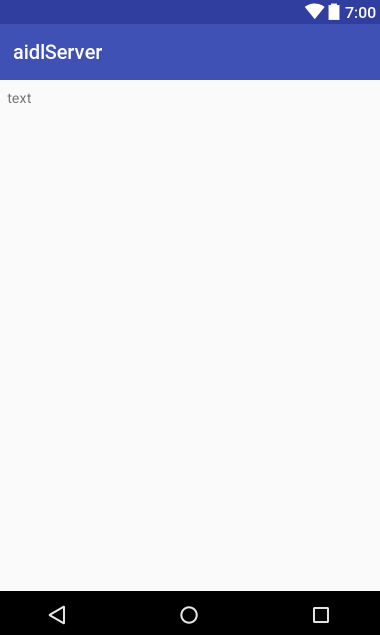
- <?xml version="1.0" encoding="utf-8"?>
- <RelativeLayout
- xmlns:android="http://schemas.android.com/apk/res/android"
- android:layout_width="match_parent"
- android:layout_height="match_parent"
- >
- <TextView
- android:id="@+id/textView"
- android:layout_width="wrap_content"
- android:layout_height="wrap_content"
- android:layout_margin="10dp"
- android:text="text"/>
- </RelativeLayout>
1 拷贝Client下的aidl目录到Server下面
2 新建一个Service负责接收消息,并在AndroidManifest.xml里面注册Service
- package com.iiiv.aidlserver.service;
- import android.app.Service;
- import android.content.Intent;
- import android.os.IBinder;
- import android.os.RemoteException;
- import android.support.annotation.Nullable;
- import android.util.Log;
- import com.viii.aidlclient.Info;
- import com.viii.aidlclient.MessageCenter;
- import java.util.ArrayList;
- import java.util.List;
- /**
- * 服务端的AIDLService.java
- */
- public class AIDLService extends Service {
- public final String TAG = this.getClass().getSimpleName();
- //包含Book对象的list
- private List<Info> messages = new ArrayList<>();
- //由AIDL文件生成的BookManager
- private final MessageCenter.Stub messageCenter = new MessageCenter.Stub() {
- @Override
- public List<Info> getInfo() throws RemoteException {
- synchronized (this) {
- Log.e(TAG, "getInfo invoking getInfo() method , now the list is : " + messages.toString());
- if (messages != null) {
- return messages;
- }
- return new ArrayList<>();
- }
- }
- @Override
- public void addInfo(Info message) throws RemoteException {
- synchronized (this) {
- if (messages == null) {
- messages = new ArrayList<>();
- }
- if (message == null) {
- Log.e(TAG, "message is null in In");
- message = new Info();
- }
- //尝试修改book的参数,主要是为了观察其到客户端的反馈
- // message.setContent("dididi");
- if (!messages.contains(message)) {
- messages.add(message);
- }
- //打印mBooks列表,观察客户端传过来的值
- Log.e(TAG, "客户传来了数据" + messages.toString());
- // //打开一个程序的后台服务!
- // Intent serviceIntent = new Intent();
- // //设置一个组件名称 同组件名来启动所需要启动Service
- // serviceIntent.setComponent(new ComponentName("com.yoursender.driversingle", "com.yoursender.driversingle.service.LocationService"));
- // startService(serviceIntent);
- //打开一个程序!
- // Intent launchIntent = getPackageManager().getLaunchIntentForPackage("com.tencent.mobileqq");
- // startActivity(launchIntent);
- }
- }
- };
- @Override
- public void onCreate() {
- Info message = new Info();
- message.setContent("消息");
- messages.add(message);
- super.onCreate();
- }
- @Nullable
- @Override
- public IBinder onBind(Intent intent) {
- Log.e(getClass().getSimpleName(), String.format("on bind,intent = %s", intent.toString()));
- return messageCenter;
- }
- }
- <?xml version="1.0" encoding="utf-8"?>
- <manifest xmlns:android="http://schemas.android.com/apk/res/android"
- package="com.iiiv.aidlserver">
- <application
- android:allowBackup="true"
- android:icon="@mipmap/ic_launcher"
- android:label="@string/app_name"
- android:roundIcon="@mipmap/ic_launcher_round"
- android:supportsRtl="true"
- android:theme="@style/AppTheme">
- <activity android:name=".MainActivity">
- <intent-filter>
- <action android:name="android.intent.action.MAIN"/>
- <category android:name="android.intent.category.LAUNCHER"/>
- </intent-filter>
- </activity>
- <service
- android:name=".service.AIDLService"
- android:exported="true">
- <intent-filter>
- <action android:name="com.vvvv.aidl"/>
- <category android:name="android.intent.category.DEFAULT"/>
- </intent-filter>
- </service>
- </application>
- </manifest>
3 修改MainActivity
- package com.iiiv.aidlserver;
- import android.os.Bundle;
- import android.support.v7.app.AppCompatActivity;
- import android.widget.TextView;
- public class MainActivity extends AppCompatActivity {
- private TextView textView;
- @Override
- protected void onCreate(Bundle savedInstanceState) {
- super.onCreate(savedInstanceState);
- setContentView(R.layout.activity_main);
- textView = (TextView) findViewById(R.id.textView);
- }
- }
4 要让gradle来识别出java包以外的java文件,还需要在项目的build的文件加上
- android {
- ......
- sourceSets {
- main {
- manifest.srcFile 'src/main/AndroidManifest.xml'
- java.srcDirs = ['src/main/java', 'src/main/aidl']
- resources.srcDirs = ['src/main/java', 'src/main/aidl']
- aidl.srcDirs = ['src/main/aidl']
- res.srcDirs = ['src/main/res']
- assets.srcDirs = ['src/main/assets']
- }
- }
- buildTypes {
- release {
- minifyEnabled false
- proguardFiles getDefaultProguardFile('proguard-android.txt'), 'proguard-rules.pro'
- }
- }
- ...
- }


 632
632

 被折叠的 条评论
为什么被折叠?
被折叠的 条评论
为什么被折叠?
 到【灌水乐园】发言


