


当进行了如图所示的数据采集,自动提取白色参考方框,和植物冠层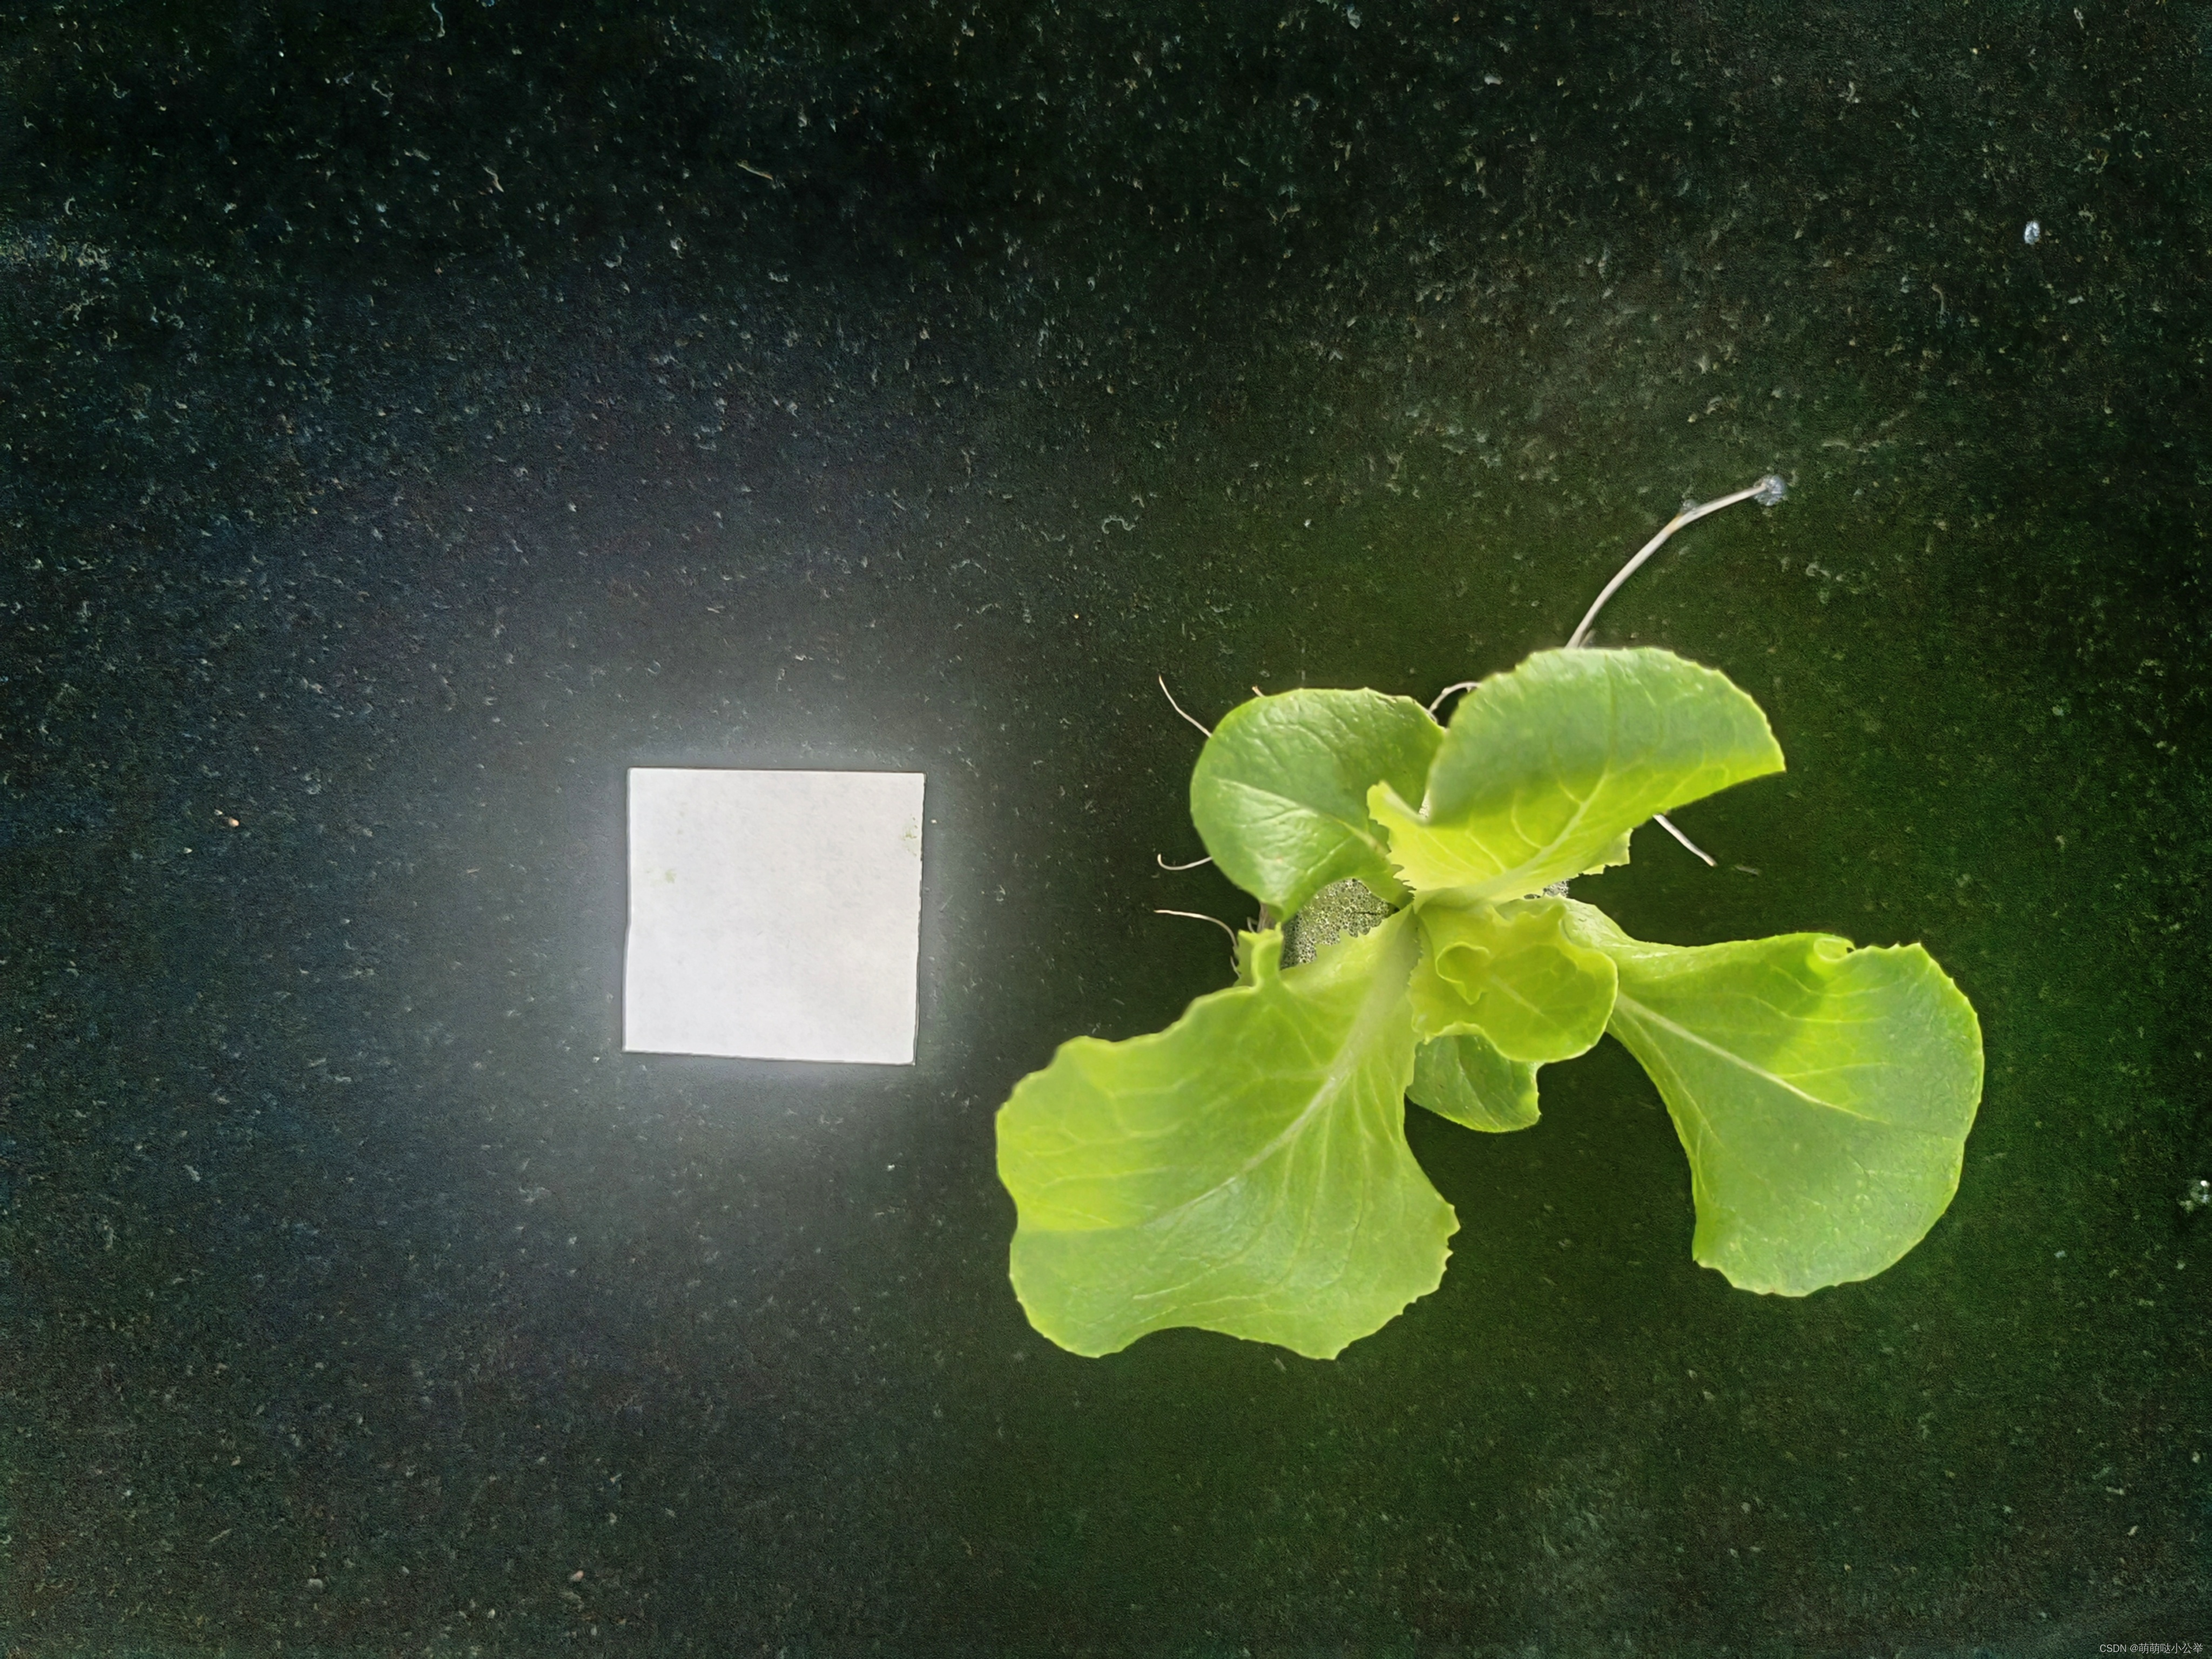
对每张图像进行亮度调节,保证亮度一致
def adjust_lightness(img):
    size = img.shape
    # img = cv2.resize(img, (int(size[1] / 4), int(size[0] / 4)))
    # 读取图片
    image = cv2.cvtColor(img, cv2.COLOR_BGR2GRAY)
    print("图片亮度值为:", image.mean())
    #定义alpha和beta
    alpha = 1#对比度控制
    beta  = 60-image.mean()  #亮度控制

    #调用convertScaleAbs函数
    adjusted = cv2.convertScaleAbs(img, alpha=alpha, beta=beta)
    # img = aug(img)
    # cv2.imshow('mask',adjusted)
    # cv2.waitKey(0)
    return adjusted
提取种苗冠层
def extract_mask(image):
    # 提取掩膜图像
    img = image
    size = img.shape
    img = cv2.resize(img, (int(size[1] / 2), int(size[0] / 2)))
    blurr = cv2.GaussianBlur(img,(5,5),0)
    hsv = cv2.cvtColor(blurr,cv2.COLOR_BGR2HSV)
    #GREEN PARAMETERS
    lower = (20,40,100)
    upper = (255,255,255)
    mask = cv2.inRange(hsv,lower,upper)
    struc = cv2.getStructuringElement(cv2.MORPH_ELLIPSE,(11,11))
    mask = cv2.morphologyEx(mask,cv2.MORPH_CLOSE,struc)
    boolean = mask>0
    new = np.zeros_like(img, np.uint8)
    new[boolean] = img[boolean]
    # new_train.append(new)

    lower1 = (190, 190, 190)
    upper1 = (255, 255, 255)
    org_img = cv2.inRange(img, lower1, upper1)
    boolean = org_img > 0
    block_new = np.zeros_like(img, np.uint8)
    block_new[boolean] = img[boolean]

    # cv2.imshow('block_new', block_new)
    # cv2.waitKey(0)
    #
    # cv2.imshow('mask',new)
    # cv2.waitKey(0)
    return new,block_new
结果显示:


def Char_moment_features(block_new,image):
    img = image
    size = img.shape

    img = cv2.resize(img, (int(size[1]/4), int(size[0]/4)))
    block_new = cv2.resize(block_new, (int(size[1] / 4), int(size[0] / 4)))
    # 转换为灰度图像
    img_gray = cv2.cvtColor(img, cv2.COLOR_BGR2GRAY)
    org_image_gray = cv2.cvtColor(block_new, cv2.COLOR_BGR2GRAY)
    # 转换为二值图
    ret, binary = cv2.threshold(img_gray, 127, 255, cv2.THRESH_BINARY)
    org_ret, org_binary = cv2.threshold(org_image_gray, 127, 255, cv2.THRESH_BINARY)
    # 获取图像的轮廓参数
    contours, hierarchy = cv2.findContours(binary, cv2.RETR_LIST, cv2.CHAIN_APPROX_SIMPLE)

    org_contours, org_hierarchy = cv2.findContours(org_binary, cv2.RETR_LIST, cv2.CHAIN_APPROX_SIMPLE)

    largest_contour = max(contours, key=cv2.contourArea)
    largest_org_contour = max(org_contours, key=cv2.contourArea)
    # 2、画出轮廓
    dst = cv2.drawContours(img, [largest_contour], -1, (0, 20, 255), 3)

    org_dst = cv2.drawContours(block_new,[largest_org_contour], -1, (0, 20, 255), 3)
    #                           轮廓     第几个(默认-1:所有)   颜色       线条厚度
    cv2.imshow('dst', dst)
    cv2.waitKey(0)
    cv2.imshow('org_dst', org_dst)
    cv2.waitKey(0)
    Area=cv2.contourArea(largest_contour)/cv2.contourArea(largest_org_contour)*9
    # for i in range(len(contours)):
    print(str(1), cv2.moments(largest_contour))
    # print("轮廓"+str(1)+"的面积" +str(Area) +"cm2")
    # print("轮廓" + str(1) + "的长度" + str(cv2.arcLength(largest_contour, True)))
    return Area

Area=cv2.contourArea(largest_contour)/cv2.contourArea(largest_org_contour)*9
其中的9是由于拍照选取的为3*3cm的参考物
主函数
if __name__ == '__main__':
    image_path = 'E:/AData/2024.3data/91seedling/20240327/'
    i=1
    book = xlwt.Workbook(encoding='utf-8', style_compression=0)
    # ws.append(['数据']) # 添加表头
    sheet = book.add_sheet('Sheet', cell_overwrite_ok=True)
    for f in os.listdir(image_path):
        image = cv2.imread(image_path + f)
        print(image_path + f)
        ad_image = adjust_lightness(image)
        new,block_new=extract_mask(ad_image)
        Area=Char_moment_features(block_new,new)
        print("轮廓" + str(i) + "的面积" + str(Area) + "cm2")
        sheet.write(i, 2, Area)
        savepath = 'E:/AData/2024.3data/91seedling/20240327.xls'
        book.save(savepath)
        i=i+1
粗略算法还需进一步改进


 2809
2809


 被折叠的 条评论
为什么被折叠?
被折叠的 条评论
为什么被折叠?
 到【灌水乐园】发言


