


代码:
public String doChatGPT(String question) throws IOException {
CloseableHttpClient httpClient = HttpClientBuilder.create().build();
HttpPost post = new HttpPost("https://api.openai.com/v1/chat/completions");
post.addHeader("Content-Type", "application/json");
post.addHeader("Authorization", "Bearer " + openAiKey);
String paramJson = "{\n" +
" \"model\": \"gpt-3.5-turbo\",\n" +
" \"messages\": [{\"role\": \"user\", \"content\": \""+question+"\"}],\n" +
" \"temperature\": 0.7\n" +
" }";
StringEntity stringEntity = new StringEntity(paramJson, ContentType.create("text/json", "UTF-8"));
post.setEntity(stringEntity);
CloseableHttpResponse response = httpClient.execute(post);
if (response.getStatusLine().getStatusCode() == HttpStatus.SC_OK) {
String jsonStr = EntityUtils.toString(response.getEntity());
logger.info("jsoon={}", jsonStr);
AIAnswer aiAnswer = JSON.parseObject(jsonStr, AIAnswer.class);
StringBuilder answers = new StringBuilder();
List<Choices> choices = aiAnswer.getChoices();
for (Choices choice : choices) {
answers.append(choice.getMessage().getContent());
}
return answers.toString();
} else {
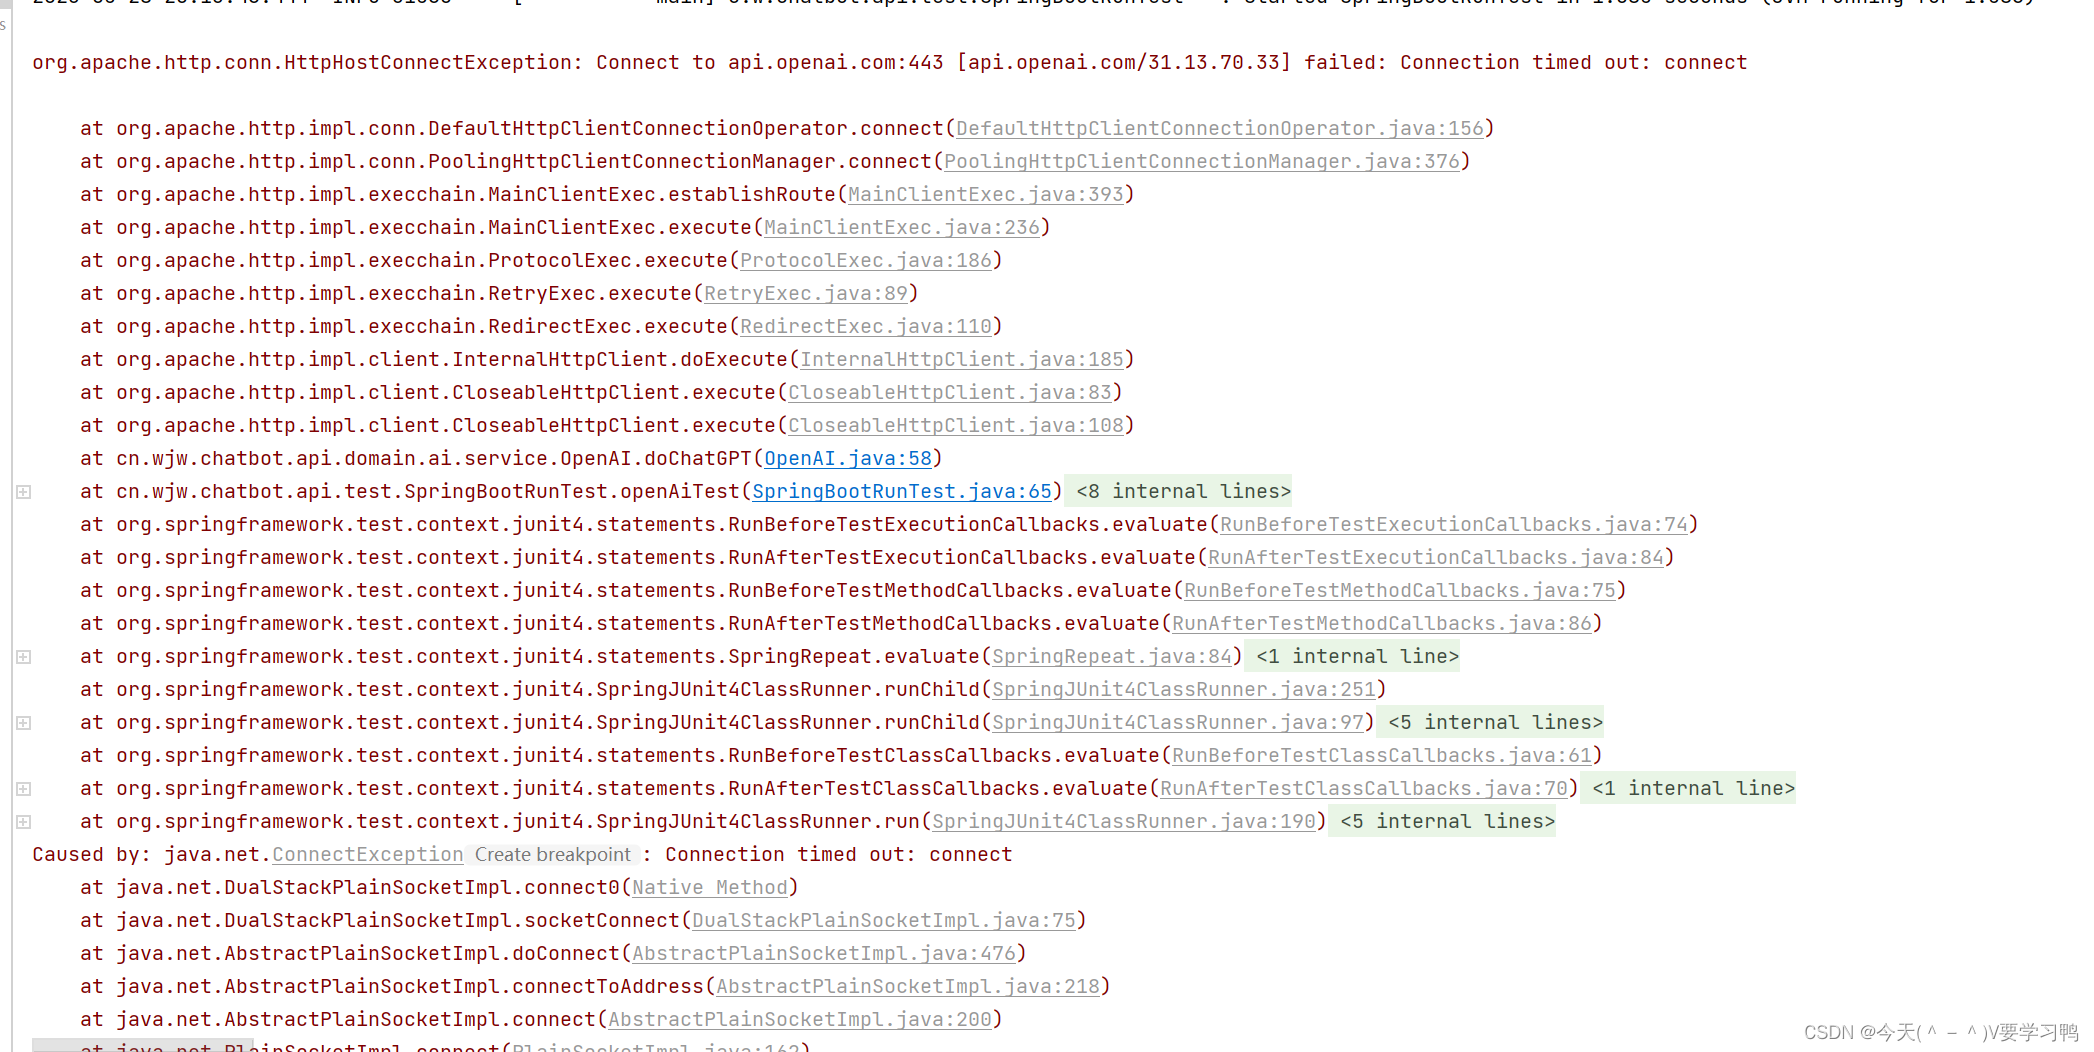
throw new RuntimeException("api.openai.com Err Code is " + response.getStatusLine().getStatusCode());
}
}
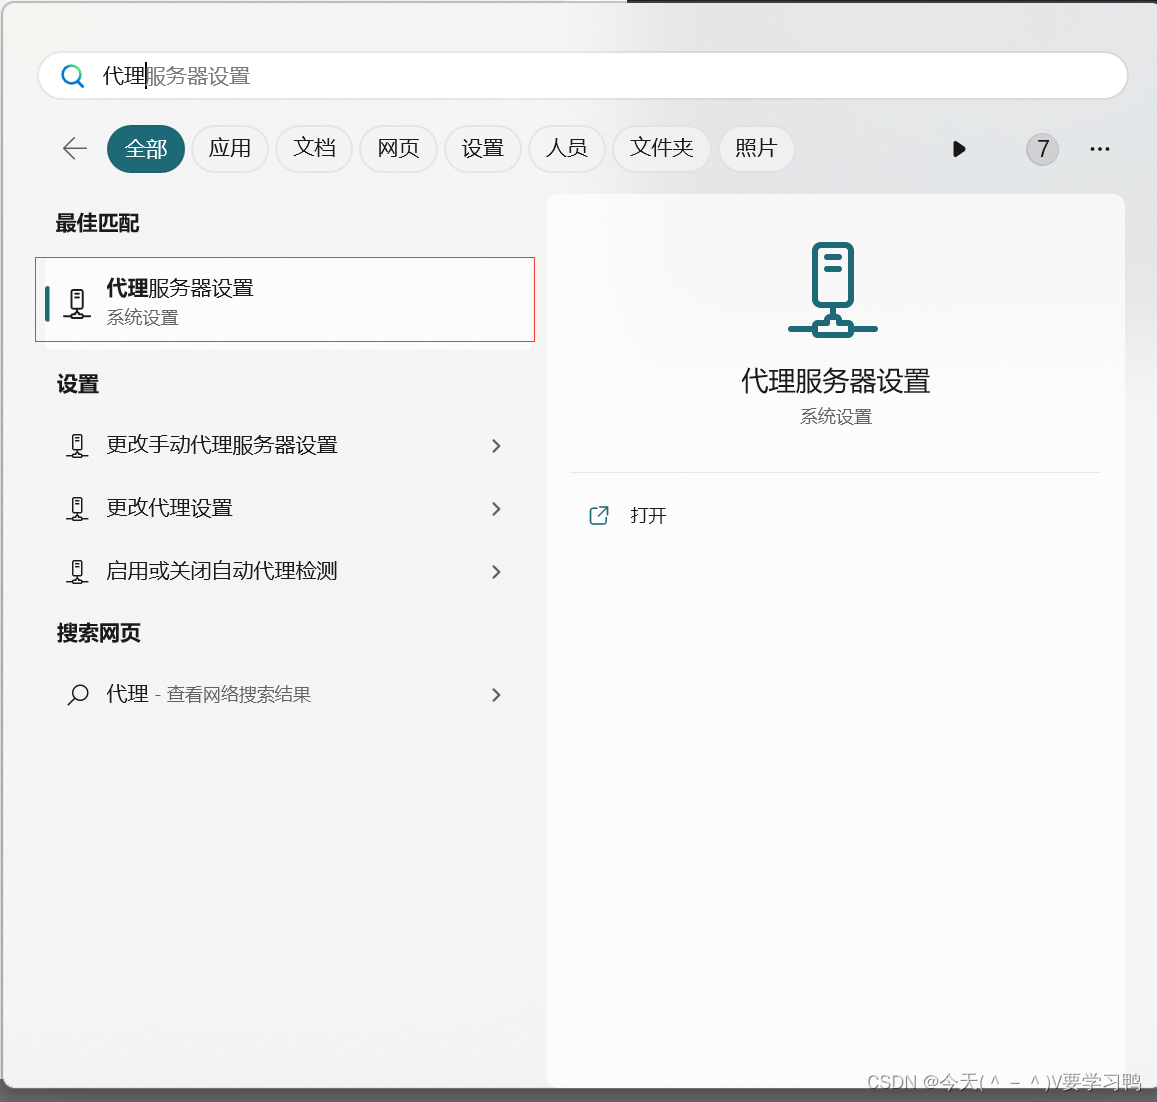
最终解决方案是使用了本地代理
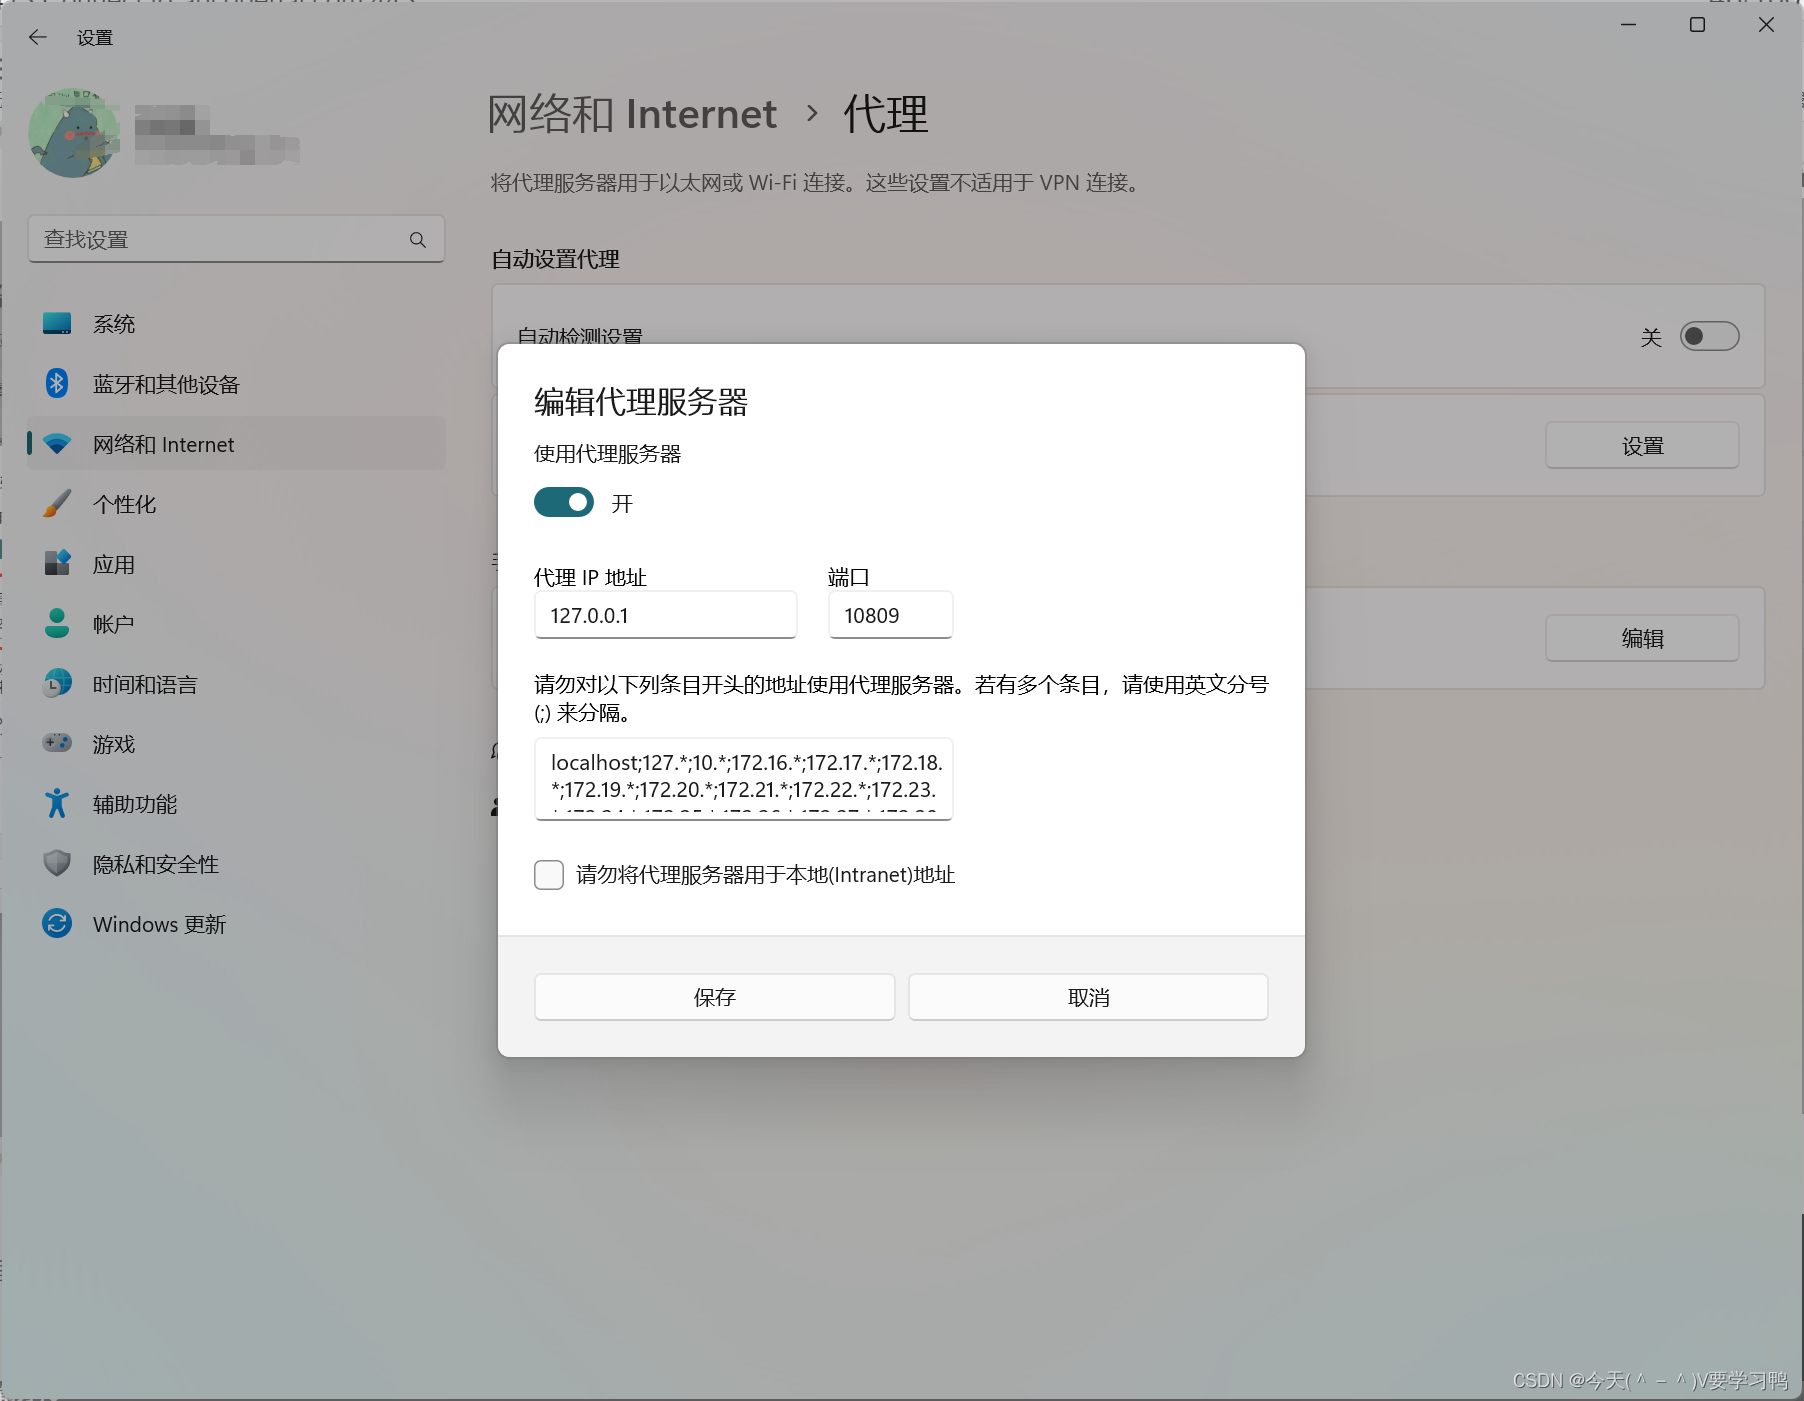
我在自己电脑上招待代理服务器设置,然后打开之后看代理地址和端口号
然后修改代码如下(主要增加了代理功能):
public String doChatGPT(String question) throws IOException {
        CloseableHttpClient httpClient = HttpClientBuilder.create().build();
        // 新增代码:增加代理
        String proxyHost = "127.0.0.1";
        int proxyPort = 10809;
        HttpHost proxy = new HttpHost(proxyHost, proxyPort);
        RequestConfig requestConfig = RequestConfig.custom()
                .setProxy(proxy)
                .build();

        HttpPost post = new HttpPost("https://api.openai.com/v1/chat/completions");
        post.addHeader("Content-Type", "application/json");
        post.addHeader("Authorization", "Bearer " + openAiKey);
        // 新增代码:将代理类放入配置中
        post.setConfig(requestConfig);
        String paramJson = "{\n" +
                "     \"model\": \"gpt-3.5-turbo\",\n" +
                "     \"messages\": [{\"role\": \"user\", \"content\": \""+question+"\"}],\n" +
                "     \"temperature\": 0.7\n" +
                "   }";

        StringEntity stringEntity = new StringEntity(paramJson, ContentType.create("text/json", "UTF-8"));
        post.setEntity(stringEntity);

        CloseableHttpResponse response = httpClient.execute(post);
        if (response.getStatusLine().getStatusCode() == HttpStatus.SC_OK) {
            String jsonStr = EntityUtils.toString(response.getEntity());
            logger.info("jsoon={}", jsonStr);
            AIAnswer aiAnswer = JSON.parseObject(jsonStr, AIAnswer.class);
            StringBuilder answers = new StringBuilder();
            List<Choices> choices = aiAnswer.getChoices();
            for (Choices choice : choices) {
                answers.append(choice.getMessage().getContent());
            }
            return answers.toString();
        } else {
            throw new RuntimeException("api.openai.com Err Code is " + response.getStatusLine().getStatusCode());
        }
    }
测试结果如下:
    public void openAiTest() throws IOException {
        String res = OpenAI.doChatGPT("帮我写一个冒泡排序");
        logger.info("测试结果:{}", res);
    }


 362
362

 被折叠的 条评论
为什么被折叠?
被折叠的 条评论
为什么被折叠?
 到【灌水乐园】发言


