


一、关于环境
请参考:pymeshlab遍历文件夹中模型、缩放并导出指定格式-CSDN博客
二、关于代码
本文所给出代码仅为参考,禁止转载和引用,仅供个人学习。本文所给出的例子是https://download.csdn.net/download/weixin_42605076/89233917中的obj_000001.ply。
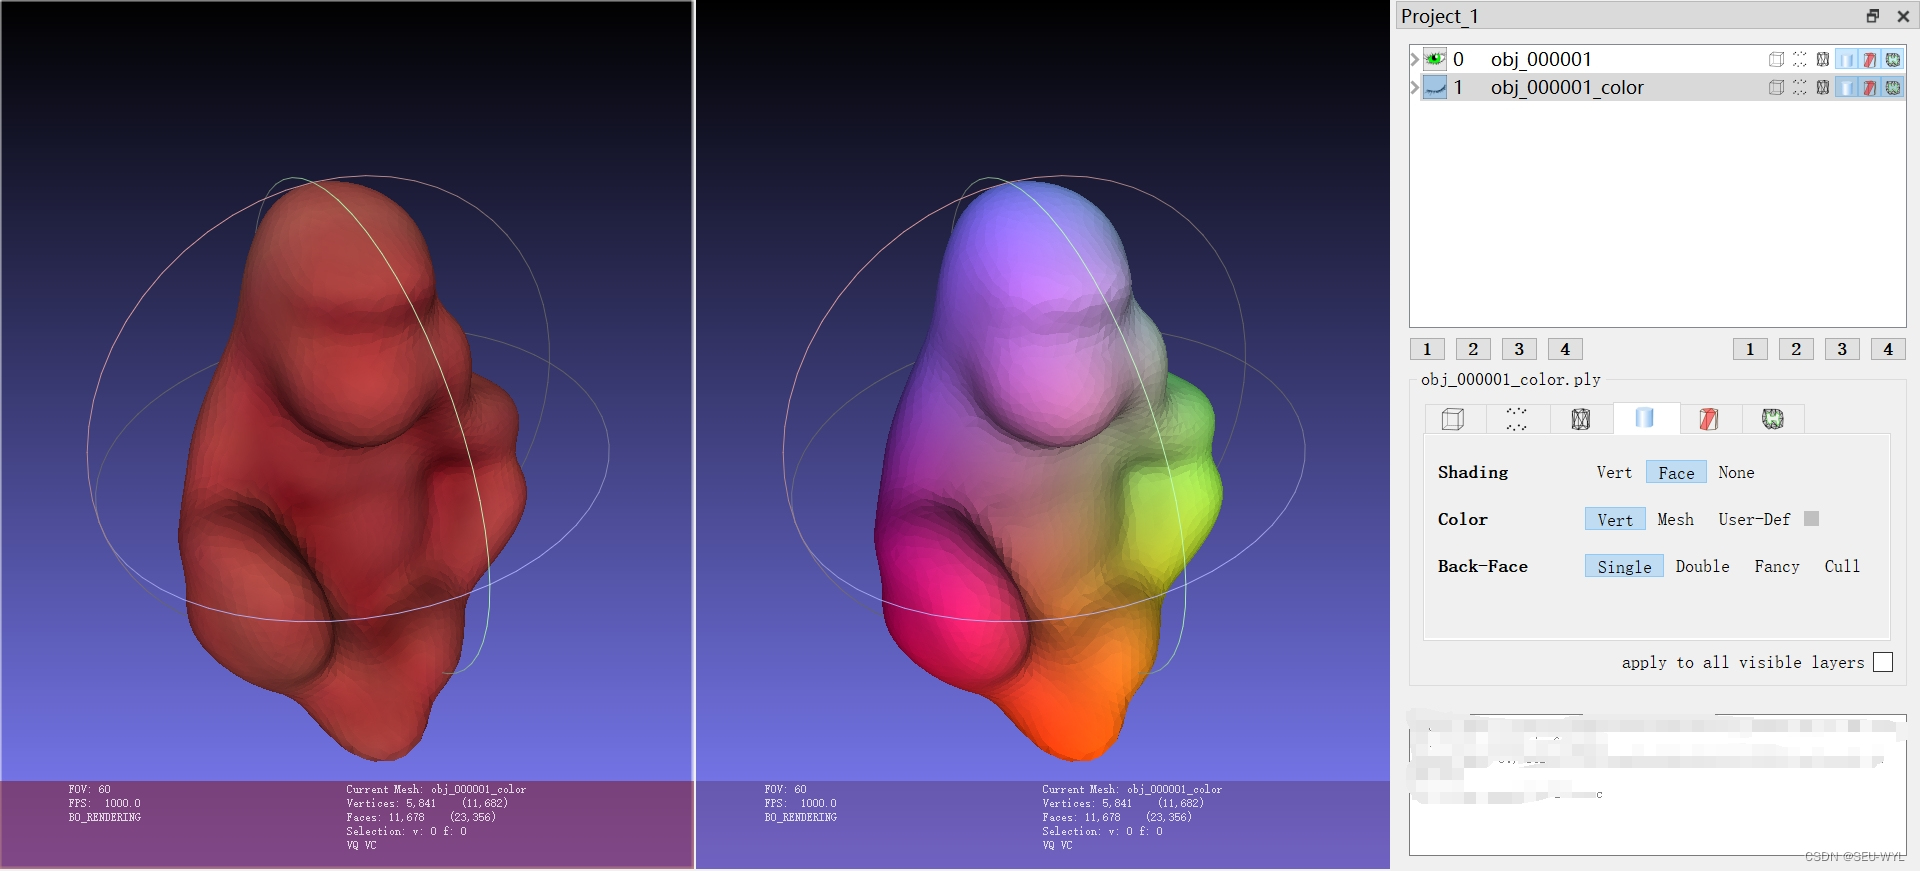
运行代码后的颜色化物体模型
# pymeshlab需要导入,其一般被命名为ml
import pymeshlab as ml

# numpy需要导入,其一般被命名为np
import numpy as np

# 本案例所使用的3D模型为压缩包中的obj_000001.ply,请将其与本脚本放置在同一文件夹内。
input_file = 'obj_000001.ply'

# 首先需要创建一个空的容器
mesh = ml.MeshSet()

# 然后,加载物体模型
mesh.load_new_mesh(input_file)

# 获取顶点坐标和面片索引
mesh_c = mesh.current_mesh()
vertex_matrix = mesh_c.vertex_matrix().copy()
face_matrix = mesh_c.face_matrix().copy()

# 获取坐标下限
min_vertex_matrix = np.min(vertex_matrix, axis=0)

# 获取坐标范围
range_vertex_matrix = np.max(vertex_matrix, axis=0) - np.min(vertex_matrix, axis=0)

# 将坐标转换为颜色
color_vertex_matrix = ((vertex_matrix - min_vertex_matrix) / range_vertex_matrix)
v_color_matrix = np.ones((color_vertex_matrix.shape[0], 4))
v_color_matrix[:,:3] = color_vertex_matrix

# 创建一个新的容器
mesh = ml.MeshSet()

# 创建一个新的模型
mesh_c = ml.Mesh(vertex_matrix = vertex_matrix,
                 face_matrix = face_matrix,
                 v_color_matrix = v_color_matrix,
                 )

# 然后,将新的模型放入MeshSet中
mesh.add_mesh(mesh_c)

# 保存颜色化坐标
mesh.save_current_mesh(input_file.replace('.ply', '_color.ply'))


 4551
4551

 被折叠的 条评论
为什么被折叠?
被折叠的 条评论
为什么被折叠?
 到【灌水乐园】发言


