chapter 0 随机数的学习
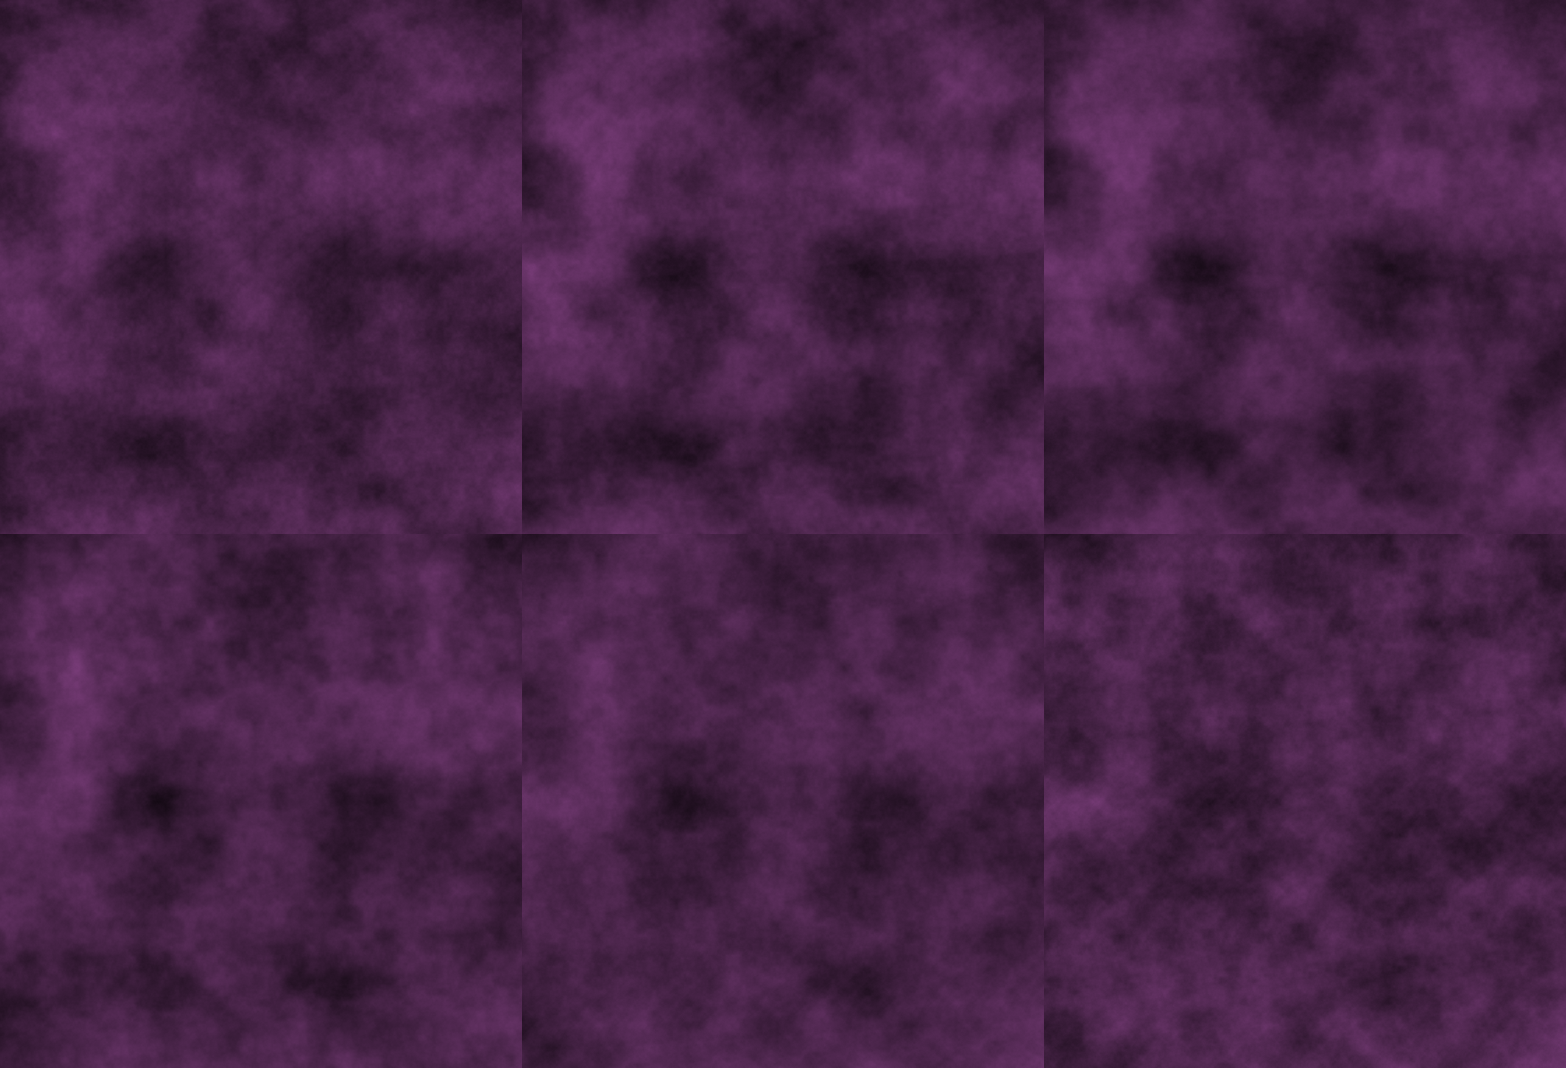
根据噪声生成紫色烟雾效果
涉及函数
1、noise()函数
描述:
返回指定坐标处的Perlin噪声值。 Perlin噪声是随机序列发生器,产生比标准random()函数更自然,谐波序列的数字。它是由Ken Perlin在20世纪80年代开发的,并已用于图形应用程序,以生成程序纹理,形状,地形和其他看似有机的形式。
与random()函数相反,Perlin噪声被定义在无限的n维空间中,其中每对坐标对应于固定的半随机值(仅针对程序的寿命而定)。结果值始终在0.0到1.0之间。处理可以根据给出的坐标数量来计算1D,2D和3D噪声。噪声值可以通过移动噪声空间来动画化,如上面的第一个例子所示。第二和第三维也可以解释为时间。
实际的噪声结构与音频信号相似,就功能的使用频率而言。类似于物理学中的谐波概念,Perlin噪声是在几个八度计算的,它们被加在一起以获得最终结果。
调整结果序列的另一种方式是输入坐标的比例。由于函数在无限空间内起作用,所以坐标的值并不重要;只有连续坐标之间的距离很重要(例如在循环内使用noise()时)。通常,坐标之间的差越小,噪声序列越平滑。 0.005-0.03的工作最适合大多数应用,但这取决于使用情况。
在处理中已经对噪声的准确性进行了辩论。为了澄清,它是1983年实施的“经典Perlin噪声”,而不是2001年以来的较新的“单声道噪声”方法。
语法:
noise(x)
noise(x, y)
noise(x, y, z)
参数:
x float: x-coordinate in noise space 噪声空间中的x坐标
y float: y-coordinate in noise space 噪声空间中的y坐标
z float: z-coordinate in noise space 噪声空间中的z坐标
返回:float
2、pixels[]像素数组
数组, 其中包含显示窗口中所有像素的值。这些值是颜色数据类型。此数组是显示窗口的大小。例如, 如果图像是100×100 像素, 将有10000值, 如果窗口是200×300 像素, 将有60000值。
在访问此数组之前, 数据必须用 loadPixels () 函数加载。如果不这样做, 可能会导致异常。对显示窗口的后续更改将不会以像素为单位反映, 直到再次调用 loadPixels ()。修改像素后, 必须运行 updatePixels () 函数来更新显示窗口的内容。
实现过程
使用二维噪声,循环遍历图像上每个像素,并通过noise()函数为每个像素赋值,这样就可以得到根据perlin噪声分布的图像
给像素赋亮度值代码如下:
for (int x = 0; x < width; x++) {
    xoff += increment;
    float yoff = 0.0;
    for (int y = 0; y < height; y++) {
      yoff += increment;
      float bright = map(noise(xoff,yoff,zoff),0,1,0,255);
      pixels[x+y*width] = color(bright*0.4,bright*0.2,bright*0.4);
    }
  }
其中xoff yoff表示 像素点的偏移量
这样我们就得到了通过噪声随机生成的静态图像,为了让我们的图像具有动态效果,还需要增加noise()函数中的参数,并以此表示时间维度来获得动态效果。
完整代码
float increment = 0.01;
float zoff = 0.0;
float zincrement = 0.03;
void setup() {
  size(600,600);
}

void draw() {
  background(0);
  noiseDetail(8,0.65f);
  loadPixels();
  float xoff = 0.0;
  for (int x = 0; x < width; x++) {
    xoff += increment;
    float yoff = 0.0;
    for (int y = 0; y < height; y++) {
      yoff += increment;
      float bright = map(noise(xoff,yoff,zoff),0,1,0,255);
      pixels[x+y*width] = color(bright*0.4,bright*0.2,bright*0.4);
    }
  }
  updatePixels();
  zoff += zincrement;
}
最终效果
学习感悟
对随机数的应用有了一定的了解,以及random()与noise()在使用上会有什么不同,对于噪声的应用可以产生更为连续的随机数,而random()函数所产生的随机数比较独立,适合个体的生成,而噪声可被用于对自然界纹理效果的模拟。
chapter 1 向量的学习
漂浮的苏打气泡效果
涉及函数
1、PVector 向量
一个用于描述二维或三维向量,特别是欧几里德(也称为几何)向量的类。向量是具有大小和方向的实体。其数据类型存储向量的分量(x,y为2D,x,y,z为3D)。我们可以通过mag()和heading()方法访问大小和方向。
领域 :
x The x component of the vector 向量的x分量
y The y component of the vector 向量的y分量
z The z component of the vector 向量的z分量
方法:
set() Set the components of the vector
random2D() Make a new 2D unit vector with a random direction.
random3D() Make a new 3D unit vector with a random direction.
fromAngle() Make a new 2D unit vector from an angle
copy() Get a copy of the vector
mag() Calculate the magnitude of the vector
magSq() Calculate the magnitude of the vector, squared
add() Adds x, y, and z components to a vector, one vector to another, or two independent vectors
sub() Subtract x, y, and z components from a vector, one vector from another, or two independent vectors
mult() Multiply a vector by a scalar
构造函数:
PVector()
PVector(x, y, z)
PVector(x, y)
参数:
x float: the x coordinate. x坐标
y float: the y coordinate. y坐标
z float: the z coordinate. z坐标
2、random()
生成随机数。每一次random()函数被调用时,它返回一个在指定的范围内的随机值。如果只有一个参数传递给函数,它将返回0和高参数值之间的浮点。例如,随机(5)返回0到5之间的值(从0开始,小于5)。
如果指定两个参数,函数将返回两个值之间的浮点值。例如,随机(- 5,10.2)返回起始于5和最多(但不包括)10.2的值。用int()函数可将一个浮点随机数转为整数。
语法:
random(high)
random(low, high)
参数:
low float: lower limit 下限
high float: upper limit 上限
3、数组
数组是数据的列表。可以有任何类型的数据的数组。数组中的每一个数据都由表示其在数组中位置的索引号标识。数组中的第一个元素是 [0], 第二个元素是 [1], 等等。数组与对象相似, 因此必须使用 new 关键字创建它们。
每个数组都有一个可变长度, 它是数组中元素总数的整数值。请注意, 由于索引编号从零开始 (不是 1), 因此, 不5的数组中的最后一个值应被引用为数组 [4] (即长度减去 1), 而不是数组 [5], 这将触发错误。
另一个常见的混淆来源是使用长度来获取数组的大小和长度 () 以获取字符串的大小之间的差异。使用字符串时请注意括号的存在。(数组. length 是一个变量, 而字符串. length () 是特定于字符串类的方法。
语法
datatype[] var
var[element] = value
var.length
实现过程
实现过程分为两步,分别为有不同运动方式的单个气泡生成,以及不同颜色,大小气泡的生成,单个气泡的生成参考《代码本色》一书中的mover类,并加以修改:
class Mover {

  PVector location;
  PVector velocity;
  PVector acceleration;
  float topspeed;

  Mover(PVector a) {
    location = new PVector(a.x, a.y);
    velocity = new PVector(0, 0);
    topspeed = 6;
  }

  void update() {
    acceleration = PVector.random2D();
    acceleration.mult(random(2));
    velocity.add(acceleration);
    velocity.limit(topspeed);
    location.add(velocity);
  }

  void display(float r,float g,float b,float R) {
    noStroke();
    strokeWeight(2);
    fill(r,g,b);
    ellipse(location.x, location.y, R, R);
  }

  void checkEdges() {
    if (location.x > width) {
      location.x = 0;
    }
    else if (location.x < 0) {
      location.x = width;
    }
    if (location.y > height) {
      location.y = 0;
    }
    else if (location.y < 0) {
      location.y = height;
    }
  }
}
display()函数绘制气泡,传入参数确定气泡的颜色和大小,update()更新气泡所在位置,实化mover类,就可以在画布上得到一个随机运动的气泡,初始位置由random()随机选择。
接下来就是气泡的颜色,大小和生成数量,用数组进行存储
Mover[] mover=new Mover[100];
float[] colorDesision = new float[100];
float[] sizeDesision= new float[100];
然后在setup()函数中:
void setup() {
  size(640,360);
  PVector startPoint= new PVector(random(0,640),random(0,360));
  for(int i=0;i<440;i++){
  mover[i] = new Mover(startPoint);
  colorDesision[i]=random(0,5);
  sizeDesision[i]=random(20,50);
  }
}
通过循环,利用随机函数,在数组中存入不同的起始点,颜色和大小,用于气泡的绘制,接下来就可以在draw()函数中进行绘制了,每个气泡独立生成,互不受影响,运动随机
void draw() {
  background(255);
  for(int i=0;i<80;i++){
   mover[i].display(colorDesision[i]*50,colorDesision[i]*20,colorDesision[i],sizeDesision[i]);
  mover[i].update();
  mover[i].checkEdges();
  }
}
最终效果
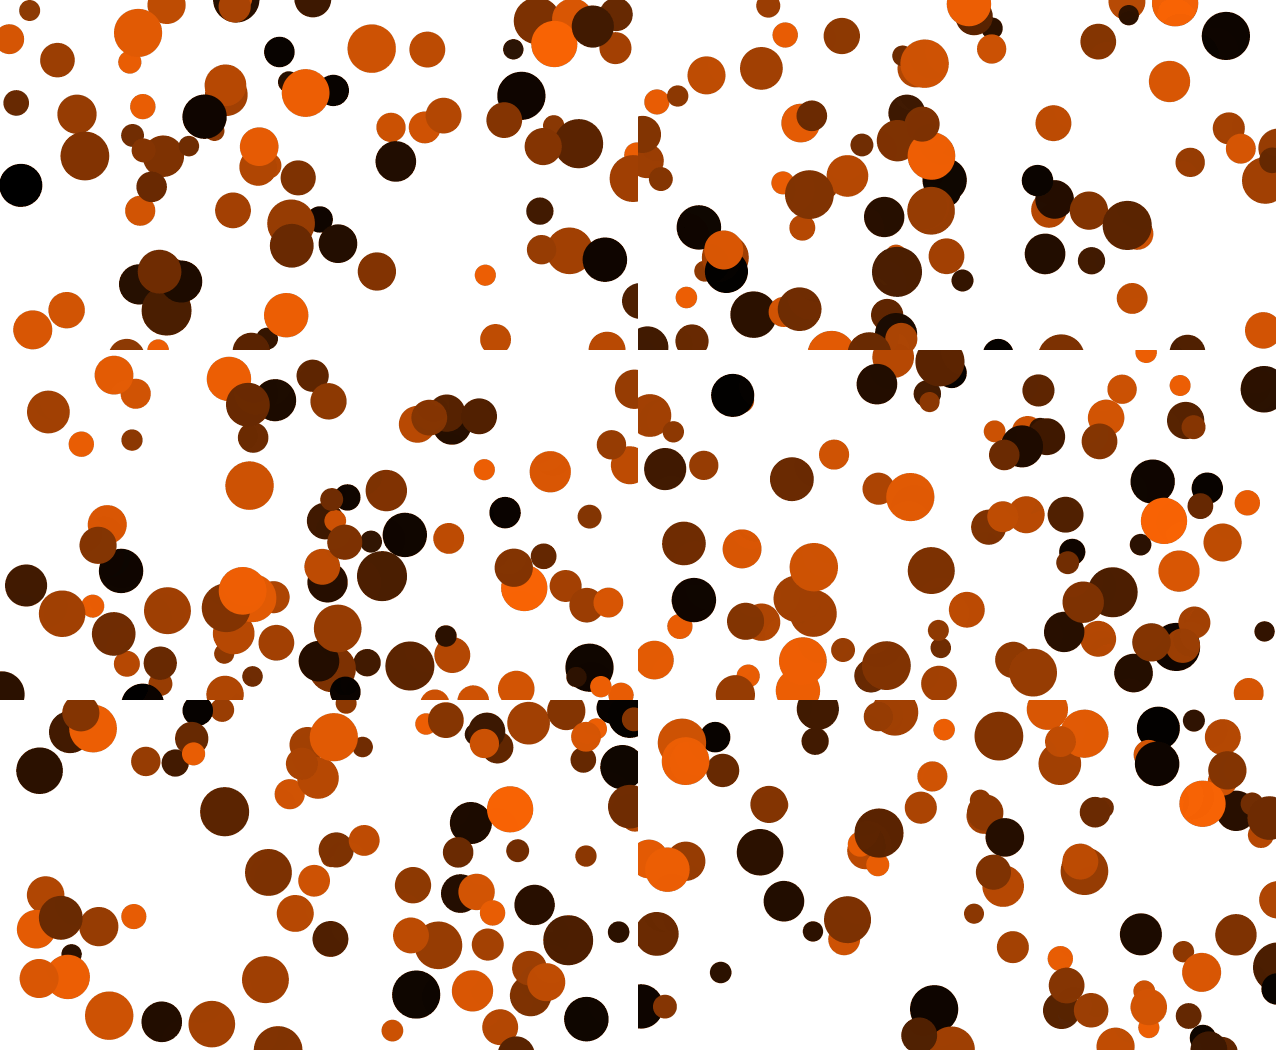
每次打开出现的效果比较随机,颜色是三个RGB色域按照不同比例取得的随机值,因此整体画面基本由相近色组成。
学习感悟
在有了向量的概念以后,物体运动的过程就变得更加清晰了,而且代码也不会那么冗余,是个非常实用的技巧。
chapter 2 力的学习
控制皮球的运动
涉及函数
基于前两章的学习函数,添加了鼠标点击事件的应用
1、mousePressed()鼠标按下函数
每当按下鼠标按钮时,鼠标按压()函数就会调用一次。mouseButton变量(参见相关参考条目)可用于确定已按哪个按钮。
鼠标和键盘事件只在程序绘制()时才起作用。没有绘制(),代码只运行一次,然后停止监听事件。
Syntax(语法):mousePressed()
2、pmouseX鼠标上一帧的水平位置
系统变量pmouseX总是包含鼠标在当前帧之前的帧的水平位置。
pmouseX和pmouseY在绘制()和鼠标事件(如mousePressed()和mouseMoved())中有不同的值。内绘(),pmouseX和pmouseY只更新一次每个帧(每次通过绘制()循环一次)。但是在鼠标事件中,每次调用事件时都会更新。如果这些值没有在鼠标事件中立即更新,那么鼠标的位置只会在每个帧中读取一次,从而导致轻微的延迟和颠簸的交互。如果鼠标变量总是每帧更新多次,那么在绘制()中,类似line(pmouseX,pmouseY,mouseX,mouseX,mouseY)之类的东西会有很大的差距,因为在调用line()的调用之间,pmouseX可能已经发生了好几次变化。
如果想要相对于前一帧的值,则使用pmouseX和pmouseY内绘()。如果需要连续响应,可以在鼠标事件函数中使用pmouseX和pmouseY。
实现过程
小球的绘制以及控制,在mover类中实现,其中控制类是在先前一章的基础上进行改进,加入力的作用。
class Mover {

  PVector location;
  PVector velocity;
  PVector acceleration;
  float mass;

  Mover(float m, float x , float y) {
    mass = m;
    location = new PVector(x,y);
    velocity = new PVector(0,0);
    acceleration = new PVector(0,0);
  }

  void applyForce(PVector force) {
    PVector f = PVector.div(force,mass);
    acceleration.add(f);
  }

  void update() {
    velocity.add(acceleration);
    location.add(velocity);
    acceleration.mult(0);
  }

  void display() {
    stroke(139,105,20);
    strokeWeight(3);
    fill(238,201,0);
    ellipse(location.x,location.y,mass*16,mass*16);
    noStroke();
    fill(139,26,26);
    triangle(location.x,location.y,location.x,location.y-mass*8+3,location.x+mass*6-3,location.y+mass*6-3);
    triangle(location.x,location.y,location.x,location.y-mass*8+3,location.x-mass*6+3,location.y+mass*6-3);
    triangle(location.x-mass*6+3,location.y+mass*6-3,location.x,location.y,location.x+mass*7.5,location.y-mass*3);
    triangle(location.x+mass*6-3,location.y+mass*6-3,location.x,location.y,location.x-mass*7.5,location.y-mass*3);
    triangle(location.x,location.y,location.x+mass*7.5,location.y-mass*3,location.x-mass*7.5,location.y-mass*3);
  }

  void checkEdges() {

    if (location.x > width) {
      location.x = width;
      velocity.x *= -1;
    } else if (location.x < 0) {
      location.x = 0;
      velocity.x *= -1;
    }

    if (location.y > height) {
      velocity.y *= -1;
      location.y = height;
    }
  }
}
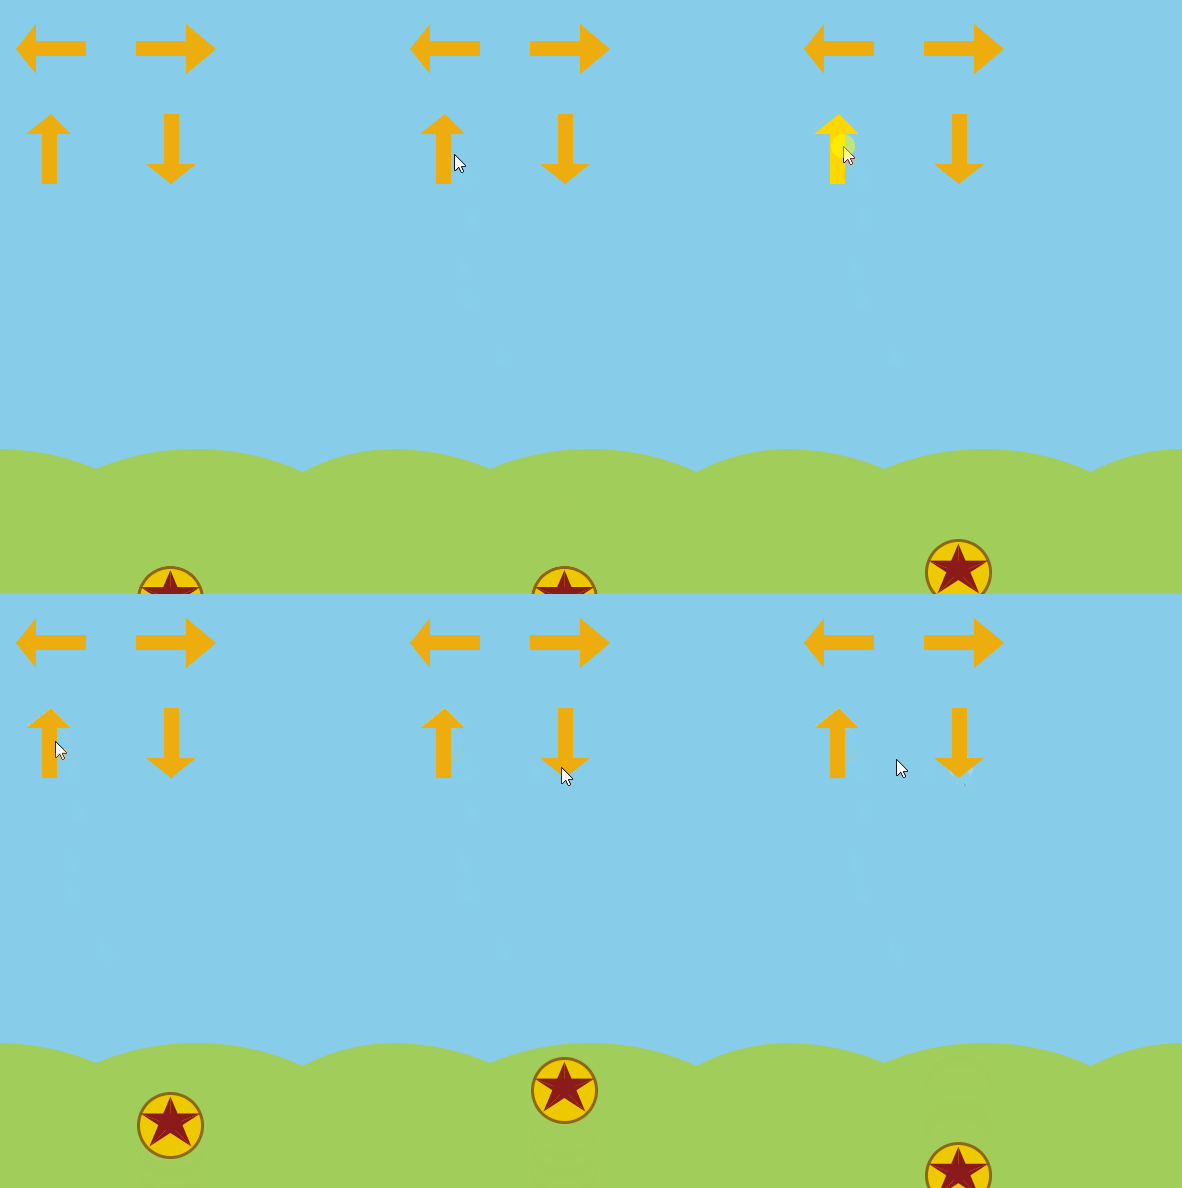
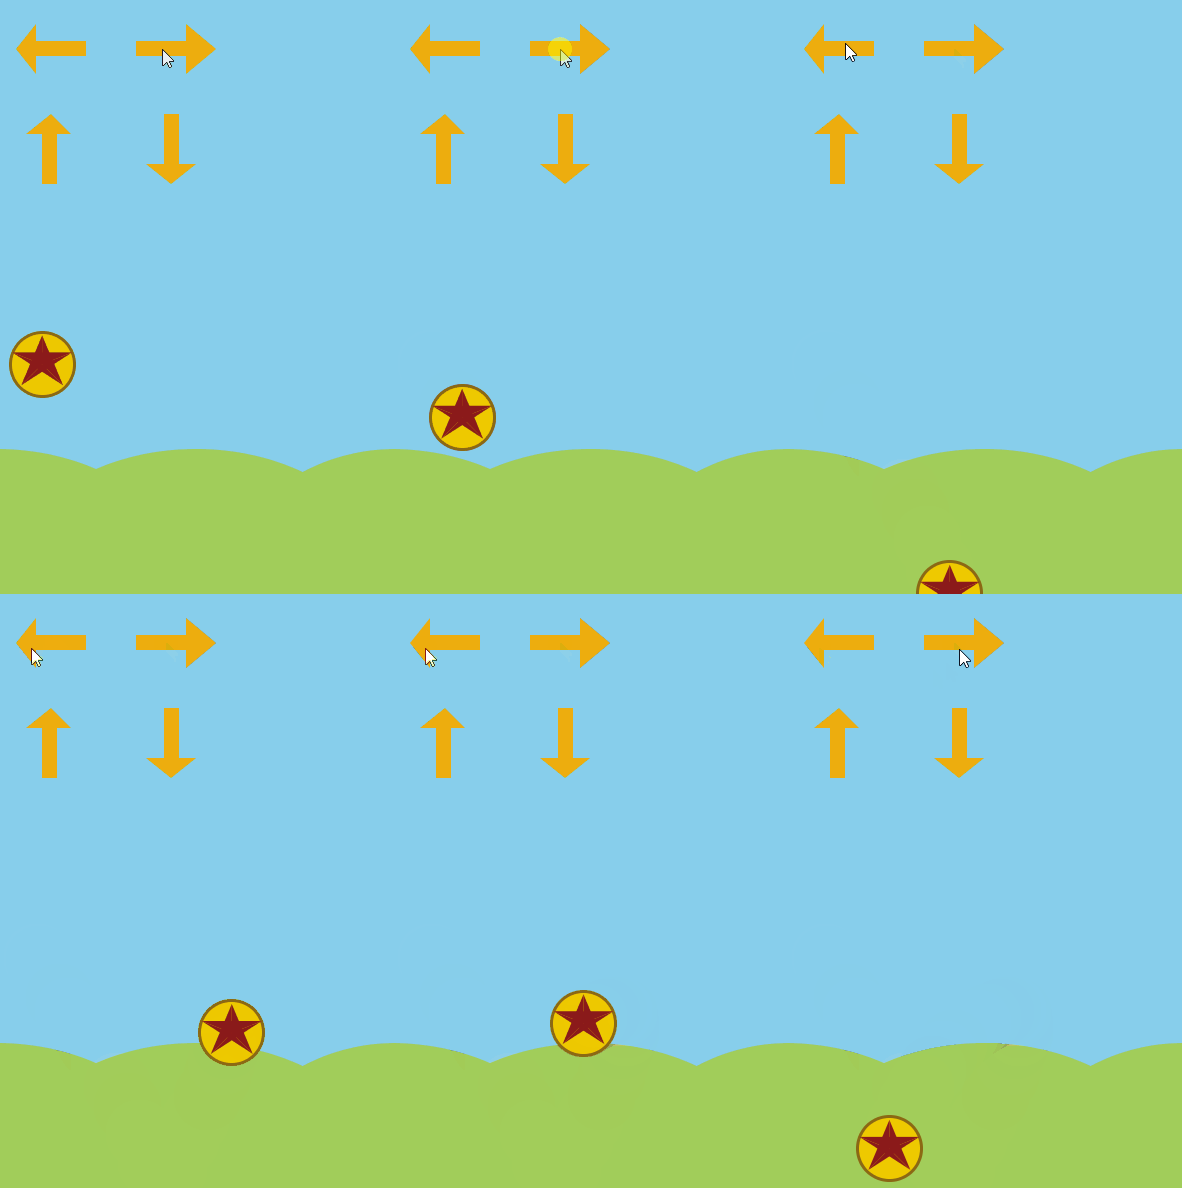
在主类中进行背景的绘制,将mover类实例化,同时加入鼠标点击事件的判断,不同的点击事件,会向小球添加不同方向的力。
Mover mover;
PVector upForce;
PVector wind;
void setup() {
  size(400, 600);
  mover = new Mover(4, width/2, height/2);
}

void mousePressed(){
  if(mousePressed&&pmouseX<90&&pmouseY<75){
     wind = new PVector(-5, 0);
     mover.applyForce(wind);
     noStroke();
     fill(255,215,0);
     drawLeft();
  }
  if(mousePressed&&pmouseX<90&&pmouseY>80){
     upForce = new PVector(0, -10);
     mover.applyForce(upForce);
     noStroke();
     fill(255,215,0);
      drawUp();
  }
  if(mousePressed&&pmouseX>140&&pmouseY>80){
     upForce = new PVector(0, 10);
     mover.applyForce(upForce);
     noStroke();
     fill(255,215,0);
     drawDown();
  }
  if(mousePressed&&pmouseX>140&&pmouseY<75){
     wind = new PVector(5, 0);
     mover.applyForce(wind);
     noStroke();
     fill(255,215,0);
     drawRight();
  }
}

void draw() {
    background(255);
    drawBckground();
    noStroke();
    fill(238,173,14);
    drawLeft();
    drawUp();
    drawDown();
    drawRight();
    PVector gravity = new PVector(0, 0.1*mover.mass);
    float c = 0.05;
    PVector friction = mover.velocity.get();
    friction.mult(-1);
    friction.normalize();
    friction.mult(c);
    mover.applyForce(friction);
    mover.applyForce(gravity);
    mover.update();
    mover.display();
    mover.checkEdges();
}

void drawBckground(){
  noStroke();
  fill(135,206,235);
  rect(0, 0, width, height);
  fill(162,205,90);
  ellipse(0,height,width,height/2);
  ellipse(width/2,height,width,height/2);
  ellipse(width,height,width-50,height/2);
}

void drawLeft(){
  triangle(20,50,width/10,25,width/10,75);
  rect(width/10,42,50,15);
}

void drawUp(){
  triangle(55,115,30,135,75,135);
  rect(46,135,15,50);
}

void drawDown(){
  triangle(175,185,150,165,200,165);
  rect(168,115,15,50);
}

void drawRight(){
  triangle(220,50,190,25,190,75);
  rect(140,42,50,15);
}
最终效果
学习感悟
通过对力的学习,可以让物体有更加丰富的运动方式,并可以通过力模拟自然界物体的运动规律,感觉又回到了高中被物理支配的恐惧,但有一说一,力对于动态的表现是不可或缺的。

chapter 3 振荡
卡比兽拉绳玩偶
涉及函数
1、pushMatrix()/popMatrix()
描述:
从矩阵堆栈中弹出当前变换矩阵。了解push和pop需要了解一个矩阵堆栈的概念。pushmatrix()功能保存当前坐标系统堆栈和popmatrix()恢复之前的坐标系统。pushmatrix()和popmatrix()组合使用与其他变换功能,可以嵌入到控制转换的范围。
这次实验按照之前的学习进行延伸,没有用到较新的函数,是对上一章节受力方式的延伸,加入了角度,角速度,角加速度的相关使用。
实现过程
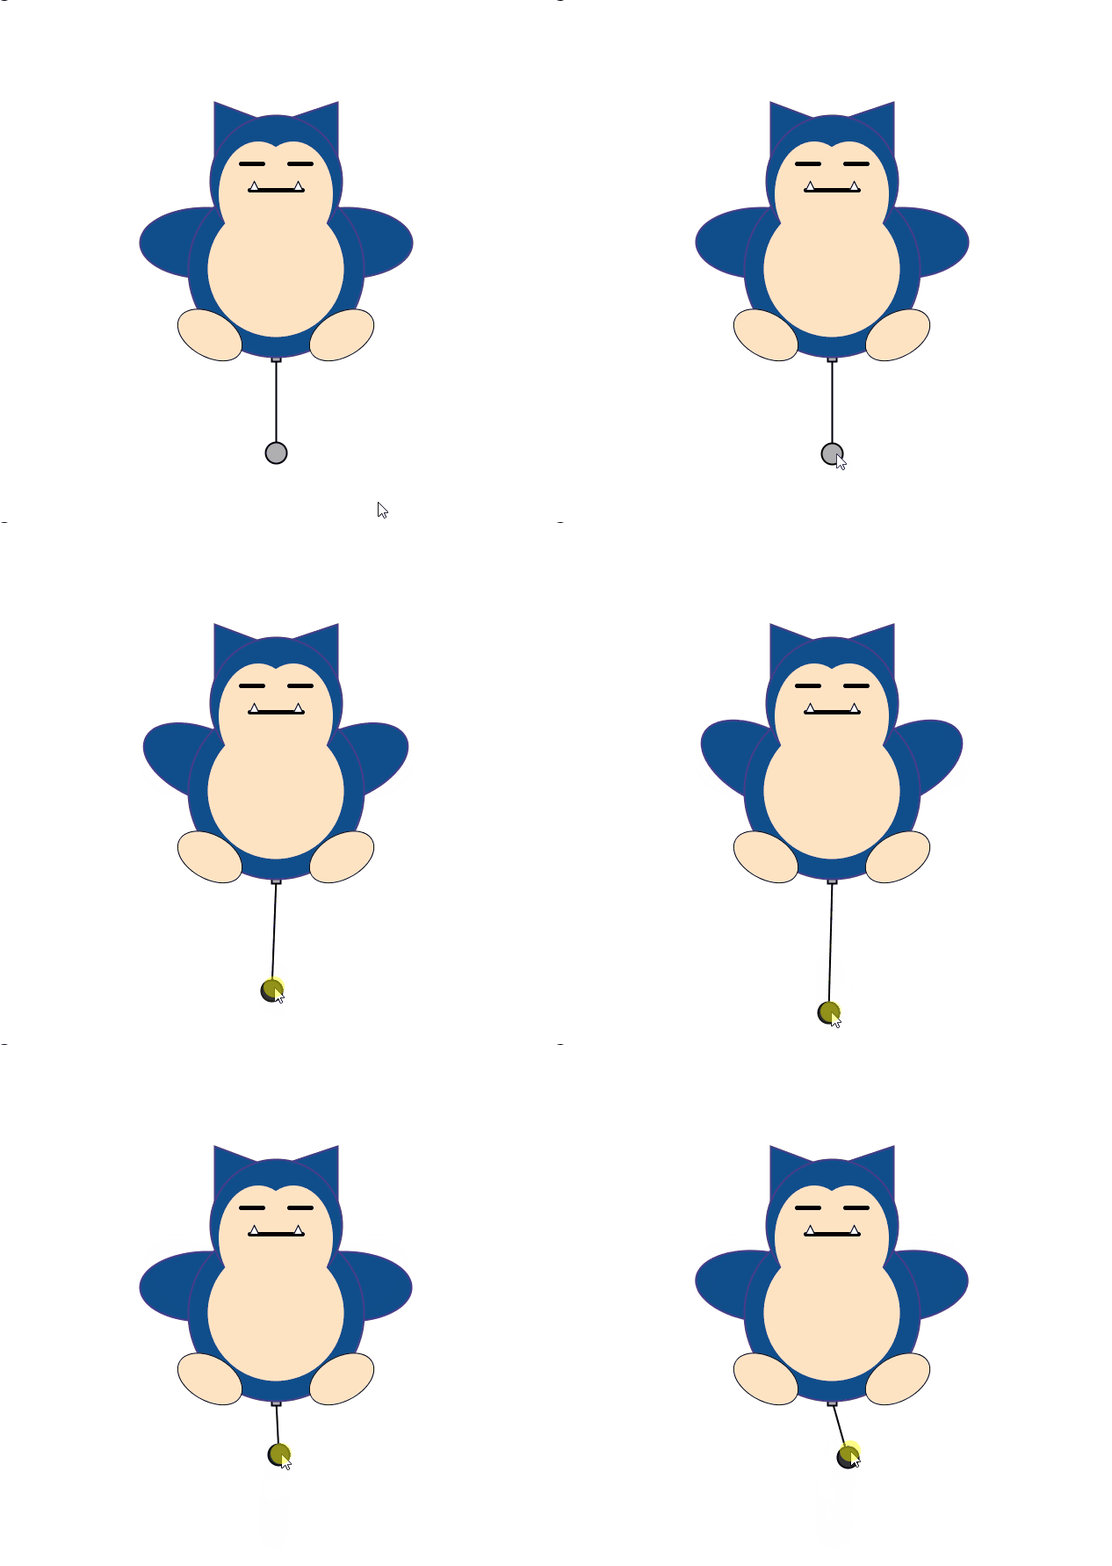
所实现的动态部分包括绳子和拉环在鼠标拖拽状态下的受力,以及通过拉环的运动,带动玩偶手臂运动,静态部分包括玩偶主体部分的绘制。
绳子受力:
class Spring {
  PVector anchor;
  float len;
  float k = 0.2;
  Spring(float x, float y, int l) {
    anchor = new PVector(x, y);
    len = l;
  }

  void connect(Bob b) {
    PVector force = PVector.sub(b.location, anchor);
    float d = force.mag();
    float stretch = d - len;
    force.normalize();
    force.mult(-1 * k * stretch);
    b.applyForce(force);
  }
  void constrainLength(Bob b, float minlen, float maxlen) {
    PVector dir = PVector.sub(b.location, anchor);
    float d = dir.mag();
    if (d < minlen) {
      dir.normalize();
      dir.mult(minlen);
      b.location = PVector.add(anchor, dir);
      b.velocity.mult(0);
    }
    else if (d > maxlen) {
      dir.normalize();
      dir.mult(maxlen);
      b.location = PVector.add(anchor, dir);
      b.velocity.mult(0);
    }
  }

  void display() {
    stroke(0);
    fill(175);
    strokeWeight(2);
    rectMode(CENTER);
    rect(anchor.x, anchor.y, 10, 10);
  }

  void displayLine(Bob b) {
    strokeWeight(2);
    stroke(0);
    line(b.location.x, b.location.y, anchor.x, anchor.y);
  }
}
其中通过conect()实现与拉环间受力的传递
拉环的控制:
class Bob {
  PVector location;
  PVector velocity;
  PVector acceleration;
  float mass = 24;
  float damping = 0.98;
  PVector dragOffset;
  boolean dragging = false;
  Bob(float x, float y) {
    location = new PVector(x,y);
    velocity = new PVector();
    acceleration = new PVector();
    dragOffset = new PVector();
  }
  void update() {
    velocity.add(acceleration);
    velocity.mult(damping);
    location.add(velocity);
    acceleration.mult(0);
  }
  void applyForce(PVector force) {
    PVector f = force.get();
    f.div(mass);
    acceleration.add(f);
  }

  void display() {
    stroke(0);
    strokeWeight(2);
    fill(175);
    if (dragging) {
      fill(50);
    }
    ellipse(location.x,location.y,mass,mass);
  }

  void clicked(int mx, int my) {
    float d = dist(mx,my,location.x,location.y);
    if (d < mass) {
      dragging = true;
      dragOffset.x = location.x-mx;
      dragOffset.y = location.y-my;
    }
  }

  void stopDragging() {
    dragging = false;
  }

  void drag(int mx, int my) {
    if (dragging) {
      location.x = mx + dragOffset.x;
      location.y = my + dragOffset.y;
    }
  }
}
拉环通过鼠标点击受力产生运动
控制玩偶手臂运动:
void drawRightArm(){
  pushMatrix();
  translate(width/2+80,height/2-30);
  stroke(71,60,139);
  strokeWeight(2);
  fill(16,78,139);
  rotate(bob.velocity.y*0.1);
  ellipse(0,0,150,80);
  popMatrix();
}

void drawLeftArm(){
  pushMatrix();
  translate(width/2-80,height/2-30);
  stroke(71,60,139);
  strokeWeight(2);
  fill(16,78,139);
  rotate(-bob.velocity.y*0.1);
  ellipse(0,0,150,80);
  popMatrix();
}
其中手臂的旋转与拉环的运动速度相关联
实例化拉环类和弹力类,并进行绘制的完整代码:
Bob bob;
Spring spring;

void setup() {
  size(640,600);
  spring = new Spring(width/2,height/2+100,100);
  bob = new Bob(width/2,height/2+200);

}

void draw()  {
  background(255);
  PVector gravity = new PVector(0,2);
  bob.applyForce(gravity);
  spring.connect(bob);
  spring.constrainLength(bob,30,200);
  bob.update();
  bob.drag(mouseX,mouseY);
  spring.displayLine(bob);
  bob.display();
  spring.display();
  drawRightArm();
  drawLeftArm();
  drawBear();

}


void mousePressed()  {
  bob.clicked(mouseX,mouseY);
}

void mouseReleased()  {
  bob.stopDragging();
}

void drawBear(){
 stroke(71,60,139);
 strokeWeight(2);
 fill(16,78,139);
 triangle(300,140,390,110,390,185);
 triangle(330,140,250,110,250,185);
 ellipse(width/2,height/2,200,200);
 ellipse(width/2,height/2-100,150,150);
 noStroke();
 fill(255,228,196);
 ellipse(width/2-20,height/2-85,90,120);
 ellipse(width/2+20,height/2-85,90,120);
 ellipse(width/2,height/2,155,155);
 stroke(0);
 strokeWeight(5);
 line(335,180,360,180);
 line(305,180,280,180);
 line(290,210,350,210);
 strokeWeight(1);
 fill(255);
 triangle(290,210,295,200,300,210);
 triangle(350,210,345,200,340,210);
 fill(255,228,196);
 pushMatrix();
 translate(395,375);
 rotate(-PI/6);
 ellipse(0,0,80,50);
 popMatrix();
 pushMatrix();
 translate(245,375);
 rotate(PI/6);
 ellipse(0,0,80,50);
 popMatrix();

}

void drawRightArm(){
  pushMatrix();
  translate(width/2+80,height/2-30);
  stroke(71,60,139);
  strokeWeight(2);
  fill(16,78,139);
  rotate(bob.velocity.y*0.1);
  ellipse(0,0,150,80);
  popMatrix();
}

void drawLeftArm(){
  pushMatrix();
  translate(width/2-80,height/2-30);
  stroke(71,60,139);
  strokeWeight(2);
  fill(16,78,139);
  rotate(-bob.velocity.y*0.1);
  ellipse(0,0,150,80);
  popMatrix();
}
最终效果
学习感悟
通过对第三章的学习,对物体的运动方式及其受力过程有了进一步的了解,通过不同的公式和运算,可以让物体产生多种多样的运动方式,通过编程对物体进行简易的受力,可以使其产生类似现实生活中的运动,进而产生丰富多彩的视觉效果,仔细想也是真的很有趣。
chapter 4 粒子系统
橘子气泡粒子特效
实现过程
根据本章所述,每个粒子系统都包括每个粒子相关属性,包括粒子形状大小以及消亡过程,其次就是控制所有粒子存储和显示的类。
先说每个粒子,通过不同变量可以设置粒子的不同属性,包括运动状态和生命周期,在这里我们让每个粒子只受一个方向会跟随鼠标运动方向改变的力以及下垂的重力,在update函数中对物体的速度和位置进行更新,display函数中控制粒子的旋转以及表示消亡的缩放过程。
particle类具体实现:
class Particle {
  PVector location, velocity, acceleration, origin;
  float angle, aVelocity, aAcceleration;
  float lifespan, lifeRate, maxLifespan;
  int type, hue;

  Particle(float x, float y) {
    origin = new PVector(x, y);

    location = new PVector();

    acceleration = new PVector(0, 0.05);

    velocity = PVector.random2D();
    lifespan = maxLifespan = 50;

    lifeRate = random(0.35, 1);
    hue = 20;
    type = 1;
  }

  float getSpeed(float s){
    float t = maxLifespan / lifeRate;
    return s / t;
  }

  void run() {
    update();
    display();
  }

  void update() {
    velocity.add(acceleration);
    location.add(velocity);
    aVelocity += aAcceleration;
    angle += aVelocity;
    lifespan -= lifeRate;
  }

  boolean isDead() {
    if (lifespan < 0.0) {
      return true;
    } else {
      return false;
    }
  }

  void display() {
    pushMatrix();
    translate(origin.x, origin.y);
    rotate(radians(angle));
    translate(location.x, location.y);
    scale(map(lifespan, 0, maxLifespan, 0, 1));
    drawShape();
    popMatrix();
  }

  void drawShape() {
    stroke(255,140,0);
    strokeWeight(30);
    point(0, 0);
  }
}
接着是控制粒子存储及显示的类,用一个ArrayList来存储所有的粒子,在更新的时候删除生命走到尽头的粒子。
class ParticleSystem {
     ArrayList<Particle> plist;
     ParticleSystem() {
     plist = new ArrayList<Particle>();
   }

  void run() {
    for (int i = plist.size() - 1; i >= 0; i--) {
      Particle p = plist.get(i);
      p.run();
      if (p.isDead()) {
        plist.remove(i);
      }
    }
  }

  void addBubbel(int x, int y) {
    plist.add(new Particle(x, y));
  }


  int getSize() {
    int cnt = 0;
    for(Particle p: plist){
        cnt += p.type;
    }
    return cnt;
  }
}
接下来就是在主类中调用写好的粒子系统
ParticleSystem ps;

void setup() {
  size(600, 600);
  ps = new ParticleSystem();
}

void draw() {
  background(255);
  ps.run();

  if (mousePressed && mouseButton == LEFT) {
    ps.addBubbel(mouseX, mouseY);
  }
}
最终效果

学习感悟
通过粒子系统可以实现很多有意思的特效,当然以我现有水平实现起来确实困难,但粒子系统整体代码风格的那种系统性还是值得学习的。
总结
学习了将近五六章的《代码本色》,processing也算入了个门了吧,与此同时java语法也得到了巩固,感觉还不错。觉得相比其他教材《代码本色》这本书确实很适合入门,很易懂讲的也很有趣,学习过程也没有那么枯燥了,几个实验下来开始觉得脑子里的想法知道该如何用代码实现了,没有之前的那样不知所措了,总之收获还是很大的。


 317
317


 被折叠的 条评论
为什么被折叠?


