


1、 打标签
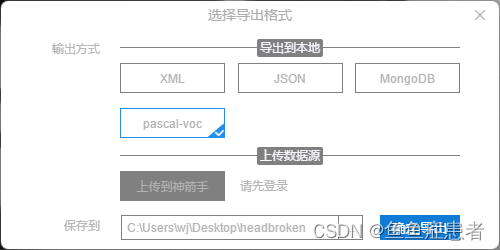
导出为voc格式
2、voc to yolo
import os
import shutil
import cv2
from lxml import etree

def VOC2Yolo(class_num, voc_img_path, voc_xml_path, yolo_txt_save_path, yolo_img_save_path=None):
    xmls = os.listdir(voc_xml_path)
    xmls = [x for x in xmls if x.endswith('.xml')]
    if yolo_img_save_path is not None:
        if not os.path.exists(yolo_img_save_path):
            os.mkdir(yolo_img_save_path)
    if not os.path.exists(yolo_txt_save_path):
        os.mkdir(yolo_txt_save_path)
    all_xmls = len(xmls)
    for idx, one_xml in enumerate(xmls):
        xl = etree.parse(os.path.join(voc_xml_path, one_xml))
        root = xl.getroot()
        objects = root.findall('object')
        img_size = root.find('size')
        img_w = 0
        img_h = 0
        if img_size:
            img_width = img_size.find('width')
            if img_width is not None:
                img_w = int(img_width.text)
            img_height = img_size.find('height')
            if img_height is not None:
                img_h = int(img_height.text)
        label_lines = []
        for ob in objects:
            one_annotation = {}
            label = ob.find('name').text
            one_annotation['tag'] = label
            one_annotation['flag'] = False
            bbox = ob.find('bndbox')
            xmin = int(bbox.find('xmin').text)
            ymin = int(bbox.find('ymin').text)
            xmax = int(bbox.find('xmax').text)
            ymax = int(bbox.find('ymax').text)
            if img_w == 0 or img_h == 0:
                img = cv2.imread(os.path.join(voc_img_path, one_xml.replace('.xml', '.jpg')))
                img_h, img_w = img.shape[:2]
            bbox_w = (xmax - xmin) / img_w
            bbox_h = (ymax - ymin) / img_h
            bbox_cx = (xmin + xmax) / 2 / img_w
            bbox_cy = (ymin + ymax) / 2 / img_h
            try:
                bbox_label = class_num[label]
                label_lines.append(f'{bbox_label} {bbox_cx} {bbox_cy} {bbox_w} {bbox_h}' + '\n')
            except Exception as e:
                print("not find number label in class_num ", e, one_xml)
                label_lines = []
                break
        if len(label_lines):
            with open(os.path.join(yolo_txt_save_path, one_xml.replace('.xml', '.txt')), 'w') as fp:
                fp.writelines(label_lines)
            if yolo_img_save_path is not None:
                shutil.copy(os.path.join(voc_img_path, one_xml.replace('.xml', '.jpg')),
                            os.path.join(yolo_img_save_path))
        print(f"processing: {idx}/{all_xmls}")


if __name__ == '__main__':
    VOC2Yolo(
        class_num={'头碎': 0},  # 标签种类
        voc_img_path=r"C:\Users\wj\Desktop\headbroken_crop", # 数据集图片文件夹存储路径
        voc_xml_path=r"C:\Users\wj\Desktop\headbroken_voc_crop\outputs", # 标签xml文件夹存储路径
        yolo_txt_save_path=r"C:\Users\wj\Desktop\yolo" # 将要生成的txt文件夹存储路径
    )
3、 txt
import glob

#存放图片的地址
train_image_path = r"/media/wlj/soft_D/WLJ/WJJ/yolov7-main/crop/images/train/"
valid_image_path = r"/media/wlj/soft_D/WLJ/WJJ/yolov7-main/crop/images/valid/"
#生成的txt的路径
txt_path = r"/media/wlj/soft_D/WLJ/WJJ/yolov7-main/crop/"

def generate_train_and_val(image_path, txt_file):
    with open(txt_file, 'w') as tf:
        for jpg_file in glob.glob(image_path + '*.jpg'):
            tf.write(jpg_file + '\n')

generate_train_and_val(train_image_path, txt_path + 'train.txt')
generate_train_and_val(valid_image_path, txt_path + 'valid.txt')
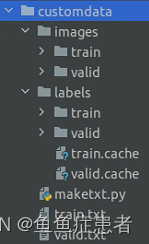
数据集格式如图
4、修改参数
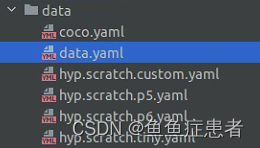
创建自己的data.yaml
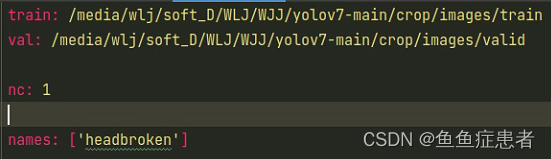
train:训练集img地址;
val:验证机img地址;
nc:种类数量
names:种类名字
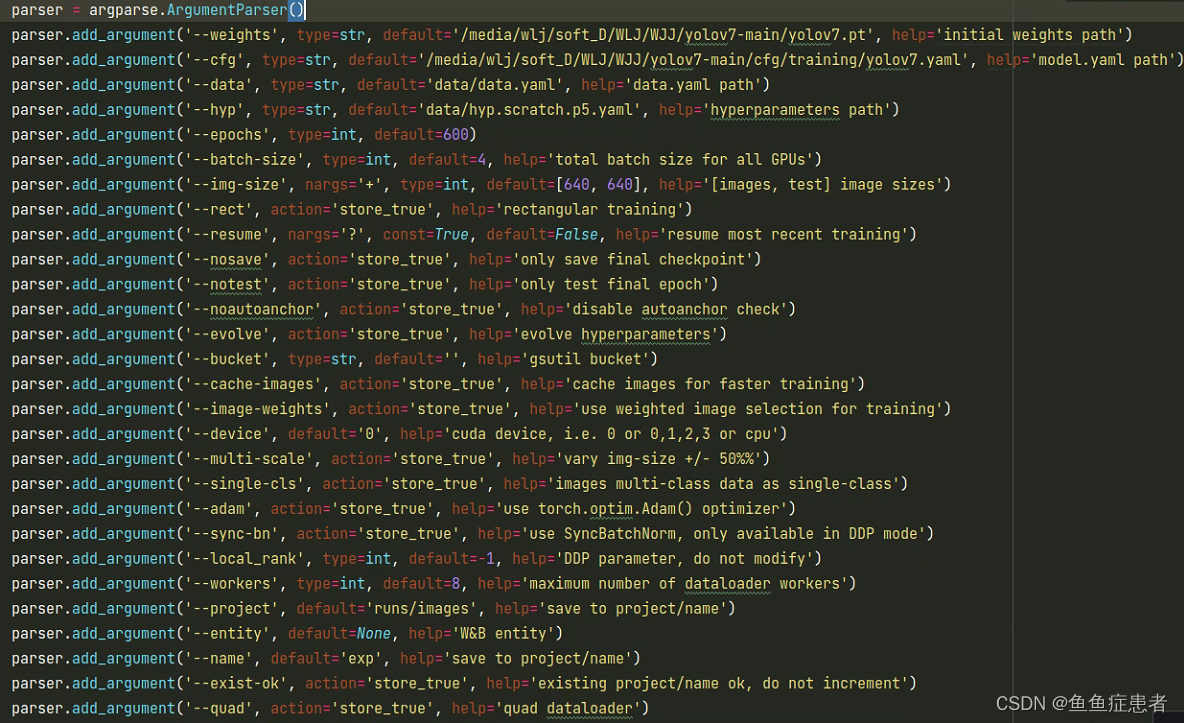
weights:去github下载预训练权重,放在自己的目录下
cfg:改成自己的目录下的yolov7.yaml 把nc改为自己的类别数
data: 刚才自己创建的data.yaml
epoches:训练轮数
batch_size:小批次数量,(2060s 640*640 最大开4,开8爆显存)


 9327
9327


 被折叠的 条评论
为什么被折叠?
被折叠的 条评论
为什么被折叠?
 到【灌水乐园】发言


