


一、基本配置
1、从GitHub上拉取openpose到本地
git clone https://github.com/CMU-Perceptual-Computing-Lab/openpose.git
打开文件夹 openpose\3rdparty,检查 caffe、pybind11 文件夹是否为空,如果为空,则需要拉取两个代码:
-
caffe
git clone https://github.com/CMU-Perceptual-Computing-Lab/caffe.git -
pybind11
git clone https://github.com/pybind/pybind11.git
2、打开文件夹 openpose\3rdparty\windows,点击这五个bat文件自动下载:
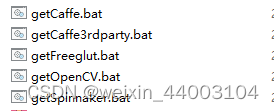
不过我自己点击时,一直时请求超时,复制链接访问也是访问不了,可以通过下面链接下载模型解压到文件夹:
- 3rdparty\windows
https://drive.google.com/file/d/1WvftDLLEwAxeO2A-n12g5IFtfLbMY9mG/edit
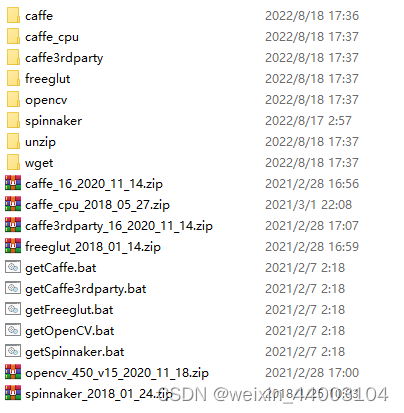
下载完成后windows文件夹有以下内容:
3、打开文件夹openpose\models,点击getModels.bat下载model文件,失败时,可以选择从下面链接下载:
- models
https://drive.google.com/drive/folders/1USEdy_7uvwO4PIqsQJq8kT0sX4H4f7nn
4、需要下载的内容百度网盘链接
链接:https://pan.baidu.com/s/1g7hMgTruaY2mY6V4XqVTPA?pwd=nzkl
提取码:nzkl
二、CMAKE运行
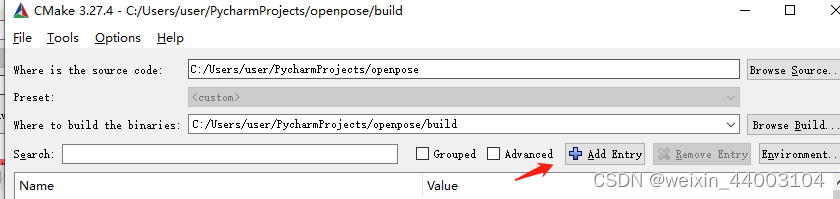
1、cmd 命令输入 cmake-gui,打开cmake-gui界面:

第一行选择自己的openpose路径,第三行选择生成地址,一般为在openpose项目内新建一个build文件夹
2、如果要使用python运行程序,需要进行以下操作:
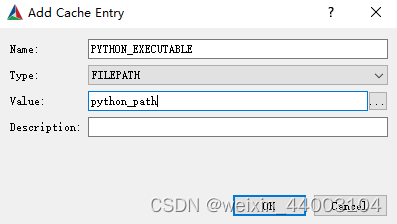
点击Add Entry
选择到对应的python环境, name为 PYTHON_EXECUTABLE value 为你的python路径
3、点击一次下方 configure 按钮,会出现一片红色内容
选择BUILD_PYTHON(非必选,如果使用python运行选择)

选择五个模型

如果需要使用GPU运行,选择CUDA,CPU运行选择CPU_ONLY

4、再次点击Configure,输出configure done后,点击Generate,出现Generate done即可
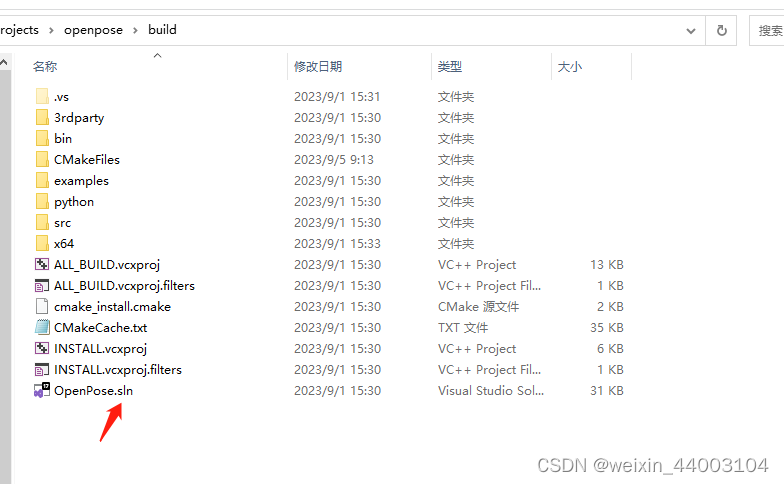
三、VS运行
1、进入到openpose/build文件夹,用VS打开openpose.sln文件
2、选择Release模式,点击生成,生成解决方案
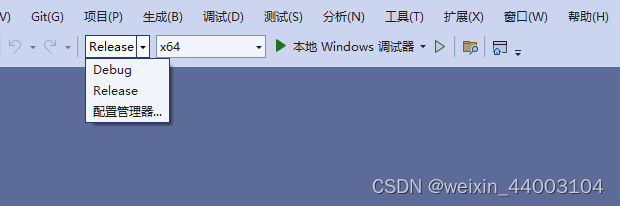
等待结果,一般结束后输出为26成功,0失败,1跳过
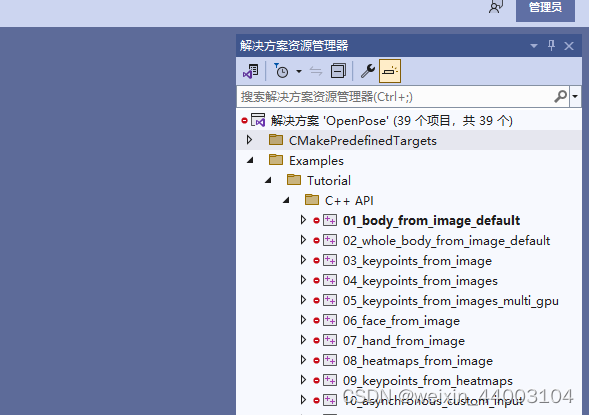
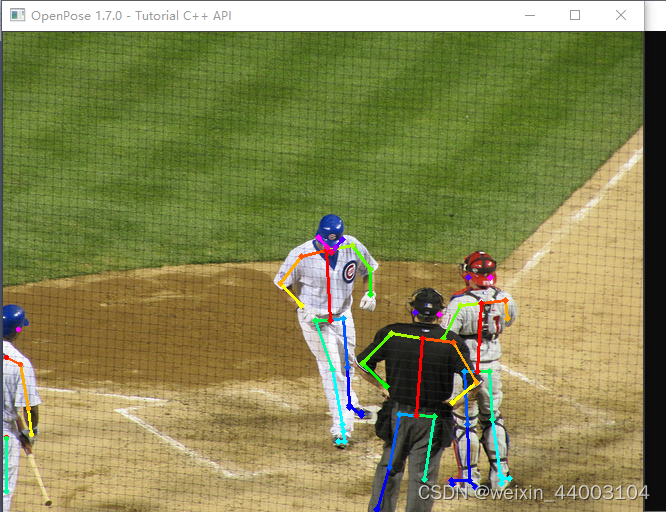
3、通过右侧选择设置为启动项目,点击运行,即可出现结果
四、使用python调用
1、进入到 openpose\build\examples\tutorial_api_python文件夹,可以使用cmd运行文件,如:
python 01_body_from_image.py
2、如果出现报错:
Error: OpenPose library could not be found. Did you enable BUILD_PYTHON in CMake and have this Python script in the right folder?
-
1、如果使用CPU运行
将 openpose\build\bin 里的全部dll文件复制到openpose\build\python\openpose\Release
-
2、如果使用GPU运行
需要将 openpose\build\x64\Release\openpose.dll 以及bin里的dll 全部复制到 openpose\build\python\openpose\Release文件夹
-
3、仍然报错
- 3.1、检查文件夹 openpose\build\python\openpose\Release 是否有以下文件,没有则需要重新生成解决方案
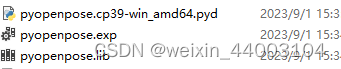
- 3.2、检查运行的文件添加的路径是否正确
- 3.3、当前运行的python版本需要和cmake添加时的python版本相同,从pyd文件可以看出,我使用的是python3.9进行编译的,我运行时,也需要使用python3.9
- 3.1、检查文件夹 openpose\build\python\openpose\Release 是否有以下文件,没有则需要重新生成解决方案
3、在其他位置调用包
从他的示例文件中可以看到,它增加了一个路径 openpose\build\python\openpose\Release
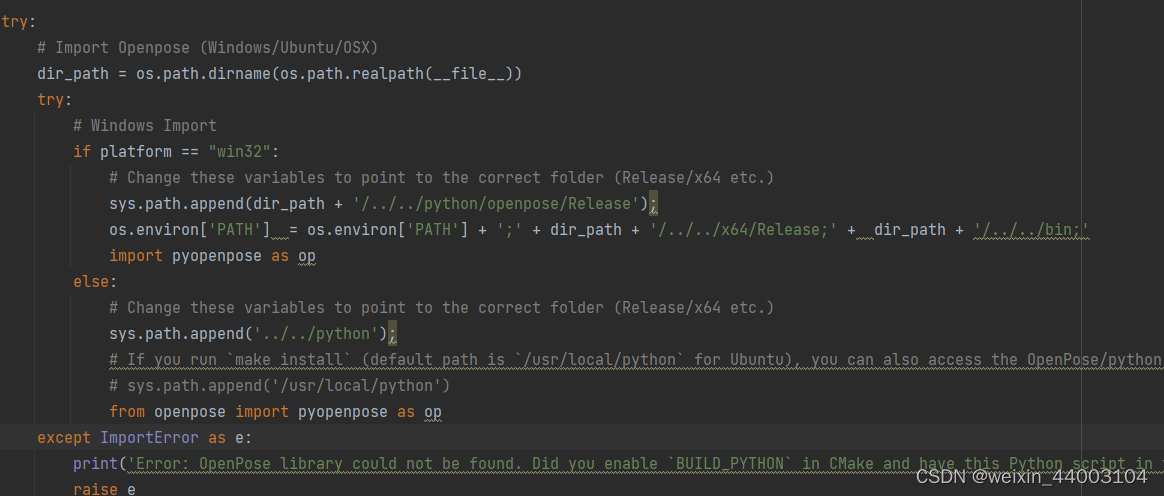
我们在其他位置需要引入 pyopenpose 包时,增加这个路径即可


 9912
9912

 被折叠的 条评论
为什么被折叠?
被折叠的 条评论
为什么被折叠?
 到【灌水乐园】发言


