前言
本节示例代码中介绍了如何画出一个矩形,圆形。以及利用极坐标的思想进一步画出如下形状。


结果看着挺有意思(花点时间理解下代码更有意思,让人不禁回想起被高中数学支配的时光。)

文末彩蛋。
正文
// ------------ Chapter_2_3_Main 1.glsl ------------ //
#ifdef GL_ES
precision mediump float;
#endif

void main() {
    vec2 uv = gl_FragCoord.xy / iResolution.xy;
    vec3 color = vec3(0.0);

    // bottom - left
    vec2 bl = step(vec2(0.1), uv);
    float pct = bl.x * bl.y;

    // top - right
    vec2 tr = step(vec2(0.1), (1.0 - uv));
    pct *= tr.x * tr.y;


    color = vec3(pct);
    gl_FragColor = vec4(color, 1.0);
}

结果是一个适应屏幕长宽的矩形。
// ------------ Chapter_2_3_Main 2.glsl ------------ //
#ifdef GL_ES
precision mediump float;
#endif

void main() {
    vec2 uv = gl_FragCoord.xy / iResolution.xy;
    uv.x *= iResolution.x / iResolution.y;

    // 取uv坐标上一点为圆心,pct值向外线性递增
    float pct = 0.0;
    pct = distance(uv, vec2(0.5));

    // 给颜色赋值
    vec3 color = vec3(pct);
    gl_FragColor = vec4(color, 1.0);
}

第二部分介绍了,利用length 函数 (或distance函数)求uv坐标到圆心距离的方式来画圆。
// ------------ Chapter_2_3_Main 3.glsl ------------ //
#ifdef GL_ES
precision mediump float;
#endif

float circle(vec2 uv, float radius) {
    vec2 dist = uv - vec2(0.5);
    // return 1. - smoothstep(radius * 0.99, radius * 1.01, dot(dist, dist) * 4.0);
    return 1. - smoothstep(radius * radius * 0.99, radius * radius * 1.01, dot(dist, dist));
    /*
   在书中的基础上稍微修改了下,感觉这样比较符合公式

    当length(uv - vec2(0.5)) < radius * 0.99 时, smoothstep = 0 返回值为 1。
    length(uv - vec2(0.5)) 在 [radius * 0.99, radius * 1.01] 之间 做 1 到 0 的线性插值
    length(uv - vec2(0.5)) > radius * 1.01时, smoothstep = 1 返回值为 0
    */
}

void main() {
    vec2 uv = gl_FragCoord.xy / iResolution.xy;
    uv.x *= iResolution.x / iResolution.y;

    vec3 color = vec3(circle(uv, 0.5));
    gl_FragColor = vec4(color, 1.0);
}
同样画圆,但采用了向量点乘这种更为高效的运算方式。
相当于由原先比较公式

转变为比较公式

两边的值。避免了开方运算

后面开始要玩点花样了。
// ------------ Chapter_2_3_Main 4.glsl ------------ //
#ifdef GL_ES
precision mediump float;
#endif
void main() {
    vec2 uv = gl_FragCoord.xy / iResolution.xy;
    uv.x *= iResolution.x / iResolution.y;
    vec3 color = vec3(0.0);

    float d = 0.0;

    // 将uv 的范围映射到[-1, 1]
    uv = uv * 2.0 - 1.0;

    // Make the distance field
    /******************************************************
        *相当于其他几个象限的形状由第一象限的形状做对称复制得到
        *采用length的方式画了一个以[0.3, 0.3]为圆心的圆
    */
    d = length(abs(uv) - 0.3);
    //d = length(min(abs(uv) - 0.3, 0.0));  // [1] min 中第一个参数是一个向量,第二个参数 0.0(被自动转为向量?),然后两个向量的min
    //d = length(max(abs(uv) - 0.3, 0.0));  // [2]

    // Visualize the distance field
    gl_FragColor = vec4(vec3(fract(d*10.0)), 1.0);

    // Drawing with the distance field
    // gl_FragColor = vec4(vec3(step(0.3, d)), 1.0);
     gl_FragColor = vec4(vec3(step(0.3, d) * step(d, 0.4)), 1.0);                       // [3] 仅将d >= 0.3, 小于0.4的部分做保留
     gl_FragColor = vec4(vec3(smoothstep(0.3, 0.4, d) * smoothstep(0.6, 0.5, d)), 1.0); // [4] 在上一个的基础上给边界做渐变
}
gl_FragColor = vec4(vec3(fract(d*10.0 - iTime)), 1.0);

部分的调整:
d = length(min(abs(uv) - 0.3, 0.0)); // [1]

d = length(max(abs(uv) - 0.3, 0.0)); // [2]

// ------------ Chapter_2_3_Main 5.glsl ------------ //
这段代码就对应了前言中的几幅图片。
#ifdef GL_ES
precision mediump float;
#endif

void main() {
    vec2 uv = gl_FragCoord.xy/iResolution.xy;
    uv.x *= iResolution.x/ iResolution.y;

    vec3 color = vec3(0.0);
    vec2 pos = vec2(0.5) - uv;

    float r = length(pos) * 2.0;
    float a = atan(pos.y, pos.x);


    // Make the distance field
    float f = cos(a*3.0);
    // f = abs(cos(a* 3.0));                                 // 六瓣花
    // f = abs(cos(a * 2.5)) * 0.5 + 0.3;                    // 五瓣花
    // f = abs(cos(a * 12.0) * sin(a * 3.0) * 0.8 + 0.1);    // 放射性的花
    // f = smoothstep(-0.5, 1.0, cos(a * 10.0)) * 0.2 + 0.5; // 齿轮

    // Visualize the distance field
    color = vec3(1.0 - smoothstep(f, f + 0.02, r));
    gl_FragColor = vec4(color, 1.0);
}
// ------------ Chapter_2_3_Main 6.glsl ------------ //
利用极坐标的思想画三角型。
#ifdef GL_ES
precision mediump float;
#endif

#define PI 3.14159265359
#define TWO_PI 6.28318530718

void main() {
    vec2 uv = gl_FragCoord.xy / iResolution.xy;
    uv.x *= iResolution.x / iResolution.y;
    vec3 color = vec3(0.0);
    float d = 0.0;

    // Remap the space -1.0 to 1.0
    uv = uv * 2.0 - 1.0;
    // Number of sides of your shape
    int N = 3;
    // Angle and radius from the current pixel
    float a = atan(uv.x, uv.y) + PI;
    float r = TWO_PI / float(N);
    // Shaping function that modulate the distance
    d = cos(floor(0.5 + a / r) * r - a) * length(uv);
    color = vec3(1.0 - smoothstep(0.4, 0.41, d));
    gl_FragColor = vec4(color, 1.0);
}

疯了,没看懂,不过通过修改变量N 可以画出不同的多边形。

如此一来整合出一个画多边形的函数,以后使用就很方便了。
// -------- Chapter_2_3_Task6.1.glsl -------- //
#ifdef GL_ES
precision mediump float;
#endif

#define PI 3.14159265359
#define TWO_PI 6.28318530718

float polygon(vec2 uv, vec2 pos, int n) {
    // ******** uv, pos : position; n : Number of sides ******** //
    uv = 2.0 * uv - 1.0 - pos;

    float a = atan(uv.x, uv.y) + PI;
    float r = TWO_PI / float(n);

    float d = cos(floor(0.5 + a / r) * r - a) * length(uv);
    return 1.0 - smoothstep(0.4, 0.41, d);
}

void main() {
    vec2 uv = gl_FragCoord.xy / iResolution.xy;
    uv.x *= iResolution.x / iResolution.y;
    vec3 color = vec3(polygon(uv, vec2(0.0), 3 + int(floor(0.5 * iTime))));
    gl_FragColor = vec4(color, 1.0);
}


其中函数中,pos 的定义域目前设为了[-1.0, 1.0]。
同时也可以利用这这个函数在同一张图上画好几个图形
    vec3 color = vec3(polygon(uv, vec2(0.0), 3));
    color += vec3(polygon(uv, vec2(1.0), 3));
    color += vec3(polygon(uv, vec2(0.0, 0.5), 3));

小结
画图形确实是个需要花点精力研究的课题,本节仅是入了个门。书的作者在最后也留了一个传送门(学习小组?)。
https://patriciogonzalezvivo.github.io/PixelSpiritDeck/
另外,自从看完这节之后莫名的又想给自己挖个坑。。。。。。

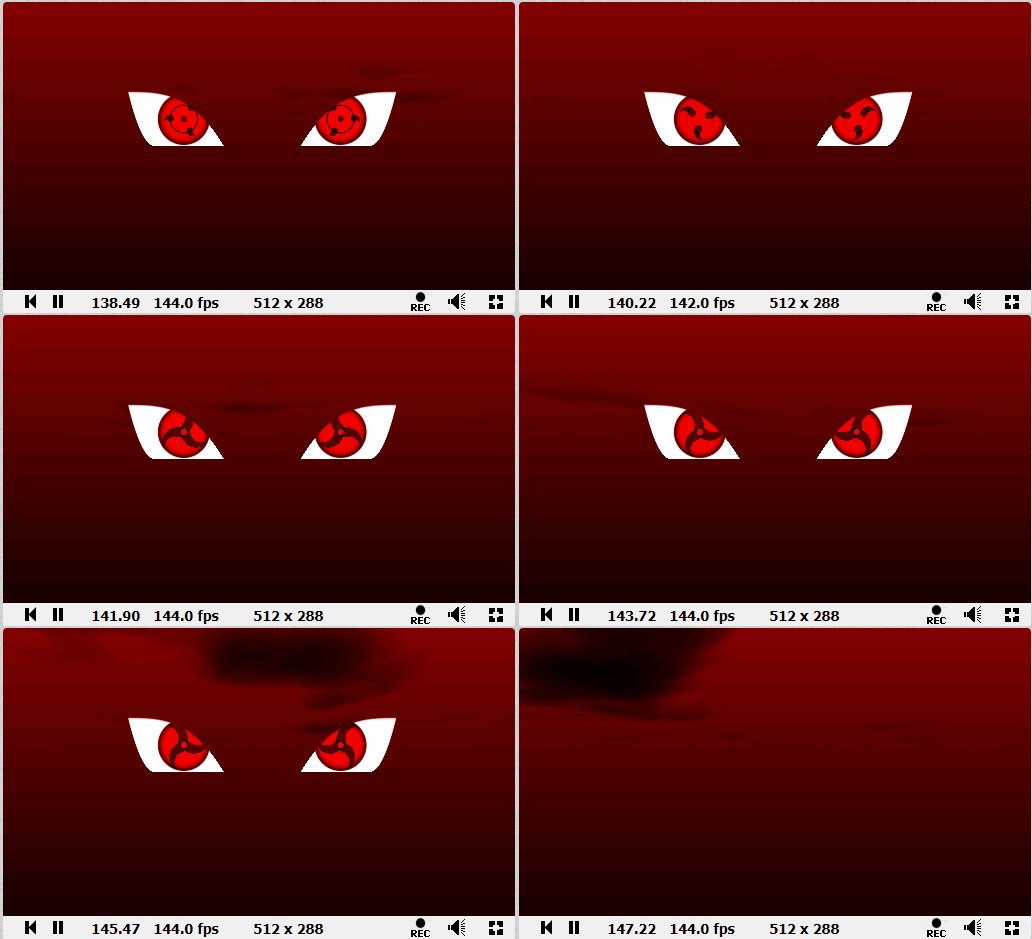
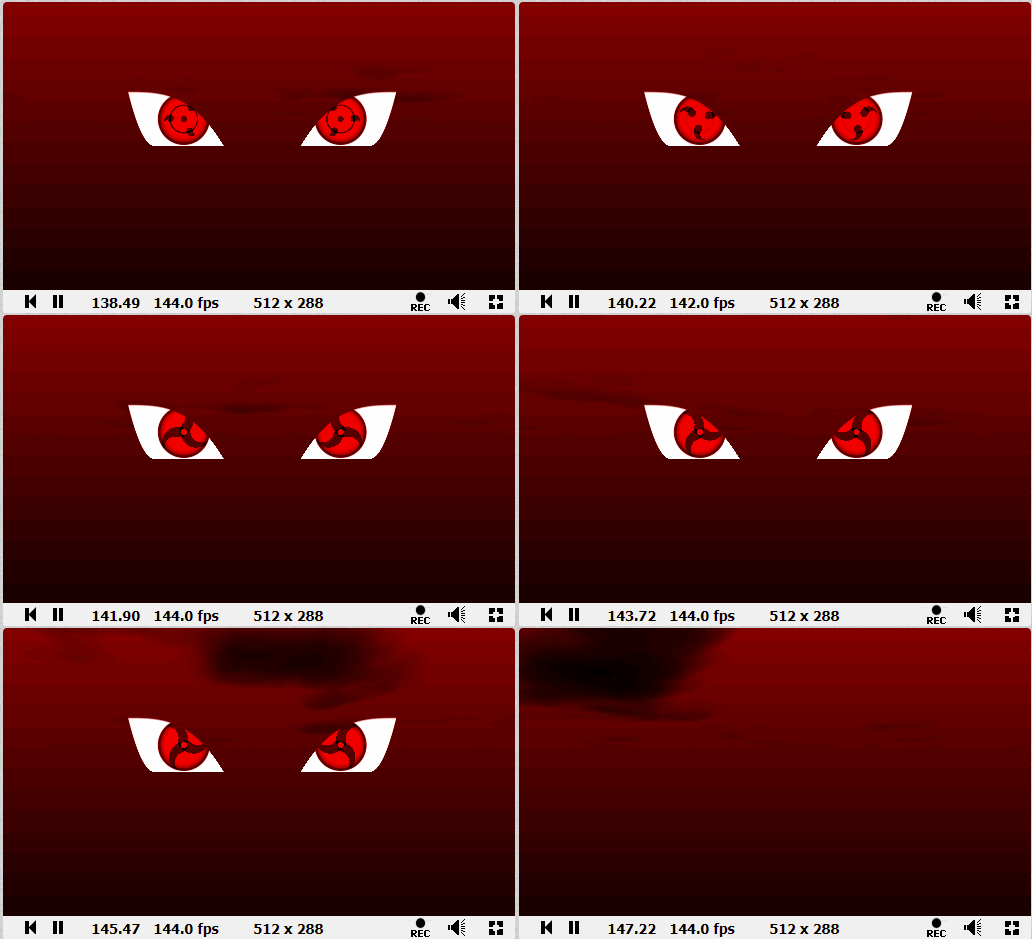
------------------ 分界线 2021/2/23 ----------------
算是填了一个小坑吧。

https://www.shadertoy.com/view/3ddfWX


 626
626


 被折叠的 条评论
为什么被折叠?


