


 本文详细介绍了使用DeepDream技术生成图像的过程,通过不同优化起点和特征通道,展示了图像生成的质量和变化。从噪声图像到风景画,从单一通道到多通道特征,深入探讨了DeepDream在图像生成领域的应用。
Deep Dream图像生成案例实践:
按课程案例,生成DeepDream图像。
提交要求:
1、你认为按评分标准能得分最高的一次带运行结果的源代码文件(.ipynb 格式)
2、作为附件上传
评分标准:
1、完成DeepDream图像生成案例,有完整的代码,模型能运行;以噪音图像为优化起点,利用单通道特征,得6分;
2、以噪音图像为优化起点,利用多通道特征,得7分;
3、以背景图像(mountain风景画)为优化起点,利用单通道特征,得8分;
4、以背景图像(mountain风景画)为优化起点,利用多通道特征,得9分;
5、以背景图像(mountain风景画)为优化起点,利用多通道特征,并对图像生成质量进行改善,得10分。
注意:运行代码的时候出现了这个错误——AttributeError: module ‘scipy.misc’ has no attribute ‘imresize’,使用pip install scipy==1.2.1和pip install Pillow = =6.0.0命令成功解决!
源代码:
#coding:utf-8
from __future__ import print_function
import os
from io import BytesIO
import numpy as np
from functools import partial
import PIL.Image
import scipy.misc
import tensorflow as tf

class Deepdream:
    def __init__(self):
        self.name = "mixed4c"
        self.model_fn = r"D:\编程代码\python程序\tensorflow_inception_graph.pb"
        self.img0 = PIL.Image.open("D:\\Photo\\mountain.jpg")
        self.img0 = np.float32(self.img0)


    #导入Inception模型
    def Inception(self):
        #创建图和会话
        self.graph = tf.Graph()
        self.sess = tf.InteractiveSession(graph=self.graph)

        #导入Inception网络
        with tf.gfile.FastGFile(self.model_fn,"rb") as f:
            graph_def = tf.GraphDef()
            graph_def.ParseFromString(f.read())
        #定义输入图像的占位符
        self.t_input = tf.placeholder(np.float32,name="input")
        #图像的预处理--减均值
        imagenet_mean = 117.0
        #图像的预处理—增加维度
        t_preprocessed = tf.expand_dims(self.t_input-imagenet_mean,0)
        #导入模型并将经处理的图像送入网络中
        tf.import_graph_def(graph_def,{"input":t_preprocessed})
        self.layer_output = self.graph.get_tensor_by_name("import/%s:0" %self.name)


    #图像的拉普拉斯金字塔分解
    def render_deepdream(self,t_obj,img0,iter_n=10,step=1.5,octave_n=4,octave_scale=1.4):
        t_score = tf.reduce_mean(t_obj)
        t_grad = tf.gradients(t_score,self.t_input)[0]
        img = img0.copy()
        #将图像进行金字塔分解
        #从而分为高频、低频部分
        octaves = []
        for i in range(octave_n-1):
            hw = img.shape[:2]
            lo = self.resize(img,np.int32(np.float32(hw)/octave_scale))
            hi = img - self.resize(lo,hw)
            img = lo
            octaves.append(hi)

        #首先生成低频的图像,再依次放大并加上高频
        for octave in range(octave_n):
                if octave > 0:
                    hi = octaves[-octave]
                    img = self.resize(img,hi.shape[:2]) + hi
                for i in range(iter_n):
                    g = self.calc_grad_tiled(img,t_grad)
                    img += g*(step/(np.abs(g).mean()+1e-7))

        img = img.clip(0,255)
        self.savearray(img,r"C:\Users\kxy\Desktop\mountain_deepdream.jpg")
        im = PIL.Image.open(r"C:\Users\kxy\Desktop\mountain_deepdream.jpg").show()


    def savearray(self,img_arry,img_name):
        scipy.misc.toimage(img_arry).save(img_name)
        print("img saved:%s" %img_name)


    #生成更大尺寸的图像
    #原始图像尺寸可能很大,从而导致内存耗尽问题
    def calc_grad_tiled(self,img,t_grad,tile_size=512):
        sz = tile_size
        h,w = img.shape[:2]
        sx,sy = np.random.randint(sz,size=2)
        #先在行作整体运动,再在列作整体运动
        img_shift = np.roll(np.roll(img,sx,1),sy,0)
        grad = np.zeros_like(img)
        for y in range(0,max(h-sz//2,sz),sz):
            for x in range(0,max(w-sz//2,sz),sz):
                sub = img_shift[y:y+sz,x:x+sz]
                g = self.sess.run(t_grad,{self.t_input:sub})
                grad[y:y+sz,x:x+sz] = g
        return np.roll(np.roll(grad,-sx,1),-sy,0)


    #将图像放大ratio倍
    def resize_ratio(self,img,ratio):
        min = img.min()
        max = img.max()
        img = (img - min)/(max - min)*255
        img = np.float32(scipy.misc.imresize(img,ratio))
        img = img/255*(max-min)+min
        return img


    #调整图像尺寸
    def resize(self,img,hw):
        min = img.min()
        max = img.max()
        img = (img - min)/(max - min)*255
        img = np.float32(scipy.misc.imresize(img,hw))
        #img = np.float32(np.array(PIL.Image.fromarray(img,mode="RGB").resize(hw)))
        img = img/255*(max-min) + min
        return img


if __name__ == "__main__":
    D = Deepdream() #生成Deepdream对象
    D.Inception()  #导入Inception模型
    D.render_deepdream(tf.square(D.layer_output),D.img0)
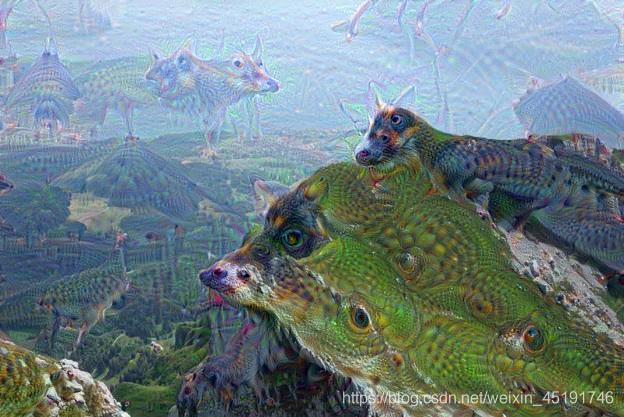
利用DeepDream生成的效果图片:
原图1:

效果1:
原图2:

效果图2:
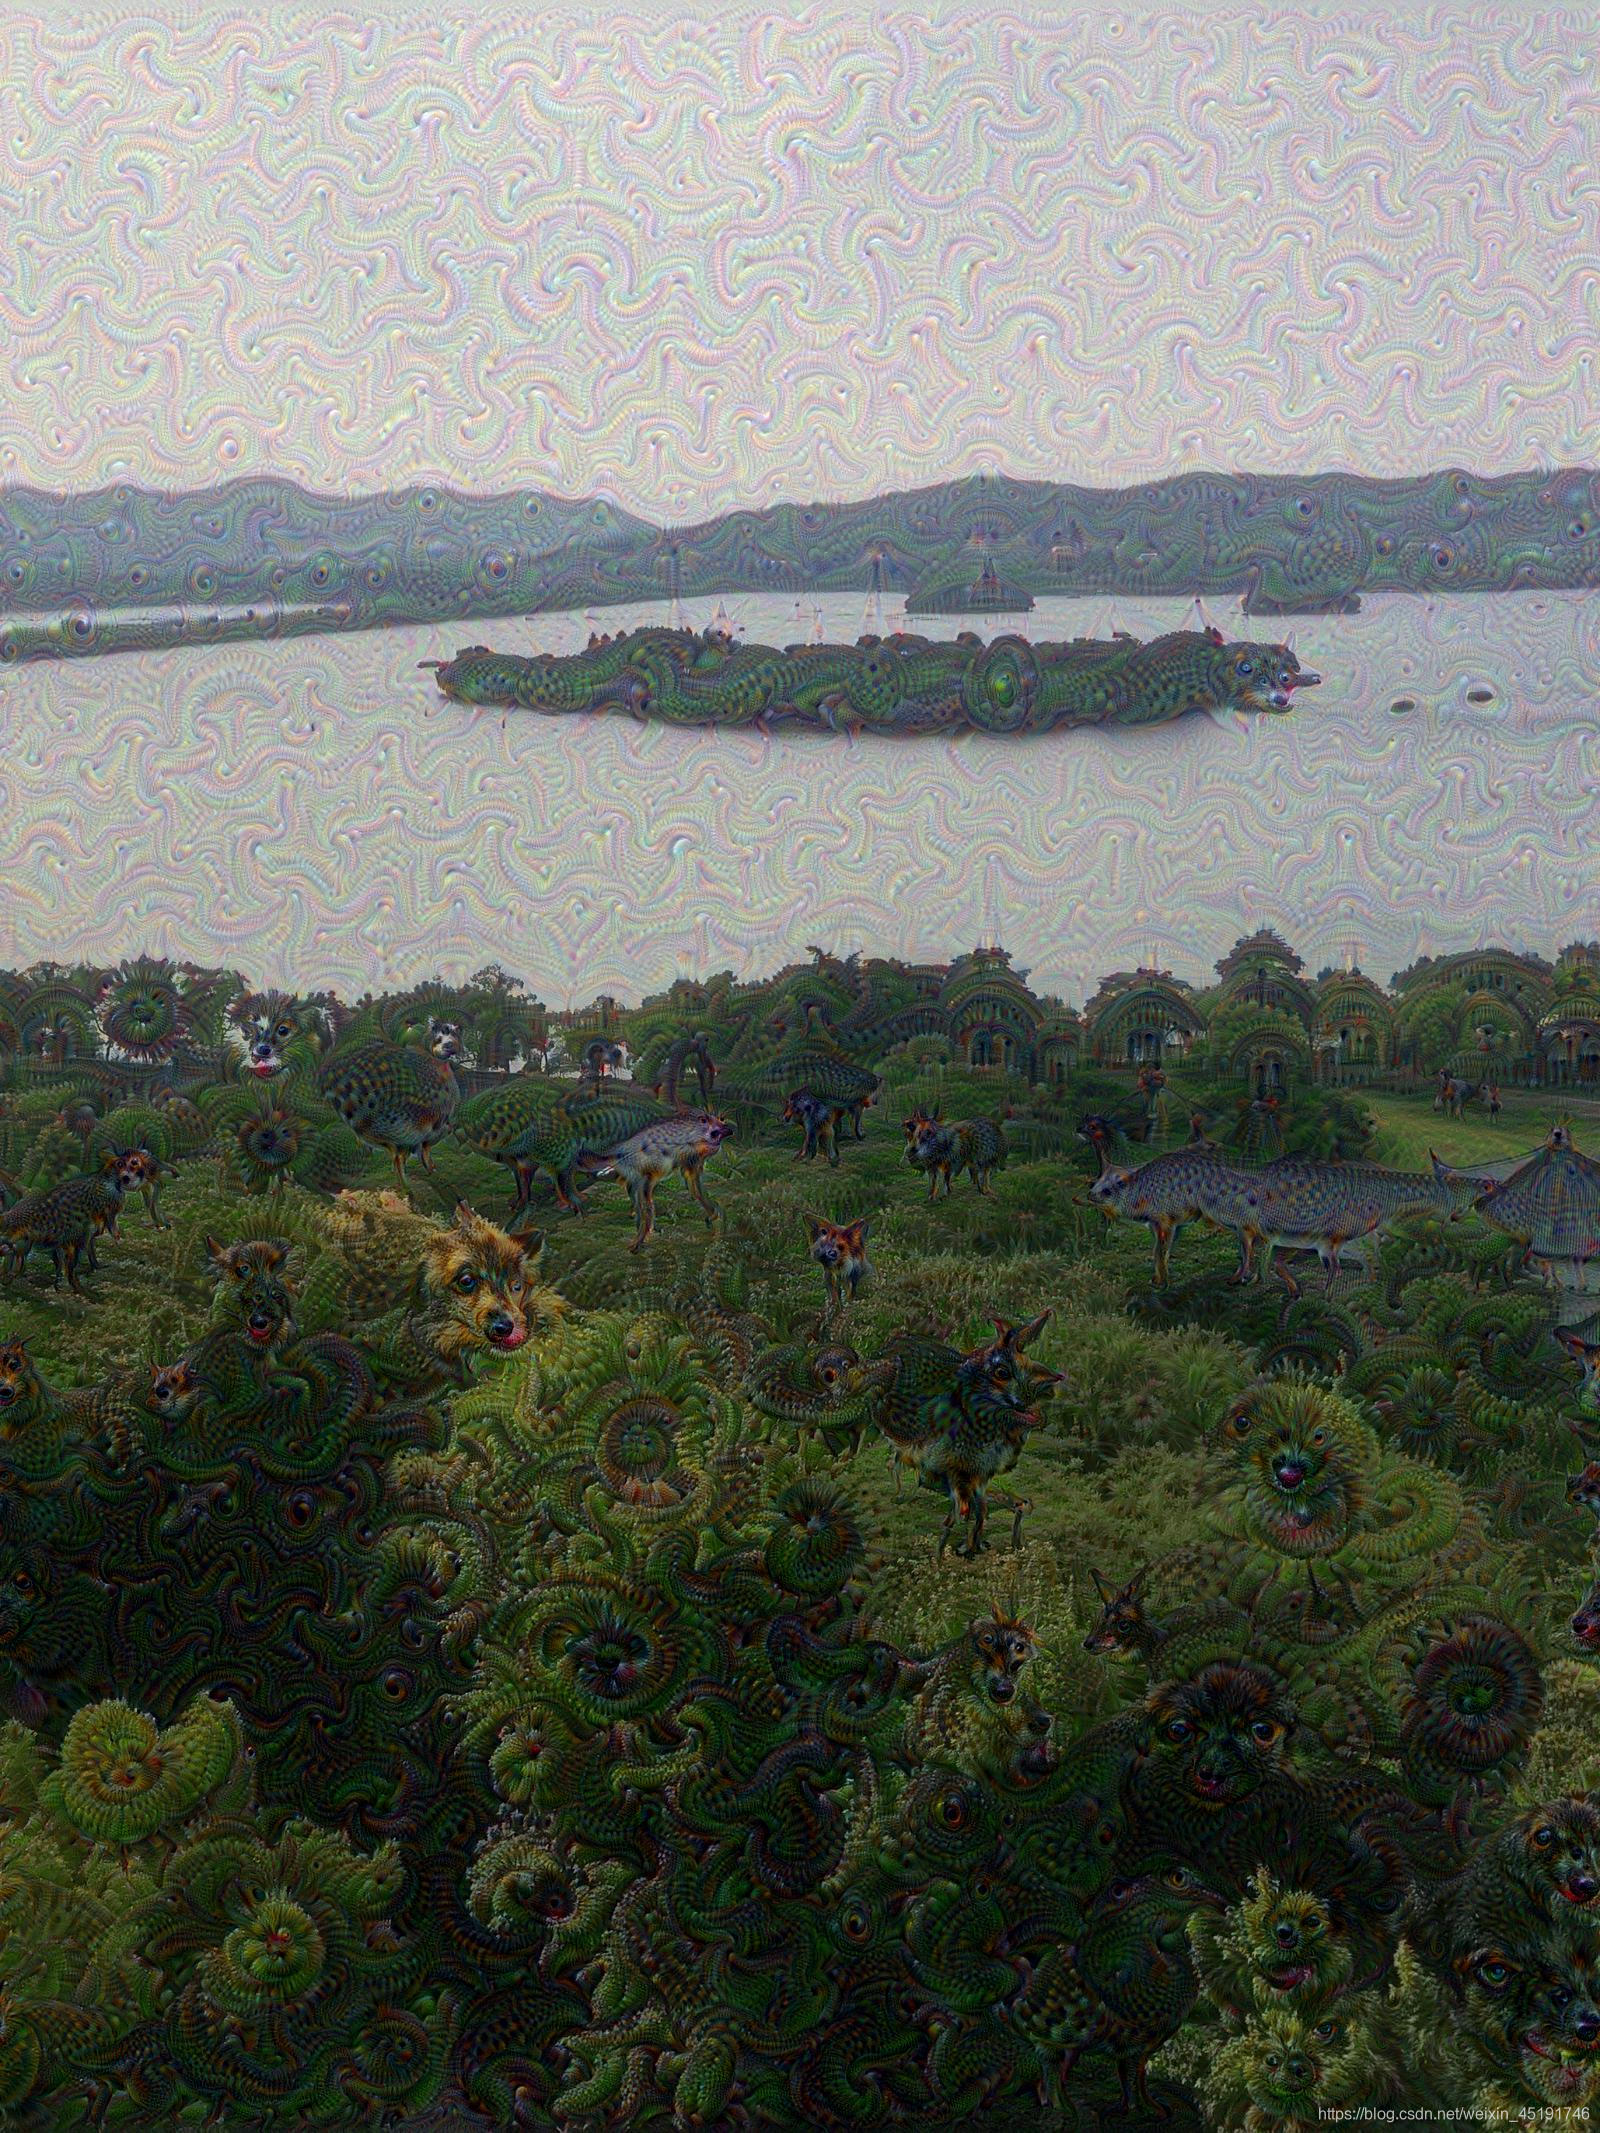
原图3:

效果图3:


 2757
2757

 被折叠的 条评论
为什么被折叠?
被折叠的 条评论
为什么被折叠?
 到【灌水乐园】发言


