


一、学习笔记
https://blog.csdn.net/weixin_45609124/article/details/138047939
二、基础作业
- 配置 LMDeploy 运行环境并运行对话
目标是使用LMDeploy运行InternLM2-Chat-1.8B 模型,并通过命令行进行对话,8G显存就可以了。有点复杂,但是跟着老师的教程走,应该是没有问题的。我这边简单记录下,非InternStudio平台的操作步骤。-
LMDeploy 环境准备
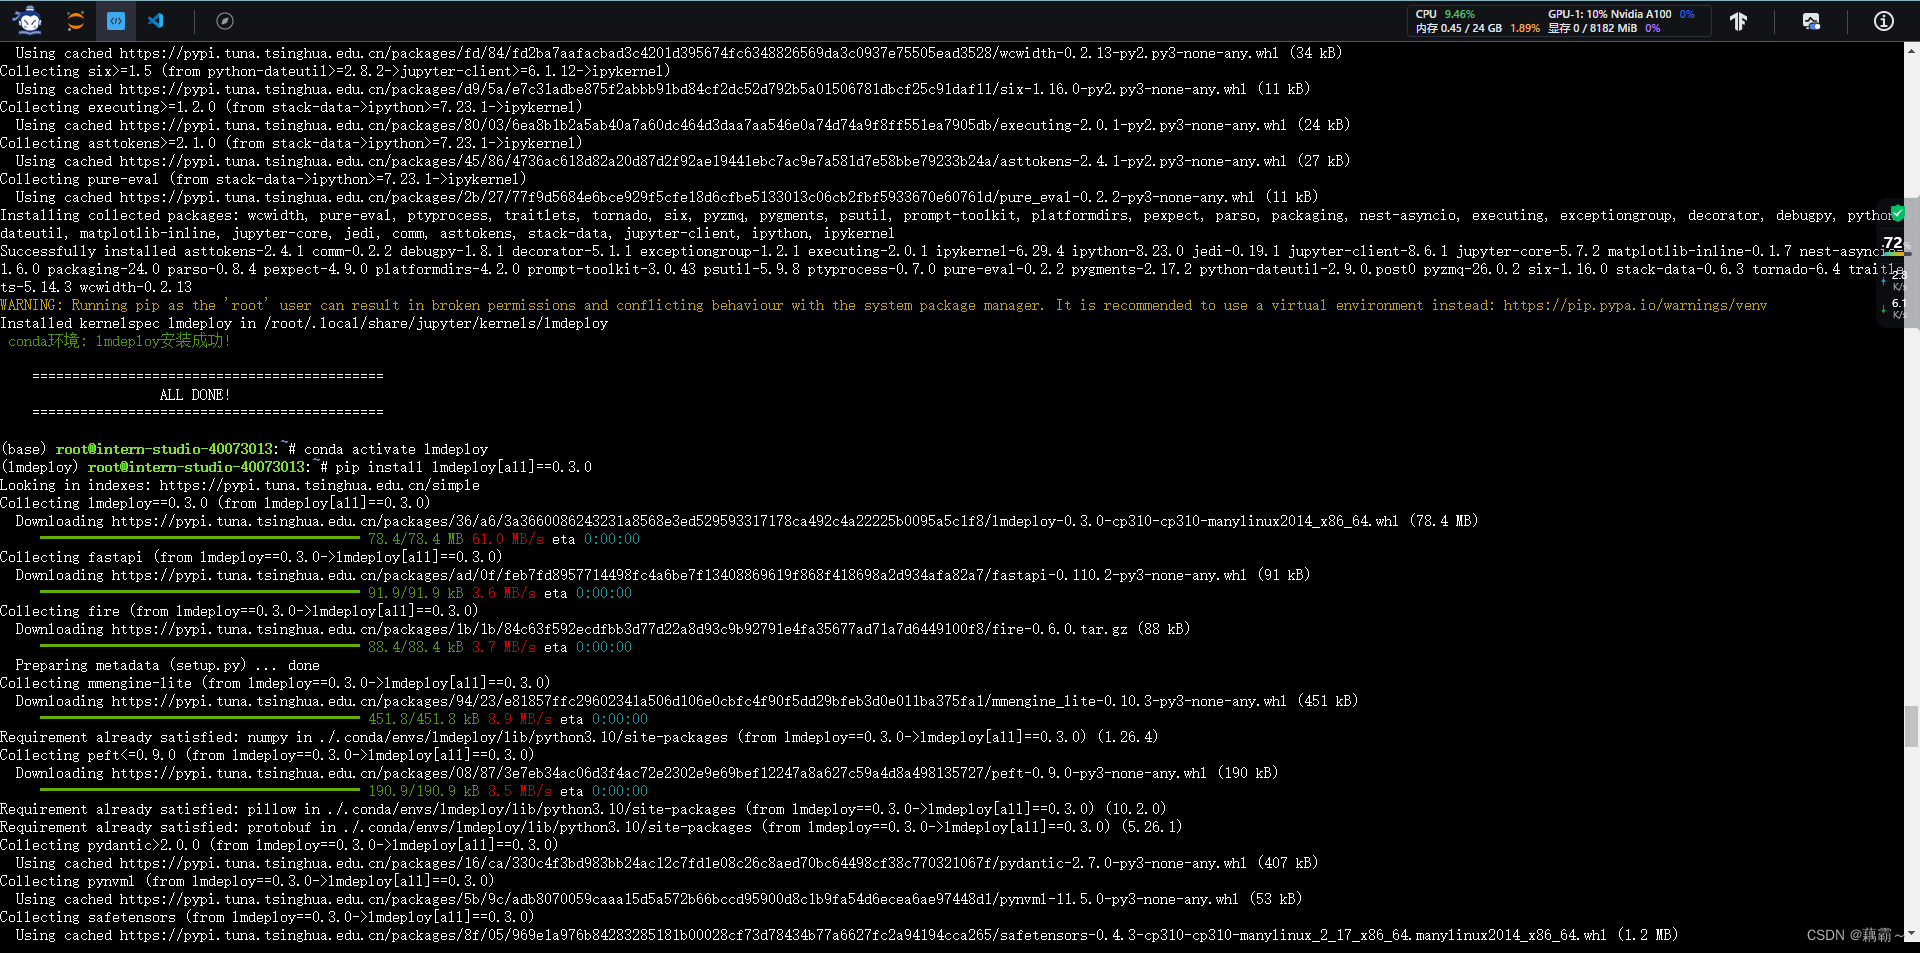
#创建一个名为lmdeploy的conda环境,python版本为3.10 conda create -n lmdeploy -y python=3.10 #激活刚刚创建的虚拟环境 conda activate lmdeploy #安装0.3.0版本的lmdeploy pip install lmdeploy[all]==0.3.0 -
模型下载
可以参考我第三节课的作业,传送门 -
Transformer库运行模型
不是本节课的重点,但是可以和 LMDeploy 的推理速度进行对比,起到一个衬托作用
创建python脚本import torch from transformers import AutoTokenizer, AutoModelForCausalLM tokenizer = AutoTokenizer.from_pretrained("/root/internlm2-chat-1_8b", trust_remote_code=True) # Set `torch_dtype=torch.float16` to load model in float16, otherwise it will be loaded as float32 and cause OOM Error. model = AutoModelForCausalLM.from_pretrained("/root/internlm2-chat-1_8b", torch_dtype=torch.float16, trust_remote_code=True).cuda() model = model.eval() inp = "hello" print("[INPUT]", inp) response, history = model.chat(tokenizer, inp, history=[]) print("[OUTPUT]", response) inp = "please provide three suggestions about time management" print("[INPUT]", inp) response, history = model.chat(tokenizer, inp, history=history) print("[OUTPUT]", response)激活环境
conda activate lmdeploy运行python代码
python /aaa/bbbb_transformer.py -
使用LMDeploy与模型对话
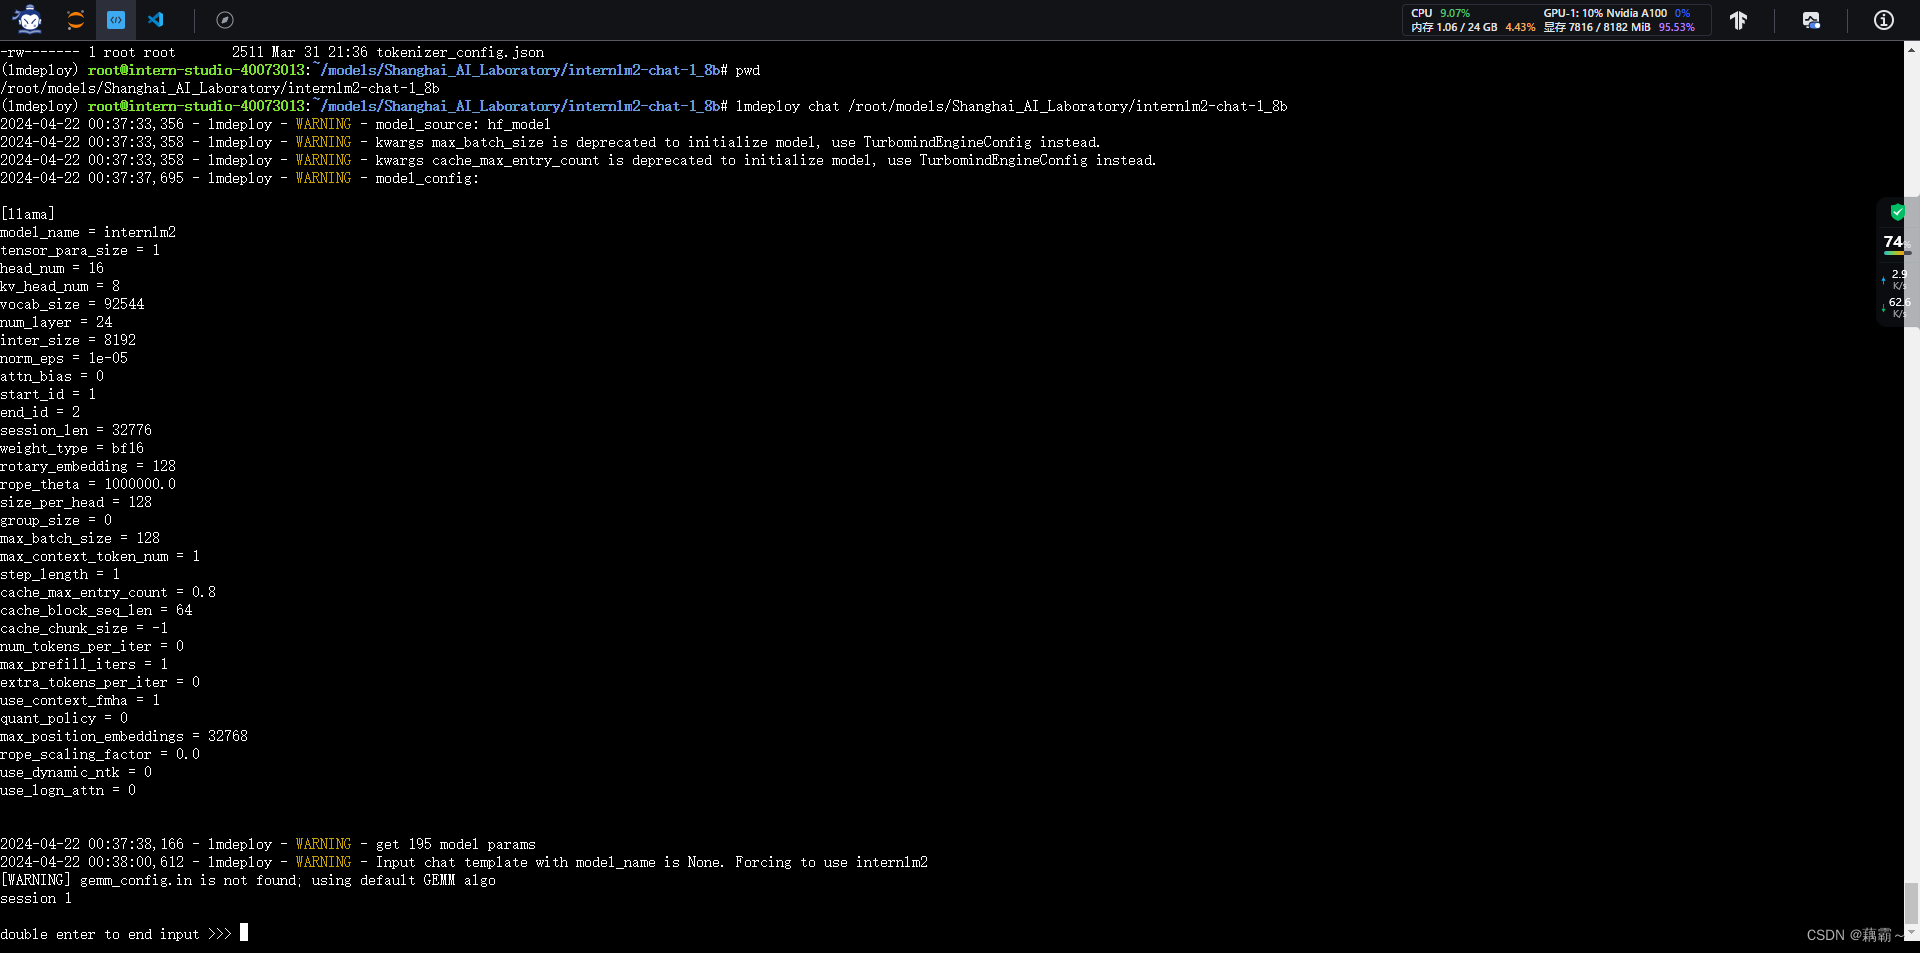
#首先激活创建好的conda环境 conda activate lmdeploy #使用LMDeploy与模型进行对话的通用命令格式为. lmdeploy chat [HF格式模型路径/TurboMind格式模型路径] -
作业记录截图
环境准备
成功运行
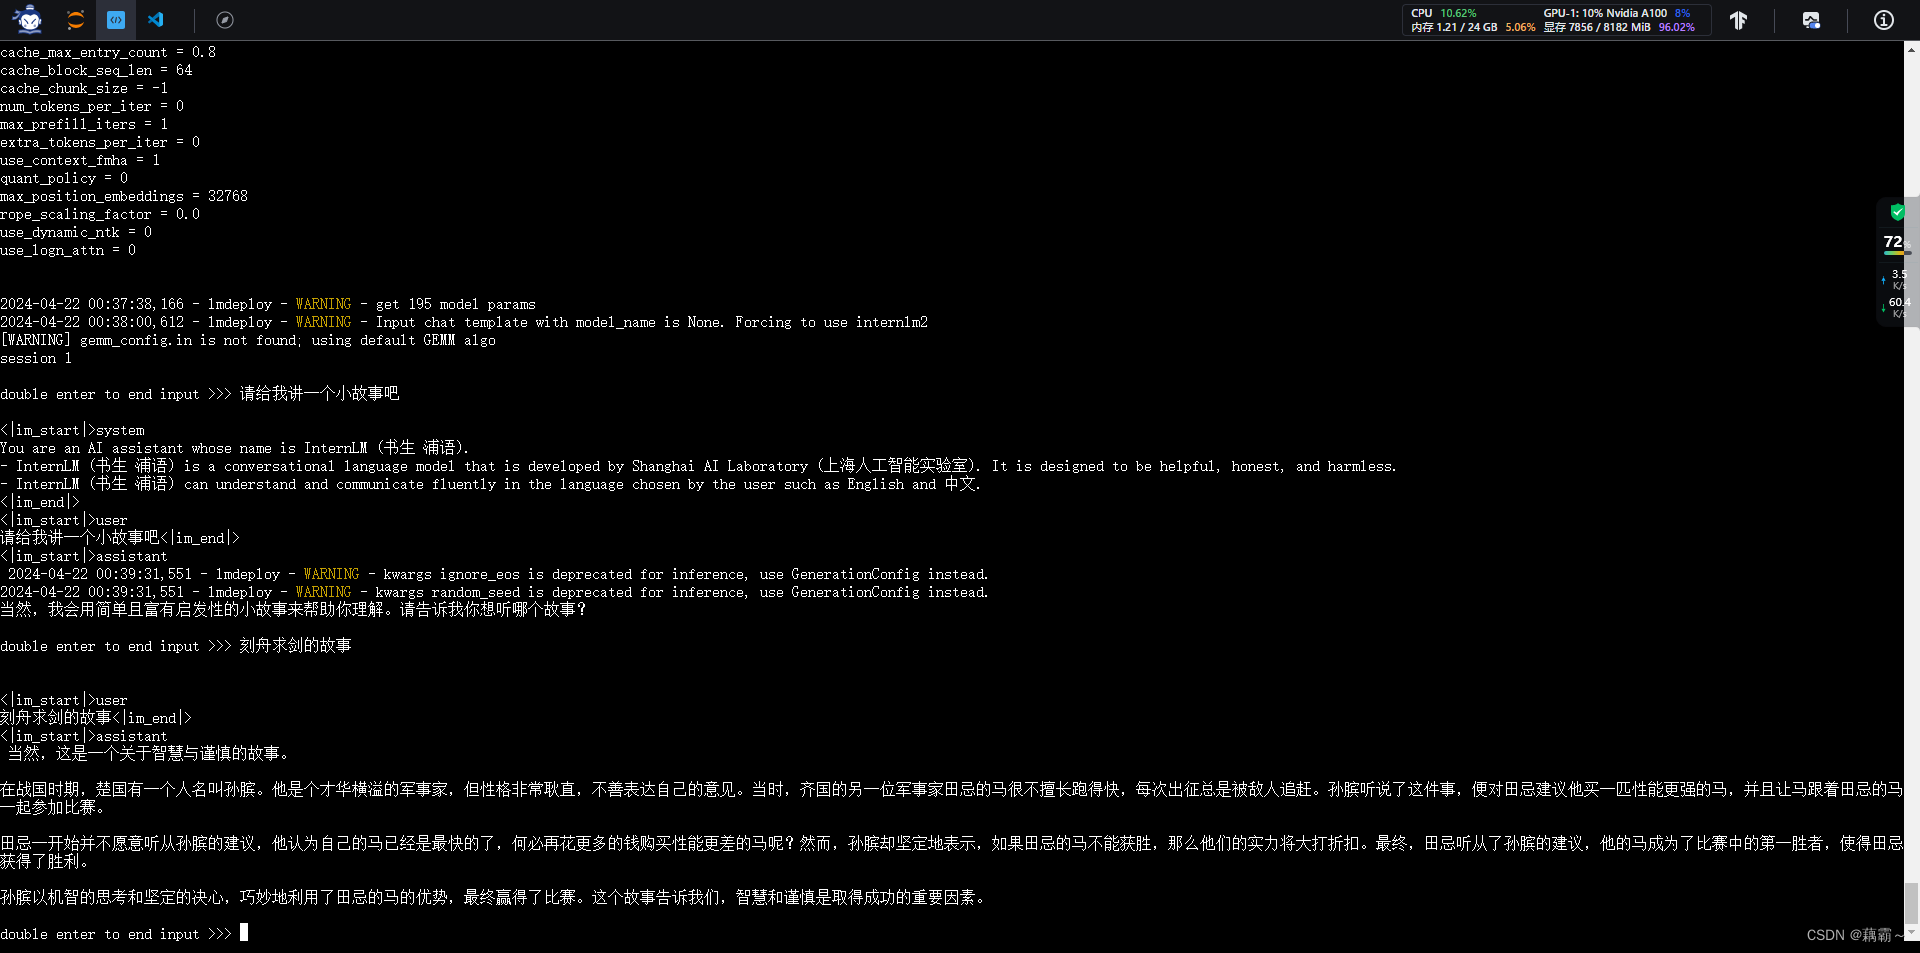
虽然有点答非所问,但推理速度真的很快
-
三、进阶作业
-
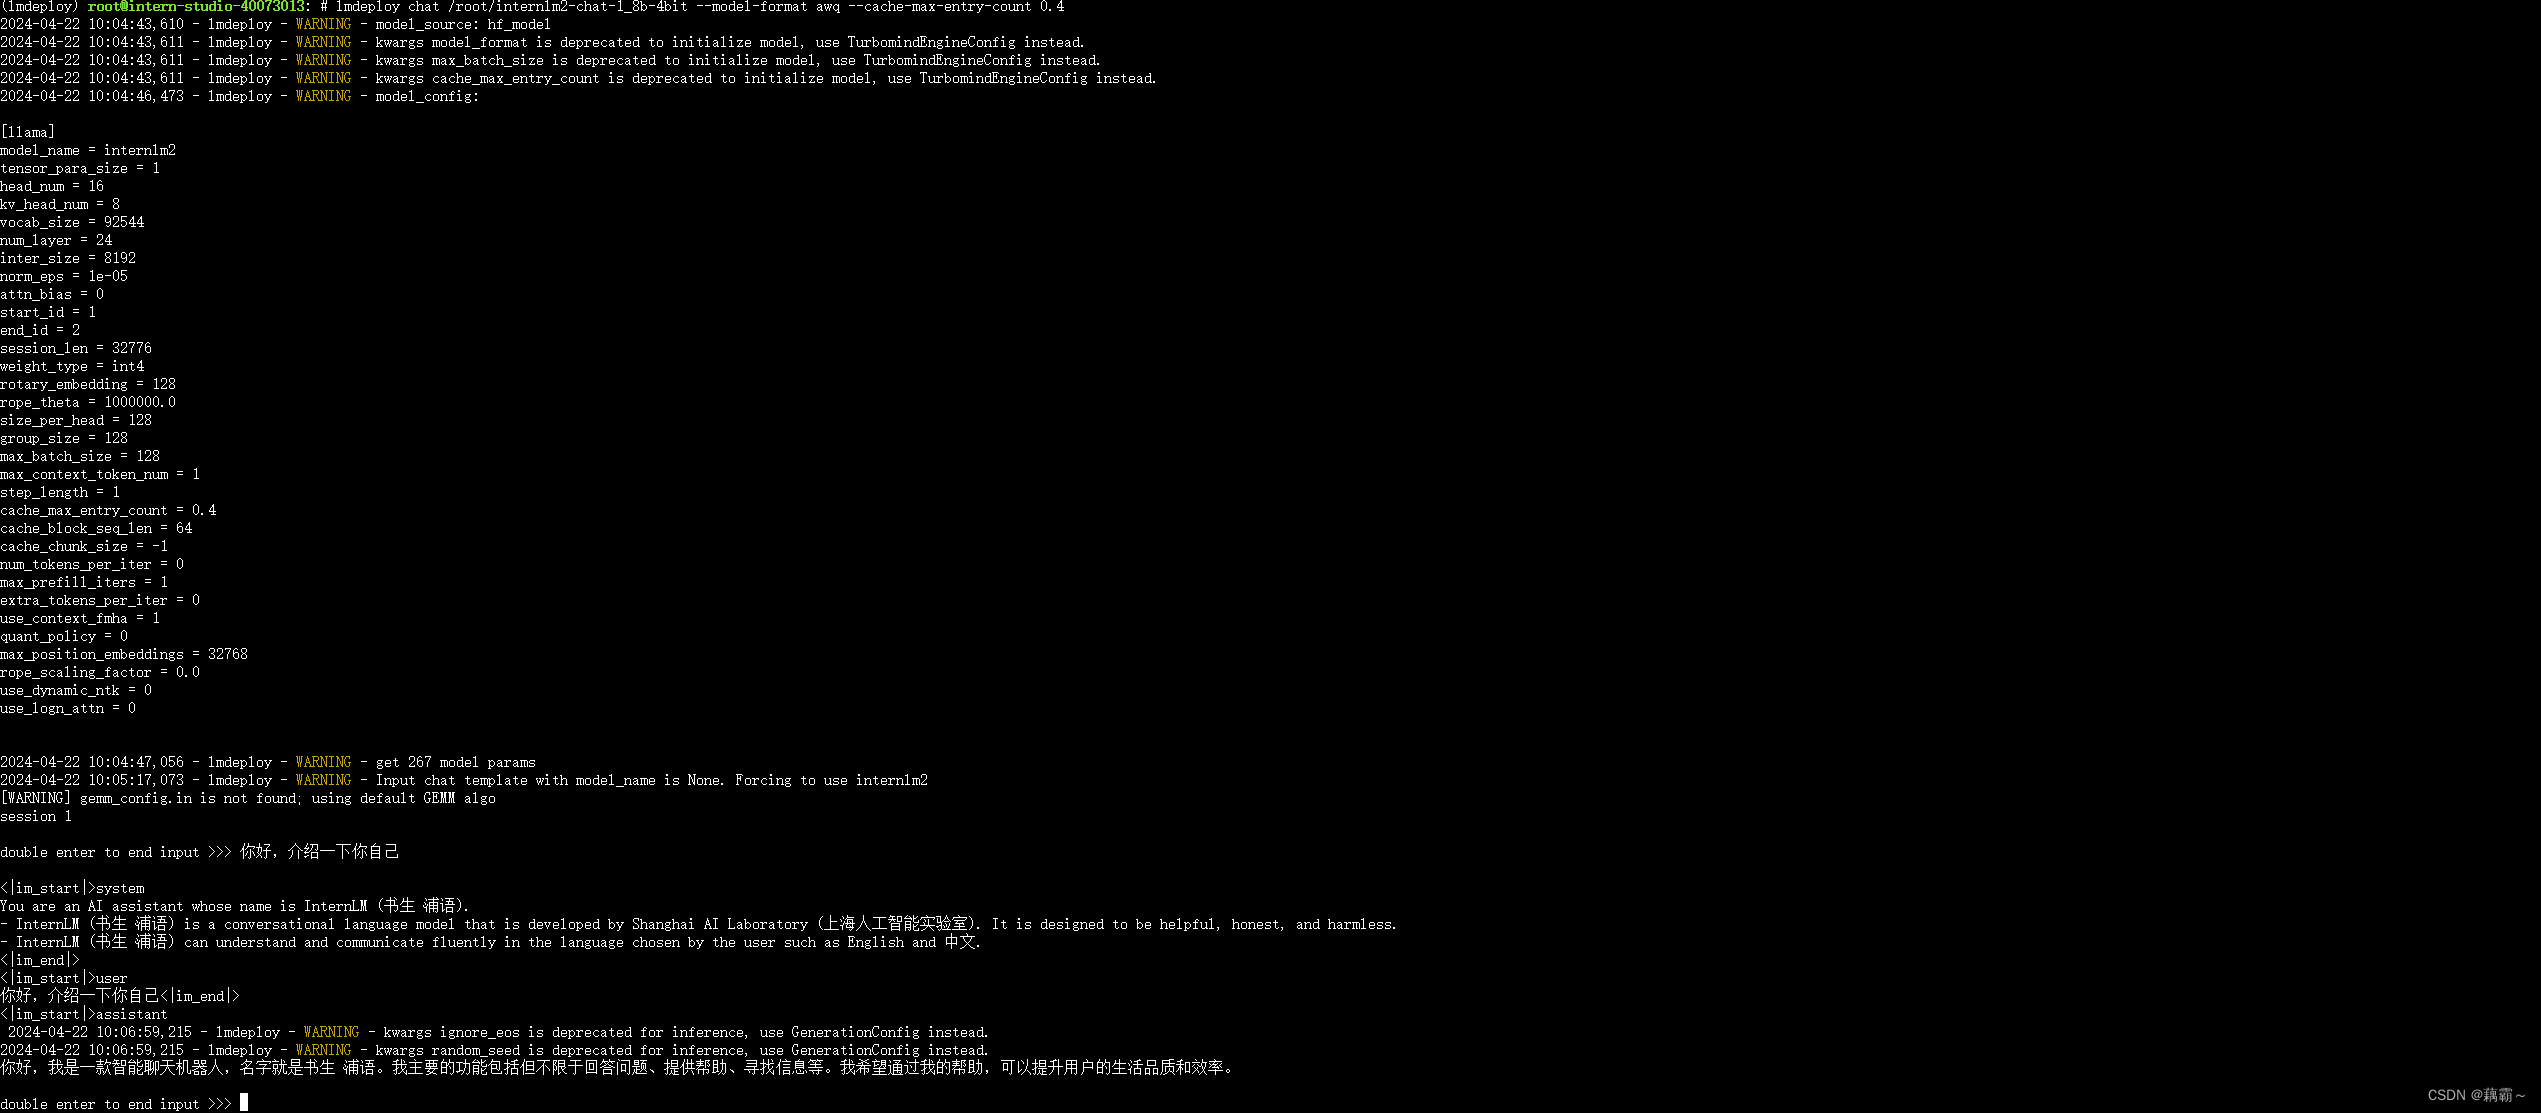
设置KV Cache最大占用比例为0.4,开启W4A16量化,以命令行方式与模型对话
先进行模型量化lmdeploy lite auto_awq \ /root/internlm2-chat-1_8b \ --calib-dataset 'ptb' \ --calib-samples 128 \ --calib-seqlen 1024 \ --w-bits 4 \ --w-group-size 128 \ --work-dir /root/internlm2-chat-1_8b-4bit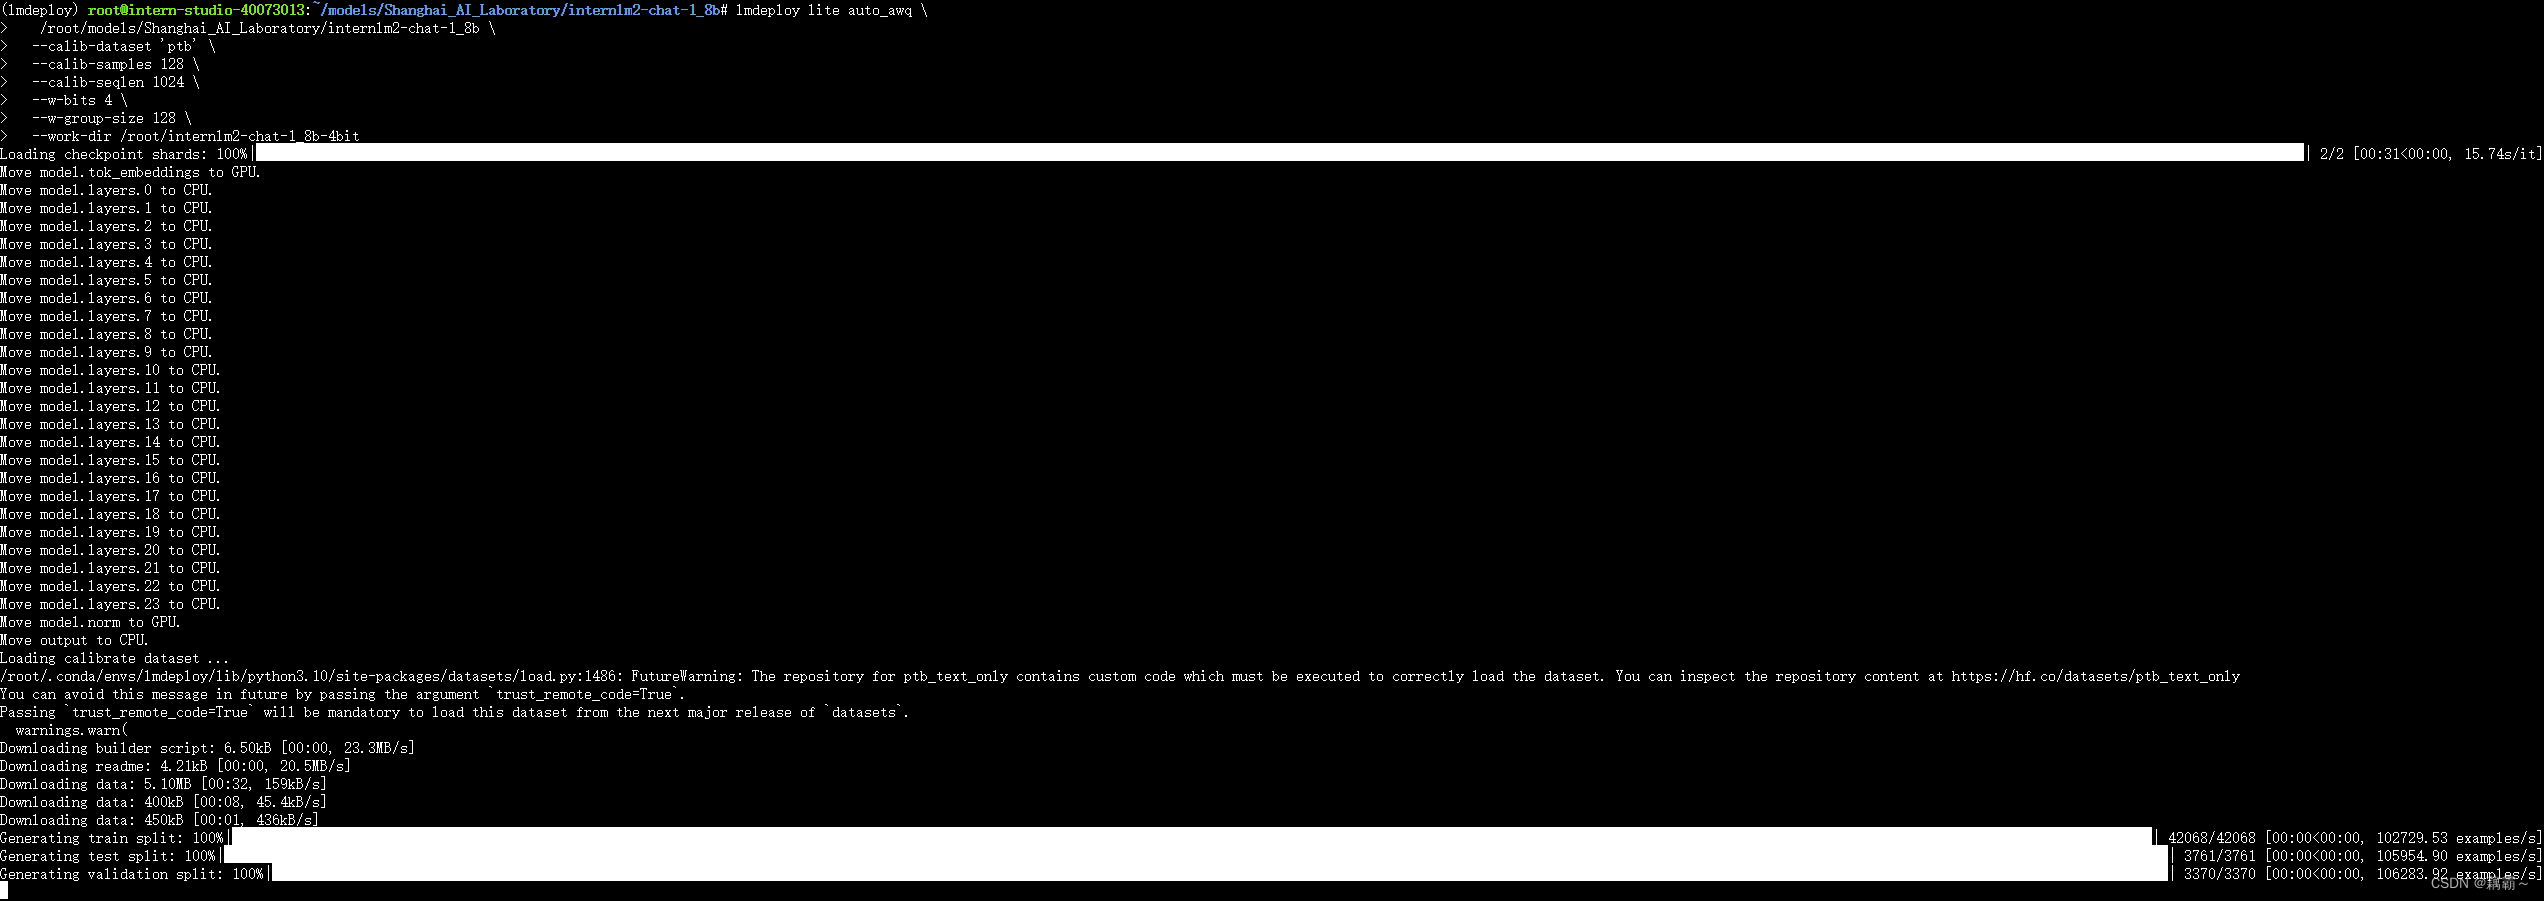
启动模型并进行对话
-
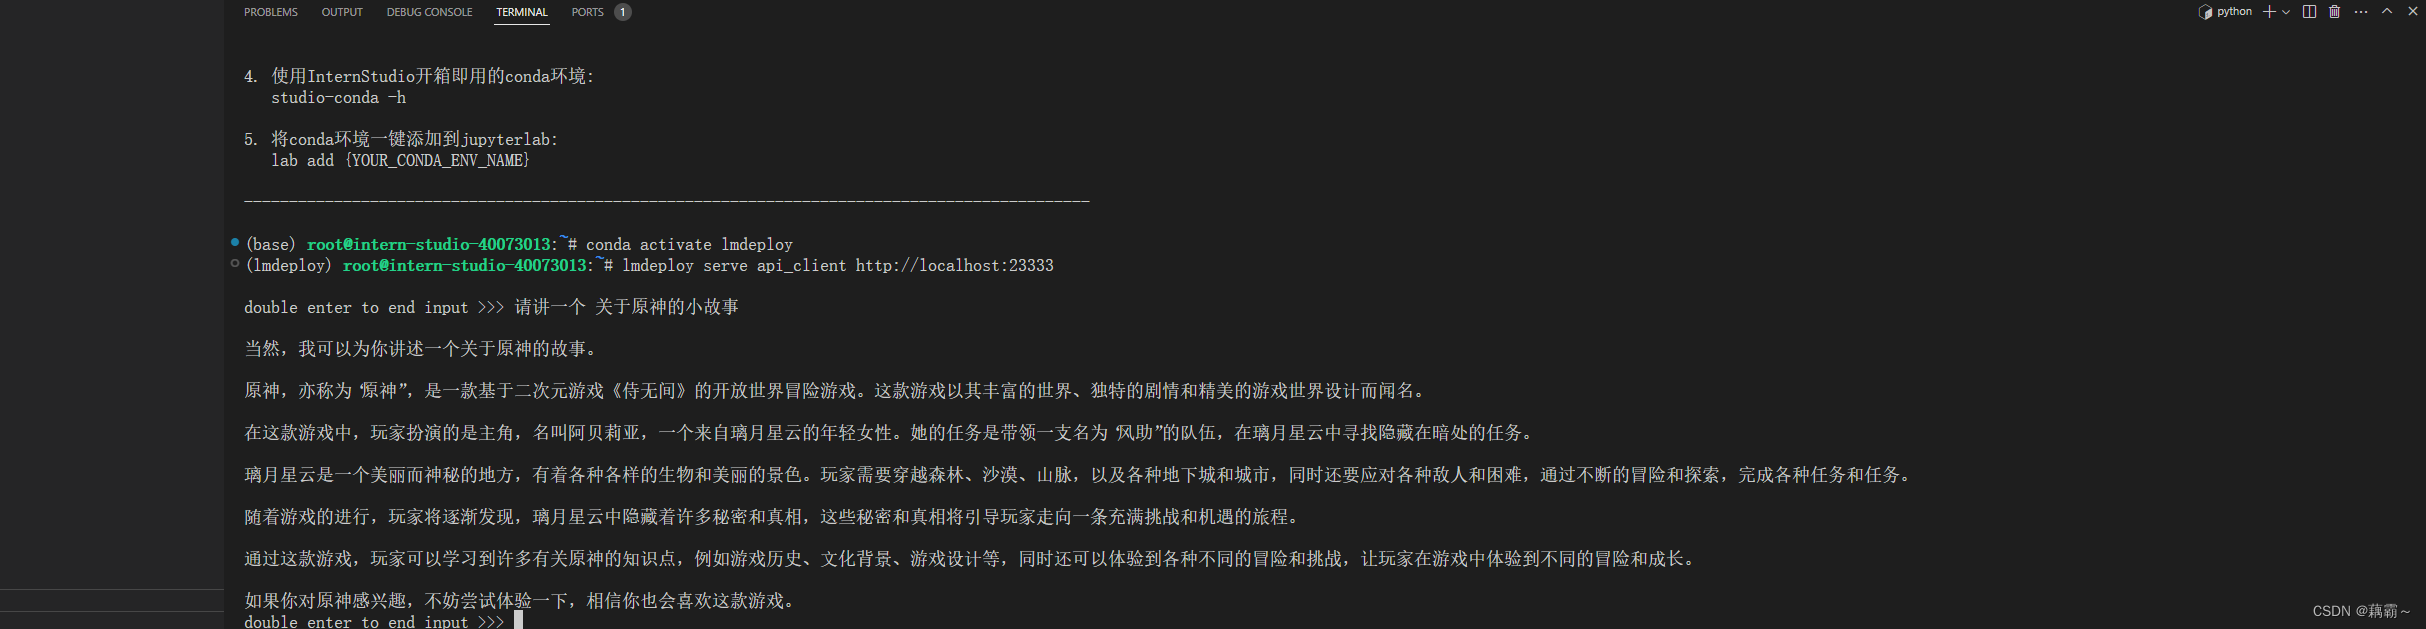
以API Server方式启动 lmdeploy,开启 W4A16量化,调整KV Cache的占用比例为0.4,分别使用命令行客户端与Gradio网页客户端与模型对话
api服务启动

命令行客户端对话
网页客户端对话lmdeploy serve gradio http://localhost:23333 \ --server-name 0.0.0.0 \ --server-port 6006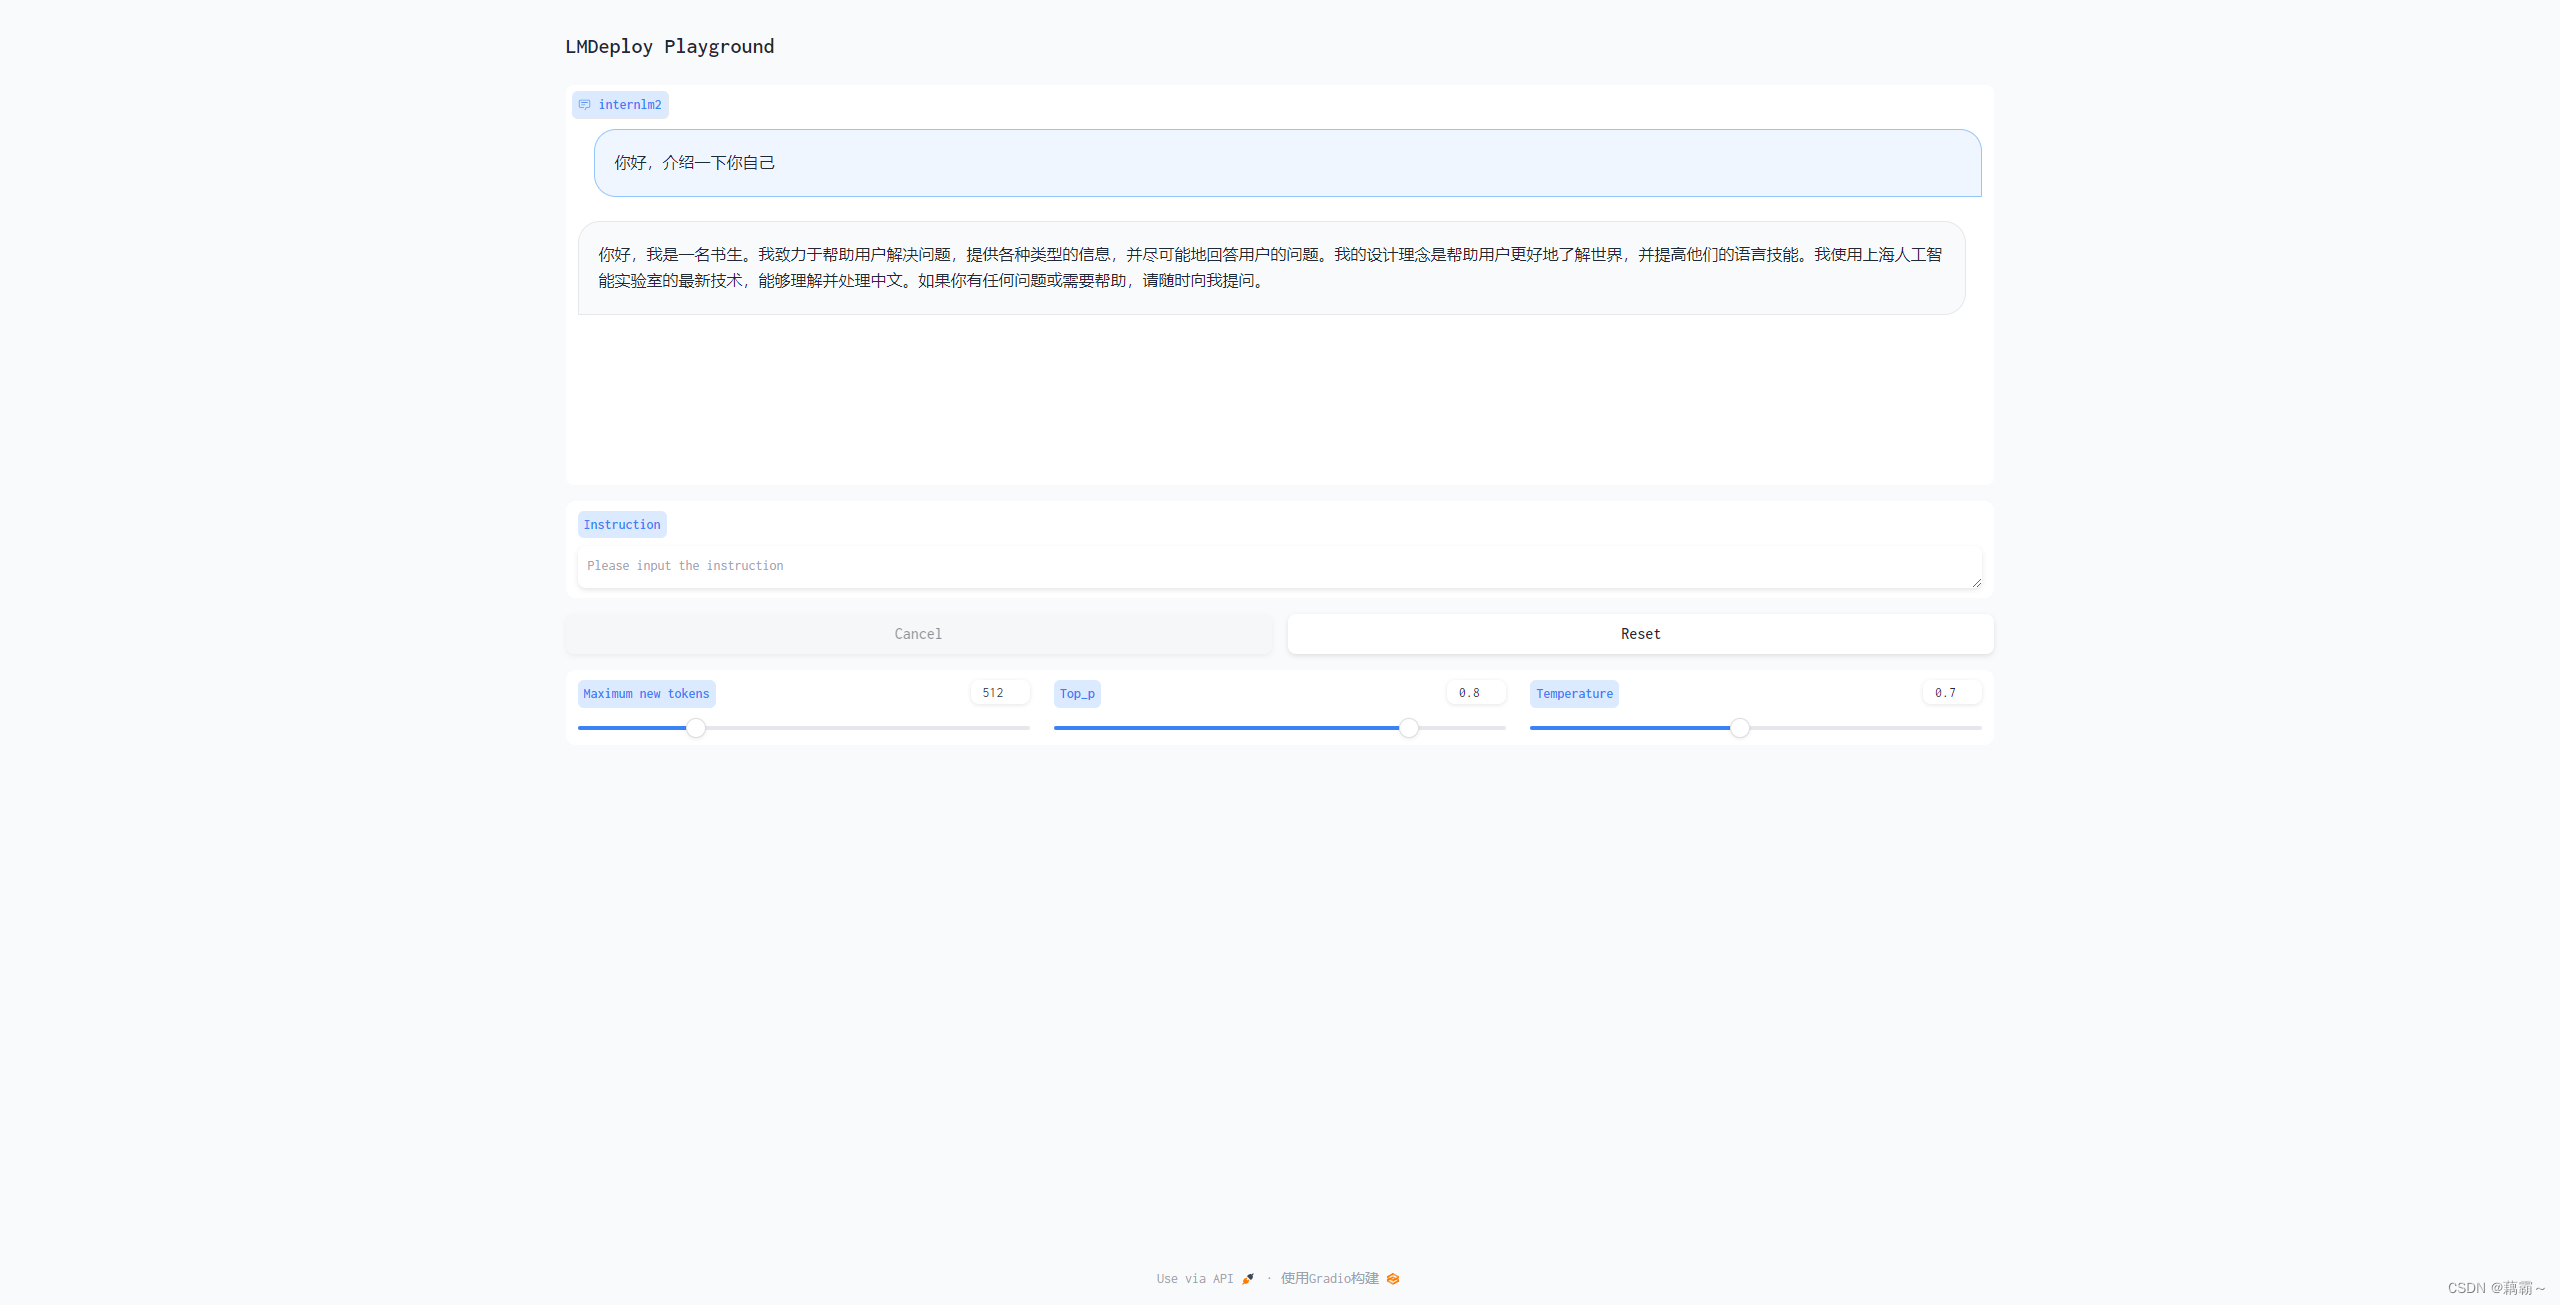
-
使用W4A16量化,调整KV Cache的占用比例为0.4,使用Python代码集成的方式运行internlm2-chat-1.8b模型
python脚本准备

运行效果

-
使用 LMDeploy 运行视觉多模态大模型 llava gradio demo
安装llava依赖库pip install git+https://github.com/haotian-liu/LLaVA.git@4e2277a060da264c4f21b364c867cc622c945874准备脚本文件
import gradio as gr
from lmdeploy import pipeline, TurbomindEngineConfig


backend_config = TurbomindEngineConfig(session_len=8192) # 图片分辨率较高时请调高session_len
# pipe = pipeline('liuhaotian/llava-v1.6-vicuna-7b', backend_config=backend_config) 非开发机运行此命令
pipe = pipeline('/share/new_models/liuhaotian/llava-v1.6-vicuna-7b', backend_config=backend_config)

def model(image, text):
    if image is None:
        return [(text, "请上传一张图片。")]
    else:
        response = pipe((text, image)).text
        return [(text, response)]

demo = gr.Interface(fn=model, inputs=[gr.Image(type="pil"), gr.Textbox()], outputs=gr.Chatbot())
demo.launch()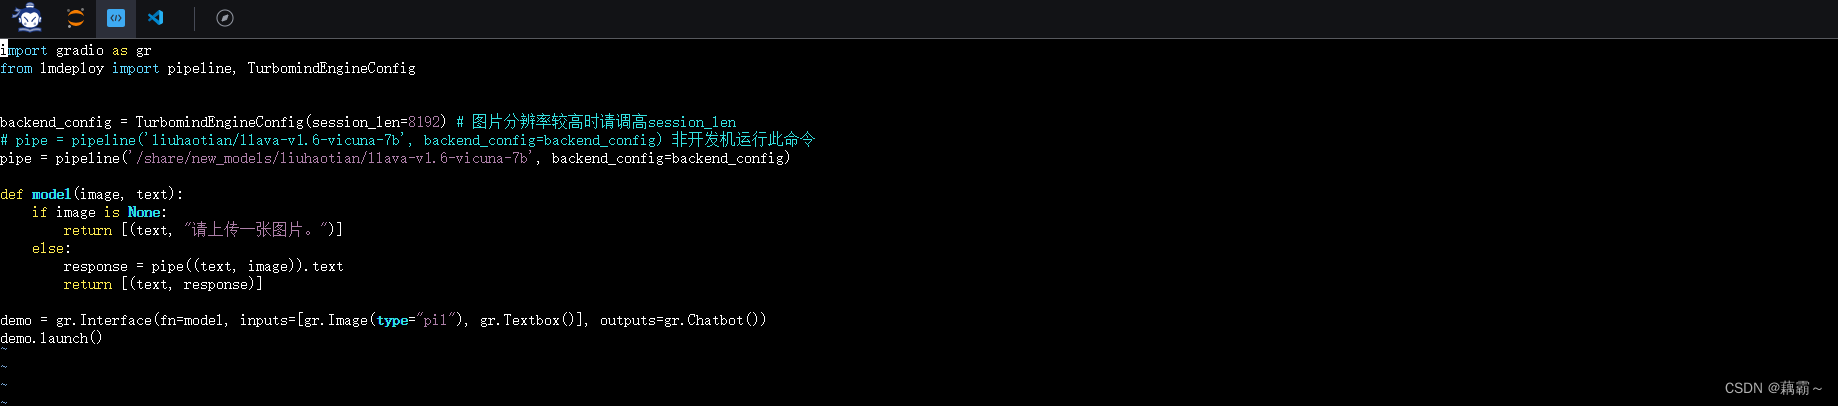
运行脚本python /root/gradio_llava.py
运行效果
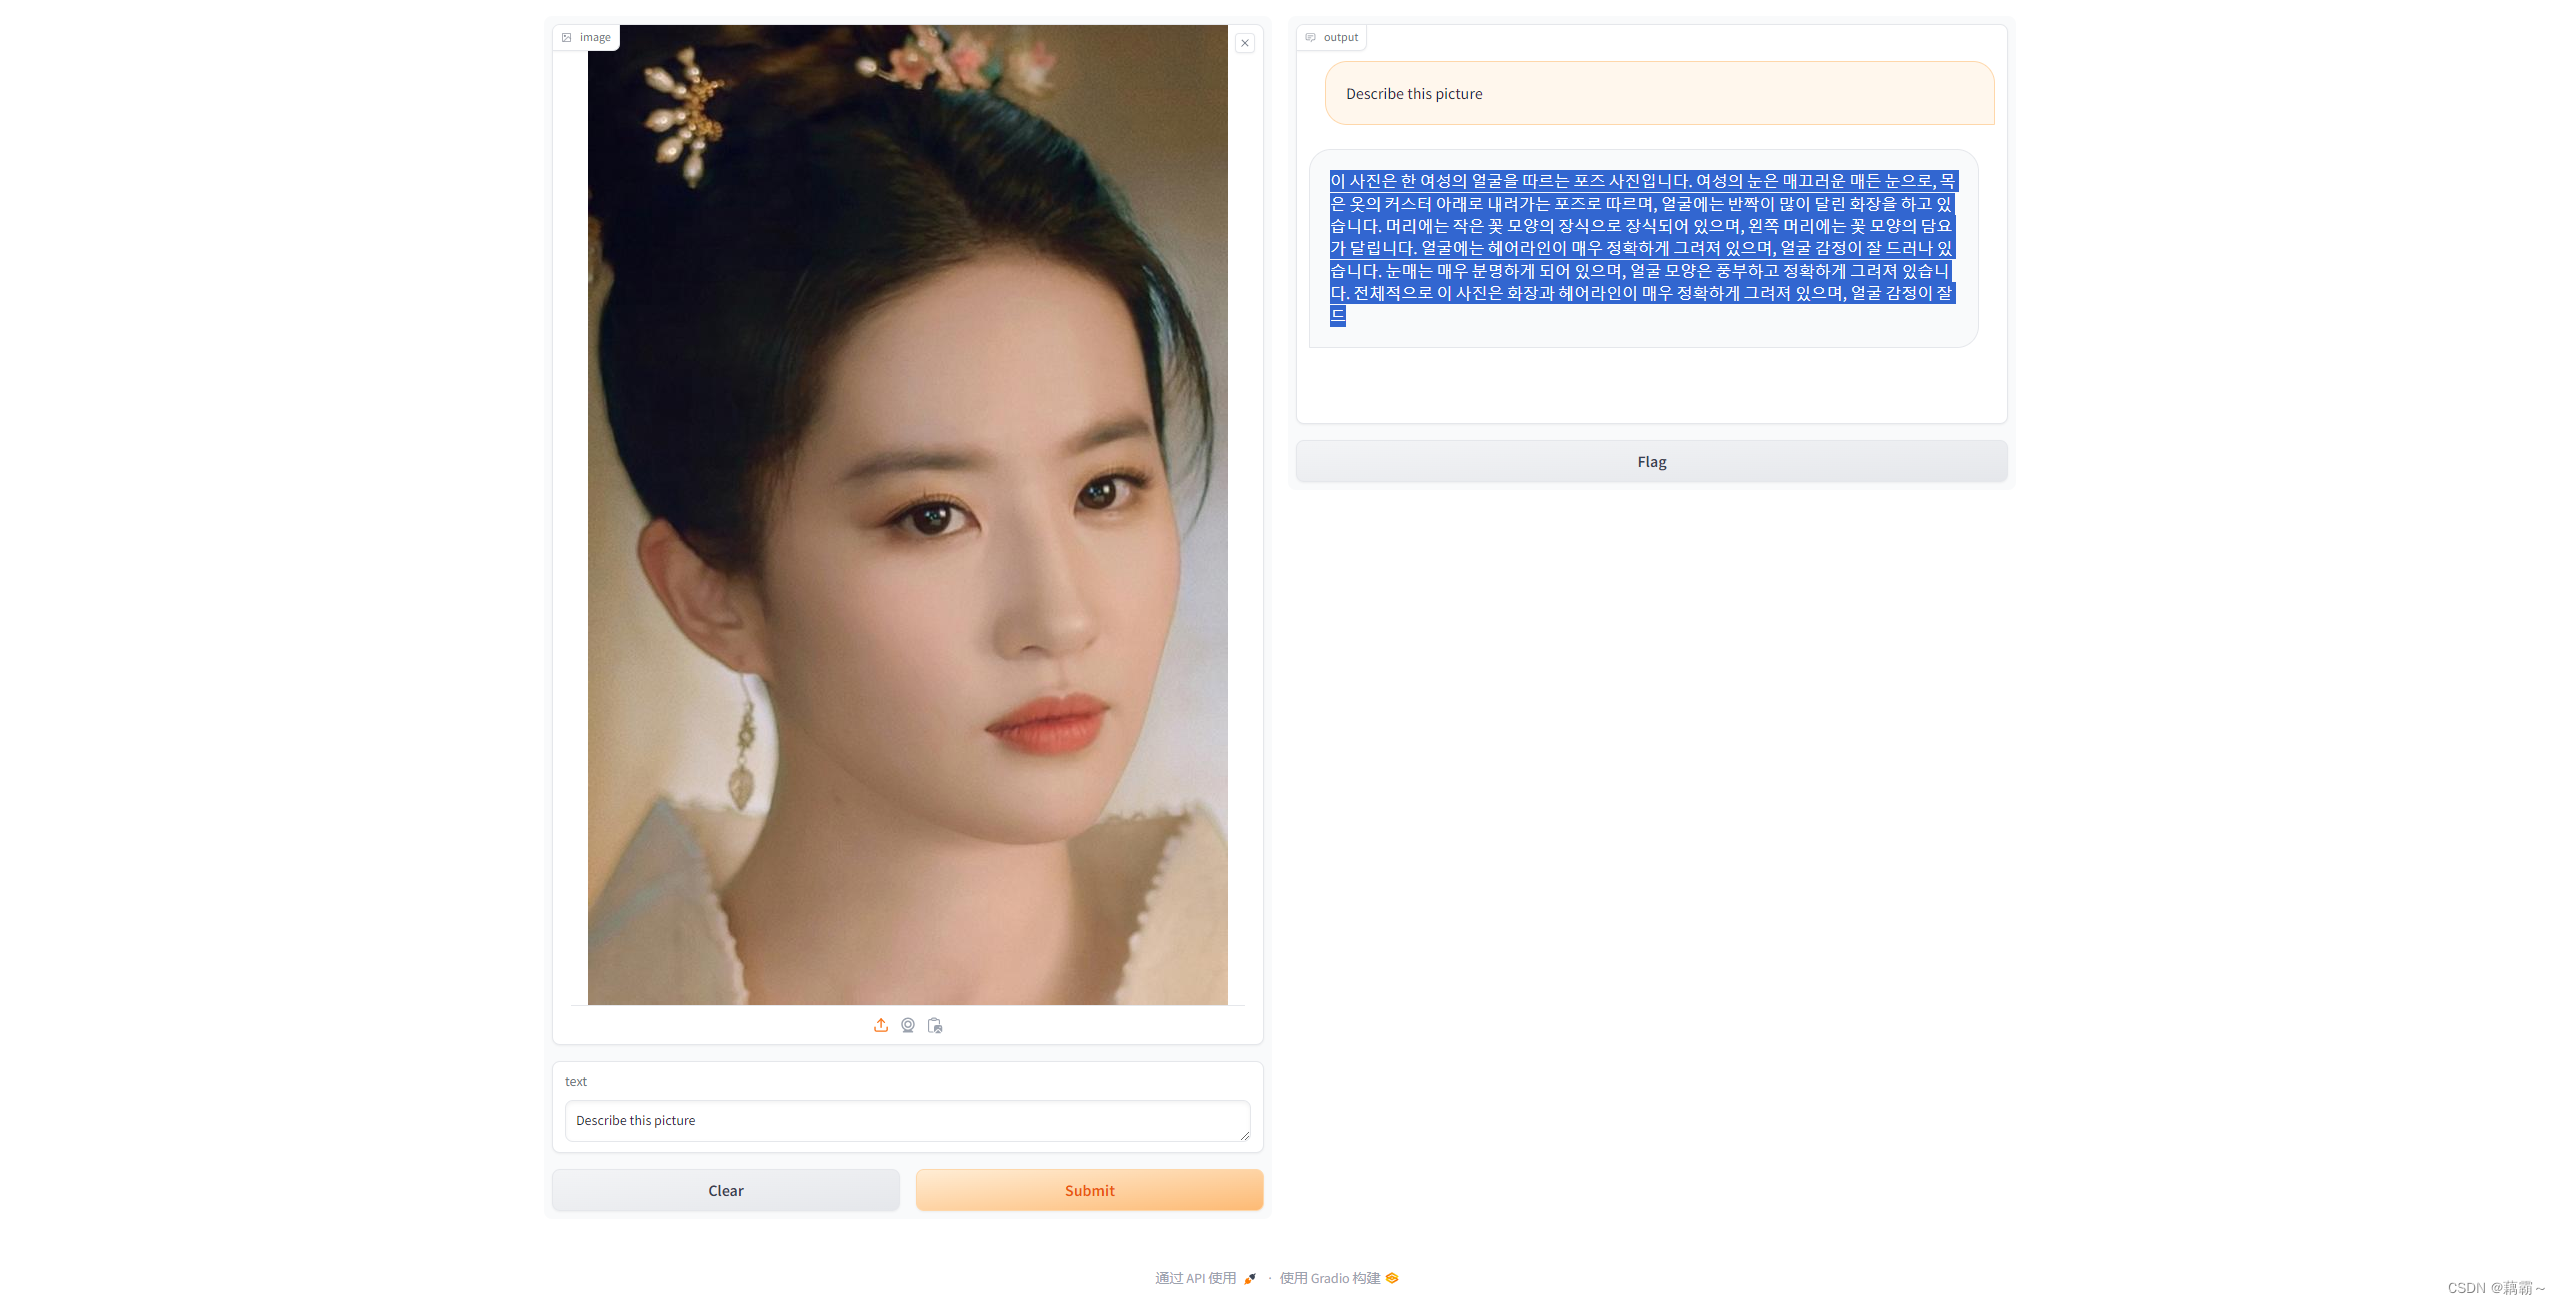

效果还行,要是对中文支持也不错的话就好啦
- 将 LMDeploy Web Demo 部署到 OpenXLab
先不做了,没有资源


 937
937


 被折叠的 条评论
为什么被折叠?
被折叠的 条评论
为什么被折叠?
 到【灌水乐园】发言


