import matplotlib.pyplot as plt
import numpy as np
import PIL
import tensorflow as tf

from tensorflow import keras
from tensorflow.keras import layers
from tensorflow.keras.models import Sequential
读取图片
import pathlib
data_dir = r'C:\Users\86188\TensorFlow机器学习\CNN图像分类\五类图像'
data_dir = pathlib.Path(data_dir)
print(data_dir)
image_count = len(list(data_dir.glob('*/*.jpeg')))
print(image_count)
查看图片:
腹部CT = list(data_dir.glob('腹部CT/*'))
PIL.Image.open(str(腹部CT[0]))
脑部CT = list(data_dir.glob('脑部CT/*'))
PIL.Image.open(str(脑部CT[0]))
手X光片 = list(data_dir.glob('手X光片/*'))
PIL.Image.open(str(手X光片[0]))
胸部CT = list(data_dir.glob('胸部CT/*'))
PIL.Image.open(str(胸部CT[0]))
胸部X光片 = list(data_dir.glob('胸部X光片/*'))
PIL.Image.open(str(胸部X光片[0]))定义一些参数:
#为加载器定义一些参数
batch_size = 32
img_height = 90
img_width = 90
使用 80% 的图像进行训练,使用 20% 的图像进行验证:
train_ds = tf.keras.utils.image_dataset_from_directory(
  data_dir,
  validation_split=0.2,
  subset="training",
  seed=123,
  image_size=(img_height, img_width),
  batch_size=batch_size)
val_ds = tf.keras.utils.image_dataset_from_directory(
data_dir,
validation_split=0.2,
subset="validation",
seed=123,
image_size=(img_height, img_width),
batch_size=batch_size)
class_names = train_ds.class_names
print(class_names)
import matplotlib.pyplot as plt
plt.rcParams['font.sans-serif'] = ['SimHei']

plt.figure(figsize=(10, 10))
for images, labels in train_ds.take(1):
  for i in range(9):
    ax = plt.subplot(5, 5,i+1)
    plt.imshow(images[i].numpy().astype("uint8"))
    plt.title(class_names[labels[i]])
    plt.axis("off")
for image_batch, labels_batch in train_ds:
  print(image_batch.shape)
  print(labels_batch.shape)
  break
image_batch是形状的张量(32, 90, 90, 3)。这是一批 32 张形状的图像90x90x3(最后一个维度是指颜色通道 RGB)。label_batch是 shape 的张量,(32,)这些是 32 幅图像的对应标签。
AUTOTUNE = tf.data.AUTOTUNE
train_ds = train_ds.cache().shuffle(1000).prefetch(buffer_size=AUTOTUNE)
val_ds = val_ds.cache().prefetch(buffer_size=AUTOTUNE)
normalization_layer = layers.Rescaling(1./255)
normalized_ds = train_ds.map(lambda x, y: (normalization_layer(x), y))
image_batch, labels_batch = next(iter(normalized_ds))
first_image = image_batch[0]
print(np.min(first_image), np.max(first_image))
划分数据集并构建模型(CNN模型搭建):
num_classes = len(class_names)

model = Sequential([
  layers.Rescaling(1./255, input_shape=(img_height, img_width, 3)),
  layers.Conv2D(16, 3, padding='same', activation='relu'),
  layers.MaxPooling2D(),  #最大池化层
  layers.Conv2D(32, 3, padding='same', activation='relu'),
  layers.MaxPooling2D(),
  layers.Conv2D(64, 3, padding='same', activation='relu'),
  layers.MaxPooling2D(),
  layers.Flatten(),
  layers.Dense(128, activation='relu'),
  layers.Dense(num_classes)
])
调用compile()方法指定损失函数和要使用的优化器(选择 Adam):
model.compile(optimizer='adam',
              loss=tf.keras.losses.SparseCategoricalCrossentropy(from_logits=True),
              metrics=['accuracy'])
model.summary()
模型训练:
epochs=10  #迭代次数
history = model.fit(
  train_ds,
  validation_data=val_ds,
  epochs=epochs
)
从训练集和验证集可以看出,该模型在验证集和测试的准确率高达100%,不存在过拟合的情况,也不需要再使用数据增强或dropout等方法了。
绘制准确率和损失值曲线:
acc = history.history['accuracy']
val_acc = history.history['val_accuracy']

loss = history.history['loss']
val_loss = history.history['val_loss']

epochs_range = range(epochs)

plt.figure(figsize=(8, 8))
plt.subplot(1, 2, 1)
plt.plot(epochs_range, acc, label='Training Accuracy')
plt.plot(epochs_range, val_acc, label='Validation Accuracy')
plt.legend(loc='lower right')
plt.title('训练集和验证集的准确度')

plt.subplot(1, 2, 2)
plt.plot(epochs_range, loss, label='Training Loss')
plt.plot(epochs_range, val_loss, label='Validation Loss')
plt.legend(loc='upper right')
plt.title('训练集和验证集的损失值')
plt.show()
评估模型:
loss,accuracy = model.evaluate(train_ds, verbose=1)  #verbose = 1 为输出进度条记录

print('损失值:',loss)
print('准确度:', accuracy )
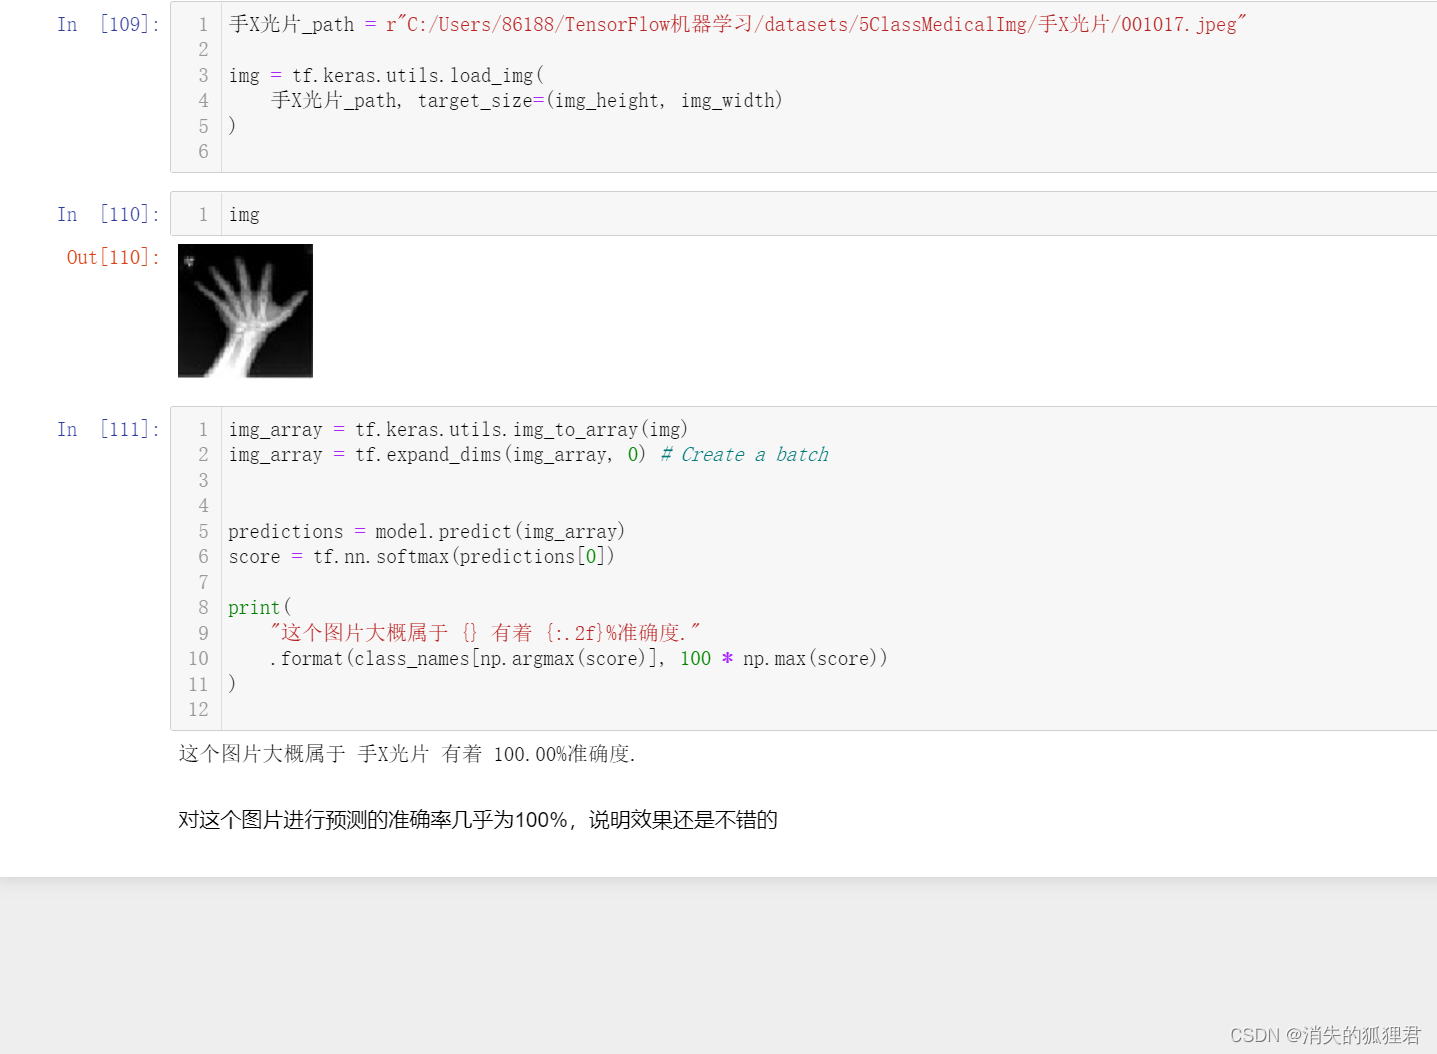
进行预测:
手X光片_path = r"C:/Users/86188/TensorFlow机器学习/datasets/5ClassMedicalImg/手X光片/001017.jpeg"

img = tf.keras.utils.load_img(
    手X光片_path, target_size=(img_height, img_width)
)
img_array = tf.keras.utils.img_to_array(img)
img_array = tf.expand_dims(img_array, 0) # Create a batch


predictions = model.predict(img_array)
score = tf.nn.softmax(predictions[0])

print(
    "这个图片大概属于 {} 有着 {:.2f}%准确度."
    .format(class_names[np.argmax(score)], 100 * np.max(score))
)


 2302
2302


 被折叠的 条评论
为什么被折叠?


