


说明:这里用到的是mata改进的EfficientSAM,参数只有segment anything原版的5%,但是准确度差别不超过2%。
简介
segment anything是著名的分割模型,也就是抠图,
环境准备
sudo apt-get install python3-pyqt5  # PyQt5
sudo pip3 install labelme
代码说明
拉取项目后在这里有两个分割模型,是两个版本,两个版本效果会有一些差别,给的EfficientSAM_example.py文件中对两个版本的模型都进行了测试,我自己的体验是vitt要更好一些,不过差别不大
然后用这样的代码加载两个模型
models = {}
models['efficientsam_ti'] = build_efficient_sam_vitt()

with zipfile.ZipFile("weights/efficient_sam_vits.pt.zip", 'r') as zip_ref:
    zip_ref.extractall("weights")
models['efficientsam_s'] = build_efficient_sam_vits()
这边定义要抠图的路径
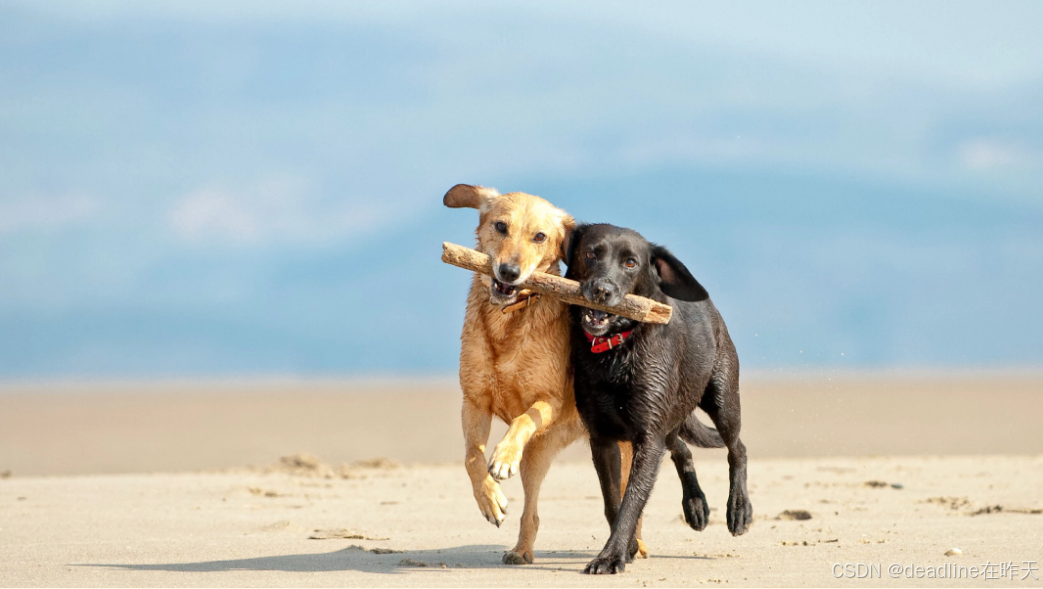
sample_image = Image.open("figs/examples/dogs.png")
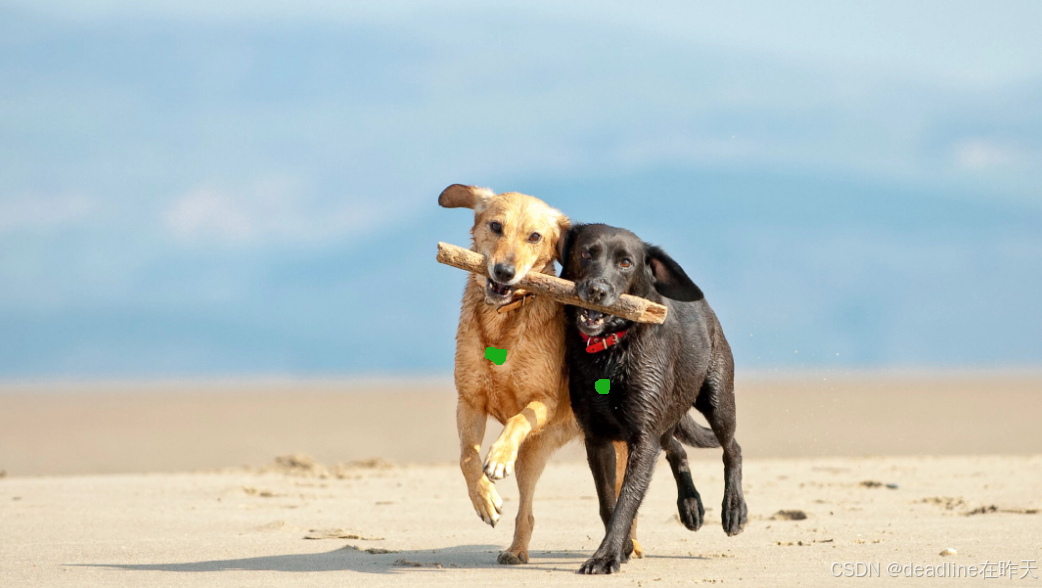
安装一个labelme工具,从而获取要抠图的目标点
比如这张图有两个主要色块点,就找到这两个点的坐标【绿色标注】
在这里填写你获取的坐标,举个例子,如果你有两个点,就填写两个点,两个label,有三个点也可以设置三个【把下面改成三个点的坐标:torch.tensor([[[[373, 307], [344, 328], [490, 330]]]]和 [[[1, 1, 1]]]】
# Input points for the mask
input_points = torch.tensor([[[[373, 307], [344, 328]]]).float()  # Ensure float for model input
input_labels = torch.tensor([[[1, 1]]]).float()  # Ensure float for model input
最后生成透明背景图保存
以下是完整代码【由于我的需求是生成透明背景,这里是改过之后的,输入图为png格式】
from PIL import Image
import numpy as np
import torch
from torchvision import transforms
import zipfile
from efficient_sam.build_efficient_sam import build_efficient_sam_vitt, build_efficient_sam_vits

# Models initialization
models = {}
models['efficientsam_ti'] = build_efficient_sam_vitt()

with zipfile.ZipFile("weights/efficient_sam_vits.pt.zip", 'r') as zip_ref:
    zip_ref.extractall("weights")
models['efficientsam_s'] = build_efficient_sam_vits()

# Load the image
sample_image = Image.open("figs/program2/ship2.png")

# Convert RGBA to RGB if the image has an alpha channel
if sample_image.mode == 'RGBA':
    sample_image = sample_image.convert('RGB')

# Convert the image to a numpy array
sample_image_np = np.array(sample_image)

# Convert the numpy array to a tensor and normalize
sample_image_tensor = transforms.ToTensor()(sample_image_np)

# Input points for the mask
input_points = torch.tensor([[[[373, 307], [344, 328], [490, 330]]]]).float()  # Ensure float for model input
input_labels = torch.tensor([[[1, 1, 1]]]).float()  # Ensure float for model input

# Run inference for both EfficientSAM-Ti and EfficientSAM-S models
for model_name, model in models.items():
    print('Running inference using ', model_name)

    predicted_logits, predicted_iou = model(
        sample_image_tensor[None, ...],  # Add batch dimension
        input_points,
        input_labels,
    )

    sorted_ids = torch.argsort(predicted_iou, dim=-1, descending=True)
    predicted_iou = torch.take_along_dim(predicted_iou, sorted_ids, dim=2)
    predicted_logits = torch.take_along_dim(predicted_logits, sorted_ids[..., None, None], dim=2)

    # Get the mask: true for object, false for background
    mask = torch.ge(predicted_logits[0, 0, 0, :, :], 0).cpu().detach().numpy()

    # Create an RGBA image, with transparent background
    masked_image_np = np.zeros((sample_image_np.shape[0], sample_image_np.shape[1], 4), dtype=np.uint8)

    # Set the RGB channels (retain original image colors for the masked region)
    masked_image_np[:, :, :3] = sample_image_np

    # Set alpha channel (transparency)
    # Alpha channel is 255 for the object region, 0 for the background
    masked_image_np[:, :, 3] = (mask * 255).astype(np.uint8)

    # Save the image with transparency
    Image.fromarray(masked_image_np).save(f"figs/program2/ship_{model_name}_mask.png")
运行结果


 416
416

 被折叠的 条评论
为什么被折叠?
被折叠的 条评论
为什么被折叠?
 到【灌水乐园】发言


