绘制形状
黑色背景板
import numpy as np
import cv2 as cv
img = np.zeros((512,512,3),np.uint8)
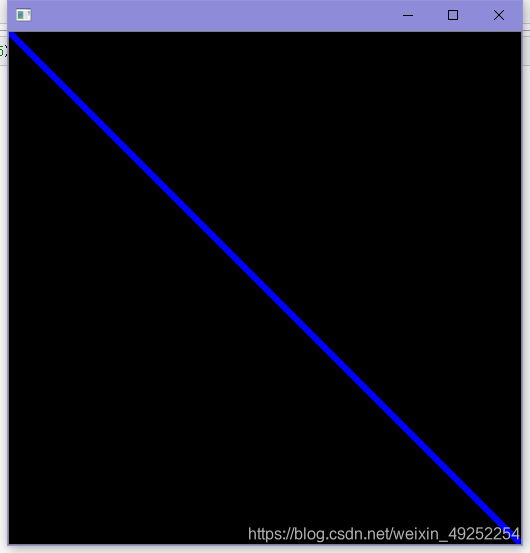
斜线
cv.line(img,(0,0),(512,512),(255,0,0),5)
cv.line(img, pt1, pt2, color[, thickness[, lineType[, shift]]])
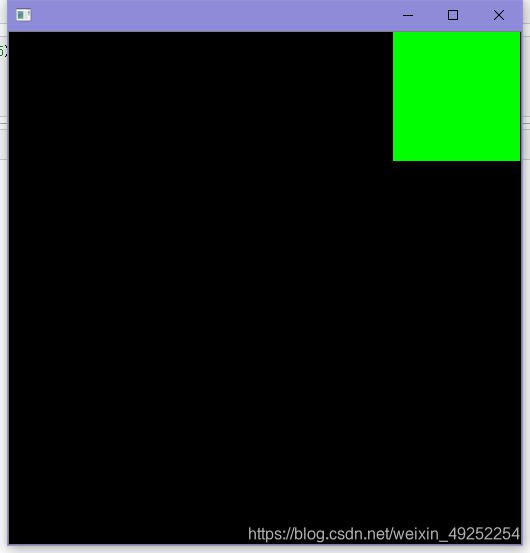
矩形
cv.rectangle(img,(384,0),(510,128),(0,255),-1)
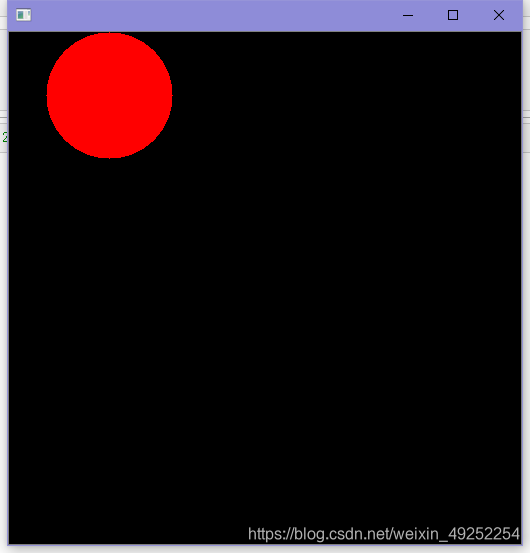
圆形
cv.circle(img,(477,63),63,(0,0,255),-1)
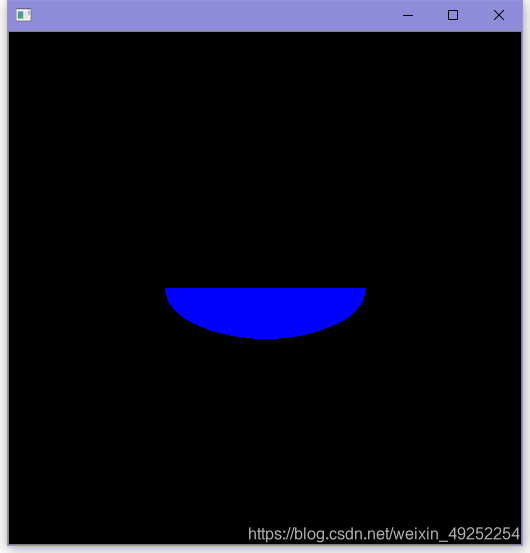
椭圆
cv.ellipse(img,(256,256),(100,50),0,0,180,255,-1)
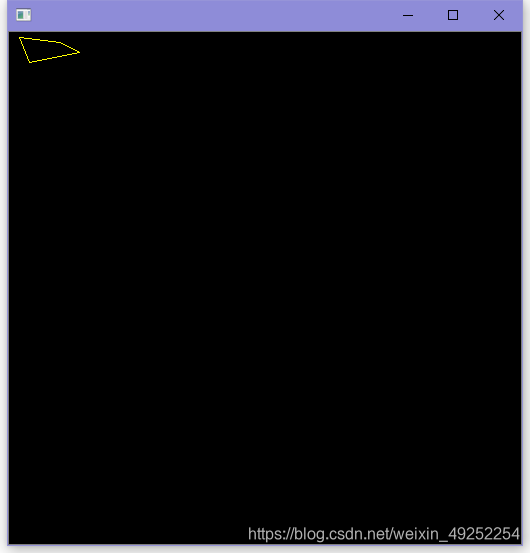
不规则图形
pts = np.array([[10,5],[20,30],[70,20],[50,10]], np.int32)
pts = pts.reshape((-1,1,2))
cv.polylines(img,[pts],True,(0,255,255))
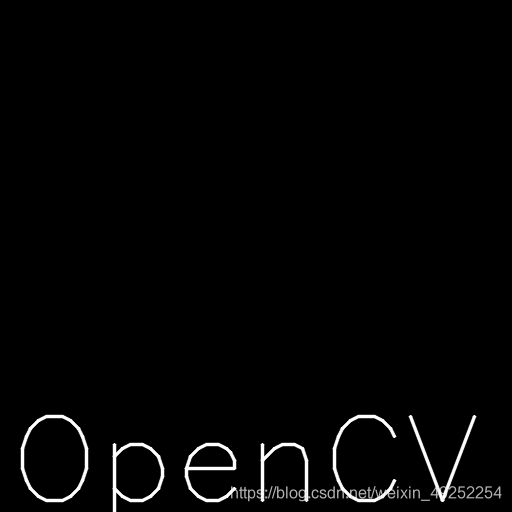
文字
font = cv.FONT_HERSHEY_SIMPLEX
cv.putText(img,'OpenCV',(10,500), font, 4,(255,255,255),2,cv.LINE_AA)
用鼠标绘制
import numpy as np
import cv2 as cv
drawing = False
mode = True
ix,iy = -1,-1
def draw_circle(event,x,y,flags,param):
global ix,iy,drawing,mode
if event == cv.EVENT_LBUTTONDOWN:
drawing = True
ix,iy = x,y
elif event == cv.EVENT_MBUTTONDBLCLK:
mode = False
elif event == cv.EVENT_MBUTTONDOWN:
mode = True
elif event == cv.EVENT_MOUSEMOVE:
if drawing == True:
if mode == True:
cv.rectangle(img,(ix,iy),(x,y),(0,255,0),-1)
else:
cv.circle(img,(x,y),5,(0,0,255),-1)
elif event == cv.EVENT_LBUTTONUP:
drawing = False
img = np.zeros((512,512,3), np.uint8)
cv.namedWindow('image')
cv.setMouseCallback('image',draw_circle)
while(1):
cv.imshow('image',img)
if cv.waitKey(20) & 0xFF == 27:
break
cv.destroyAllWindows()

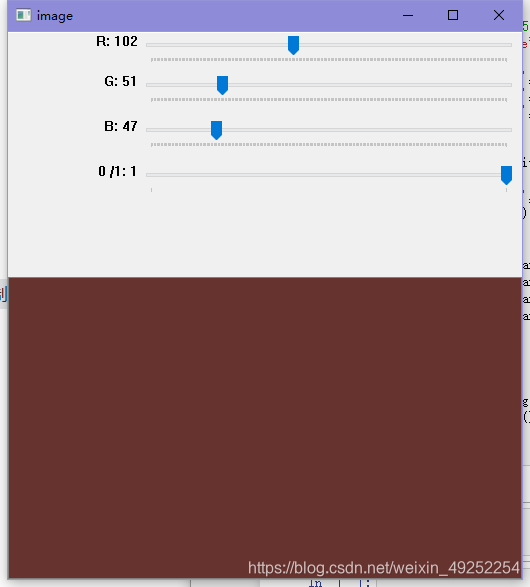
调色板
import numpy as np
import cv2 as cv
def nothing (x):
pass
img = np.zeros((300,512,3), np.uint8)
cv.namedWindow('image')
cv.createTrackbar('R','image',0,255,nothing)
cv.createTrackbar('G','image',0,255,nothing)
cv.createTrackbar('B','image',0,255,nothing)
switch = '0 /1'
print(switch)
cv.createTrackbar(switch,'image',0,1,nothing)
while(1):
cv.imshow('image',img)
k = cv.waitKey(1)
if k == 27:
break
r = cv.getTrackbarPos('R','image')
g = cv.getTrackbarPos('G','image')
b = cv.getTrackbarPos('B','image')
s = cv.getTrackbarPos(switch,'image')
if s == 0:
img[:] = 0
else :
img[:] = [b,g,r]
cv.destroyAllWindows()
img[:]=[1,2,3]


 1067
1067

 被折叠的 条评论
为什么被折叠?
被折叠的 条评论
为什么被折叠?
 到【灌水乐园】发言


