


菜鸟小白学习分享,如有不对欢迎指正
下载安装
Dify 依赖以下工具和库:
- Docker
- Docker Compose
- Node.js v18.x (LTS)
- npm version 8.x.x or Yarn
- Python version 3.10.x
注:需要严格按照官网文档环境信息
具体安装步骤可从github上复制粘贴,傻瓜式操作,but 首先你需要创建一个虚拟环境 https://github.com/langgenius/dify/blob/main/CONTRIBUTING_CN.md
0.6.12版本后使用poetry管理包
ps:不要怪dify只支持上传图片,而且前端传参还是base64格式,因为模型接口就只支持处理image,编码还必须是base64 文件上传随后再写吧
后端
Dify 的后端使用 Python 编写,使用 Flask 框架。它使用 SQLAlchemy 作为 ORM,使用 Celery 作为任务队列。授权逻辑通过 Flask-login 进行处理。
by the way: celery 初步理解为消费者模型,发送消息后,worker起一个‘进程’处理消息,(个人猜想是进程)个人对异步消息这块不是很了解,不再赘述

poetry run python -m celery -A app.celery worker -P gevent -c 1 --loglevel INFO -Q dataset,generation,mail,ops_trace,app_deletion数据库
普通工作流调用大模型时,仅使用到了postgres, 猜想weaviate向量数据库只有对应查询数据库的时候使用
工作流对应DB中workflows这张表,其中节点信息储存在graph字段中,以下为字段信息,是一段JSON
{"nodes": [{"id": "1725434172434", "type": "custom", "data": {"type": "start", "title": "\u5f00\u59cb", "desc": "", "variables": [], "selected": false}, "position": {"x": 80, "y": 282}, "targetPosition": "left", "sourcePosition": "right", "positionAbsolute": {"x": 80, "y": 282}, "width": 244, "height": 54}, {"id": "llm", "type": "custom", "data": {"type": "llm", "title": "LLM", "desc": "", "variables": [], "model": {"provider": "ollama", "name": "llava:13b", "mode": "chat", "completion_params": {"temperature": 0.7}}, "prompt_template": [{"role": "system", "text": "\u5c06\u56fe\u7247\u4e2d\u4fe1\u606f\u63d0\u53d6\u51fa\u6765", "id": "3253d6ae-8331-424f-9d85-7c9ebff6b5f4"}], "context": {"enabled": false, "variable_selector": []}, "vision": {"enabled": false}, "memory": {"window": {"enabled": false, "size": 10}, "role_prefix": {"user": "", "assistant": ""}}, "selected": true}, "position": {"x": 379.03416092544296, "y": 282}, "targetPosition": "left", "sourcePosition": "right", "positionAbsolute": {"x": 379.03416092544296, "y": 282}, "width": 244, "height": 98, "selected": true}, {"id": "answer", "type": "custom", "data": {"type": "answer", "title": "\u76f4\u63a5\u56de\u590d", "desc": "", "variables": [], "answer": "{{#llm.text#}}", "selected": false}, "position": {"x": 680, "y": 282}, "targetPosition": "left", "sourcePosition": "right", "positionAbsolute": {"x": 680, "y": 282}, "width": 244, "height": 107}], "edges": [{"id": "1725434172434-llm", "source": "1725434172434", "sourceHandle": "source", "target": "llm", "targetHandle": "target", "type": "custom", "data": {"sourceType": "start", "targetType": "llm"}}, {"id": "llm-answer", "source": "llm", "sourceHandle": "source", "target": "answer", "targetHandle": "target", "type": "custom", "data": {"sourceType": "llm", "targetType": "answer"}}], "viewport": {"x": 94.87333799526743, "y": -74.36439111513661, "zoom": 1.035369168987668}}其中nodes表示当前工作流共有几个节点,edges中有相关节点的引用关系
消息更新
通过回掉函数及自定义queue,用redis实现消息的通知,比如标记节点的运行状态
接口调用
每一次调用工作流后,后端会先对参数处理,将一些系统基本信息,放入变量池中,这个变量池放到了context中,全局都可获取,之后单独起一个线程,验证输入信息格式,调用大模型
这块东西很多,但是不太好表述,欢迎随时交流
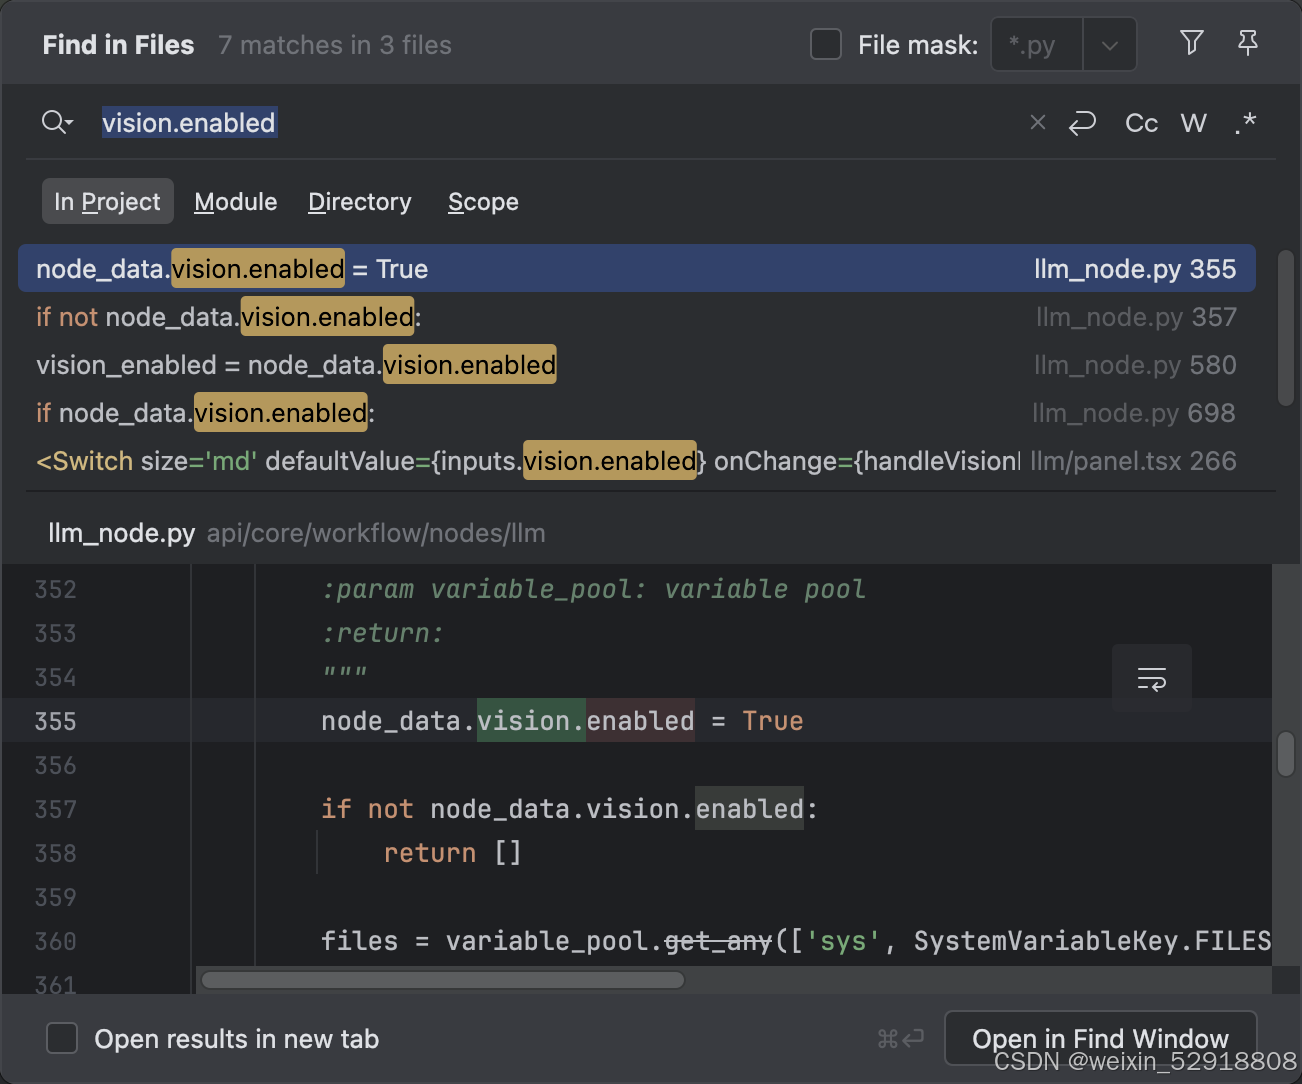
多模态支持图片格式的识别
不知道是前端设置我没打开,还是专门有这么个小坑,默认不支持图片识别,得将vision.enabled设置为True,直接全局搜索即可
文件上传
相信大家对网页基本知识有一定的了解,dify上传文件后,首先发送upload的请求,通过formdata传到本地api/storage/upload_files下,源码中默认使用本地储存,应该再flask中能更改配置项支持s3等其他储存,成功后返回 !!文件ID!!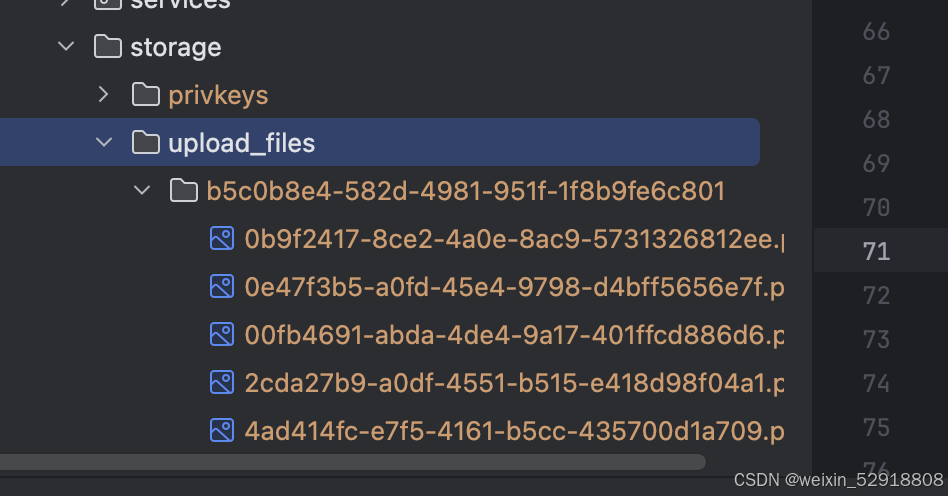
之后进行对话发送时,将文件转为base64的格式,通过json的格式传到后端,但目前看来这是一个坑,后端初始化filevar变量时通过属性会重新根据 id 去数据库中获取具体的信息,所以前端对话时,重新发送一遍json,个人感觉是无用的(有人知道这是干什么用的,求求告诉孩子)


 1253
1253

 被折叠的 条评论
为什么被折叠?
被折叠的 条评论
为什么被折叠?
 到【灌水乐园】发言


