


1、安装httpd及其相关的组件
yum install -y httpd httpd-develInstalled:
httpd.x86_64 0:2.4.6-99.el7.centos.1 httpd-devel.x86_64 0:2.4.6-99.el7.centos.1
Dependency Installed:
apr.x86_64 0:1.4.8-7.el7 apr-devel.x86_64 0:1.4.8-7.el7
apr-util.x86_64 0:1.5.2-6.el7_9.1 apr-util-devel.x86_64 0:1.5.2-6.el7_9.1
cyrus-sasl.x86_64 0:2.1.26-24.el7_9 cyrus-sasl-devel.x86_64 0:2.1.26-24.el7_9
expat-devel.x86_64 0:2.1.0-15.el7_9 httpd-tools.x86_64 0:2.4.6-99.el7.centos.1
libdb-devel.x86_64 0:5.3.21-25.el7 mailcap.noarch 0:2.1.41-2.el7
openldap-devel.x86_64 0:2.4.44-25.el7_9
Complete!2、安装php及其相关组件
yum -y install php php-gd php-ldap php-odbc php-pear php-xml php-xmlrpc php-mysqlInstalled:
php.x86_64 0:5.4.16-48.el7 php-gd.x86_64 0:5.4.16-48.el7 php-ldap.x86_64 0:5.4.16-48.el7
php-mysql.x86_64 0:5.4.16-48.el7 php-odbc.x86_64 0:5.4.16-48.el7 php-pear.noarch 1:1.9.4-23.el7_9
php-xml.x86_64 0:5.4.16-48.el7 php-xmlrpc.x86_64 0:5.4.16-48.el7
Dependency Installed:
libX11.x86_64 0:1.6.7-4.el7_9 libX11-common.noarch 0:1.6.7-4.el7_9 libXau.x86_64 0:1.0.8-2.1.el7
libXpm.x86_64 0:3.5.12-2.el7_9 libjpeg-turbo.x86_64 0:1.2.90-8.el7 libtool-ltdl.x86_64 0:2.4.2-22.el7_3
libxcb.x86_64 0:1.13-1.el7 libxslt.x86_64 0:1.1.28-6.el7 libzip.x86_64 0:0.10.1-8.el7
php-cli.x86_64 0:5.4.16-48.el7 php-common.x86_64 0:5.4.16-48.el7 php-pdo.x86_64 0:5.4.16-48.el7
php-process.x86_64 0:5.4.16-48.el7 t1lib.x86_64 0:5.1.2-14.el7 unixODBC.x86_64 0:2.3.1-14.el7
Complete!3、安装数据库
yum install -y mariadb mariadb-server mariadb-libs mariadb-develInstalled:
mariadb.x86_64 1:5.5.68-1.el7 mariadb-devel.x86_64 1:5.5.68-1.el7 mariadb-server.x86_64 1:5.5.68-1.el7
Dependency Installed:
keyutils-libs-devel.x86_64 0:1.5.8-3.el7 krb5-devel.x86_64 0:1.15.1-55.el7_9
libcom_err-devel.x86_64 0:1.42.9-19.el7 libkadm5.x86_64 0:1.15.1-55.el7_9
libselinux-devel.x86_64 0:2.5-15.el7 libsepol-devel.x86_64 0:2.5-10.el7
libverto-devel.x86_64 0:0.2.5-4.el7 openssl-devel.x86_64 1:1.0.2k-26.el7_9
pcre-devel.x86_64 0:8.32-17.el7 perl-Compress-Raw-Bzip2.x86_64 0:2.061-3.el7
perl-Compress-Raw-Zlib.x86_64 1:2.061-4.el7 perl-DBD-MySQL.x86_64 0:4.023-6.el7
perl-DBI.x86_64 0:1.627-4.el7 perl-Data-Dumper.x86_64 0:2.145-3.el7
perl-IO-Compress.noarch 0:2.061-2.el7 perl-Net-Daemon.noarch 0:0.48-5.el7
perl-PlRPC.noarch 0:0.2020-14.el7 zlib-devel.x86_64 0:1.2.7-21.el7_9
Complete!启动服务并设置自启动
systemctl start httpd
systemctl start mariadb
systemctl enable httpd
systemctl enable mariadb
对数据库进行初始化设置
mysql_secure_installationEnter current password for root (enter for none): #刚安装密码为空直接Enter键
OK, successfully used password, moving on...
Setting the root password ensures that nobody can log into the MariaDB
root user without the proper authorisation.
Set root password? [Y/n] y #设置root密码
New password:
Re-enter new password:
Password updated successfully!
Reloading privilege tables..
... Success!
Disallow root login remotely? [Y/n] y #是否禁止使用root用户进行远程连接数据库
... skipping.
Remove anonymous users? [Y/n] y #是否移除匿名用户
... Success!
Remove test database and access to it? [Y/n] y #是否移除测试数据库
- Dropping test database...
... Success!
- Removing privileges on test database...
... Success!
Reload privilege tables now? [Y/n] y #是否重新分配权限
... Success!4、测试环境是否安装成功
在浏览器中使用ip进行访问
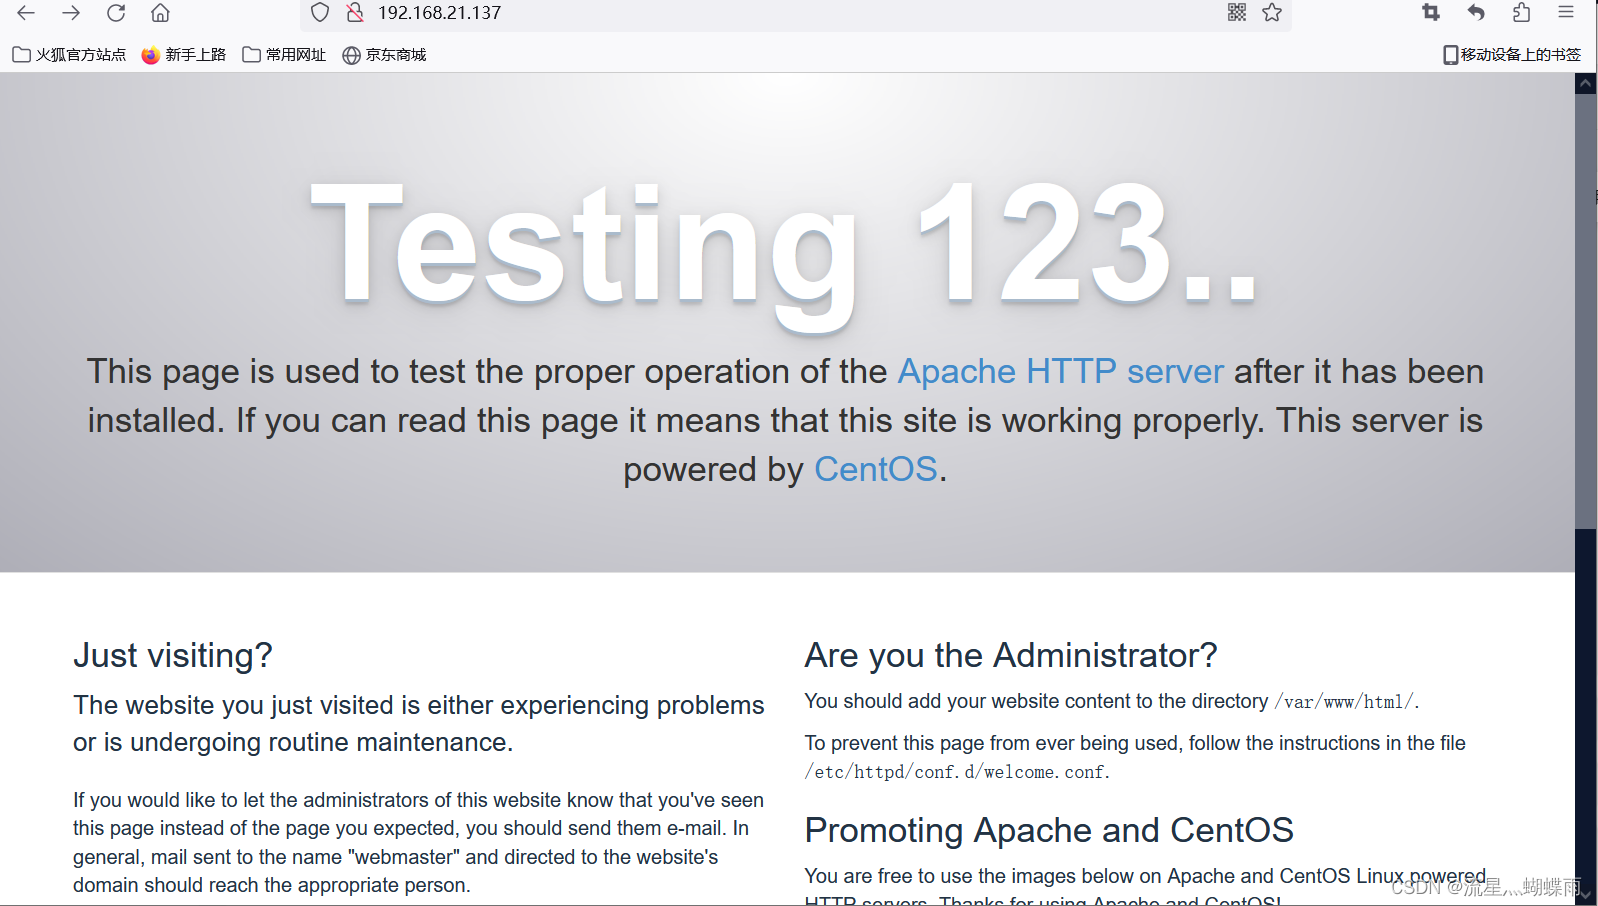
出现该界面表示成功
5、安装DVWA
首先将/etc/httpd/conf.d/welcome.conf全部注释掉
vim /etc/httpd/conf.d/welcome.conf#
# This configuration file enables the default "Welcome" page if there
# is no default index page present for the root URL. To disable the
# Welcome page, comment out all the lines below.
#
# NOTE: if this file is removed, it will be restored on upgrades.
#
#<LocationMatch "^/+$">
# Options -Indexes
# ErrorDocument 403 /.noindex.html
#</LocationMatch>
#<Directory /usr/share/httpd/noindex>
# AllowOverride None
# Require all granted
#</Directory>
#Alias /.noindex.html /usr/share/httpd/noindex/index.html
#Alias /noindex/css/bootstrap.min.css /usr/share/httpd/noindex/css/bootstrap.min.css
#Alias /noindex/css/open-sans.css /usr/share/httpd/noindex/css/open-sans.css
#Alias /images/apache_pb.gif /usr/share/httpd/noindex/images/apache_pb.gif
#Alias /images/poweredby.png /usr/share/httpd/noindex/images/poweredby.png下载dvwa安装包
链接:https://pan.baidu.com/s/1oQAJZzHGRosX9WD_AGKN1Q?pwd=a2zw
提取码:a2zw
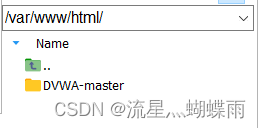
下载完成解压后上传到centos7的apache根目录/var/www/html下
进入DVWA-master/config/目录下,复制config.inc.php.dist文件为config.inc.php
cp config.inc.php.dist config.inc.php编辑config.inc.php文件
vim config.inc.php进行配置
$_DVWA = array();
$_DVWA[ 'db_server' ]   = '127.0.0.1';
$_DVWA[ 'db_database' ] = 'dvwa'; #数据库名
$_DVWA[ 'db_user' ]     = 'root'; #数据库用户名
$_DVWA[ 'db_password' ] = 'root'; #数据库密码
编辑php配置文件php.ini该文件一般是在/etc/php.ini路径
# vim /etc/php.ini

allow_url_include = Off
#改为
allow_url_include = On
重启apache服务
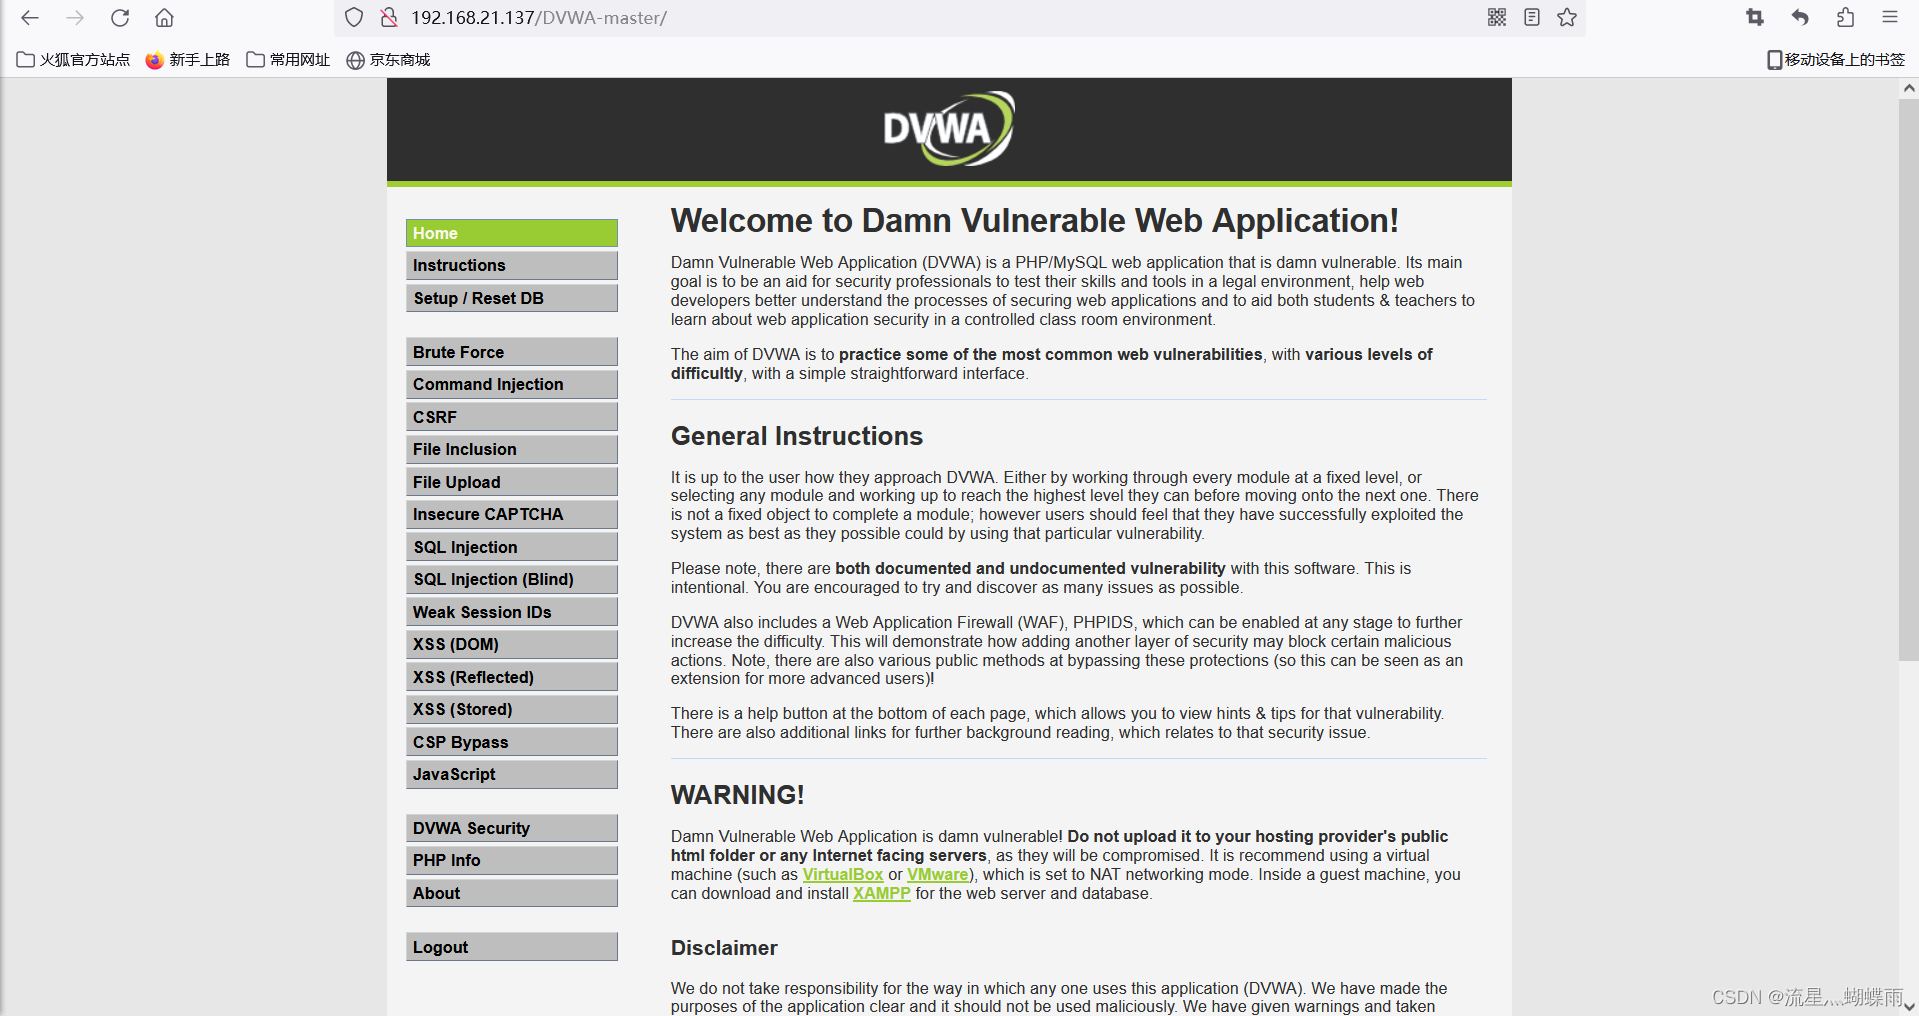
systemctl restart httpd通过ip进行访问
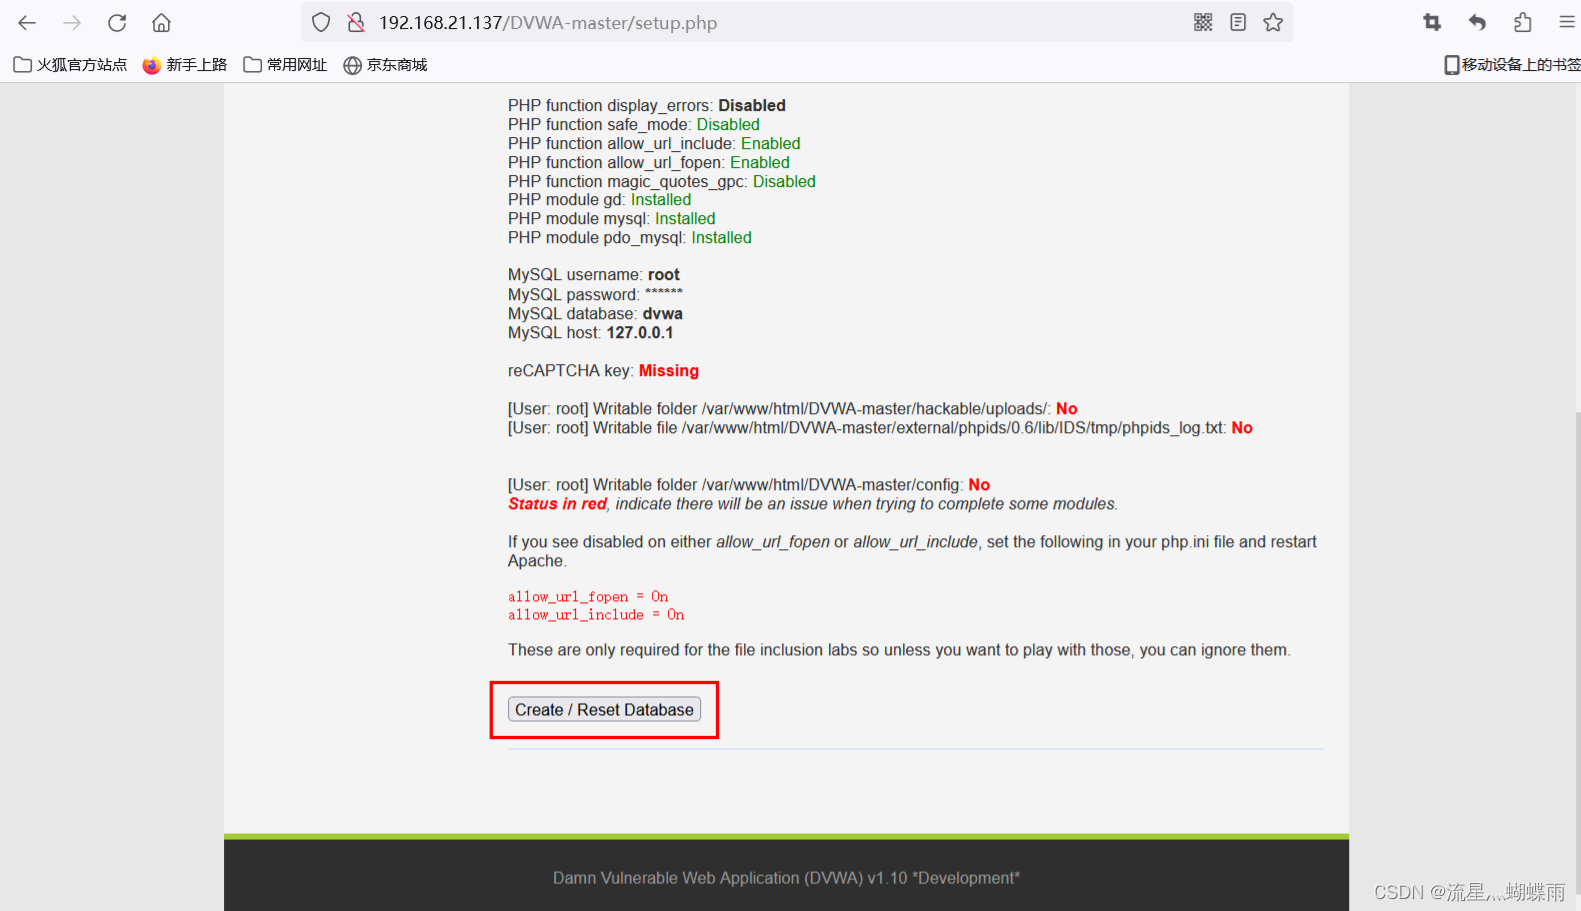
点击Create/Reset Database可能会出现以下错误

修改dvwa的配置文件config.inc.php将其中的127.0.0.1改成localhost
$_DVWA = array();
$_DVWA[ 'db_server' ]   = 'localhost';
$_DVWA[ 'db_database' ] = 'dvwa';
$_DVWA[ 'db_user' ]     = 'root';
$_DVWA[ 'db_password' ] = 'root';
重新创建
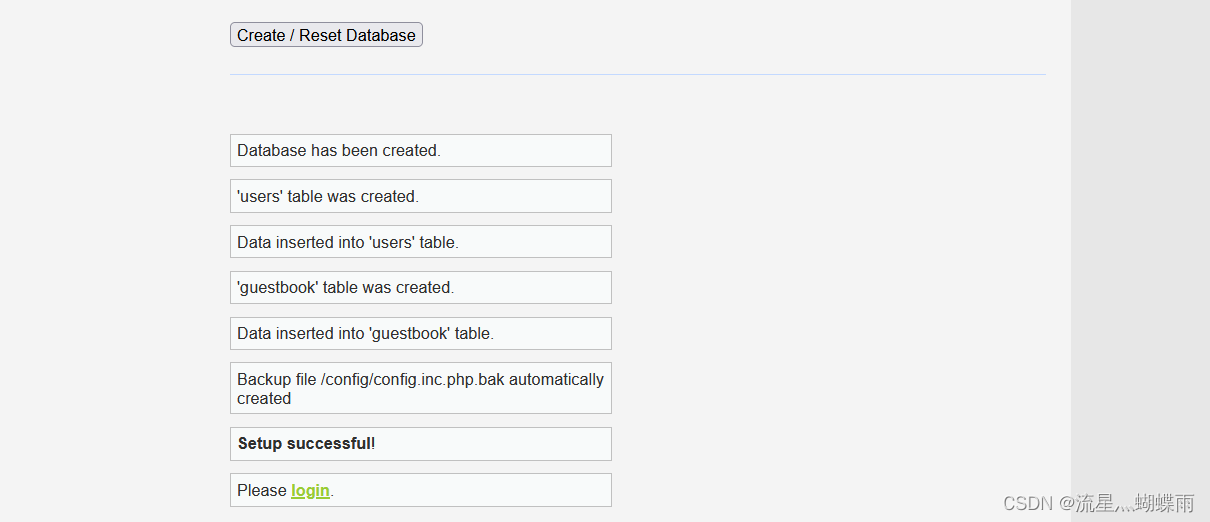
可以看到这次直接就创建成功了,点击login,进入登陆页面用户名为admin密码为password
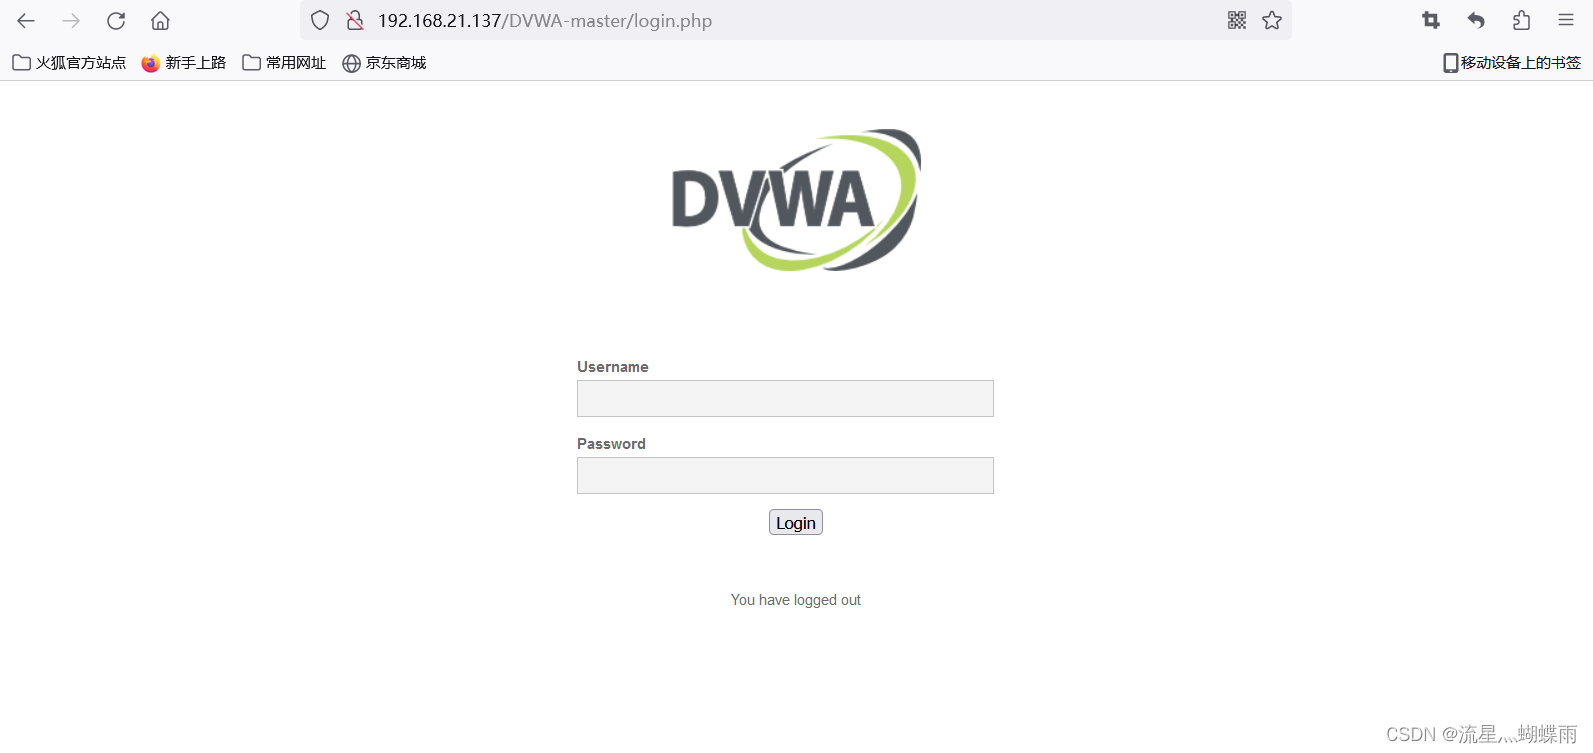
到此为止centos7部署dvwa靶场就算完成了


 1万+
1万+


 被折叠的 条评论
为什么被折叠?
被折叠的 条评论
为什么被折叠?
 到【灌水乐园】发言


