


前言
本文主要用于记录实例分割模型yolact和yolact++的环境配置,以及成功训练自己数据集的整个过程~
注意:这里要重点提醒一下,DCNv2对RTX系列不友好,我第一次使用4090服务器,编译持续有问题,被迫放弃,这里使用2080TI进行操作!
源码地址:https://github.com/dbolya/yolact
一、Yolact环境配置
基础环境:python=3.8、pytorch=1.7.0、cuda=11.0、ubuntu18.04
1、创建一个anaconda虚拟环境:
conda create -n yolact python=3.8  //环境名为yolact ,python版本选择3.8
conda activate yolact              //激活yolact 环境
2.查看安装的:
nvcc --version #查看cuda版本

python     #查看pytorch
>>> import torch
>>> print(torch.cuda.is_available())
True
>>> print(torch.version.cuda)
11.0
3.安装所需要的依赖:
pip install cython
pip install opencv-python
pip install pillow
pip install pycocotools#用此方式:pip install git+https://github.com/philferriere/cocoapi.git#subdirectory=PythonAPI
pip install matplotlib
二、训练准备
1、下载预训练权重:
把权重文件放到yolact-master下的weights文件夹里
下载地址:https://github.com/dbolya/yolact

权重文件地址:https://pan.baidu.com/s/1nsU6R61FWDY98OjgYJ7rEw 提取码: vb78
2、数据集文件夹结构

coco文件夹,里面包含annotations以及images。其中annotations包含instances_train2017.json以及instances_val2017.json; images中包含train2017以及val2017用于存放训练与验证数据集。
3、参数修改
(1)coco_classes与coco_label_map
修改数据加载的位置即可,具体来说,找到./data/config.py目录,为自己的数据集格式

(2)dataset_base地址

将训练数据集和验证数据集的加载地址切换为自己的数据集地址,注意此处只要修改了images的地址就可以
(3)修改coco2014_dataset或coco2017_dataset的信息,如下:

(4)修改coco_base_config
此处的max_iter并不是控制训练轮数的

(5)修改yolact_base_config

注:iteration、batch和epoch的概念及区别
iteration:迭代次数,指的是模型在训练过程中参数更新的次数。
batch_size:批次,指的是一次迭代中使用的数据量。
epoch:训练轮数,指的是模型在整个数据集上训练的次数。
关系:
一个epoch中,数据被分为多个batch,1个iteration等于使用batch size个样本训练一次。训练一个Batch就是一次Iteration,就更新一次参数。
举个例子:
如果我们有一个包含 1000 (number of samples)个样本的数据集,每个batch的大小为 50(batch size),那么一个 epoch 中就会有 1000 / 50 = 20 个 batch,每个 batch 包含 50 个样本。
如果我们将模型训练 10 个 epoch,那么模型会在整个数据集上训练 10 次。
共进行10*20 =200 次迭代。
(6)其他的训练参数在train.py文件处修改
parser = argparse.ArgumentParser(
    description='Yolact Training Script')
parser.add_argument('--batch_size', default=8, type=int,
                    help='Batch size for training')
parser.add_argument('--resume', default=None, type=str,
                    help='Checkpoint state_dict file to resume training from. If this is "interrupt"'\
                         ', the model will resume training from the interrupt file.')
parser.add_argument('--start_iter', default=-1, type=int,
                    help='Resume training at this iter. If this is -1, the iteration will be'\
                         'determined from the file name.')
parser.add_argument('--num_workers', default=4, type=int,
                    help='Number of workers used in dataloading')
parser.add_argument('--cuda', default=True, type=str2bool,
                    help='Use CUDA to train model')
parser.add_argument('--lr', '--learning_rate', default=None, type=float,
                    help='Initial learning rate. Leave as None to read this from the config.')
parser.add_argument('--momentum', default=None, type=float,
                    help='Momentum for SGD. Leave as None to read this from the config.')
parser.add_argument('--decay', '--weight_decay', default=None, type=float,
                    help='Weight decay for SGD. Leave as None to read this from the config.')
parser.add_argument('--gamma', default=None, type=float,
                    help='For each lr step, what to multiply the lr by. Leave as None to read this from the config.')
parser.add_argument('--save_folder', default='weights/',
                    help='Directory for saving checkpoint models.')
parser.add_argument('--log_folder', default='logs/',
                    help='Directory for saving logs.')
parser.add_argument('--config', default=None,
                    help='The config object to use.')
parser.add_argument('--save_interval', default=10000, type=int,
                    help='The number of iterations between saving the model.')
parser.add_argument('--validation_size', default=5000, type=int,
                    help='The number of images to use for validation.')
parser.add_argument('--validation_epoch', default=2, type=int,
                    help='Output validation information every n iterations. If -1, do no validation.')
parser.add_argument('--keep_latest', dest='keep_latest', action='store_true',
                    help='Only keep the latest checkpoint instead of each one.')
parser.add_argument('--keep_latest_interval', default=100000, type=int,
                    help='When --keep_latest is on, don\'t delete the latest file at these intervals. This should be a multiple of save_interval or 0.')
parser.add_argument('--dataset', default=None, type=str,
                    help='If specified, override the dataset specified in the config with this one (example: coco2017_dataset).')
parser.add_argument('--no_log', dest='log', action='store_false',
                    help='Don\'t log per iteration information into log_folder.')
parser.add_argument('--log_gpu', dest='log_gpu', action='store_true',
                    help='Include GPU information in the logs. Nvidia-smi tends to be slow, so set this with caution.')
parser.add_argument('--no_interrupt', dest='interrupt', action='store_false',
                    help='Don\'t save an interrupt when KeyboardInterrupt is caught.')
parser.add_argument('--batch_alloc', default=None, type=str,
                    help='If using multiple GPUS, you can set this to be a comma separated list detailing which GPUs should get what local batch size (It should add up to your total batch size).')
parser.add_argument('--no_autoscale', dest='autoscale', action='store_false',
                    help='YOLACT will automatically scale the lr and the number of iterations depending on the batch size. Set this if you want to disable that.')
三、yolact训练
python train.py --config=yolact_base_config
训练如下:

四、 数据集测试
python eval.py --trained_model=weights/yolact_base_0_500.pth --benchmark --max_images=1000
效果如下:

五、Yolact++环境配置
由于前面使用pytorch=1.7.0和python=3.8出现DCNv2编译报错的情况,这里更换基础环境为:python=3.7、pytorch=1.1.0、cuda=10.0、ubuntu18.04(这里是运行yolact++报错最多的地方)
1、在yolact安装好的环境下,配置yolact++,yolact++使用DCNv2模块,需提前对其编译。
cd external/DCNv2
python setup.py build develop
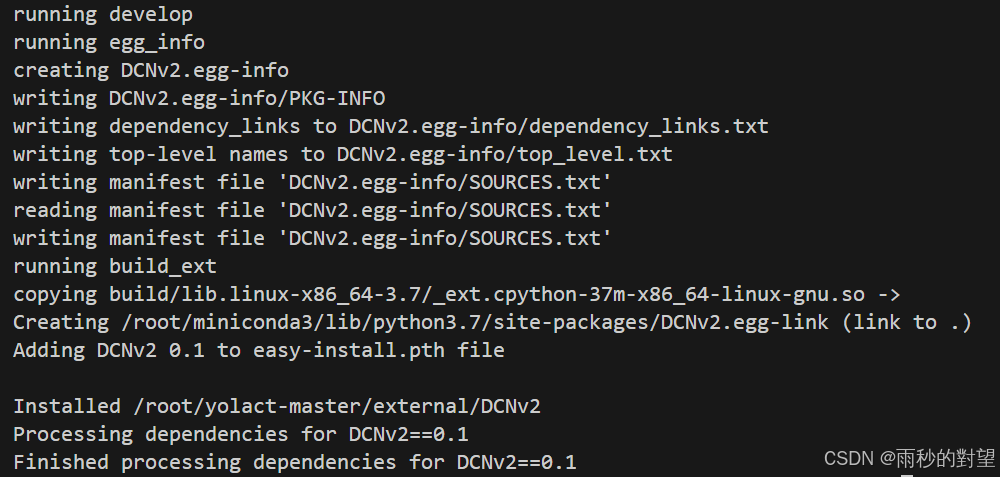
编译成功!
2、开始训练
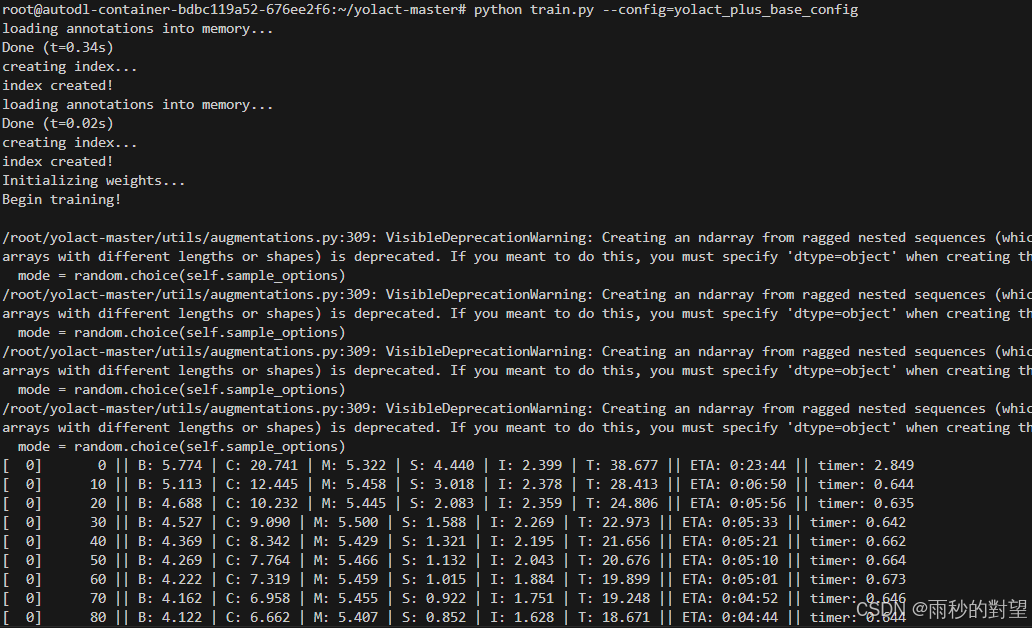
python train.py --config=yolact_plus_base_config
训练如下:
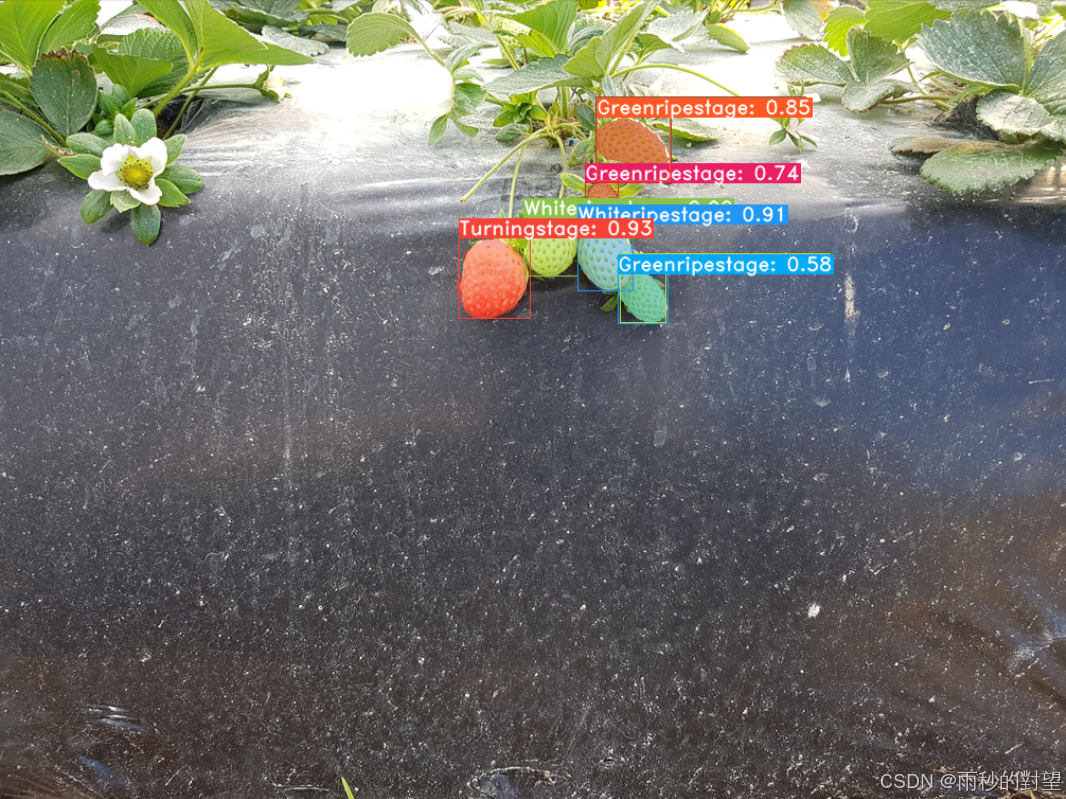
3、图片推理
#单张
python eval.py --config=yolact_plus_base_config --trained_model=weights/yolact_plus_base_79_68000.pth --score_threshold=0.15 --top_k=15 --image=/root/yolact-master/images/2.png:2png
#多张
python eval.py --config=yolact_plus_base_config --trained_model=weights/yolact_plus_base_79_68000.pth --score_threshold=0.15 --top_k=15 --images=/root/yolact-master/data/coco/images/val2017:images
效果如下:


 1351
1351

 被折叠的 条评论
为什么被折叠?
被折叠的 条评论
为什么被折叠?
 到【灌水乐园】发言


