


本文章内容包括,日历的自定义样式、日历的时间选
先来日历内容自定义
给你们看下我做的成品 然后你们自己根据实际情况修改

直接上代码
<el-calendar v-model="value" @input="handleCalendarChange" ref="domCalendarBtn">
	<template slot="dateCell" slot-scope="{date, data}">
		<span :class="data.isSelected ? 'is-selected' : ''">
			{{ data.day.split('-').slice(1).join('-') }} {{ data.isSelected ? '✔️' : ''}}
		</span>
		<div class="box" v-if="ceshi(data)">
			<div v-if="data.not_trainedCount!=='false'">
				<span class="ico"></span>
				<span class="yvyue" style="">预约</span>
				<span>{{data.not_trainedCount}}人</span>
			</div>
			<div v-if="data.completedCount!=='false'">
				<span class="ico" style="background: #4975E4;"></span>
				<span class="yvyue">完成</span>
				<span>{{data.completedCount}}人</span>
			</div>
			<div v-if="data.overdueCount!=='false'">
				<span class="ico" style="background: #E85750;"></span>
				<span class="yvyue">预期</span>
				<span>{{data.overdueCount}}人</span>
			</div>
		</div>

	</template>
</el-calendar>
<script>
	import {ipcApiRoute} from '@/api/train'
	export default {
		data() {
			return {
				value: new Date(),
				calendarList: [],
				info: {
					beginTime: '2023-06-01',
					endTime: '2023-08-20',
				},
			};
		},
		created() {
			this.getCalendarList()
		},

		methods: {
			ceshi(e) {//核心这里        e是上面的data他是个对象,我直接给他添加我要的数据(笑死)
				const matchedItem = this.calendarList.find(item => item.appointmentDate.substring(0, 10) == e.day + '');
				if (matchedItem) {
					e.not_trainedCount = matchedItem.not_trainedCount == 0 ? 'false' : matchedItem.not_trainedCount
					e.completedCount = matchedItem.completedCount == 0 ? 'false' : matchedItem.completedCount
					e.overdueCount = matchedItem.overdueCount == 0 ? 'false' : matchedItem.overdueCount
					return true
				} else {
					return false
				}
			},
			getCalendarList() {	//请求数据
				this.$ipcInvoke(ipcApiRoute.getCalendarData, this.info).then((result) => {
					if (result.code == 200) {
						this.calendarList = result.message
						console.log(this.calendarList)
					} else {
						this.$message.error('预约数据获取失败');
					}
				})
			},
		}
	};
</script>
css样式问题自己调整即可
日期时间选择
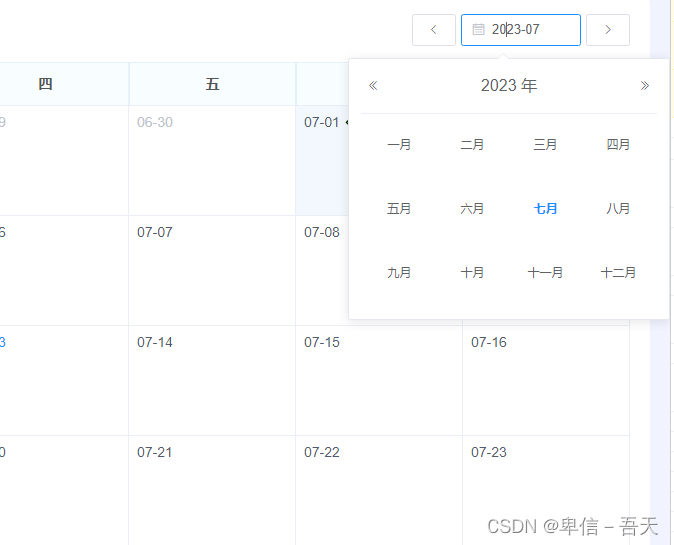
下面是整体的代码 你们自己整理一下即可,修改成符合自己逻辑需要的。
先看css
:deep() {// 我这里是样式穿透
	.el-calendar-day {
		height: 109px;
	}

	// .el-button-group {
	// 	display: none; //隐藏默认样式
	// }
	.el-calendar__header{
		display: none; //隐藏默认样式
	}
	.el-calendar__body{
		padding: 0;
	}

	.el-calendar-table{			// 日历头部的样式
		th{
			height: 32px;
			background: #F8FDFF;
			border: 1px solid #E6F0F8;
			border-bottom: 0px solid #E6F0F8;
			padding: 5px 0;
			font-size: 14px;
			font-family: Microsoft YaHei;
			font-weight: bold;
			color: #555555;
			line-height: 32px;
		}
	}
}
再来HTML
<div class="start-info-container" style="padding-bottom: 0;border-radius: 10px;">
		<div class="her">
			<span>日历</span>
			<div>
				<el-button icon="el-icon-arrow-left" @click="clickLast"></el-button>
				<el-date-picker v-model="monthValue" type="month" style="width: 120px;margin: 0 5px;" value-format="yyyy-MM" format="yyyy-MM"
					placeholder="选择月" @change="changeMonth"></el-date-picker>
				<el-button icon="el-icon-arrow-right" @click="clickNext"></el-button>
			</div>
		</div>

		<el-calendar v-model="value" @input="handleCalendarChange" ref="domCalendarBtn">
			<template slot="dateCell" slot-scope="{date, data}">
				<span :class="data.isSelected ? 'is-selected' : ''">
					{{ data.day.split('-').slice(1).join('-') }} {{ data.isSelected ? '✔️' : ''}}
				</span>
				<div class="box" v-if="ceshi(data)">
					<div v-if="data.not_trainedCount!=='false'">
						<span class="ico"></span>
						<span class="yvyue" style="">预约</span>
						<span>{{data.not_trainedCount}}人</span>
					</div>
					<div v-if="data.completedCount!=='false'">
						<span class="ico" style="background: #4975E4;"></span>
						<span class="yvyue">完成</span>
						<span>{{data.completedCount}}人</span>
					</div>
					<div v-if="data.overdueCount!=='false'">
						<span class="ico" style="background: #E85750;"></span>
						<span class="yvyue">预期</span>
						<span>{{data.overdueCount}}人</span>
					</div>
				</div>
			</template>
		</el-calendar>
	</div>
JS
<script>
	import {
		ipcApiRoute
	} from '@/api/train'// 这里是我的请求
	export default {
		data() {
			return {
				value: new Date(),
				calendarList: [],
				info: {
					beginTime: '2023-06-01',
					endTime: '2023-08-20',
				},
			};
		},
		created() {
			this.getCalendarList()
		},
		computed: {
			monthValue: {
				get: function() {
					return this.value;
				},
				//当我筛选时间的时候调用set方法,赋值给日历组件绑定的v-model
				set: function(newValue) {
					this.value = newValue;
				},
			},
		},
		methods: {
			clickLast() {//上个月
				this.$refs.domCalendarBtn.$children[0].$children[0].$el.click()
			},
			clickNext() {//下个月
				this.$refs.domCalendarBtn.$children[0].$children[2].$el.click()
				// 如果你要触发原来的那个今天按钮就是this.$refs.domCalendarBtn.$children[0].$children[1].$el.click()
                console.log(this.formatDateString(this.value))
				console.log(this.obtainDate())
			},
			changeMonth() {//选择月
				this.value = new Date(this.value);
			},

			formatDateString(date) {
				const year = date.getFullYear();
				const month = String(date.getMonth() + 1).padStart(2, '0');
				const day = String(date.getDate()).padStart(2, '0');
				return `${year}-${month}-${day}`;
			},
			handleCalendarChange(value) {
				// 格式化日期为 "yyyy-MM-dd" 格式
				const formattedDate = this.formatDateString(value);
				console.log('Formatted Date:', formattedDate);
			},
            obtainDate() {
				// 获取当前日期
				const currentDate = new Date(this.value);
				// 获取当月的月初日期
				const firstDayOfMonth = new Date(currentDate.getFullYear(), currentDate.getMonth(), 1);
				// 获取当月的下一个月的月初日期
				const firstDayOfNextMonth = new Date(currentDate.getFullYear(), currentDate.getMonth() + 1, 1);
				// 获取当月的月尾日期
				const lastDayOfMonth = new Date(firstDayOfNextMonth.getTime() - 1);
				console.log(this.formatDateString(firstDayOfMonth)); // 输出当月的月初日期
				console.log(this.formatDateString(lastDayOfMonth)); // 输出当月的月尾日期
			},

			ceshi(e) {
				const matchedItem = this.calendarList.find(item => item.appointmentDate.substring(0, 10) == e.day + '');
				if (matchedItem) {
					e.not_trainedCount = matchedItem.not_trainedCount == 0 ? 'false' : matchedItem.not_trainedCount
					e.completedCount = matchedItem.completedCount == 0 ? 'false' : matchedItem.completedCount
					e.overdueCount = matchedItem.overdueCount == 0 ? 'false' : matchedItem.overdueCount
					return true
				} else {
					return false
				}
			},
			getCalendarList() {//这是我的请求写的是electron-egg的项目,所以只是拿数据的方式不一样而已
				this.$ipcInvoke(ipcApiRoute.getCalendarData, this.info).then((result) => {
					if (result.code == 200) {
						this.calendarList = result.message
						console.log(this.calendarList)
					} else {
						this.$message.error('预约数据获取失败');
					}
				})
			},
		}
	};
</script>


 229
229


 被折叠的 条评论
为什么被折叠?
被折叠的 条评论
为什么被折叠?
 到【灌水乐园】发言


