


Isaac Sim 利用深度学习获取mask掩码图
参考内容
Kubernetes官网
isaac_ros_unet — isaac_ros_docs documentation![]() https://nvidia-isaac-ros.github.io/repositories_and_packages/isaac_ros_image_segmentation/isaac_ros_unet/index.html#quickstartDeveloper Environment Setup — isaac_ros_docs documentation
https://nvidia-isaac-ros.github.io/repositories_and_packages/isaac_ros_image_segmentation/isaac_ros_unet/index.html#quickstartDeveloper Environment Setup — isaac_ros_docs documentation![]() https://nvidia-isaac-ros.github.io/getting_started/dev_env_setup.html安装NVIDIA容器工具包
https://nvidia-isaac-ros.github.io/getting_started/dev_env_setup.html安装NVIDIA容器工具包
一.设置Docker、安装NVIDIA工具包、容器部署
这里我在别的地方写过,在下方链接的第二章内容中
Ubuntu20.04 ISAAC SIM仿真下载使用流程_ubuntu启动isaac sim后一直有rtx loading界面-CSDN博客文章浏览阅读1.4k次,点赞38次,收藏30次。Ubuntu20.04 ISAAC SIM仿真下载使用流程机器:华硕天选X2024显卡:4060Tiubuntu20.04安装显卡驱动版本:525.85.05_ubuntu启动isaac sim后一直有rtx loading界面https://blog.csdn.net/weixin_61044335/article/details/137866781?spm=1001.2014.3001.5501说实在的我不知道为什么nvidia不同文档写的下载的内容不一样,哪个是必要,哪个是不必要也不清晰,没办法我先把以前做过的东西放在这儿,我再去跟着官网走一遍捋一捋
二.跟着官网再走一次
我因为想拿到图像分割的掩码,于是跟着官网走Tutorial for DNN Image Segmentation with Isaac Sim — isaac_ros_docs documentation
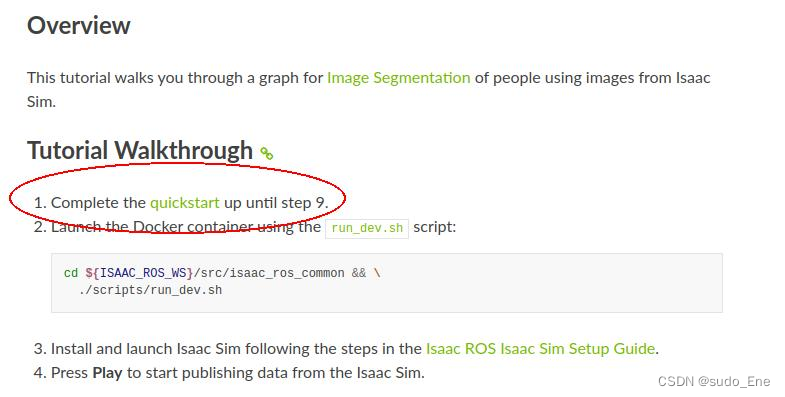
提示要先完成isaac_ros_unet — isaac_ros_docs documentation 中1~9的内容,于是我又去这个网站

这里又要我根据 Developer Environment Setup — isaac_ros_docs documentation 说明来设置开发环境,好吧继续
在上文链接中我已经配置好了docker,继续走下一步
接下来是https://nvidia-isaac-ros.github.io/getting_started/dev_env_setup.html中的环境设置部分:
-
On x86_64 platforms:
-
Install the
nvidia-container-toolkitusing the instructions. -
Configure
nvidia-container-toolkitfor Docker using the instructions.
On Jetson platforms: Follow this instruction to first set your Jetson up with SSD, then come back to this document and resume from Step 2.
-
-
Restart Docker:
sudo systemctl daemon-reload && sudo systemctl restart docker -
Install Git LFS to pull down all large files:
sudo apt-get install git-lfsgit lfs install --skip-repo -
Create a ROS 2 workspace for experimenting with Isaac ROS:
For Jetson setup with SSD as optional storage:
mkdir -p  /ssd/workspaces/isaac_ros-dev/src
echo "export ISAAC_ROS_WS=/ssd/workspaces/isaac_ros-dev/" >> ~/.bashrc
source ~/.bashrc
mkdir -p  ~/workspaces/isaac_ros-dev/src
echo "export ISAAC_ROS_WS=${HOME}/workspaces/isaac_ros-dev/" >> ~/.bashrc
source ~/.bashrc
We expect to use the
ISAAC_ROS_WSenvironmental variable to refer to this ROS 2 workspace directory, in the future.
To further customize your development environment, check out this guide.
很好走完了,接下来去做图像分割的前置步骤:
-
Clone
isaac_ros_commonand this repository under${ISAAC_ROS_WS}/src.cd ${ISAAC_ROS_WS}/srcgit clone https://github.com/NVIDIA-ISAAC-ROS/isaac_ros_common.git
git clone https://github.com/NVIDIA-ISAAC-ROS/isaac_ros_image_segmentation.git
-
Pull down a ROS Bag of sample data:
cd ${ISAAC_ROS_WS}/src/isaac_ros_image_segmentation && \ git lfs pull -X "" -I "resources/rosbags/" -
Launch the Docker container using the
run_dev.shscript:cd ${ISAAC_ROS_WS}/src/isaac_ros_common && \ ./scripts/run_dev.sh -
Install this package’s dependencies.
sudo apt-get install -y ros-humble-isaac-ros-unet ros-humble-isaac-ros-triton ros-humble-isaac-ros-dnn-image-encoder
-
Download the
PeopleSemSegNet ShuffleSegETLT file and theint8inference mode cache file:mkdir -p /tmp/models/peoplesemsegnet_shuffleseg/1 && \ cd /tmp/models/peoplesemsegnet_shuffleseg && \ wget https://api.ngc.nvidia.com/v2/models/nvidia/tao/peoplesemsegnet/versions/deployable_shuffleseg_unet_v1.0/files/peoplesemsegnet_shuffleseg_etlt.etlt && \ wget https://api.ngc.nvidia.com/v2/models/nvidia/tao/peoplesemsegnet/versions/deployable_shuffleseg_unet_v1.0/files/peoplesemsegnet_shuffleseg_cache.txt
-
Convert the ETLT file to a TensorRT plan file:
/opt/nvidia/tao/tao-converter -k tlt_encode -d 3,544,960 -p input_2:0,1x3x544x960,1x3x544x960,1x3x544x960 -t int8 -c peoplesemsegnet_shuffleseg_cache.txt -e /tmp/models/peoplesemsegnet_shuffleseg/1/model.plan -o argmax_1 peoplesemsegnet_shuffleseg_etlt.etlt
-
Create a file called
/tmp/models/peoplesemsegnet_shuffleseg/config.pbtxtby copying the sample Triton config file:cp /workspaces/isaac_ros-dev/src/isaac_ros_image_segmentation/resources/peoplesemsegnet_shuffleseg_config.pbtxt /tmp/models/peoplesemsegnet_shuffleseg/config.pbtxt
-
Run the following launch files to spin up a demo of this package:
ros2 launch isaac_ros_unet isaac_ros_unet_triton.launch.py model_name:=peoplesemsegnet_shuffleseg model_repository_paths:=['/tmp/models'] input_binding_names:=['input_2:0'] output_binding_names:=['argmax_1'] network_output_type:='argmax' input_image_width:=1200 input_image_height:=632
Then open another terminal, and enter the Docker container again:
cd ${ISAAC_ROS_WS}/src/isaac_ros_common && \ ./scripts/run_dev.shThen, play the ROS bag:
ros2 bag play -l src/isaac_ros_image_segmentation/resources/rosbags/unet_sample_data/
-
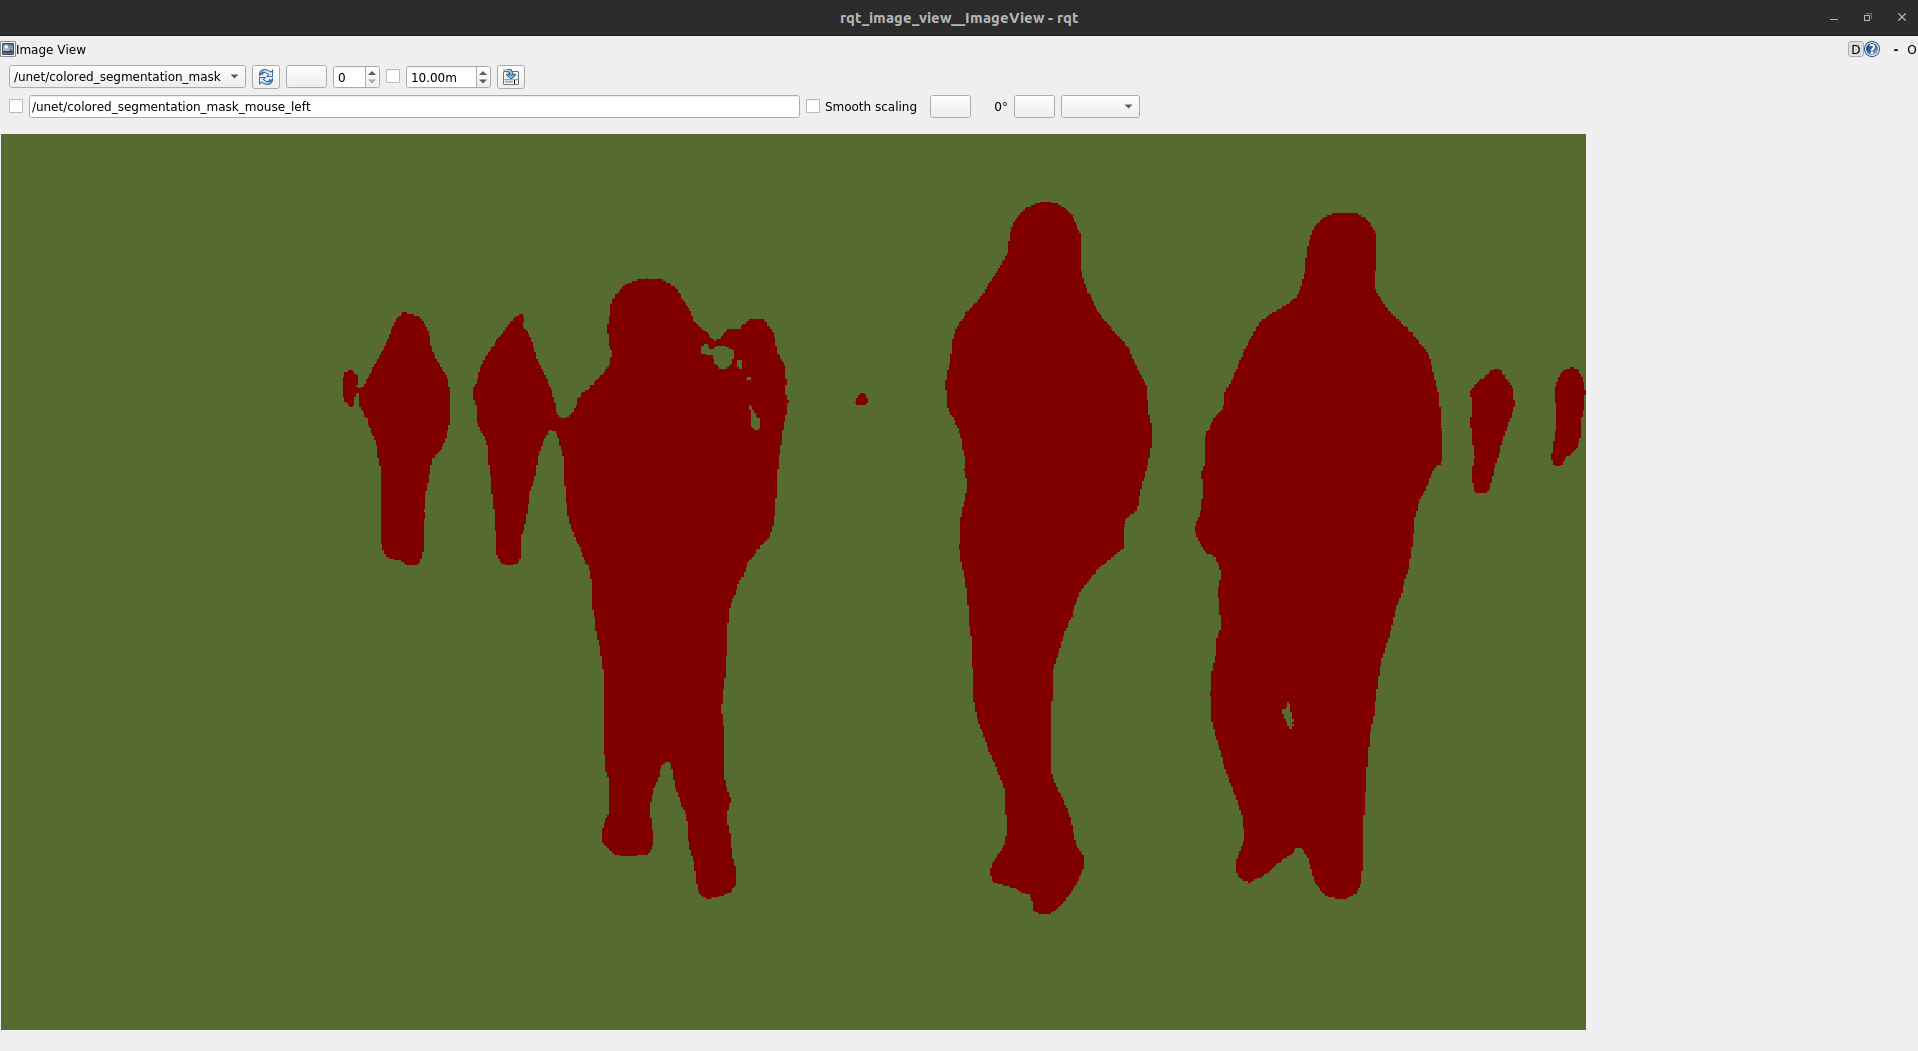
Visualize and validate the output of the package by launching
rqt_image_viewin another terminal: In a third terminal, enter the Docker container again:cd ${ISAAC_ROS_WS}/src/isaac_ros_common && \ ./scripts/run_dev.shThen launch
rqt_image_view:ros2 run rqt_image_view rqt_image_view
Then inside the
rqt_image_viewGUI, change the topic to/unet/colored_segmentation_maskto view a colorized segmentation mask.


 1546
1546

 被折叠的 条评论
为什么被折叠?
被折叠的 条评论
为什么被折叠?
 到【灌水乐园】发言


