


2023年夏季《移动软件开发》实验报告
一、实验目标
1、掌握服务器域名配置和临时服务器部署;2、掌握 wx.request 接口的用法。
二、实验步骤
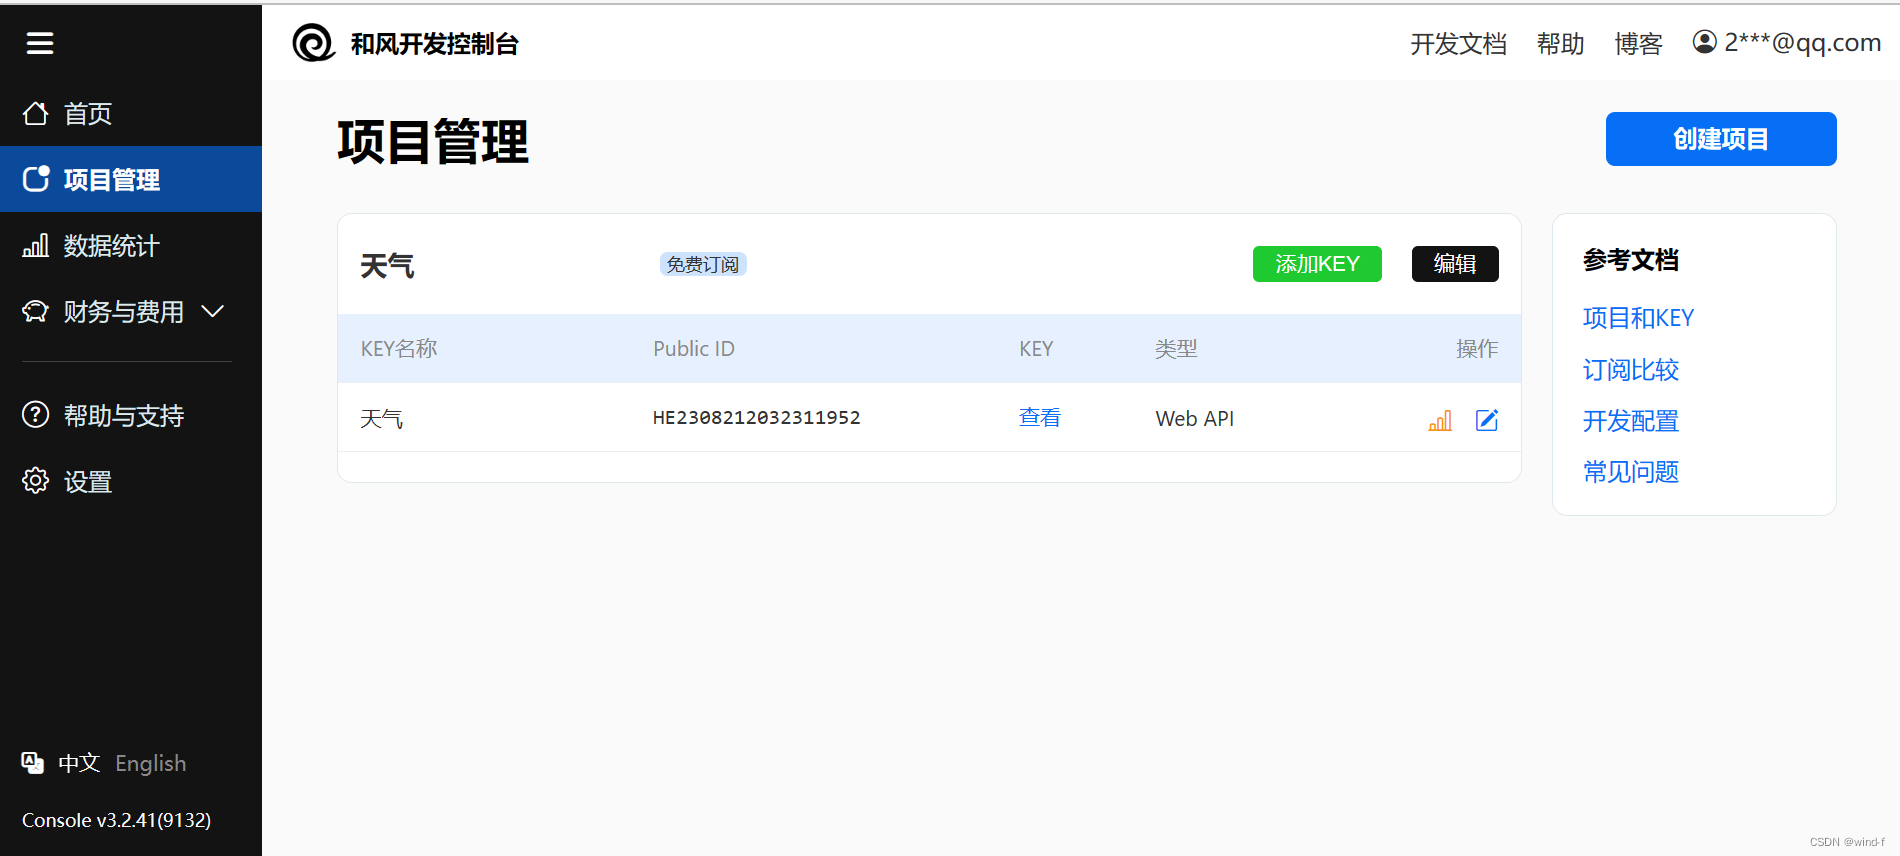
1.API密钥(KEY)申请
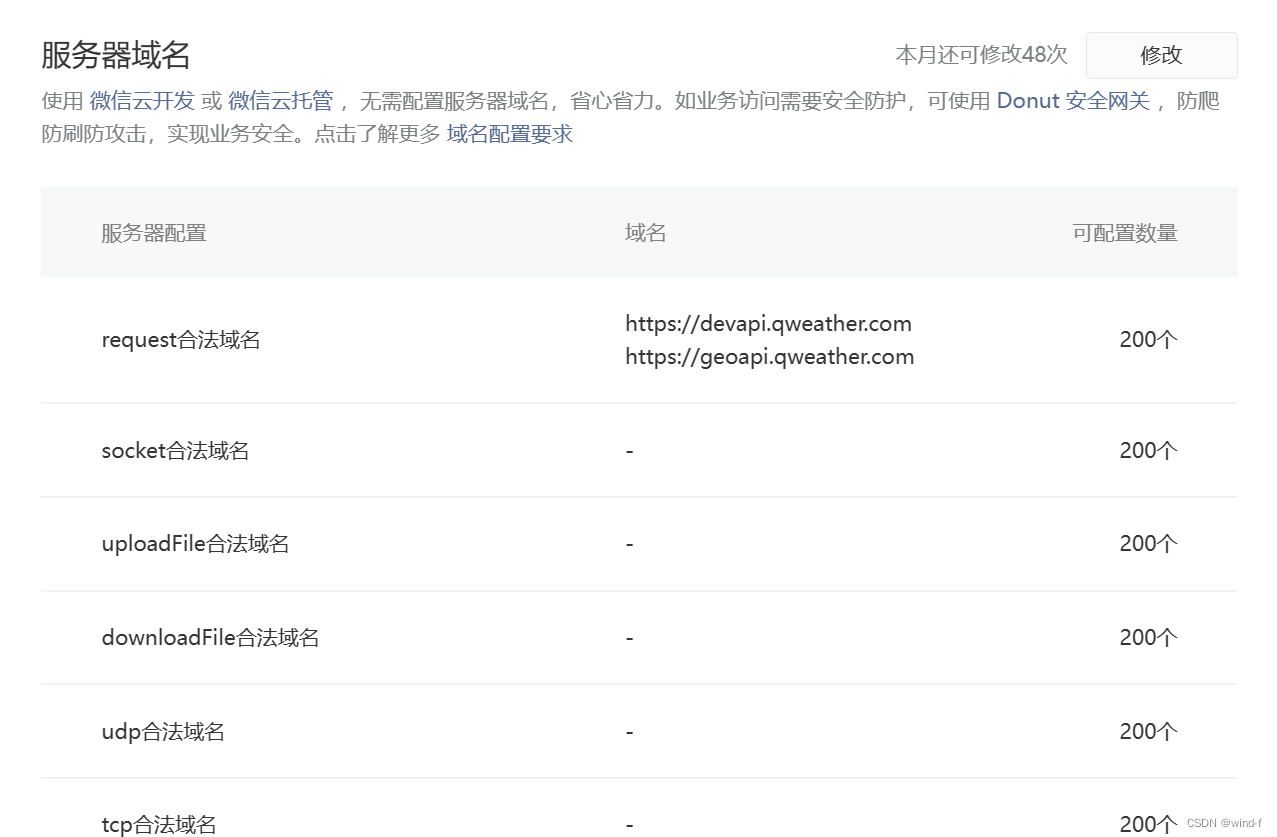
2.服务器域名配置
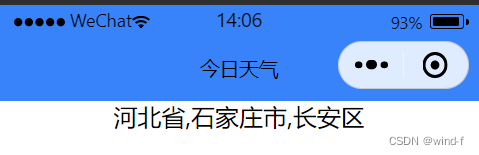
3.导航栏设计
{
  "pages": [
    "pages/index/index"
  ],
  "window": {
    "backgroundTextStyle": "light",
    "navigationBarBackgroundColor": "#3883FA",
    "navigationBarTitleText": "今日天气",
    "navigationBarTextStyle": "black"
  },
  "style": "v2",
  "sitemapLocation": "sitemap.json"
}
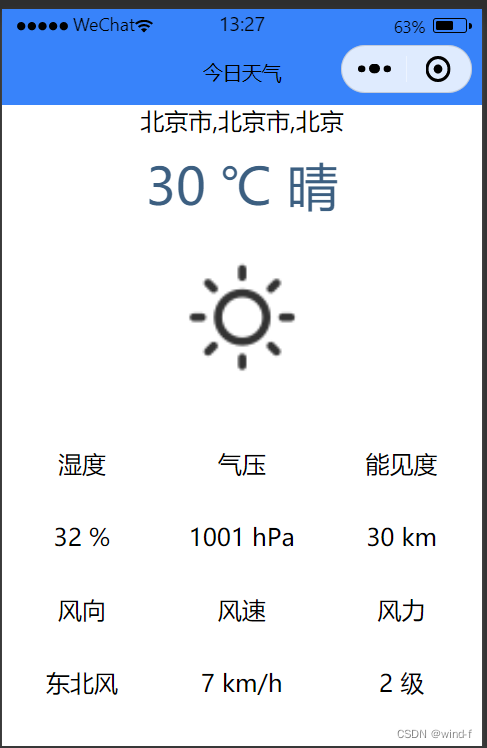
4.页面设计
(1)区域1(地区选择器)设计:区域1需要使用组件来实现一个地区选择器,用户点击可切换选择其他城市
<!--区域1:地区选择器-->
  <picker mode='region' bindchange='regionChange'>
    <view>{{region}}</view>
  </picker>
(2)区域2(文本)设计:包括当前城市的温度和天气状况
<!--区域2:单行天气信息-->
  <text>{{now.temp}} ℃ {{now.text}}</text>
/*文本样式*/

text{

 font-size: 80rpx;

 color: #3C5F81;

}
(3)区域3(天气图标)设计:展示当前城市的天气图标
<!--区域3:天气图标-->
   <image wx:if="{{now.icon.length>0}}" src='/images/weather_icon_s1_bw/{{now.icon}}.png' mode='widthFix'></image>
/*图标样式*/
image{
  width:220rpx;
}
(4)区域4(多行天气信息)设计
<!--区域4:多行天气信息-->
   <view class='detail'>
    <view class='bar'>
      <view class='box'>湿度</view>
      <view class='box'>气压</view>
      <view class='box'>能见度</view>
    </view>
    <view class='bar'>
      <view class='box'>{{now.humidity}} %</view>
      <view class='box'>{{now.pressure}} hPa</view>
      <view class='box'>{{now.vis}} km</view>
    </view>
    <view class='bar'>
      <view class='box'>风向</view>
      <view class='box'>风速</view>
      <view class='box'>风力</view>
    </view>
    <view class='bar'>
      <view class='box'>{{now.windDir}}</view>
      <view class='box'>{{now.windSpeed}} km/h</view>
      <view class='box'>{{now.windScale}} 级</view>
    </view>
   </view>
/*区域4整体样式*/
.detail{
  width:100%;
  display:flex;
  flex-direction: column;
}
/*区域4单元行样式*/
.bar{
  display: flex;
  flex-direction: row;
  margin: 20rpx 0;
}
/*区域4单元格样式*/
.box{
  width: 33.3%;
  text-align: center;
}
5.逻辑实现
(1)更新省、市、区信息
index.js中的主要代码为:
/**
   * 更新省、市、区信息
   */
  regionChange(e){
    this.setData({region:e.detail.value});
    this.getLocationID().then(result => {
      this.getWeather();
    });
  }
(2)获取实况天气数据
index.js中的主要代码为:
 /**
   * 获取城市ID
   */
  getLocationID(){
    var that=this;
    return new Promise(resolve => {
    wx.request({
      url:'https://geoapi.qweather.com/v2/city/lookup',data:{
        location:that.data.region[1],
        adm:that.data.region[0],
        key:'67b55ab39c744d89aef1f86d8fd3efb6',
      },
      success:(res)=>{
        console.log(res.data);
        that.setData({locationID:res.data.location[0].id});
        return resolve();
      },
    })
  });
  }
/**
   * 获取实况天气数据
   */
  getWeather(){
    var that=this;
    wx.request({
      url:'https://devapi.qweather.com/v7/weather/now',data:{
        location:that.data.locationID,
        key:'67b55ab39c744d89aef1f86d8fd3efb6',
      },
      success:(res)=>{
        console.log(res.data);
        that.setData({now:res.data.now});
      },
    })
  }
将getWeather函数在生命周期onLoad和自定义函数regionChange中分别进行调用,表示当页面加载时和切换城市时均主动获取一次实况天气数据。调用片段如下:
/**
   * 生命周期函数--监听页面加载
   */
  onLoad: function (options) {
    this.getLocationID().then(result => {
      this.getWeather();
    });
  }
(3)更新页面天气信息
将WXML页面上的所有临时数据替换为{{now.属性}}的形式,例如温度是{{now.temp}}。
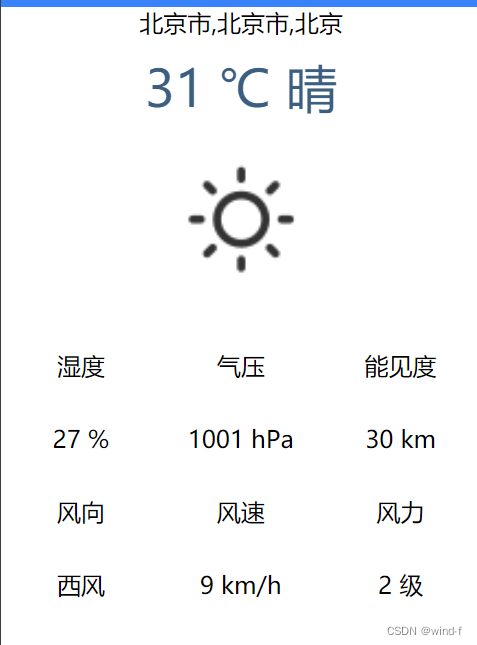
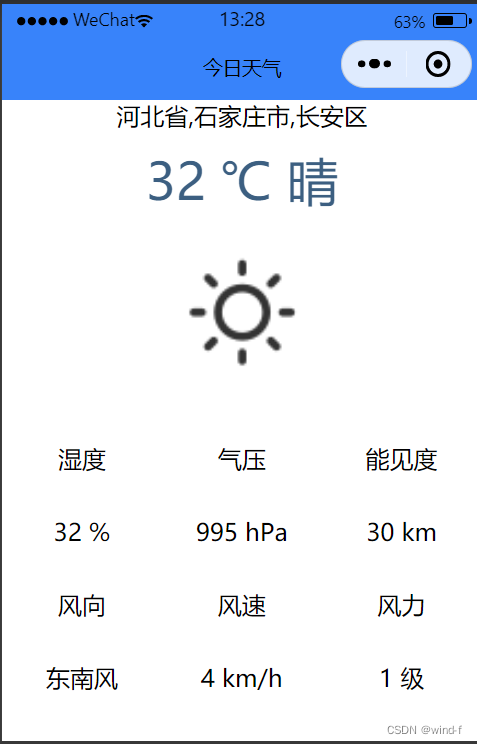
三、程序运行结果
四、问题总结与体会
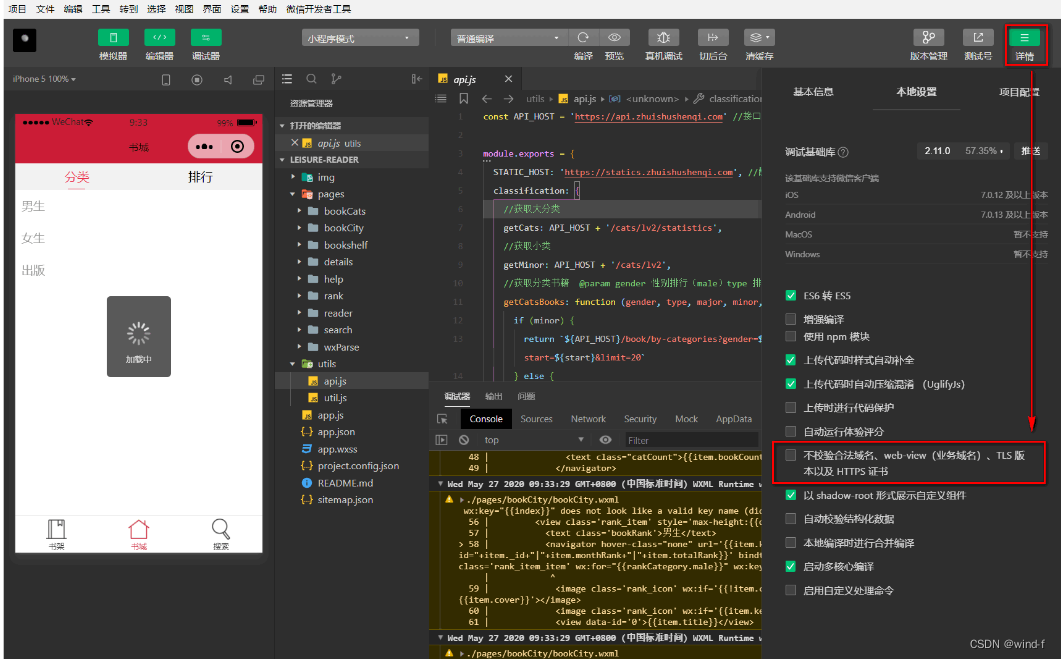
此次实验遇到的主要问题是“request 合法域名校验出错:不在以下 request 合法域名列表中”
由于我已经提前配置了服务器域名,但它仍然报错,可能是域名错误或少写了域名,最后我将两个域名均加上后问题解决了。上网搜索后我发现还有另一种解决方法(跳过域名校验),如下:
通过此次实验,我学会了服务器域名配置和临时服务器部署,初步了解了wx.request 接口的用法,对小程序的开发有了进一步的了解。


 3644
3644


 被折叠的 条评论
为什么被折叠?
被折叠的 条评论
为什么被折叠?
 到【灌水乐园】发言


