


目录
目标效果:
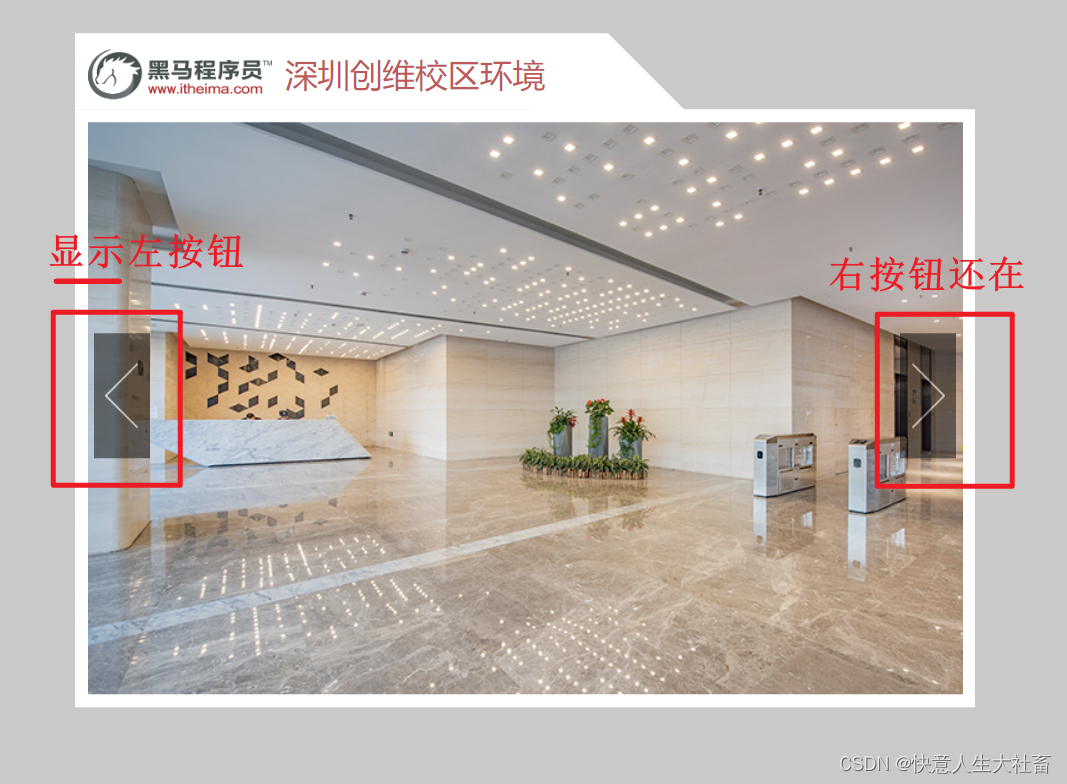
1.点击右边按钮,是往右播放一张图片;点击左边按钮,是往左播放一张图片
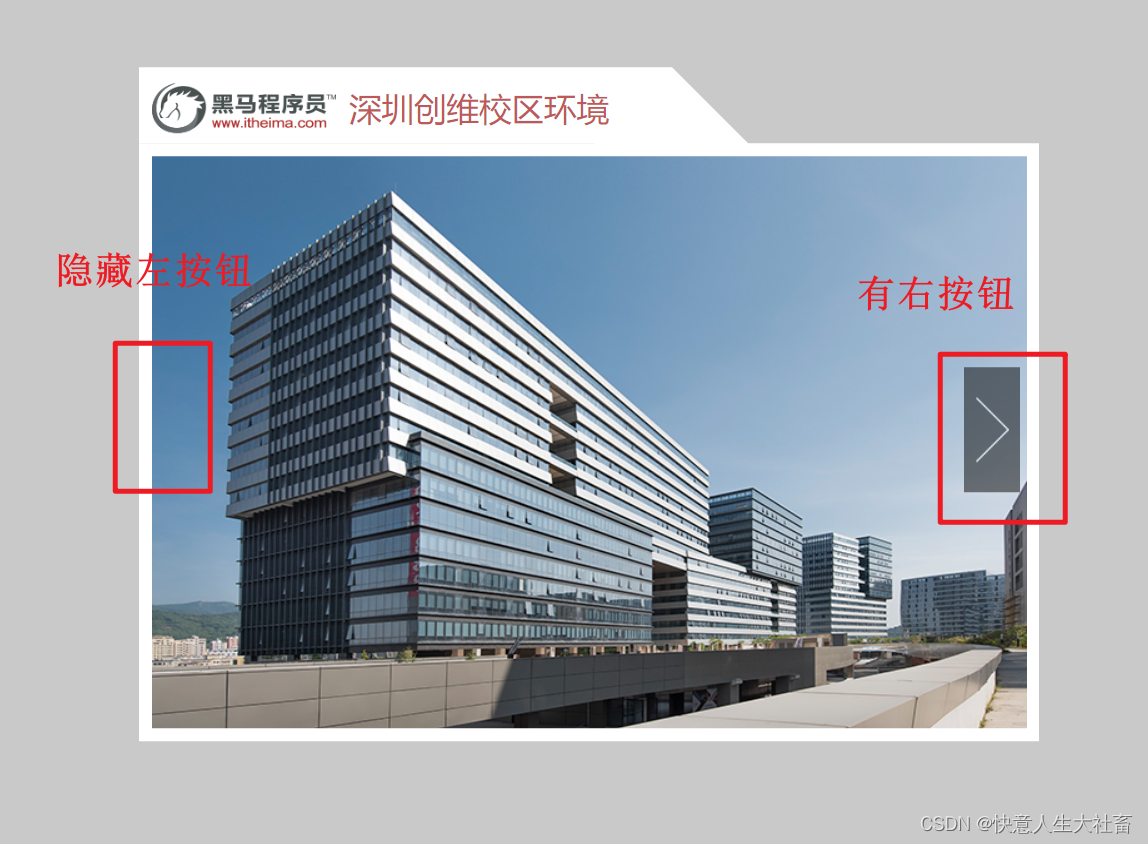
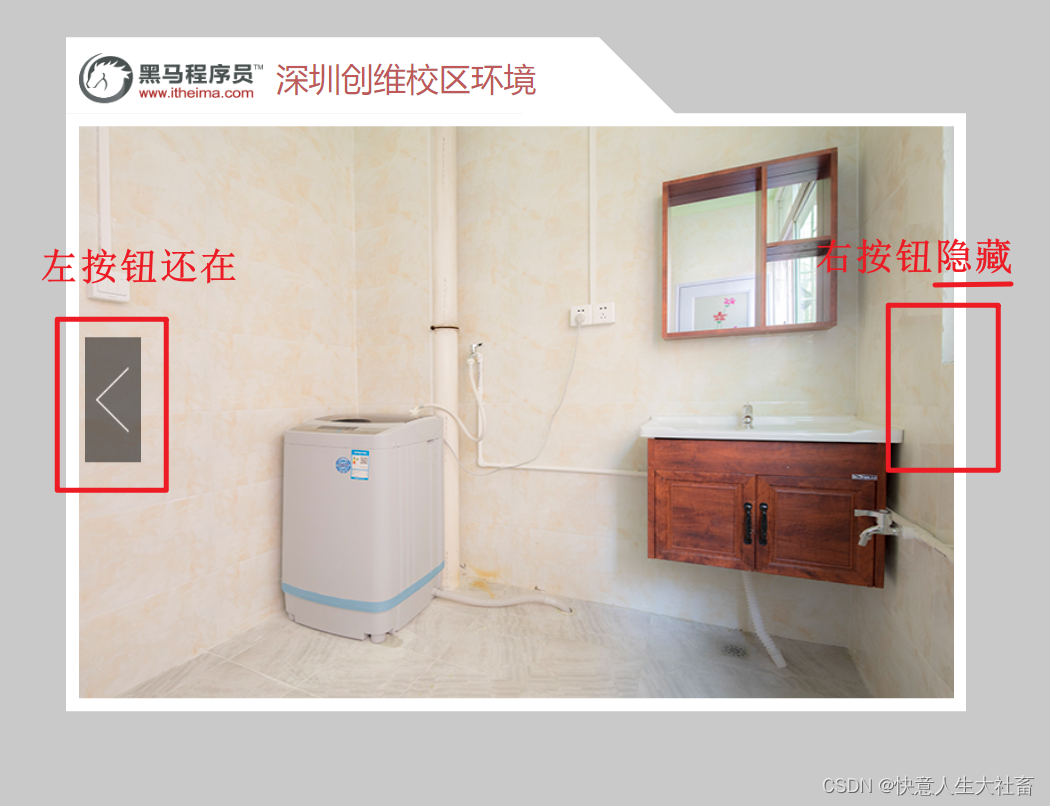
2.在第一张图片的时候,不显示左按钮;在最后一张图片的时候,不显示右按钮
3.初始状态显示是第一张图片 (在图片数组中index为0)
e.g.1初始效果,默认显示的是第一张图片:
e.g.2在默认显示的是第一张图片的基础上,点击右按钮一次,切换到第二张图片:
e.g.3一直点击右按钮,直到显示最后一张图片:
e.g.4在显示最后一张图片的基础上,点击左按钮,可以查看倒数第二张图片:

重点原理:
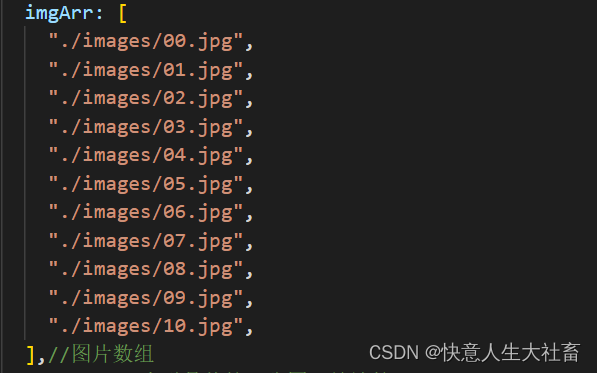
1.用数组储存图片的数据
e.g.
<script>
var app = new Vue({
el: "#mask",
data: {
imgArr: [
"./images/00.jpg",
"./images/01.jpg",
"./images/02.jpg",
"./images/03.jpg",
"./images/04.jpg",
"./images/05.jpg",
"./images/06.jpg",
"./images/07.jpg",
"./images/08.jpg",
"./images/09.jpg",
"./images/10.jpg",
],//图片数组
index: 0//索引是从第一张图开始计算
},
methods: {
prev: function () {//prev 切换到上一张图片
this.index--;//此处this指当前对象#mask
},
next: function () {//next 切换到下一张图片
this.index++;//此处this指当前对象#mask
}
}
})
</script>
2.v-bind指令可以设置元素属性 e.g.src
语法 v-bind:属性名=表达式
简写【实际开发常用】 :属性名=表达式
e.g.
:src=“...”是v-bind:src=”...”的简写,都可以给img元素添加src属性
3.v-show和v-if都可以切换元素的显示/隐藏状态
(1)频繁切换显示/隐藏的dom元素用 v-show
v-show=“表达式” 原理是【dom元素一直存在,只是修改display,对性能损耗小】
v-show=“false” 隐藏 dom元素加上了display:none
v-show=“true” 不隐藏
(2)不频繁切换显示/隐藏的dom元素用 v-if
v-if=“表达式” 原理是【新增/删除dom元素,对性能损耗大】
v-show=“false”,元素存在于dom树中(即该dom元素存在)
v-show=“false”,从dom树中移除(即该dom元素不存在)
实现步骤:
1.定义图片数组
用数组储存所有图片
2.添加图片索引
![]()
3.绑定src属性

4.图片切换逻辑/5.显示状态切换

代码部分:
1.图片切换.html(全是重点)
<!DOCTYPE html>
<html lang="en">

<head>
  <meta charset="UTF-8" />
  <meta name="viewport" content="width=device-width, initial-scale=1.0" />
  <meta http-equiv="X-UA-Compatible" content="ie=edge" />
  <title>图片切换</title>
  <link rel="stylesheet" href="./css/index.css" />
</head>

<body>
  <div id="mask">
    <div class="center">
      <h2 class="title">
        <img src="./images/logo.png" alt="">
        深圳创维校区环境
      </h2>
      <!-- 图片 -->
      <img :src="imgArr[index]" alt="" />
      <!-- 左箭头 -->
      <!-- 此处切换左右箭头的显示/隐藏:v-if也可以实现一样的效果,但是由于v-if对性能消耗比v-show大,所以应该首选用v-show -->
      <!-- v-show="index!=0"指: -->
      <!-- (1)当index的值不等于0的时候,显示左箭头 -->
      <!-- (2)当index的值等于0的时候,隐藏左箭头 -->
      <a href="javascript:void(0)" @click="prev" v-show="index!=0" class="left">
        <img src="./images/prev.png" alt="" />
      </a>
      <!-- 右箭头 -->
      <!-- v-show="index<imgArr.length-1"指: -->
      <!-- index<imgArr.length-1=10-1=9,index索引是9的时候是最后一张图片 -->
      <!-- (1)即最后一张图片之前,显示右箭头 -->
      <!-- (2)到最后一张图片,隐藏右箭头 -->
      <a href="javascript:void(0)" @click="next" v-show="index<imgArr.length-1" class="right">
        <img src="./images/next.png" alt="" />
      </a>
    </div>
  </div>

  <script src="../vue.js"></script>

  <script>
    var app = new Vue({
      el: "#mask",
      data: {
        imgArr: [
          "./images/00.jpg",
          "./images/01.jpg",
          "./images/02.jpg",
          "./images/03.jpg",
          "./images/04.jpg",
          "./images/05.jpg",
          "./images/06.jpg",
          "./images/07.jpg",
          "./images/08.jpg",
          "./images/09.jpg",
          "./images/10.jpg",
        ],//图片数组
        index: 0//索引是从第一张图开始计算
      },
      methods: {
        prev: function () {//prev 切换到上一张图片
          this.index--;//此处this指当前对象#mask
        },
        next: function () {//next 切换到下一张图片
          this.index++;//此处this指当前对象#mask
        }
      }
    })
  </script>
</body>

</html>
2.index.css(辅助作用)
* {
  margin: 0;
  padding: 0;
}

html,
body,
#mask {
  width: 100%;
  height: 100%;
}

#mask {
  background-color: #c9c9c9;
  position: relative;
}

#mask .center {
  position: absolute;
  background-color: #fff;
  left: 50%;
  top: 50%;
  transform: translate(-50%, -50%);
  padding: 10px;
}
#mask .center .title {
  position: absolute;
  display: flex;
  align-items: center;
  height: 56px;
  top: -61px;
  left: 0;
  padding: 5px;
  padding-left: 10px;
  padding-bottom: 0;
  color: rgba(175, 47, 47, 0.8);
  font-size: 26px;
  font-weight: normal;
  background-color: white;
  padding-right: 50px;
  z-index: 2;
}
#mask .center .title img {
  height: 40px;
  margin-right: 10px;
}

#mask .center .title::before {
  content: "";
  position: absolute;
  width: 0;
  height: 0;
  border: 65px solid;
  border-color: transparent transparent white;
  top: -65px;
  right: -65px;
  z-index: 1;
}

#mask .center > img {
  display: block;
  width: 700px;
  height: 458px;
}

#mask .center a {
  text-decoration: none;
  width: 45px;
  height: 100px;
  position: absolute;
  top: 179px;
  vertical-align: middle;
  opacity: 0.5;
}
#mask .center a :hover {
  opacity: 0.8;
}

#mask .center .left {
  left: 15px;
  text-align: left;
  padding-right: 10px;
  border-top-right-radius: 10px;
  border-bottom-right-radius: 10px;
}

#mask .center .right {
  right: 15px;
  text-align: right;
  padding-left: 10px;
  border-top-left-radius: 10px;
  border-bottom-left-radius: 10px;
}
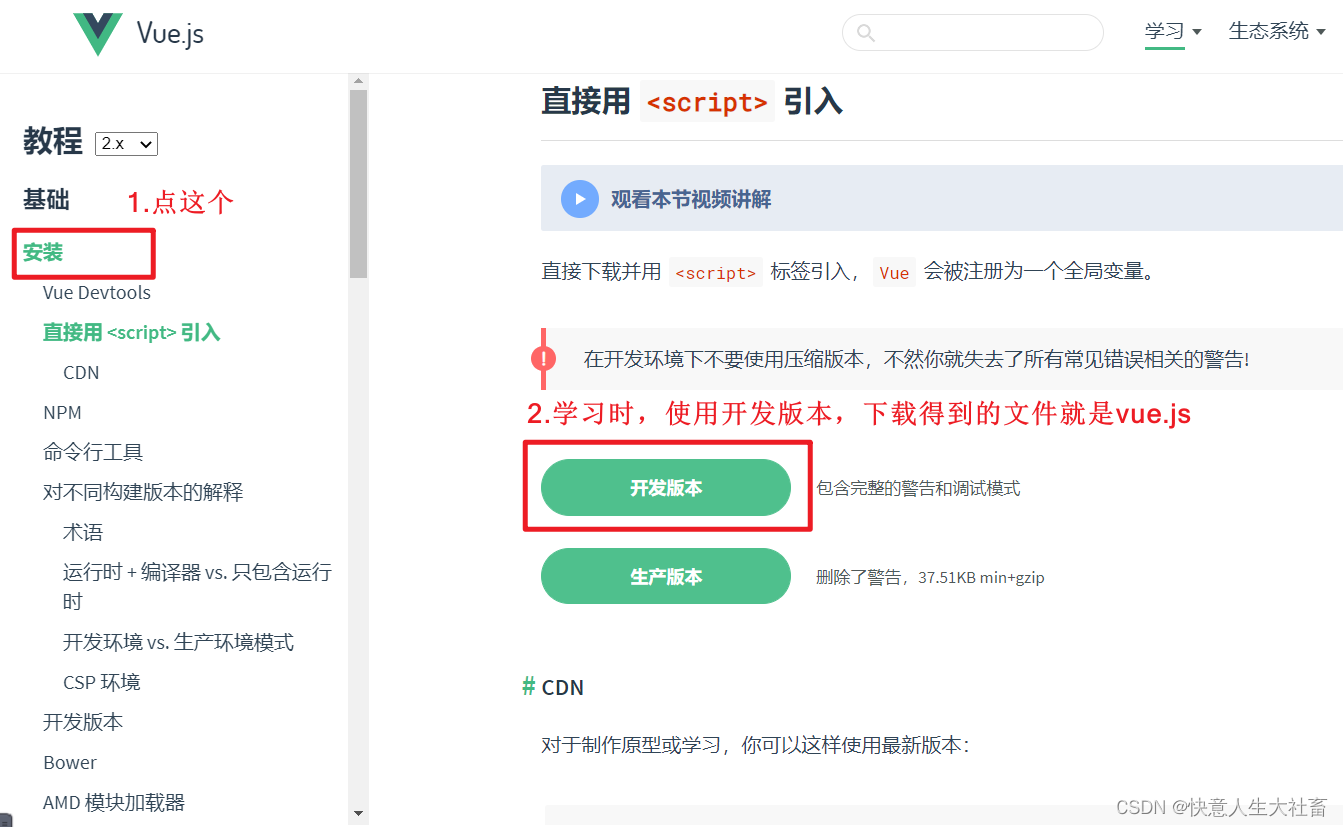
3.vue.js(辅助作用)
因为该文件内容太多,请前往该网址(Vue官网)下载


 3964
3964


 被折叠的 条评论
为什么被折叠?
被折叠的 条评论
为什么被折叠?
 到【灌水乐园】发言


