


用一个简单的前后端分离项目中讲解CORS
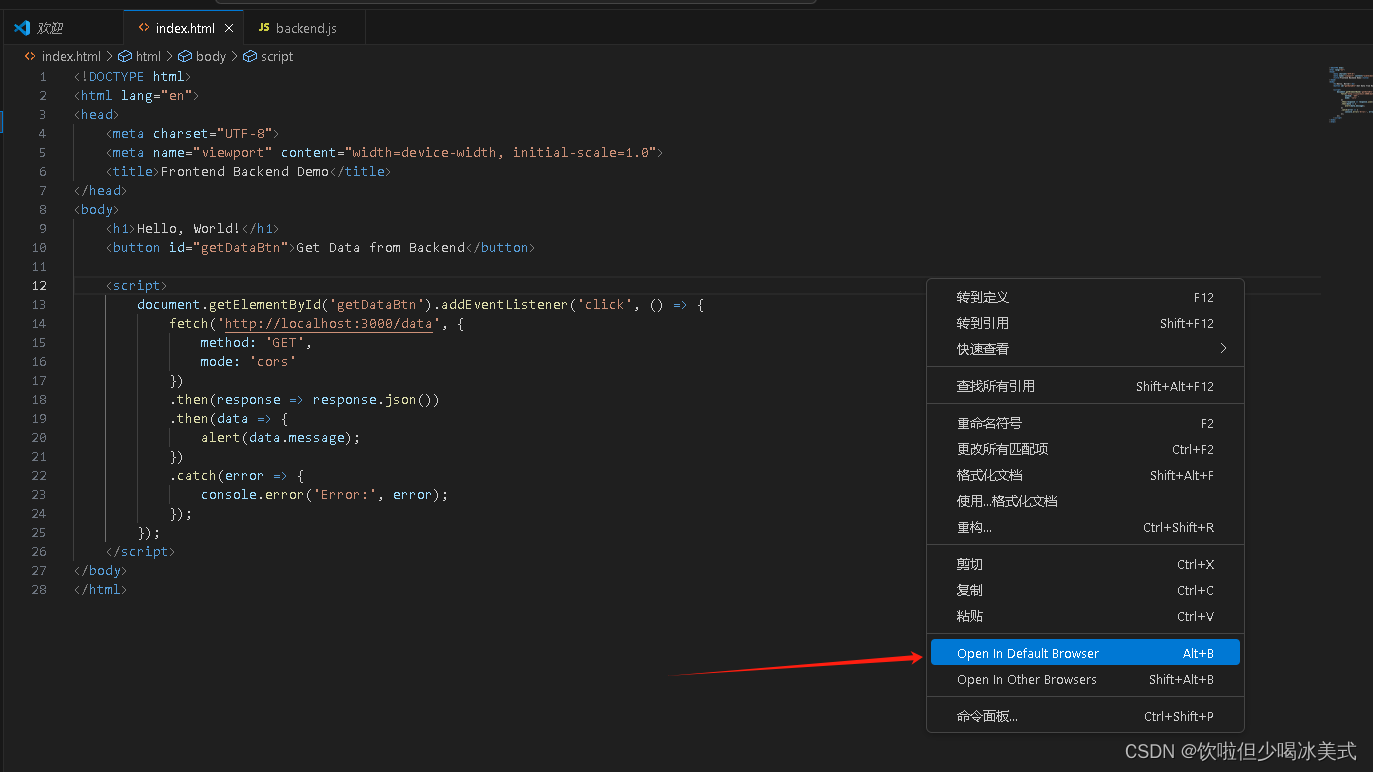
前端代码:
<!DOCTYPE html>
<html lang="en">
<head>
    <meta charset="UTF-8">
    <meta name="viewport" content="width=device-width, initial-scale=1.0">
    <title>Frontend Backend Demo</title>
</head>
<body>
    <h1>Hello, World!</h1>
    <button id="getDataBtn">Get Data from Backend</button>

    <script>
        document.getElementById('getDataBtn').addEventListener('click', () => {
            fetch('http://localhost:3000/data')
            .then(response => response.json())
            .then(data => {
                alert(data.message);
            })
            .catch(error => {
                console.error('Error:', error);
            });
        });
    </script>
</body>
</html>
后端代码(node.js):
const express = require('express');
const app = express();
const port = 3000;

app.get('/data', (req, res) => {
    const data = {
        message: 'Hello from Backend!'
    };
    res.json(data);
});

app.listen(port, () => {
    console.log(`Backend server running at http://localhost:${port}`);
});
将前端代码保存为 index.html,后端代码保存为 backend.js,然后在命令行中分别运行以下命令启动前端和后端服务:
先启动后端项目命令
node backend.js
再启动前端
遇到的问题
首先养成一种做项目开发的逻辑思维
用命令 node -v 查看是否安装了node.js,接着启动后端
Error: Cannot find module 'express'
要解决这个问题,你需要在项目中安装express模块。
npm install express成功启动后端!!!恭喜你!

打开前端页面,发现点击按钮没反应。养成一种意识,及时看F12

出现了以下问题,即是今天要讲的重点
Access to fetch at 'http://localhost:3000/data' from origin 'null' has been blocked by CORS policy: No 'Access-Control-Allow-Origin' header is present on the requested resource. If an opaque response serves your needs, set the request's mode to 'no-cors' to fetch the resource with CORS disabled. index.html:14 GET http://localhost:3000/data net::ERR_FAILED 200 (匿名) @ index.html:14 index.html:20 Error: TypeError: Failed to fetch at HTMLButtonElement.<anonymous> (index.html:14)
这个遇到的问题是CORS(跨域资源共享)政策导致的。
(本文最最最重点!请理解好这句话!)浏览器会在默认情况下阻止网站从一个源(域名、端口、协议的组合)向另一个源发送跨域请求。
我这个的情况是,前端页面正在尝试从 http://localhost:3000/data 这个地址请求数据,但是该请求被阻止了。因为后端服务器返回的响应没有包含 Access-Control-Allow-Origin头部 。这是属于CORS政策的一种保护机制,用于防止恶意网站对其他网站进行恶意攻击
再加深一下理解,那什么是头部?
'Access-Control-Allow-Origin’头部(只是其中一个头部)是用来声明哪些源可以访问服务器资源的HTTP响应头部。当服务器收到跨域请求时,需要在响应中包含这个头部,并且指定允许访问资源的来源域名。
如果没有正确设置这个头部,那么浏览器会阻止跨域请求,导致出现CORS错误。
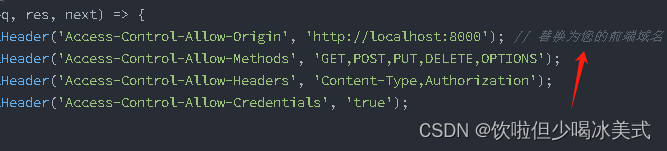
所以,解决办法如下(将头部添加到后端):
app.use((req, res, next) => {
    res.setHeader('Access-Control-Allow-Origin', 'http://localhost:8000'); // 替换为您的前端域名
    res.setHeader('Access-Control-Allow-Methods', 'GET,POST,PUT,DELETE,OPTIONS');
    res.setHeader('Access-Control-Allow-Headers', 'Content-Type,Authorization');
    res.setHeader('Access-Control-Allow-Credentials', 'true');
    next();
});这样子设置可以允许所有来源的跨域请求,并指定允许的请求方法和请求头。但是在实际生产环境中,一定要限制允许的来源,而不是使用通配符 *
完整后端代码如下:
const express = require('express');
const app = express();
const port = 3000;

app.use((req, res, next) => {
    res.setHeader('Access-Control-Allow-Origin', 'http://localhost:8000'); // 替换为您的前端域名
    res.setHeader('Access-Control-Allow-Methods', 'GET,POST,PUT,DELETE,OPTIONS');
    res.setHeader('Access-Control-Allow-Headers', 'Content-Type,Authorization');
    res.setHeader('Access-Control-Allow-Credentials', 'true');
    next();
});

app.get('/data', (req, res) => {
    const data = {
        message: 'Hello from Backend!'
    };
    res.json(data);
});

app.listen(port, () => {
    console.log(`Backend server running at http://localhost:${port}`);
});同时,前端代码也需要调整。通过添加mode:’cors‘ 来确保请求会以CORS模式发送
fetch('http://localhost:3000/data', {
    method: 'GET',
    mode: 'cors'
})
    .then(response => response.json())
    .then(data => console.log(data))
    .catch(error => console.error('Error:', error));
注意!!!该方法适用于前端有注册域名。若只是这样打开。你也无法修改前端域名。。。
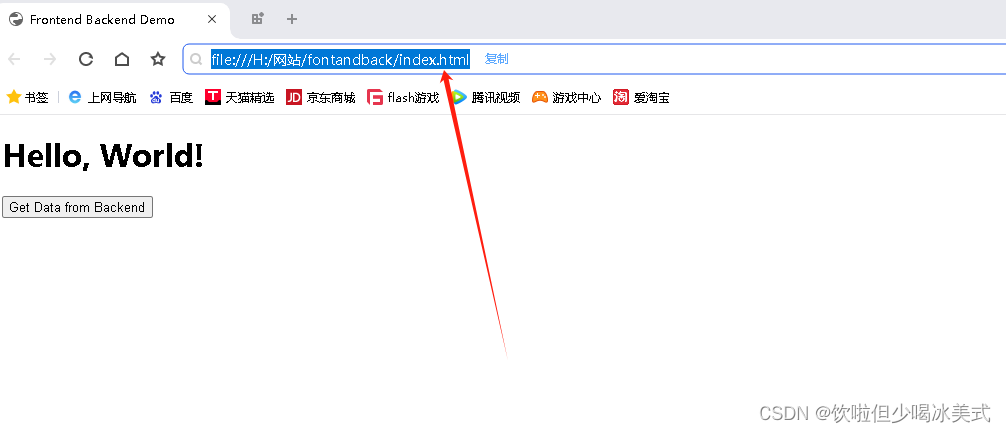
无法修改。。。
遇到这种情况,请使用我接下来的方法
使用Express的CORS中间件。它可以简化CORS的设置。 (你就不用像上面一样设置前端域名了)
安装该中间件
npm install cors在后端代码中引入并使用它:
const cors = require('cors');
app.use(cors());
前端不变,修改过后的完整后端代码如下:
const express = require('express');
const cors = require('cors');
const app = express();
const port = 3000;

app.use(cors());

app.get('/data', (req, res) => {
    const data = {
        message: 'Hello from Backend!'
    };
    res.json(data);
});

app.listen(port, () => {
    console.log(`Backend server running at http://localhost:${port}`);
});
点击之后,弹出弹窗!!!成功!!!恭喜你完成了这个实验!!!

最后小提一嘴
一切还是要看实际生产需要。在企业项目中往往会使用一下两种解决方案:
1、代理服务商。设置一个代理服务器,将前端请求转发到后端服务。通过代理服务器,可以在代理层面解决CORS问题。例如在Nginx或Apache等服务器中进行相应配置,将前端请求转发到后端并添加正确的CORS头部。
2、反向代理服务。如果你的后端服务由第三方提供且无法直接配置CORS头部。考虑使用一些提供CORS支持的反向代理服务,如CORS Anywhere。


 1347
1347


 被折叠的 条评论
为什么被折叠?
被折叠的 条评论
为什么被折叠?
 到【灌水乐园】发言


