


首先我们需要安装python3.8以上,具体安装方法就不多说了
我这里已经安装好了
第二步,安装依赖包
打开CMD,然后CD到yolo文件夹的位置上,然后pip install -r requirements.txt。等待他自己下载安装依赖包。
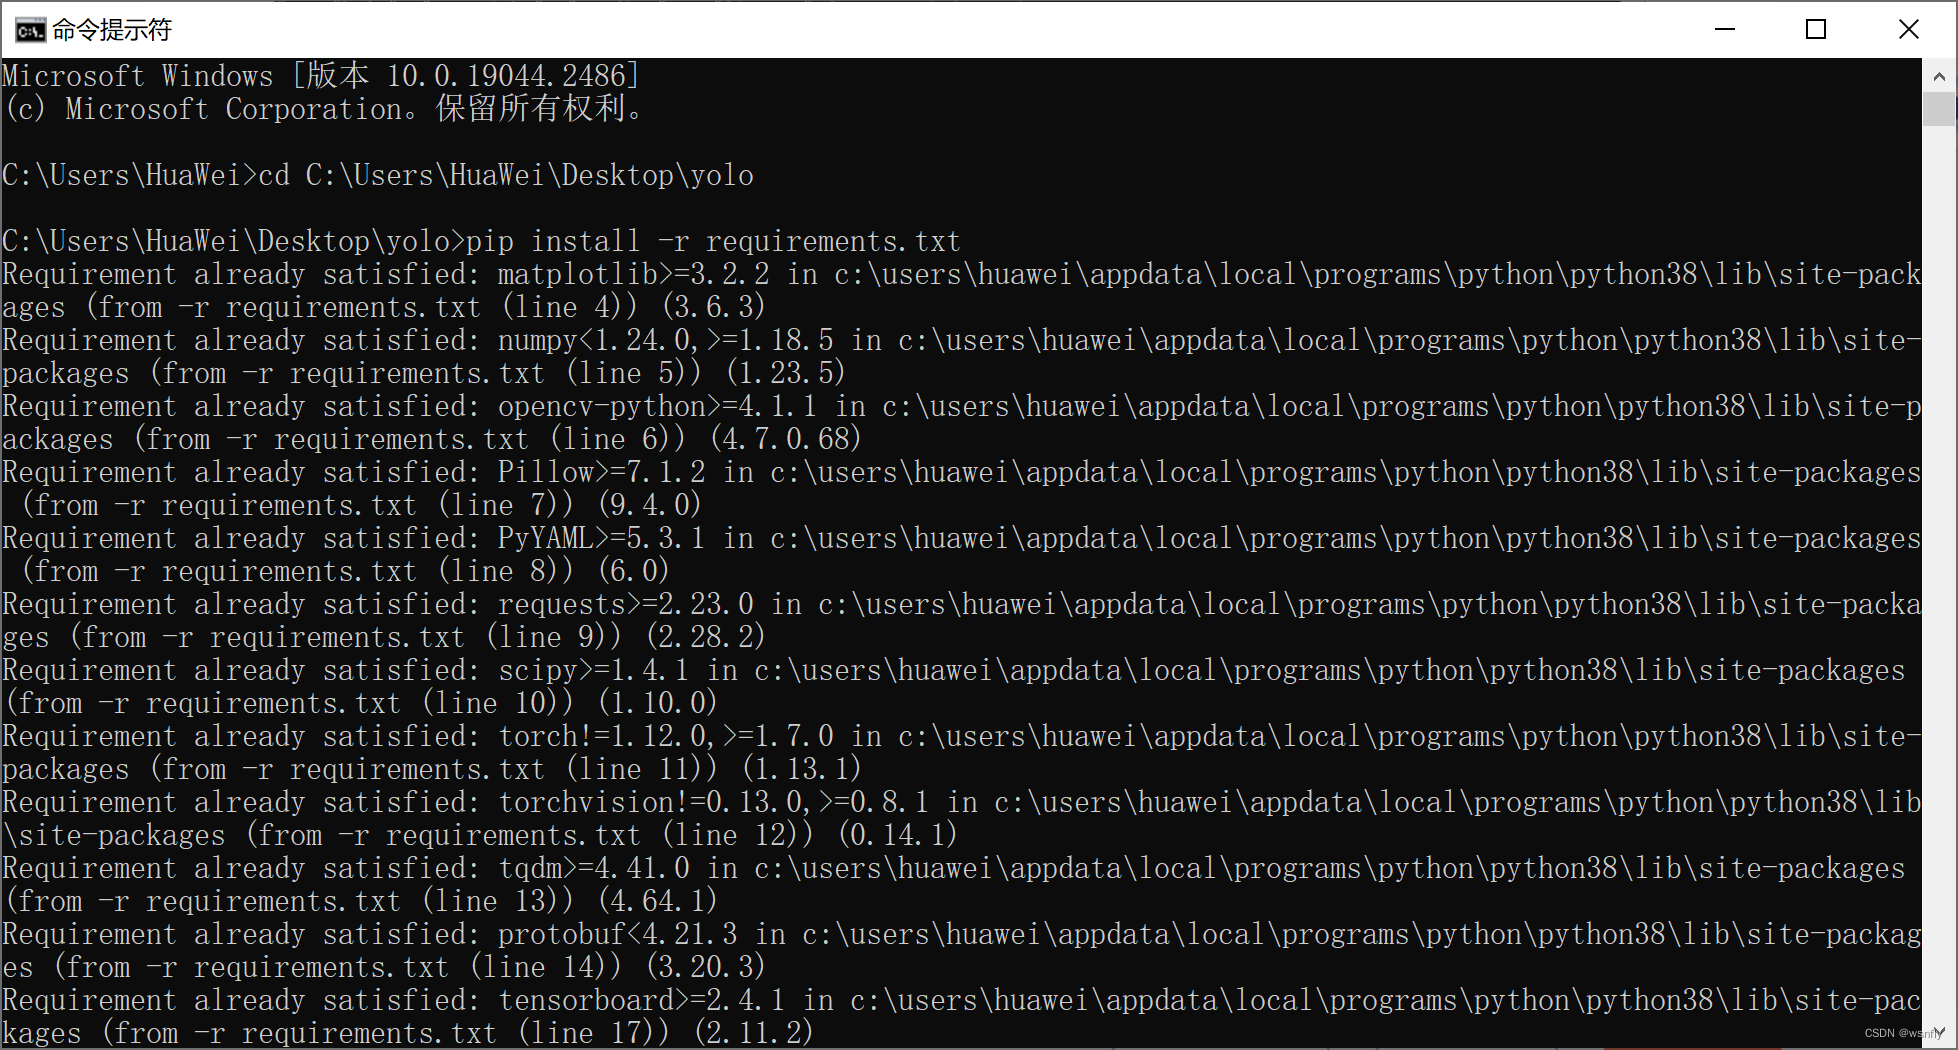
这里我已经全部下载好了。
第三步,打开IDLE(第一步已经安装), CTRL+O,然后打开yolo文件夹中的Untitled-1.py文件。
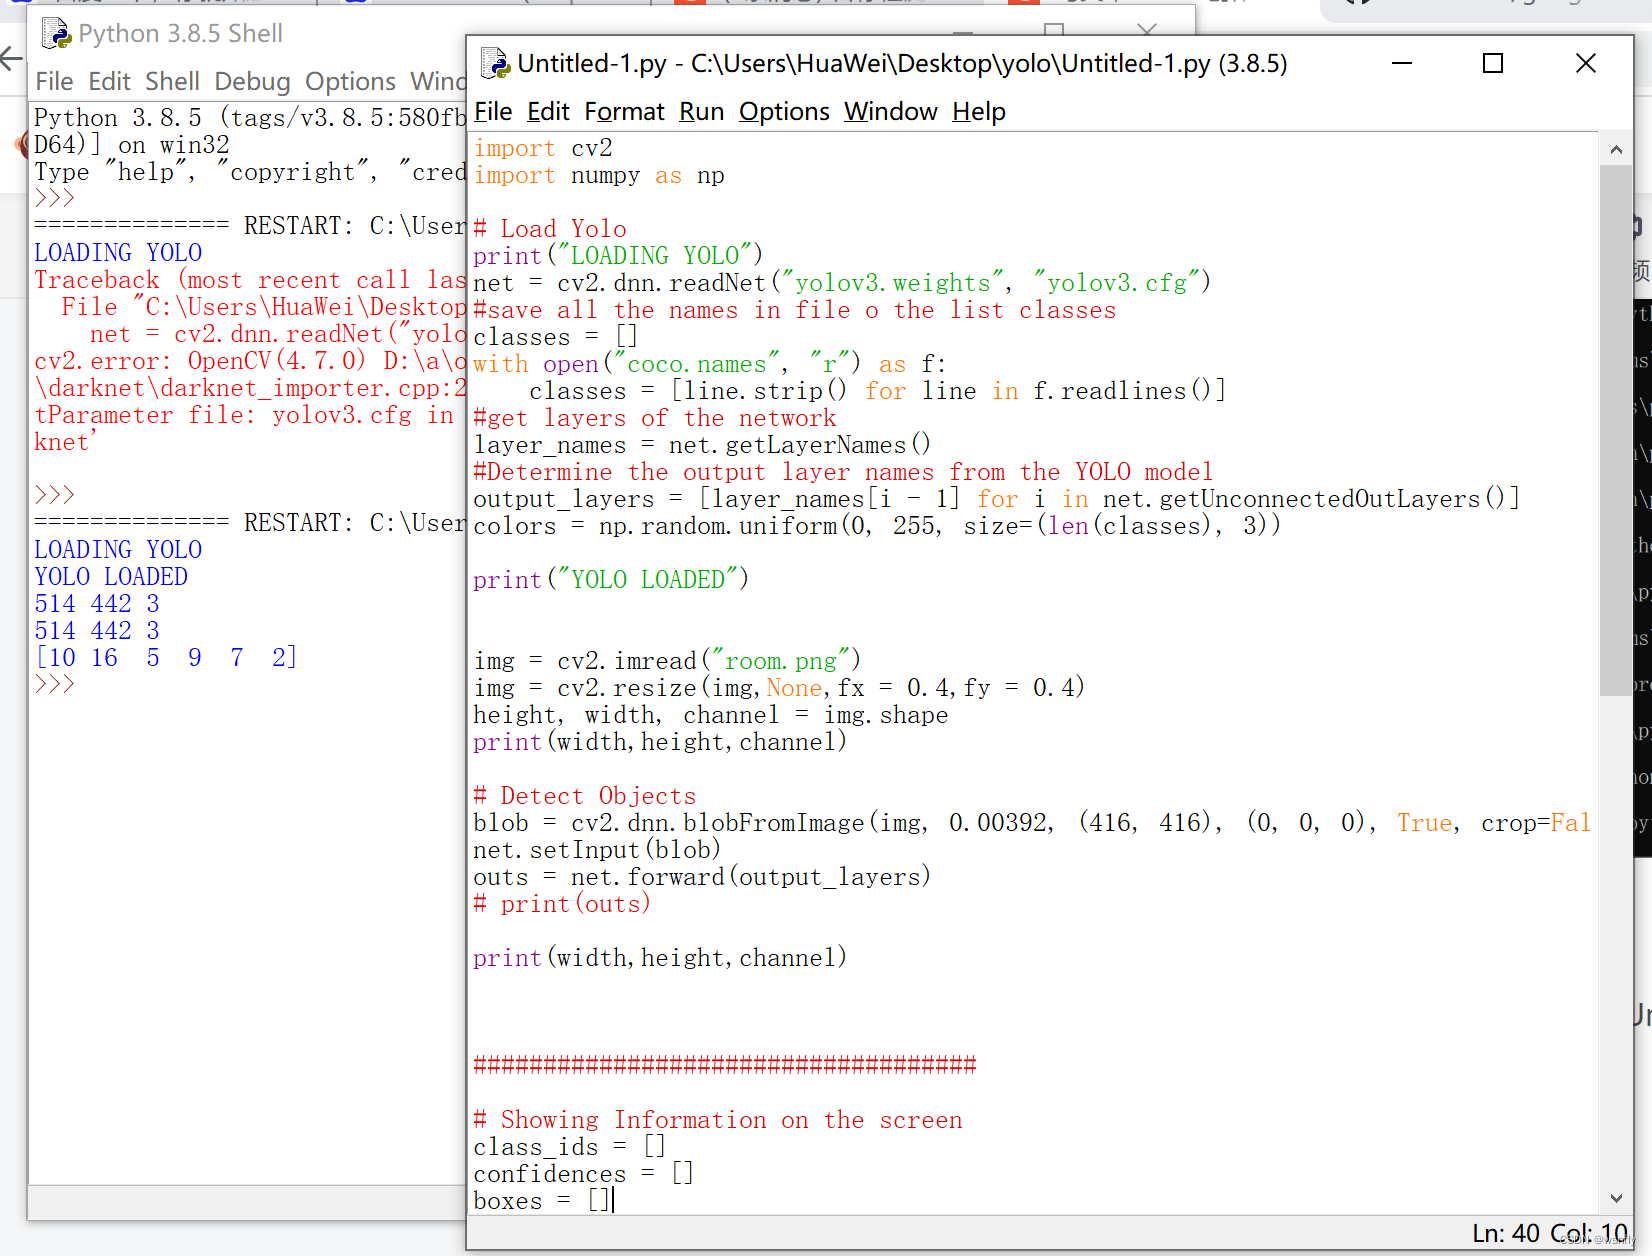
import cv2
import numpy as np

# Load Yolo
print("LOADING YOLO")
net = cv2.dnn.readNet("yolov3.weights", "yolov3.cfg")
#save all the names in file o the list classes
classes = []
with open("coco.names", "r") as f:
    classes = [line.strip() for line in f.readlines()]
#get layers of the network
layer_names = net.getLayerNames()
#Determine the output layer names from the YOLO model
output_layers = [layer_names[i - 1] for i in net.getUnconnectedOutLayers()]
colors = np.random.uniform(0, 255, size=(len(classes), 3))

print("YOLO LOADED")


img = cv2.imread("room.png")
img = cv2.resize(img,None,fx = 0.4,fy = 0.4)
height, width, channel = img.shape
print(width,height,channel)

# Detect Objects
blob = cv2.dnn.blobFromImage(img, 0.00392, (416, 416), (0, 0, 0), True, crop=False)
net.setInput(blob)
outs = net.forward(output_layers)
# print(outs)

print(width,height,channel)


####################################

# Showing Information on the screen
class_ids = []
confidences = []
boxes = []
for out in outs:
    for detection in out:
        scores = detection[5:]
        class_id = np.argmax(scores)
        confidence = scores[class_id]
        if confidence > 0.5:
            # Object detection
            center_x = int(detection[0] * width)
            center_y = int(detection[1] * height)
            w = int(detection[2] * width)
            h = int(detection[3] * height)
            # cv.circle(img, (center_x, center_y), 10, (0, 255, 0), 2 )
            # Reactangle Cordinate
            x = int(center_x - w/2)
            y = int(center_y - h/2)
            boxes.append([x, y, w, h])
            confidences.append(float(confidence))
            class_ids.append(class_id)

# print(len(boxes))
# number_object_detection = len(boxes)

indexes = cv2.dnn.NMSBoxes(boxes, confidences, 0.5, 0.4)
print(indexes)

font = cv2.FONT_HERSHEY_PLAIN
for i in range(len(boxes)):
    if i in indexes:
        x, y, w, h = boxes[i]
        label = str(classes[class_ids[i]])
        # print(label)
        color = colors[i]
        cv2.rectangle(img, (x, y), (x + w, y + h), color, 2)
        cv2.putText(img, label, (x, y + 30), font, 3, color, 3)

cv2.imshow("IMG", img)
cv2.waitKey(0)
cv2.destroyAllWindows()
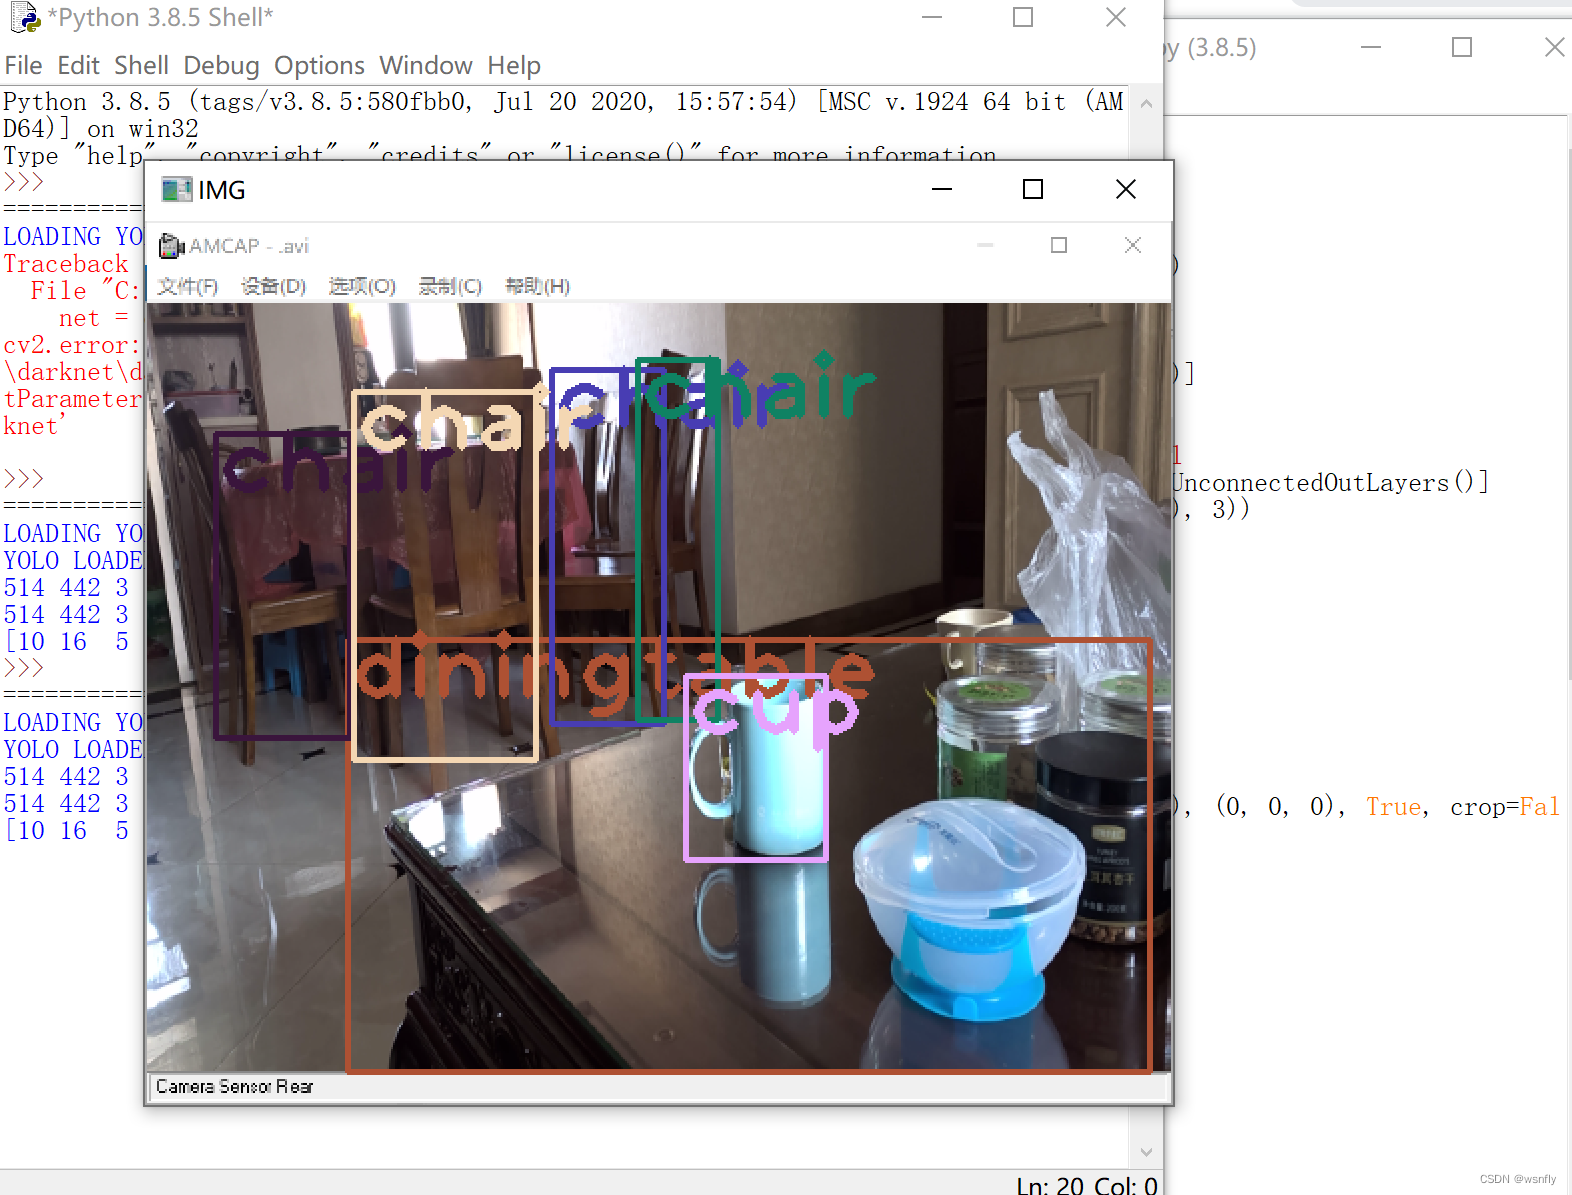
第四步,按下F5运行程序,就能看到room.png这张照片中的物体被识别出来。
当然,如果你会开启USB摄像头,就可以获得实时显示识别的效果。
文件地址:
链接:https://pan.baidu.com/s/1JT1K7q2-PR9pAYNBV-3DtQ?pwd=qnlo
提取码:qnlo


 1592
1592


 被折叠的 条评论
为什么被折叠?
被折叠的 条评论
为什么被折叠?
 到【灌水乐园】发言


