


一、思路
网上说的太复杂了,其实关键就两步:
1.增加子界面的startupFcn的输入参数,将主界面的app指针加进来。
2.主界面调用子界面的时候,调用子界面的构造函数时,把自己的指针加进去。
3. 别用matlab2016a!别用matlab2016a!别用matlab2016a!很多属性都改不了,巨坑。
二、例程
举个例程,实现如下功能:
1. 点击主界面的button,随机生成一个随机数,同时将随机数传给子界面。同时打开子界面。
2. 点击子界面的button,画出一条曲线,同时将曲线同步到主界面。
三、实现
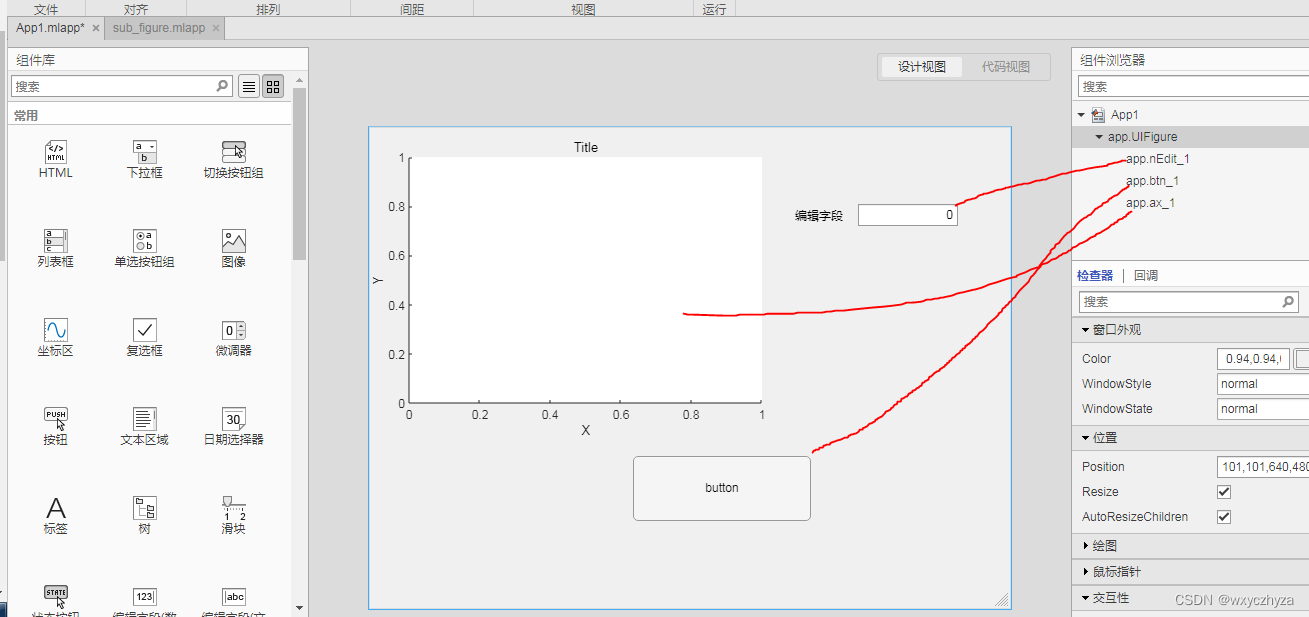
1.创建主界面(名称为App1)。界面及各控件名称如下。
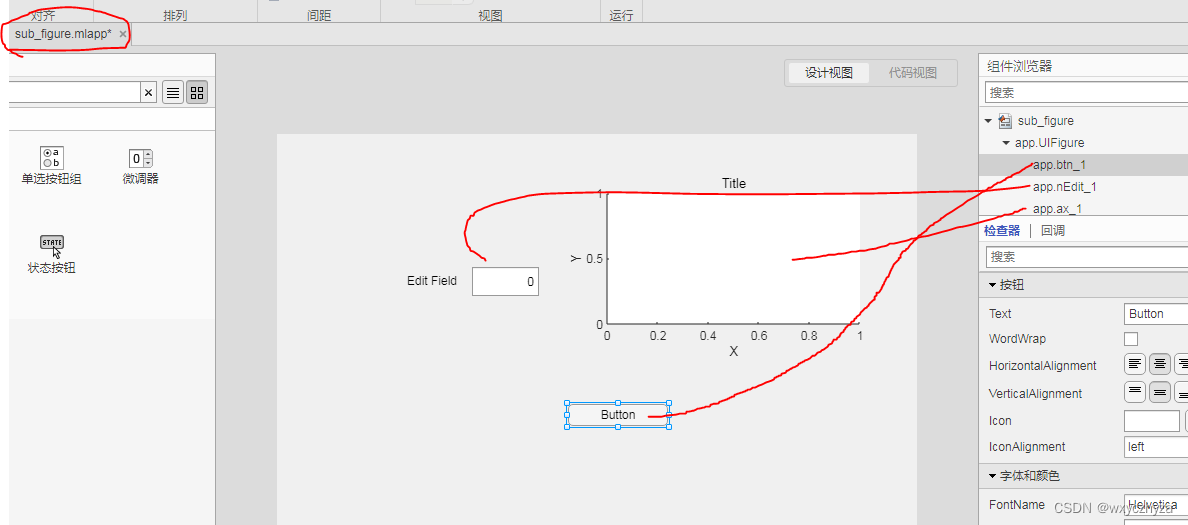
2.创建子界面【sub_figure】。
3. 修改子界面【sub_figure】:
① 创建一个属性【app_parent】用来存储主界面的指针。
② 修改startupFcn,将主界面的指针传进来。
③ 将主界面控件的【app_parent.nEdit_1】的值提取出来给子界面的控件【app.nEdit_1】

4. 编辑主界面的【btn_1】的回调函数,实现:
① 生成随机数,并将随机数赋值给控件【nEdit_1】。
② 调用子界面的构造函数打开子界面。
function btn_1ButtonPushed(app, event)
    app.nEdit_1.Value=rand();   % 生成随机数
    % 调用子界面,同时将主界面句柄(app)作为子界面初始化的参数传入
    app.sub_app = sub_figure(app);
end
5. 编辑子界面按钮的回调函数,在子界面画曲线,同时通过指针的方式,修改主界面的坐标轴。
function btn_1ButtonPushed(app, event)
    x = 0:0.01:2*pi;
    y = sin(x) + 0.1 * rand(size(x));
    plot(app.ax_1, x, y);
    % 将曲线画到主界面。
    plot(app.app_parent.ax_1, x, y);

end
四、运行效果

五、完整代码
懒得传资源了,自己copy代码吧。注意,我用的版本是matlab2020a
1. 注意,copy之后文件名一定要跟我代码一致。主界面文件名为【App1.mlapp】,子界面文件名为【sub_figure.mlapp】
主界面:
classdef App1 < matlab.apps.AppBase

    % Properties that correspond to app components
    properties (Access = public)
        mainFigure             matlab.ui.Figure
        btn_1                  matlab.ui.control.Button
        LabelNumericEditField  matlab.ui.control.Label
        nEdit_1                matlab.ui.control.NumericEditField
        ax_1                   matlab.ui.control.UIAxes
    end


    properties (Access = private)
        sub_app; % Description
    end


    % Callbacks that handle component events
    methods (Access = private)

        % Code that executes after component creation
        function startupFcn(app)

        end

        % Button pushed function: btn_1
        function btn_1ButtonPushed(app, event)
            app.nEdit_1.Value=rand();   % 生成随机数
            % 调用子界面,同时将主界面句柄(app)和随机数作为子界面初始化的参数传入
            app.sub_app = sub_figure(app);
        end
    end

    % Component initialization
    methods (Access = private)

        % Create UIFigure and components
        function createComponents(app)

            % Create mainFigure and hide until all components are created
            app.mainFigure = uifigure('Visible', 'off');
            app.mainFigure.Position = [101 101 640 480];
            app.mainFigure.Name = '主界面';

            % Create btn_1
            app.btn_1 = uibutton(app.mainFigure, 'push');
            app.btn_1.ButtonPushedFcn = createCallbackFcn(app, @btn_1ButtonPushed, true);
            app.btn_1.Position = [264 88 178 65];
            app.btn_1.Text = 'button';

            % Create LabelNumericEditField
            app.LabelNumericEditField = uilabel(app.mainFigure);
            app.LabelNumericEditField.HorizontalAlignment = 'right';
            app.LabelNumericEditField.VerticalAlignment = 'top';
            app.LabelNumericEditField.Position = [425 387 49 15];
            app.LabelNumericEditField.Text = '编辑字段';

            % Create nEdit_1
            app.nEdit_1 = uieditfield(app.mainFigure, 'numeric');
            app.nEdit_1.Position = [489 383 100 22];

            % Create ax_1
            app.ax_1 = uiaxes(app.mainFigure);
            title(app.ax_1, 'Title')
            xlabel(app.ax_1, 'X')
            ylabel(app.ax_1, 'Y')
            app.ax_1.GridAlpha = 0.15;
            app.ax_1.MinorGridAlpha = 0.25;
            app.ax_1.Position = [1 171 400 300];

            % Show the figure after all components are created
            app.mainFigure.Visible = 'on';
        end
    end

    % App creation and deletion
    methods (Access = public)

        % Construct app
        function app = App1

            % Create UIFigure and components
            createComponents(app)

            % Register the app with App Designer
            registerApp(app, app.mainFigure)

            % Execute the startup function
            runStartupFcn(app, @startupFcn)

            if nargout == 0
                clear app
            end
        end

        % Code that executes before app deletion
        function delete(app)

            % Delete UIFigure when app is deleted
            delete(app.mainFigure)
        end
    end
end
子界面:
classdef sub_figure < matlab.apps.AppBase

    % Properties that correspond to app components
    properties (Access = public)
        subFigure       matlab.ui.Figure
        EditFieldLabel  matlab.ui.control.Label
        nEdit_1         matlab.ui.control.NumericEditField
        btn_1           matlab.ui.control.Button
        ax_1            matlab.ui.control.UIAxes
    end


    properties (Access = private)
        app_parent; % Description
        x = 0;
    end


    % Callbacks that handle component events
    methods (Access = private)

        % Code that executes after component creation
        function startupFcn(app, app_parent)
            app.app_parent = app_parent;
            app.nEdit_1.Value = app_parent.nEdit_1.Value;
        end

        % Button pushed function: btn_1
        function btn_1ButtonPushed(app, event)
            x = 0:0.01:2*pi;
            y = sin(x) + 0.1 * rand(size(x));
            plot(app.ax_1, x, y);
            % 将曲线画到主界面。
            plot(app.app_parent.ax_1, x, y);

        end
    end

    % Component initialization
    methods (Access = private)

        % Create UIFigure and components
        function createComponents(app)

            % Create subFigure and hide until all components are created
            app.subFigure = uifigure('Visible', 'off');
            app.subFigure.Position = [101 101 640 480];
            app.subFigure.Name = '子界面';

            % Create EditFieldLabel
            app.EditFieldLabel = uilabel(app.subFigure);
            app.EditFieldLabel.HorizontalAlignment = 'right';
            app.EditFieldLabel.Position = [126 323 55 22];
            app.EditFieldLabel.Text = 'Edit Field';

            % Create nEdit_1
            app.nEdit_1 = uieditfield(app.subFigure, 'numeric');
            app.nEdit_1.Position = [196 319 67 29];

            % Create btn_1
            app.btn_1 = uibutton(app.subFigure, 'push');
            app.btn_1.ButtonPushedFcn = createCallbackFcn(app, @btn_1ButtonPushed, true);
            app.btn_1.Position = [292 189 100 22];

            % Create ax_1
            app.ax_1 = uiaxes(app.subFigure);
            title(app.ax_1, 'Title')
            xlabel(app.ax_1, 'X')
            ylabel(app.ax_1, 'Y')
            zlabel(app.ax_1, 'Z')
            app.ax_1.Position = [292 256 300 185];

            % Show the figure after all components are created
            app.subFigure.Visible = 'on';
        end
    end

    % App creation and deletion
    methods (Access = public)

        % Construct app
        function app = sub_figure(varargin)

            % Create UIFigure and components
            createComponents(app)

            % Register the app with App Designer
            registerApp(app, app.subFigure)

            % Execute the startup function
            runStartupFcn(app, @(app)startupFcn(app, varargin{:}))

            if nargout == 0
                clear app
            end
        end

        % Code that executes before app deletion
        function delete(app)

            % Delete UIFigure when app is deleted
            delete(app.subFigure)
        end
    end
end 


 1万+
1万+


 被折叠的 条评论
为什么被折叠?
被折叠的 条评论
为什么被折叠?
 到【灌水乐园】发言


