


对于同步代码块而言,程序必须为它显示的指定同步监视器(可为this也可以自定义Object类型的全局变量);对于同步非静态方法而言,该方法的同步
监视器是this----即调用该方法的java对象;对于静态的同步方法而言,该方法的同步监视器不是this而是该类本身。

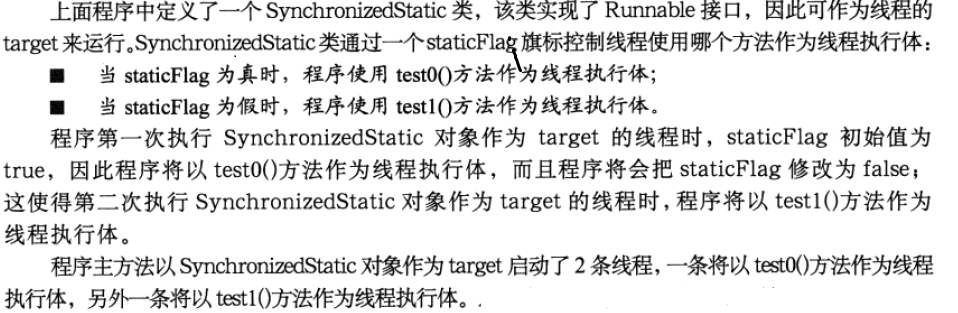
public class SynchronizedStatic implements Runnable {

	 static boolean staticFlag = true;

	public static synchronized void test0(){
		for(int i=0;i<5;i++){
			System.out.println("test0:"+Thread.currentThread().getName() + " "+ i);
		}
	}
	public void test1(){
		synchronized (this) {
//		synchronized (SynchronizedStatic.class) {
			for(int i=0;i<5;i++){
				System.out.println("test1:"+Thread.currentThread().getName() + " "+ i);
			}
		}
	}

	public void run() {
		if(staticFlag){
			staticFlag = false;
			test0();
		}else{
			staticFlag = true;
			test1();
		}
	}

	public static void main(String[] args) throws InterruptedException {
		SynchronizedStatic ss = new SynchronizedStatic();
		new Thread(ss).start();
		//保证第一条线程开始运行
//		Thread.sleep(1);
		new Thread(ss).start();
	}
}
test0:Thread-0 0
test0:Thread-0 1
test1:Thread-1 0
test1:Thread-1 1
test1:Thread-1 2
test1:Thread-1 3
test1:Thread-1 4
test0:Thread-0 2
test0:Thread-0 3
test0:Thread-0 4
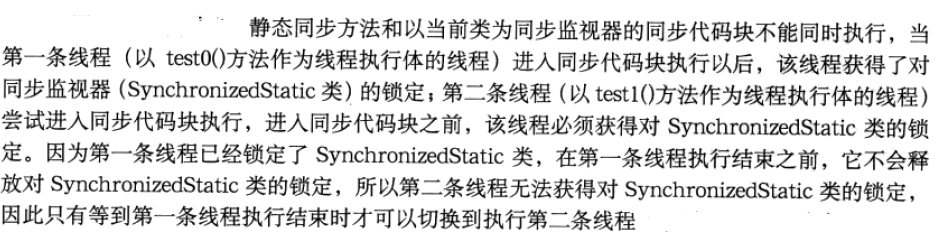
显然是并发执行,并没有达到同步执行(顺序执行)的效果。


	public void test1(){
//		synchronized (this) {
		synchronized (SynchronizedStatic.class) {
			for(int i=0;i<5;i++){
				System.out.println("test1:"+Thread.currentThread().getName() + " "+ i);
			}
		}
	}
执行结果如下:
test0:Thread-0 0
test0:Thread-0 1
test0:Thread-0 2
test0:Thread-0 3
test0:Thread-0 4
test1:Thread-1 0
test1:Thread-1 1
test1:Thread-1 2
test1:Thread-1 3
test1:Thread-1 4
类似于Java并发编程:synchronized 中的
三.synchronized同步方法或者同步块类
|
1
2
3
4
5
6
7
8
9
10
11
12
13
14
15
16
17
18
19
20
21
22
23
24
25
26
27
28
29
30
31
32
33
34
35
|
public
class
Test {
public
static
void
main(String[] args) {
final
InsertData insertData =
new
InsertData();
new
Thread(){
@Override
public
void
run() {
insertData.insert();
}
}.start();
new
Thread(){
@Override
public
void
run() {
insertData.insert1();
}
}.start();
}
}
class
InsertData {
public
synchronized
void
insert(){
System.out.println(
"执行insert"
);
try
{
Thread.sleep(
5000
);
}
catch
(InterruptedException e) {
e.printStackTrace();
}
System.out.println(
"执行insert完毕"
);
}
public
synchronized
static
void
insert1() {
System.out.println(
"执行insert1"
);
System.out.println(
"执行insert1完毕"
);
}
}
|


 887
887


 被折叠的 条评论
为什么被折叠?
被折叠的 条评论
为什么被折叠?
 到【灌水乐园】发言


