


1、Django开发post接口
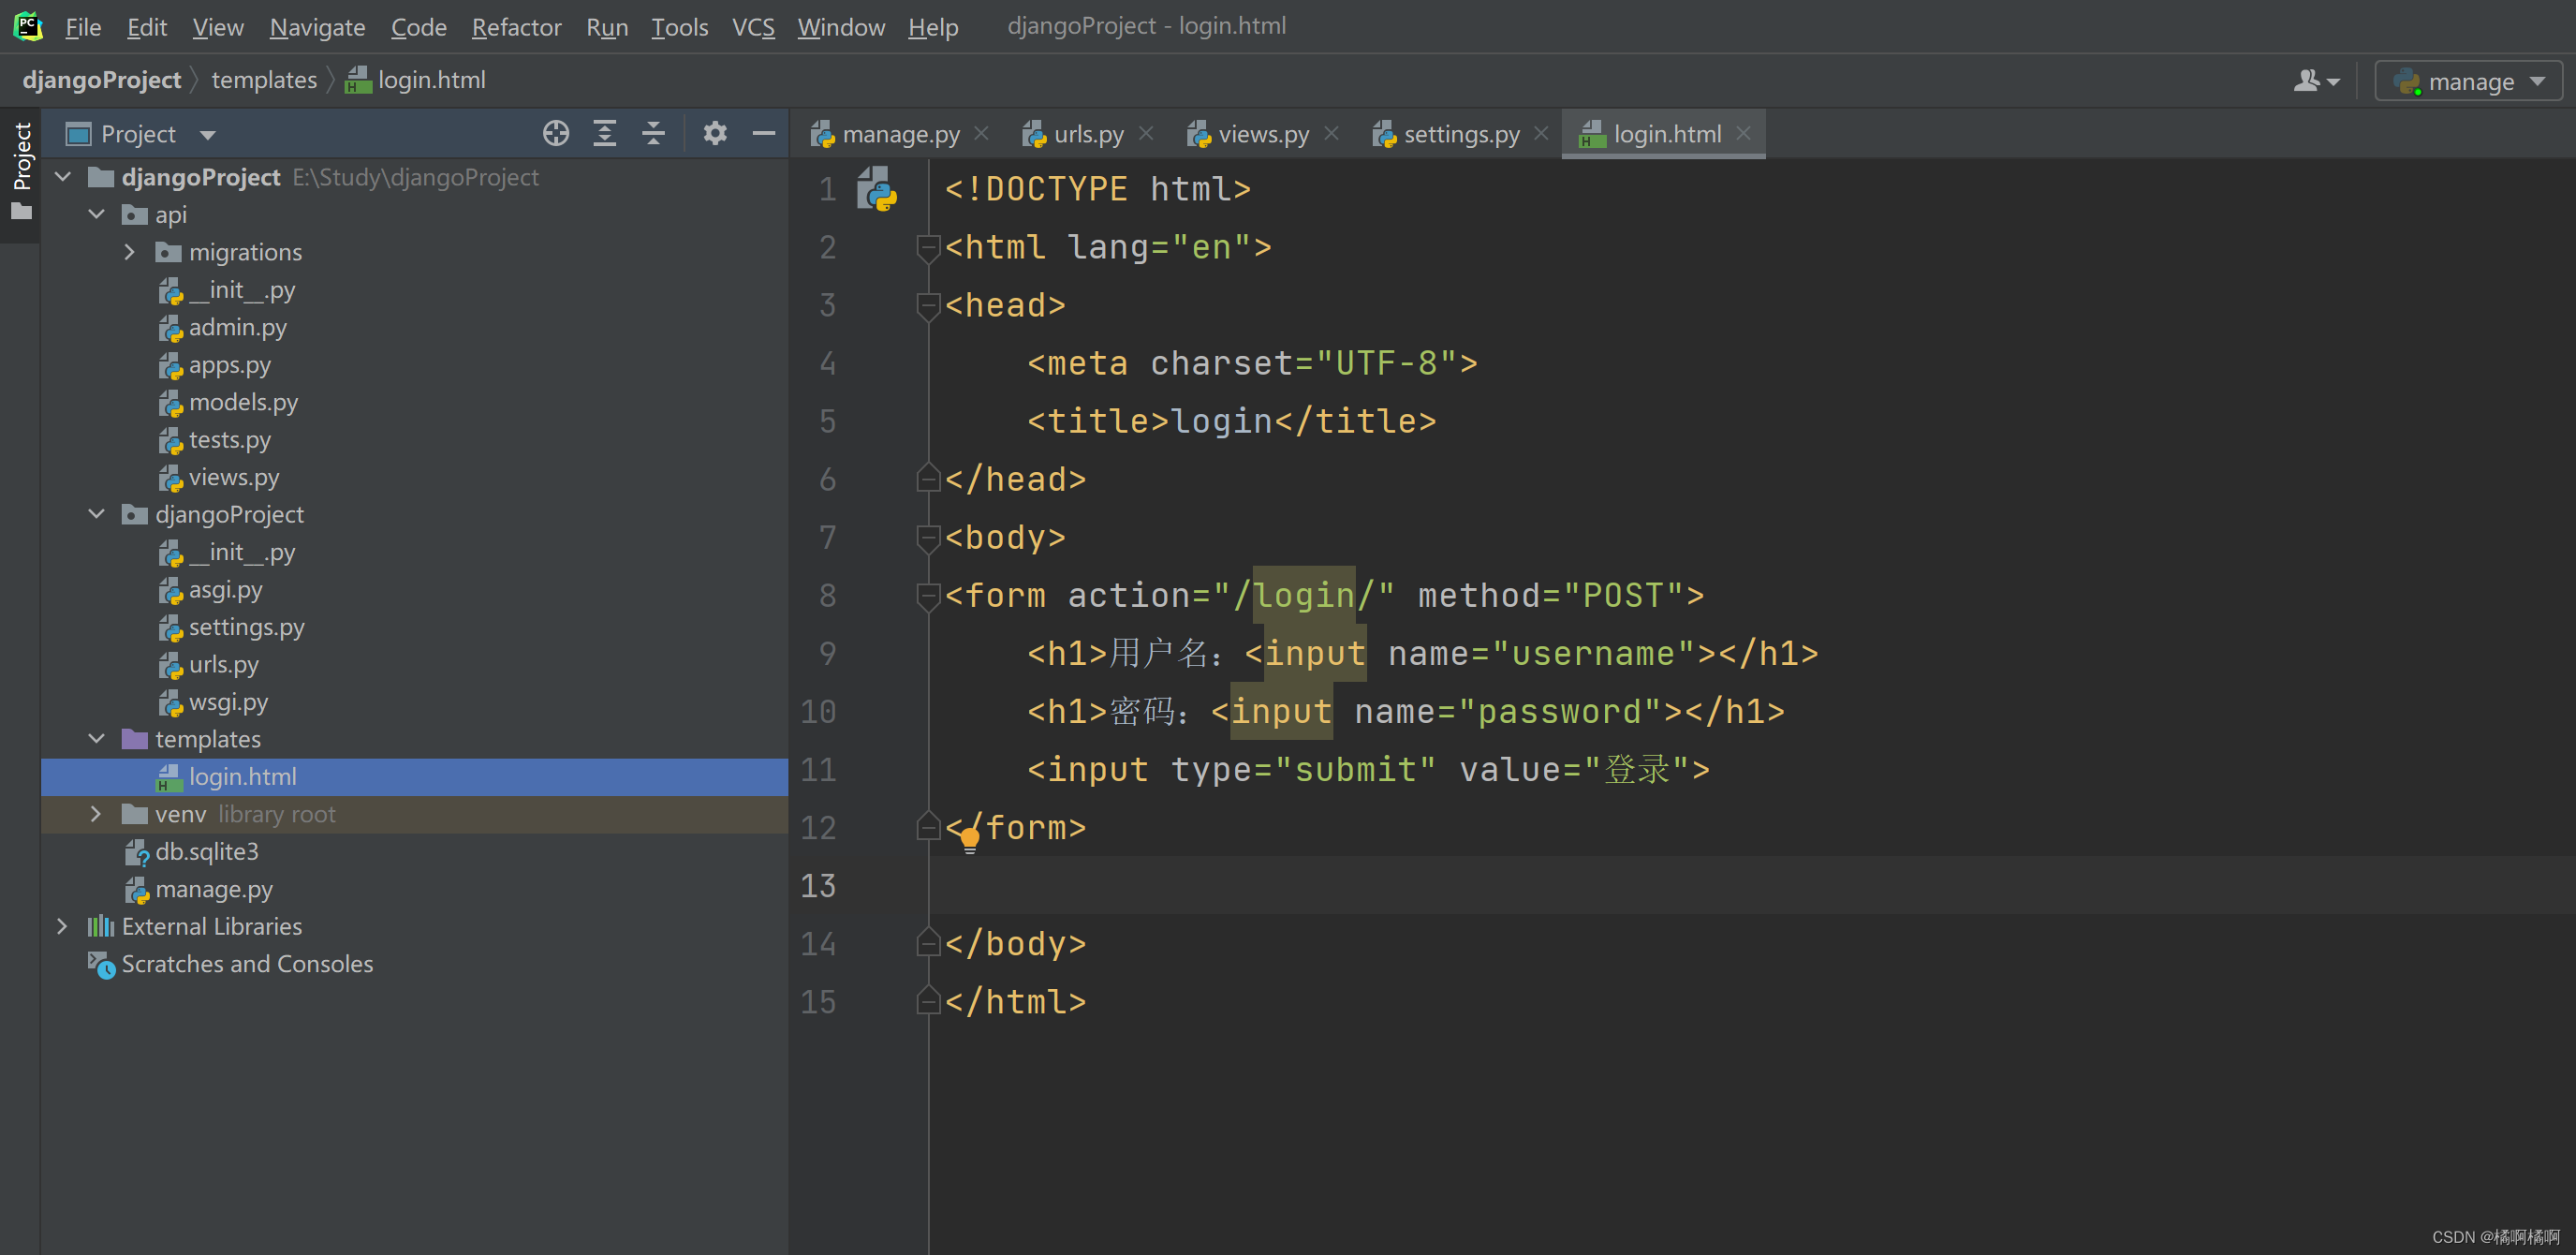
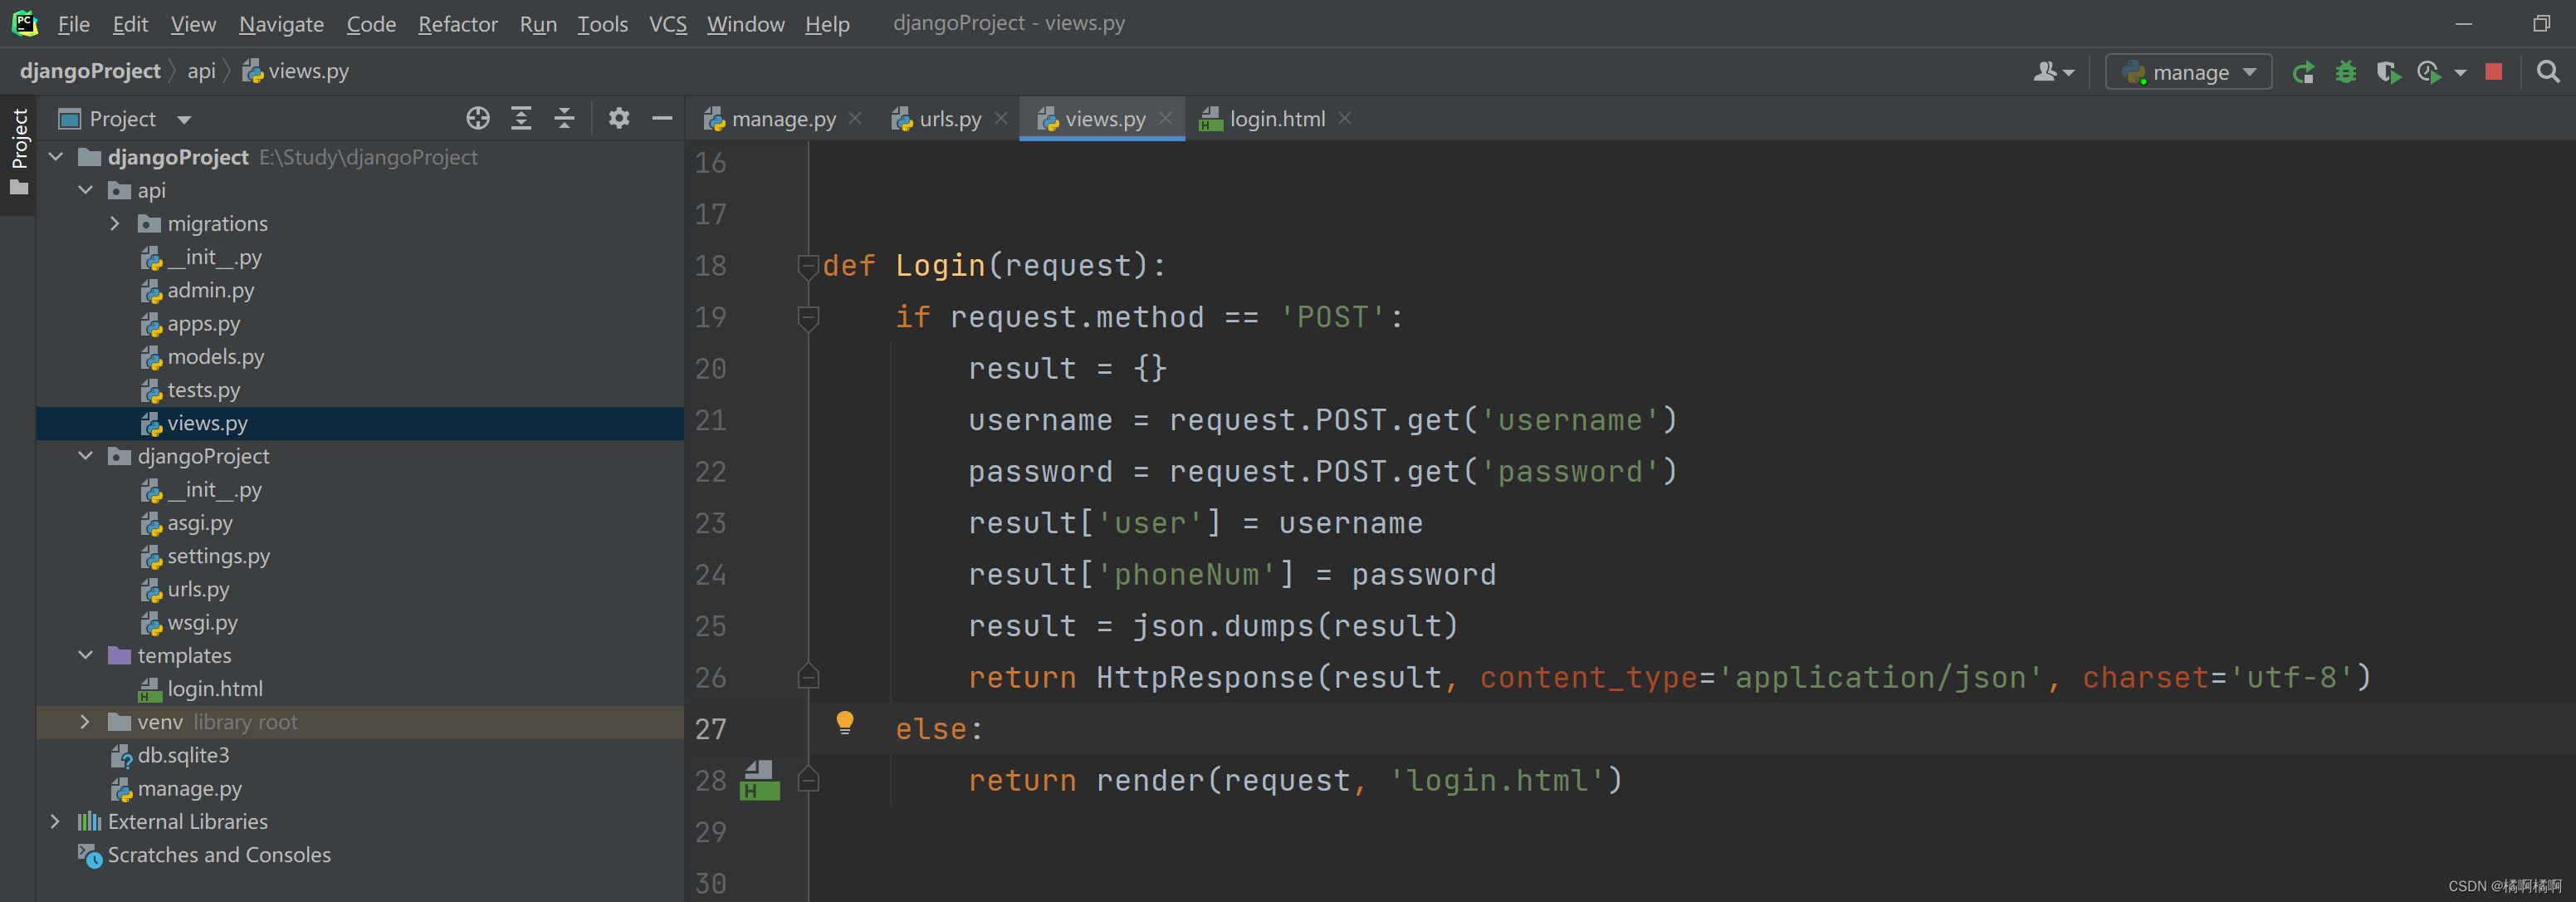
在templates文件下创建一个html文件,在views文件下处理

在提交表单时,报错:CSRF verification failed. Request aborted.
解决:注释掉settings文件下MIDDLEWARE里的'django.middleware.csrf.CsrfViewMiddleware'


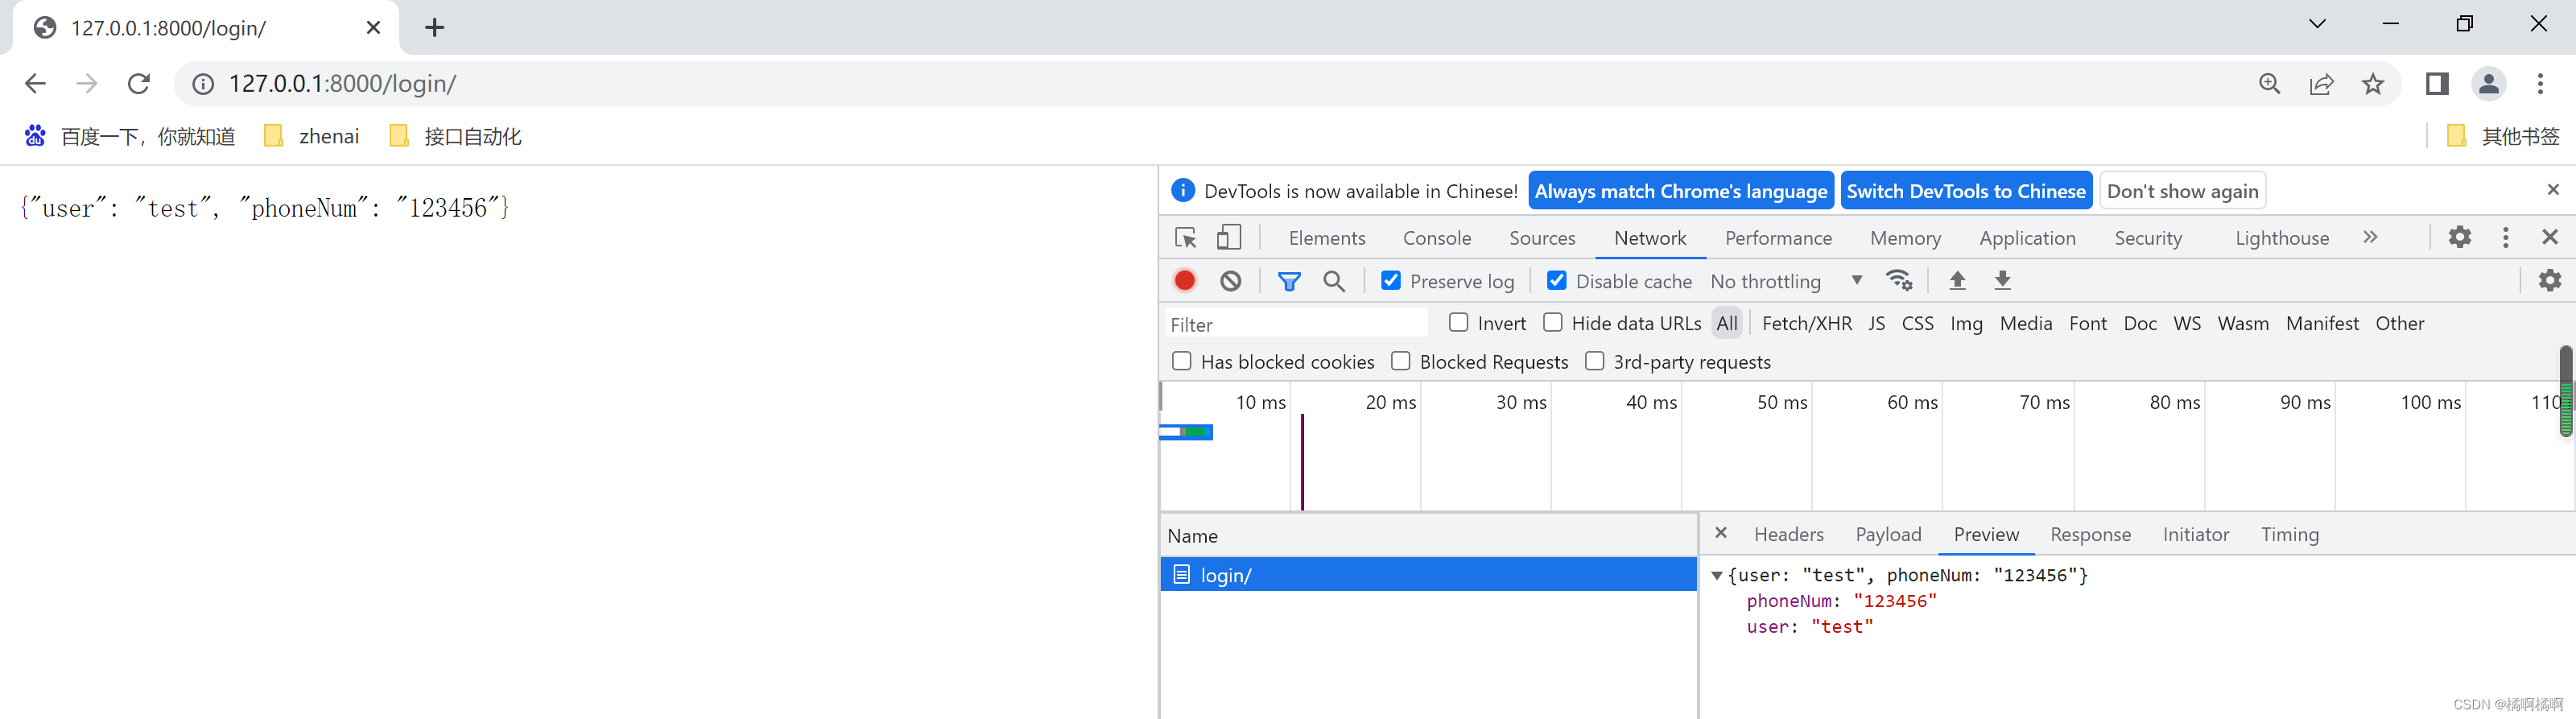
序列化处理,让返回的数据为json
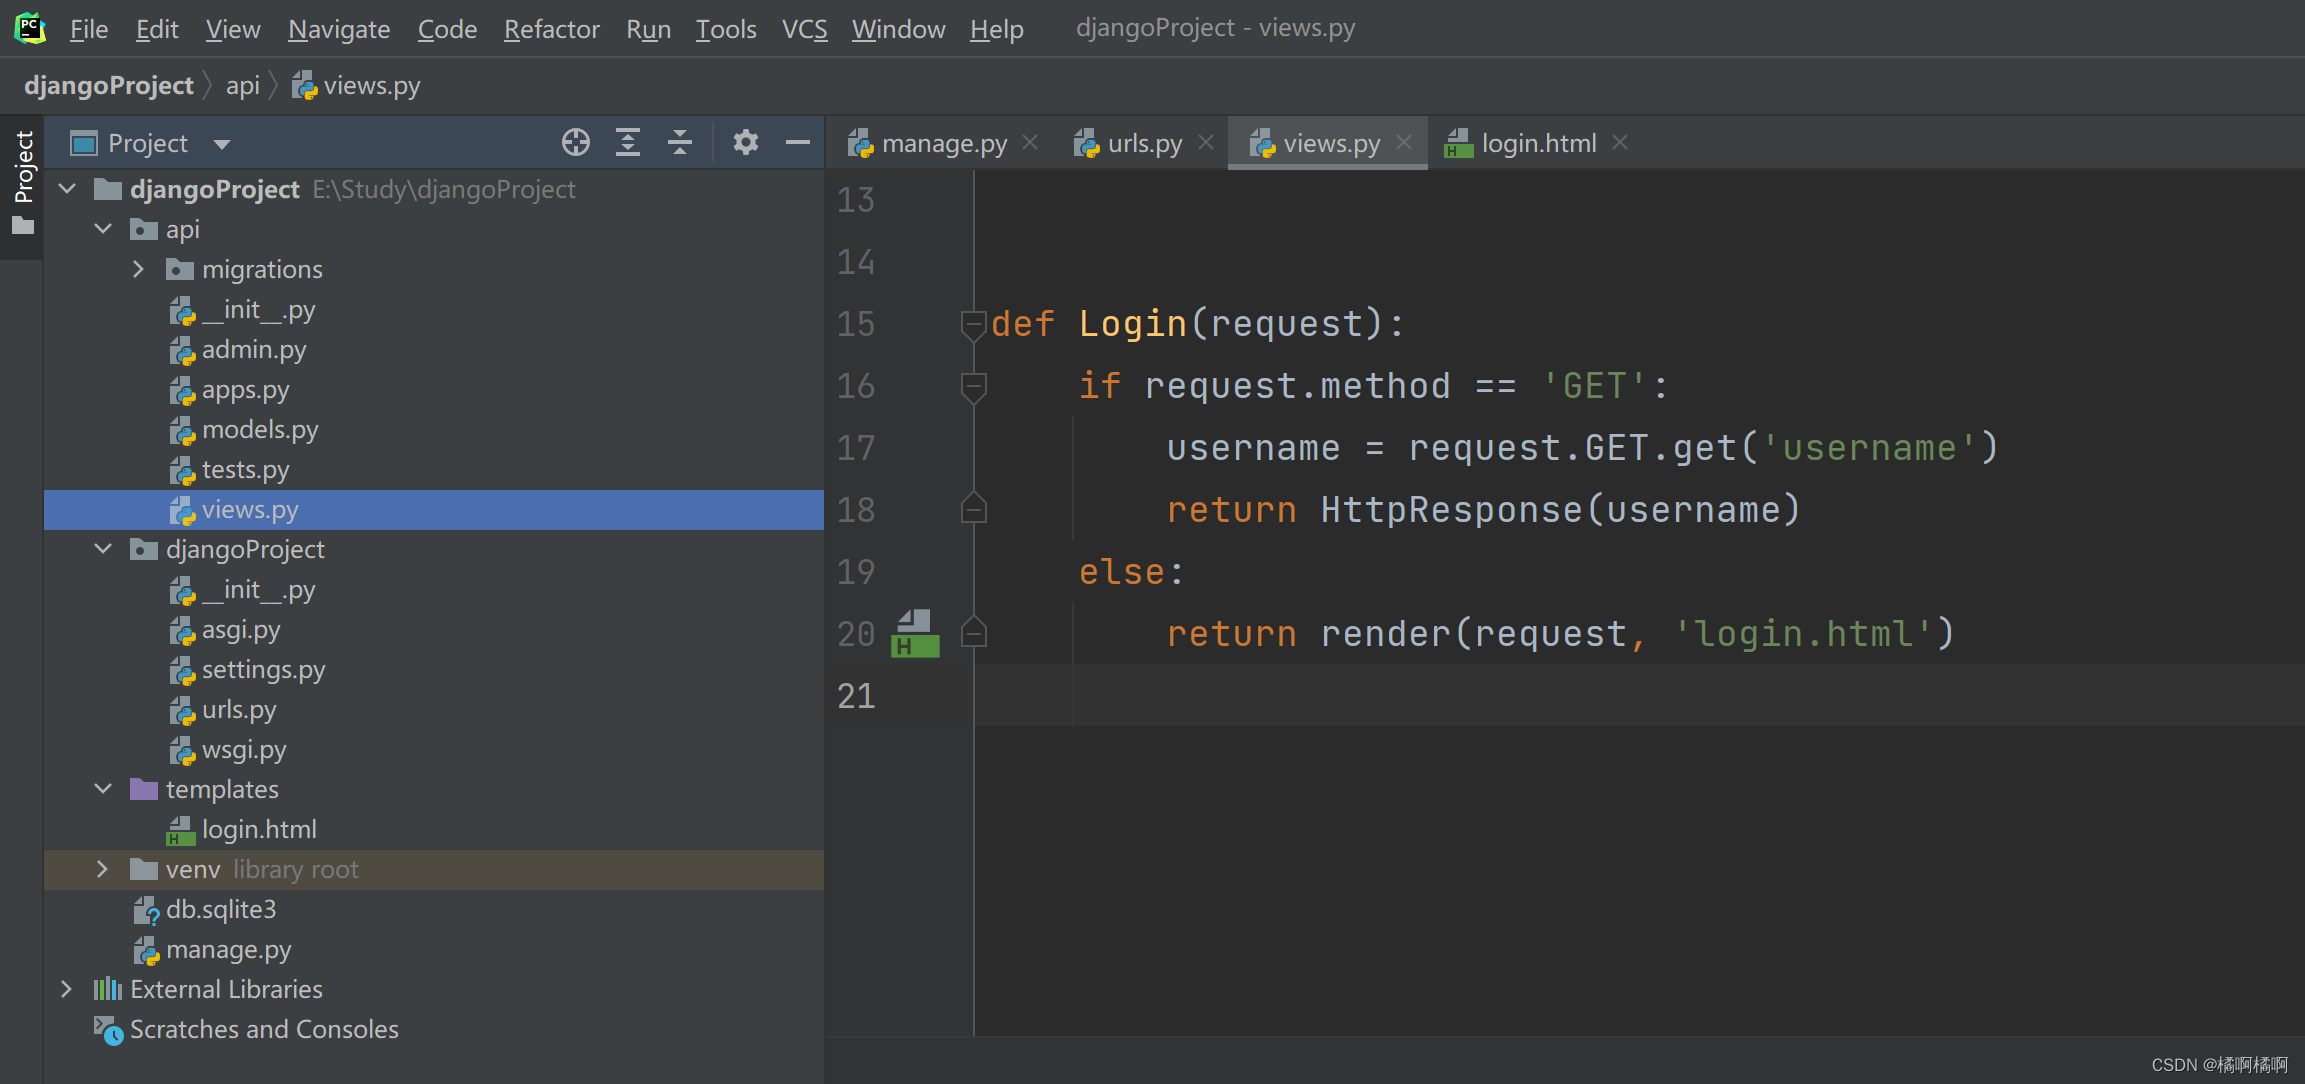
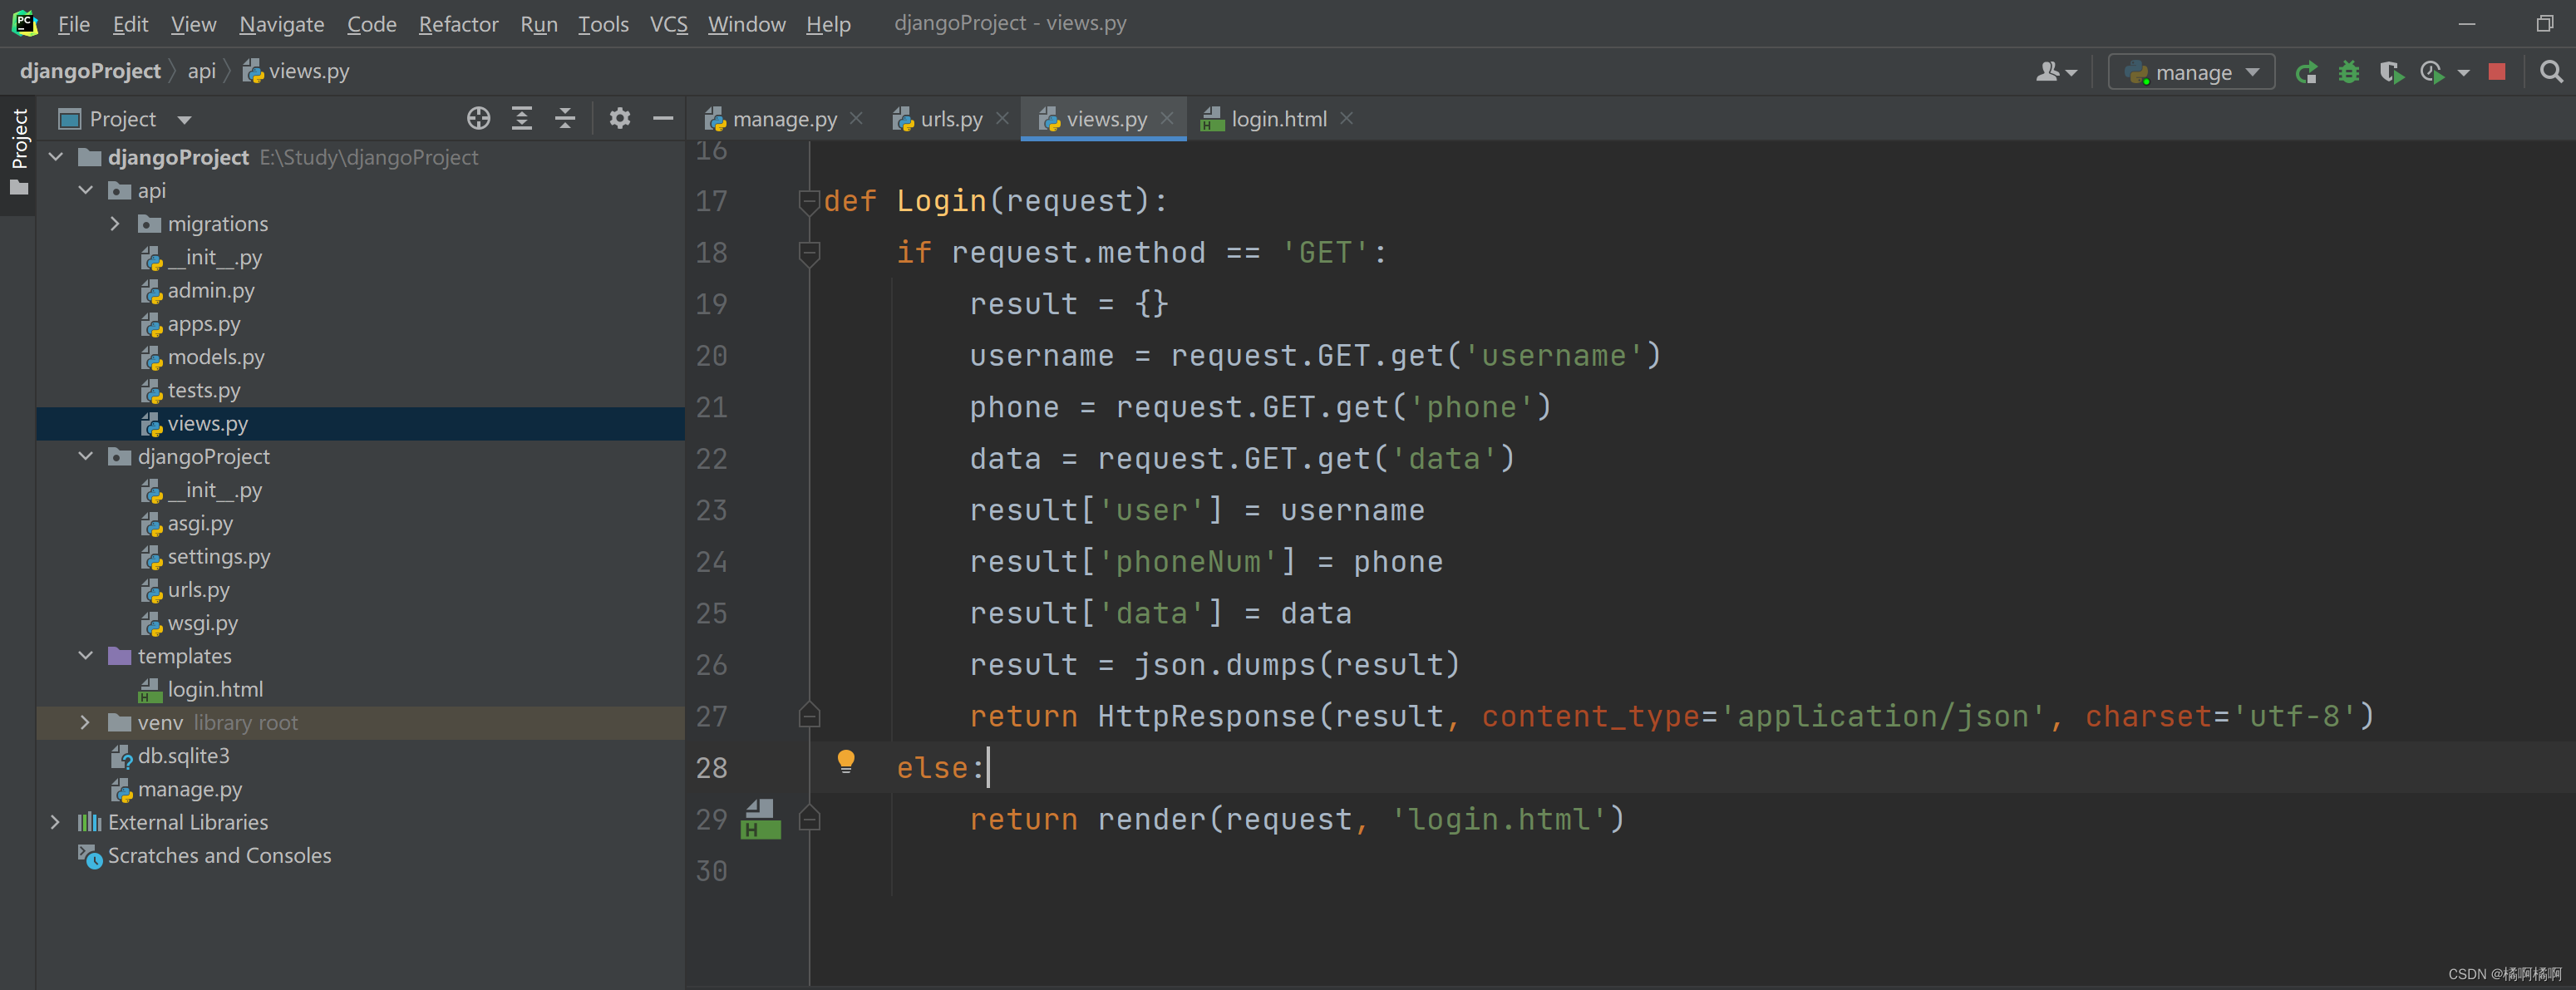
2、Django开发get接口
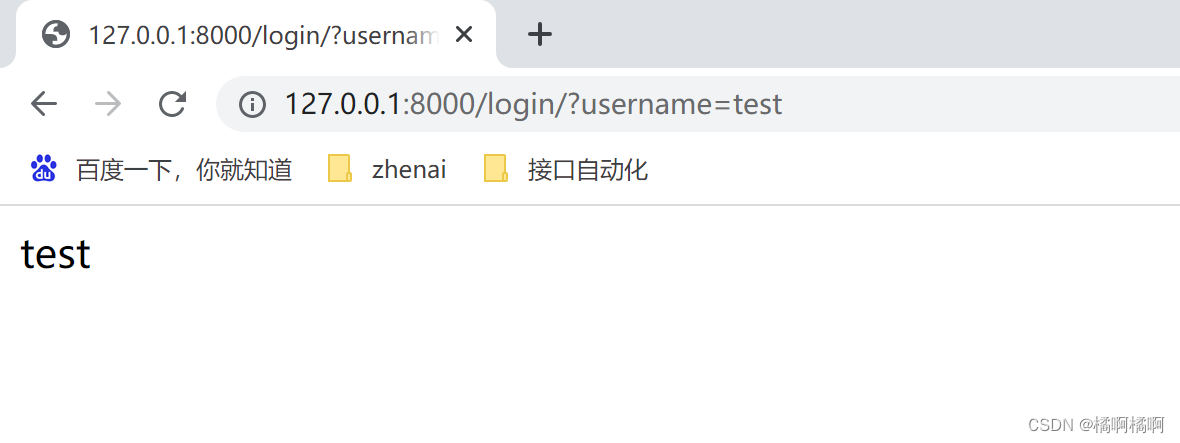
多个参数时,序列化处理,让返回的数据为json

3、代码部分
urls.py
from django.contrib import admin
from django.urls import path
from api.views import Login

urlpatterns = [
    path('admin/', admin.site.urls),
    path('login/', Login)
]
login.html
<!DOCTYPE html>
<html lang="en">
<head>
    <meta charset="UTF-8">
    <title>login</title>
</head>
<body>
<form action="/login/" method="POST">
    <h1>用户名:<input name="username"></h1>
    <h1>密码:<input name="password"></h1>
    <input type="submit" value="登录">
</form>

</body>
</html>
views.py
import json

from django.http.response import HttpResponse
from django.shortcuts import render


# post接口请求
def Login1(request):
    if request.method == 'POST':
        username = request.POST.get('username')
        return HttpResponse(username)
    else:
        return render(request, 'login.html')


def Login(request):
    if request.method == 'POST':
        result = {}
        username = request.POST.get('username')
        password = request.POST.get('password')
        result['user'] = username
        result['passwords'] = password
        result = json.dumps(result)
        return HttpResponse(result, content_type='application/json', charset='utf-8')
    else:
        return render(request, 'login.html')


# get接口请求
def Login2(request):
    if request.method == 'GET':
        result = {}
        username = request.GET.get('username')
        phone = request.GET.get('phone')
        data = request.GET.get('data')
        result['user'] = username
        result['phoneNum'] = phone
        result['data'] = data
        result = json.dumps(result)
        return HttpResponse(result, content_type='application/json', charset='utf-8')
    else:
        return render(request, 'login.html')


 7028
7028


 被折叠的 条评论
为什么被折叠?
被折叠的 条评论
为什么被折叠?
 到【灌水乐园】发言


