


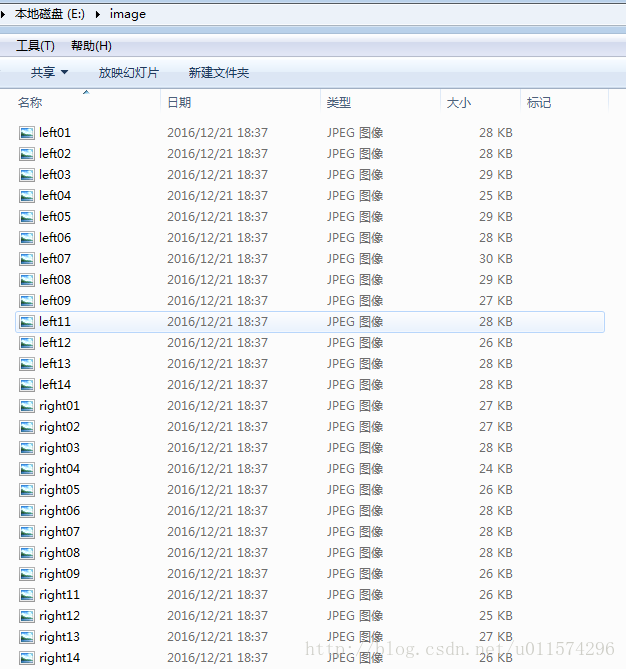
1.图片重命名,放入JPEGimages文件夹
原文件夹
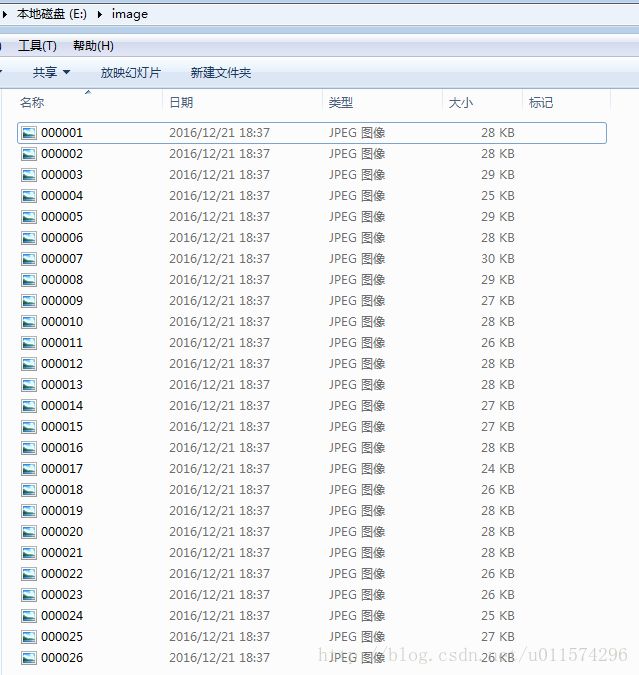
重命名之后
C++
#include <iostream>
#include <io.h>  //对系统文件进行操作的头文件
#include <string>
#include <sstream>
#include<vector>

using namespace std;

const int N = 6;   //整型格式化输出为字符串后的长度,例如,N=6,则整型转为长度为6的字符串,12转为为000012

const string FileType = ".jpg";    // 需要查找的文件类型

/* 函数说明 整型转固定格式的字符串
输入:
n 需要输出的字符串长度
i 需要结构化的整型
输出:
返回转化后的字符串
*/
string int2string(int n, int i)
{
    char s[BUFSIZ];
    sprintf(s, "%d", i);
    int l = strlen(s);  // 整型的位数

    if (l > n)
    {
        cout << "整型的长度大于需要格式化的字符串长度!";
    }
    else
    {
        stringstream M_num;
        for (int i = 0;i < n - l;i++)
            M_num << "0";
        M_num << i;

        return M_num.str();
    }
}

int main()
{
    _finddata_t c_file;   // 查找文件的类

    string File_Directory ="E:\\image";   //文件夹目录

    string buffer = File_Directory + "\\*" + FileType;

    //long hFile;  //win7系统,_findnext()返回类型可以是long型
    intptr_t hFile;   //win10系统 ,_findnext()返回类型为intptr_t ,不能是long型

    hFile = _findfirst(buffer.c_str(), &c_file);   //找第一个文件

    if (hFile == -1L)   // 检查文件夹目录下存在需要查找的文件
        printf("No %s files in current directory!\n", FileType);
    else
    {
        printf("Listing of files:\n");

        int i = 0;
        string newfullFilePath;
        string oldfullFilePath;
        string str_name;
        do
        {
            oldfullFilePath.clear();
            newfullFilePath.clear();
            str_name.clear();

            //旧名字
            oldfullFilePath = File_Directory + "\\" + c_file.name;

            //新名字
            ++i;
            str_name = int2string(N, i);    //整型转字符串
            newfullFilePath = File_Directory + "\\"+ str_name + FileType;

            /*重命名函数rename(const char* _OldFileName,const char* _NewFileName)
              第一个参数为旧文件路径,第二个参数为新文件路径*/
            int c = rename(oldfullFilePath.c_str(), newfullFilePath.c_str());

            if (c == 0)
                puts("File successfully renamed");
            else
                perror("Error renaming file");

        } while (_findnext(hFile, &c_file) == 0);  //如果找到下个文件的名字成功的话就返回0,否则返回-1
        _findclose(hFile);
    }

    return 0;
}
将整型格式化输出到字符串中,我是使用了stringstream类,写了一个函数实现这个功能,还有一种实现方式是,使用sprintf将数字转为字符串,同时可以格式化字符串。如下:
char s[50];
int i = 1;
sprintf(s,”%06d”, i); // 将整型i转为字符串s,指定宽度为6,不足的左边补0
sprintf 的更多用法,可以参考博客:C++字符串格式化 sprintf、printf
/* 函数说明 整型转固定格式的字符串
输入:
n 需要输出的字符串长度
i 需要结构化的整型
输出:
返回转化后的字符串
*/
string int2string(int n, int i)
{
    char s[BUFSIZ];
    sprintf(s, "%d", i);
    int l = strlen(s);  // 整型的位数

    if (l > n)
    {
        cout << "整型的长度大于需要格式化的字符串长度!";
    }
    else
    {
        stringstream M_num;
        for (int i = 0;i < n - l;i++)
            M_num << "0";
        M_num << i;

        return M_num.str();
    }
}
python
import os
path = "E:\\image"
filelist = os.listdir(path) #该文件夹下所有的文件(包括文件夹)
count=0
for file in filelist:
    print(file)
for file in filelist:   #遍历所有文件
    Olddir=os.path.join(path,file)   #原来的文件路径
    if os.path.isdir(Olddir):   #如果是文件夹则跳过
        continue
    filename=os.path.splitext(file)[0]   #文件名
    filetype=os.path.splitext(file)[1]   #文件扩展名
    Newdir=os.path.join(path,str(count).zfill(6)+filetype)  #用字符串函数zfill 以0补全所需位数
    os.rename(Olddir,Newdir)#重命名
count+=1- matlab
%%
%图片保存路径为:
%E:\image\car
%E:\image\person
%car和person是保存车和行人的文件夹
%这些文件夹还可以有多个,
%放在image文件夹里就行
%该代码的作用是将图片名字改成000123.jpg这种形式
%%
clc;
clear;

maindir='E:\image\';
name_long=6; %图片名字的长度,如000123.jpg为6,最多9位,可修改
num_begin=1; %图像命名开始的数字如000123.jpg开始的话就是123

subdir = dir(maindir);
n=1;

for i = 1:length(subdir)
  if ~strcmp(subdir(i).name ,'.') && ~strcmp(subdir(i).name,'..')
     subsubdir = dir(strcat(maindir,subdir(i).name));
    for j=1:length(subsubdir)
         if ~strcmp(subsubdir(j).name ,'.') && ~strcmp(subsubdir(j).name,'..')
            img=imread([maindir,subdir(i).name,'\',subsubdir(j).name]);
            imshow(img);
            str=num2str(num_begin,'%09d');
            newname=strcat(str,'.jpg');
            newname=newname(end-(name_long+3):end);
            system(['rename ' [maindir,subdir(i).name,'\',subsubdir(j).name] ' ' newname]);
            num_begin=num_begin+1;
            fprintf('当前处理文件夹%s',subdir(i).name);
            fprintf('已经处理%d张图片\n',n);
            n=n+1;
           pause(0.1);%可以将暂停去掉
         end
    end
  end
end
http://blog.csdn.net/u011574296/article/details/72956446
2.标注图片,标注文件保存到Annotations
使用labelImg标注自己的图片
window下 adaconda
git clone https://github.com/tzutalin/labelImg在原作者的github下载源码压缩包,解压可得到名为labelImg的文件夹,在adaconda中切换到labelimg目录
pyrcc4 -o resources.py resources.qrc
python labelImg.py
python labelImg.py [IMAGE_PATH] [PRE-DEFINED CLASS FILE]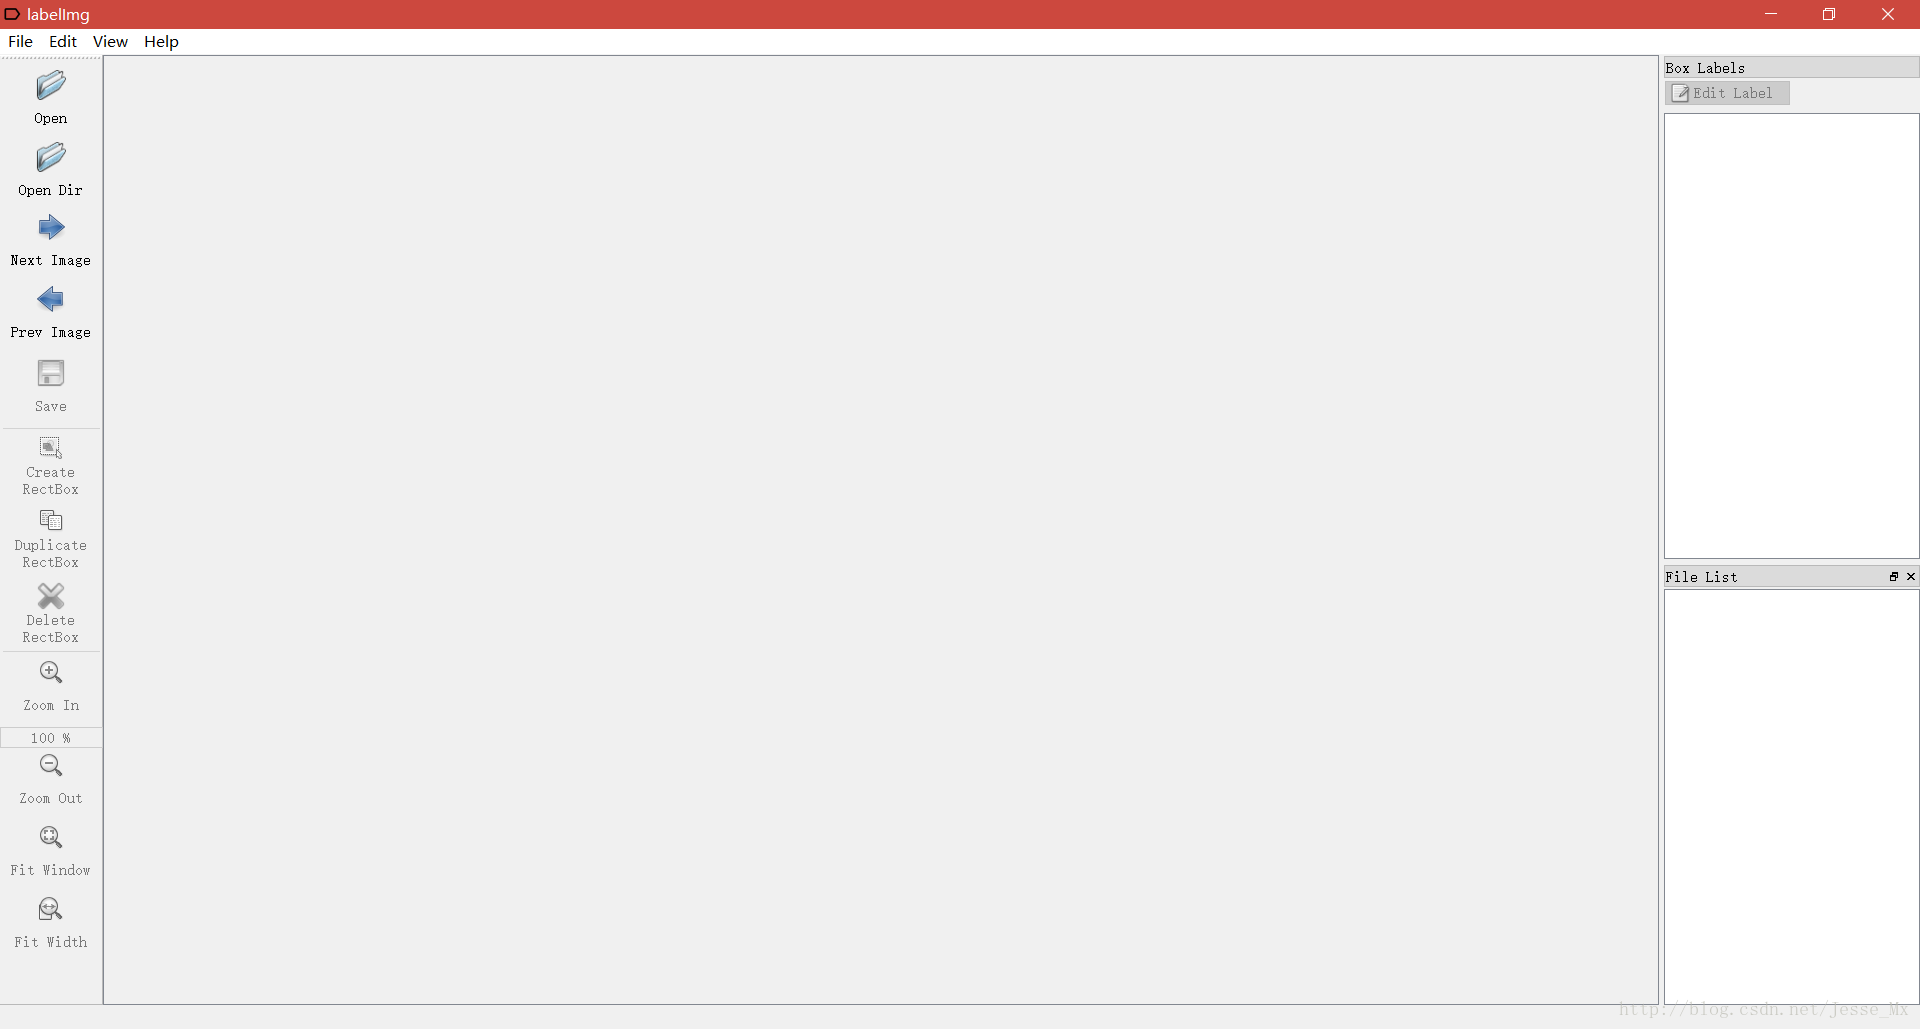
修改默认的XML文件保存位置,使用快捷键“Ctrl+R”,改为自定义位置,这里的路径一定不能包含中文,否则无法保存。
源码文件夹中使用notepad++打开data/predefined_classes.txt,修改默认类别,比如改成person、car、motorcycle三个类别。
“Open Dir”打开图片文件夹,选择第一张图片开始进行标注,使用“Create RectBox”或者“Ctrl+N”开始画框,单击结束画框,再双击选择类别。完成一张图片后点击“Save”保存,此时XML文件已经保存到本地了。点击“Next Image”转到下一张图片
或者直接下载编译好的安装包http://tzutalin.github.io/labelImg/
http://blog.csdn.net/jesse_mx/article/details/53606897
得到的xml文件
<annotation verified="yes">
  <folder>mypictures</folder>
  <filename>000018</filename>
  <path>F:\nerual-network\dataset\VOCDatasetsMake\MYDataSets\mypictures\000018.jpg</path>
  <source>
    <database>Unknown</database>
  </source>
  <size>
    <width>380</width>
    <height>285</height>
    <depth>3</depth>
  </size>
  <segmented>0</segmented>
  <object>
    <name>car</name>
    <pose>Unspecified</pose>
    <truncated>0</truncated>
    <Difficult>0</Difficult>
    <bndbox>
      <xmin>31</xmin>
      <ymin>44</ymin>
      <xmax>355</xmax>
      <ymax>271</ymax>
    </bndbox>
  </object>
</annotation>
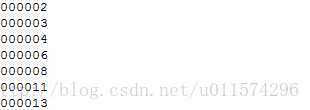
3.生成四个txt文件
test.txt是测试集
train.txt是训练集
val.txt是验证集
trainval.txt是训练和验证集
VOC2007中,trainval大概是整个数据集的50%,test也大概是整个数据集的50%;train大概是trainval的50%,val大概是trainval的50%。
txt文件中的内容为样本图片的名字(不带后缀),格式如下:
根据已生成的xml,制作VOC2007数据集中的trainval.txt ; train.txt ; test.txt ; val.txt
trainval占总数据集的50%,test占总数据集的50%;train占trainval的50%,val占trainval的50%;
上面所占百分比可根据自己的数据集修改,如果数据集比较少,test和val可少一些
代码如下:
%注意修改下面四个值
xmlfilepath='E:\Annotations';
txtsavepath='E:\ImageSets\Main\';
trainval_percent=0.5; #trainval占整个数据集的百分比,剩下部分就是test所占百分比
train_percent=0.5; #train占trainval的百分比,剩下部分就是val所占百分比

xmlfile=dir(xmlfilepath);
numOfxml=length(xmlfile)-2;#减去.和..  总的数据集大小

trainval=sort(randperm(numOfxml,floor(numOfxml*trainval_percent)));
test=sort(setdiff(1:numOfxml,trainval));

trainvalsize=length(trainval); #trainval的大小
train=sort(trainval(randperm(trainvalsize,floor(trainvalsize*train_percent))));
val=sort(setdiff(trainval,train));

ftrainval=fopen([txtsavepath 'trainval.txt'],'w');
ftest=fopen([txtsavepath 'test.txt'],'w');
ftrain=fopen([txtsavepath 'train.txt'],'w');
fval=fopen([txtsavepath 'val.txt'],'w');

for i=1:numOfxml
    if ismember(i,trainval)
        fprintf(ftrainval,'%s\n',xmlfile(i+2).name(1:end-4));
        if ismember(i,train)
            fprintf(ftrain,'%s\n',xmlfile(i+2).name(1:end-4));
        else
            fprintf(fval,'%s\n',xmlfile(i+2).name(1:end-4));
        end
    else
        fprintf(ftest,'%s\n',xmlfile(i+2).name(1:end-4));
    end
end
fclose(ftrainval);
fclose(ftrain);
fclose(fval);
fclose(ftest); 


 1万+
1万+


 被折叠的 条评论
为什么被折叠?
被折叠的 条评论
为什么被折叠?
 到【灌水乐园】发言


