1. 基本使用
1.1 运行代码:
from  PIL import Image
pil_img = Image.open("C:\\Users\\cgs\\Desktop\\empire.jpg")
pil_img.show()
1.2 显示图像:
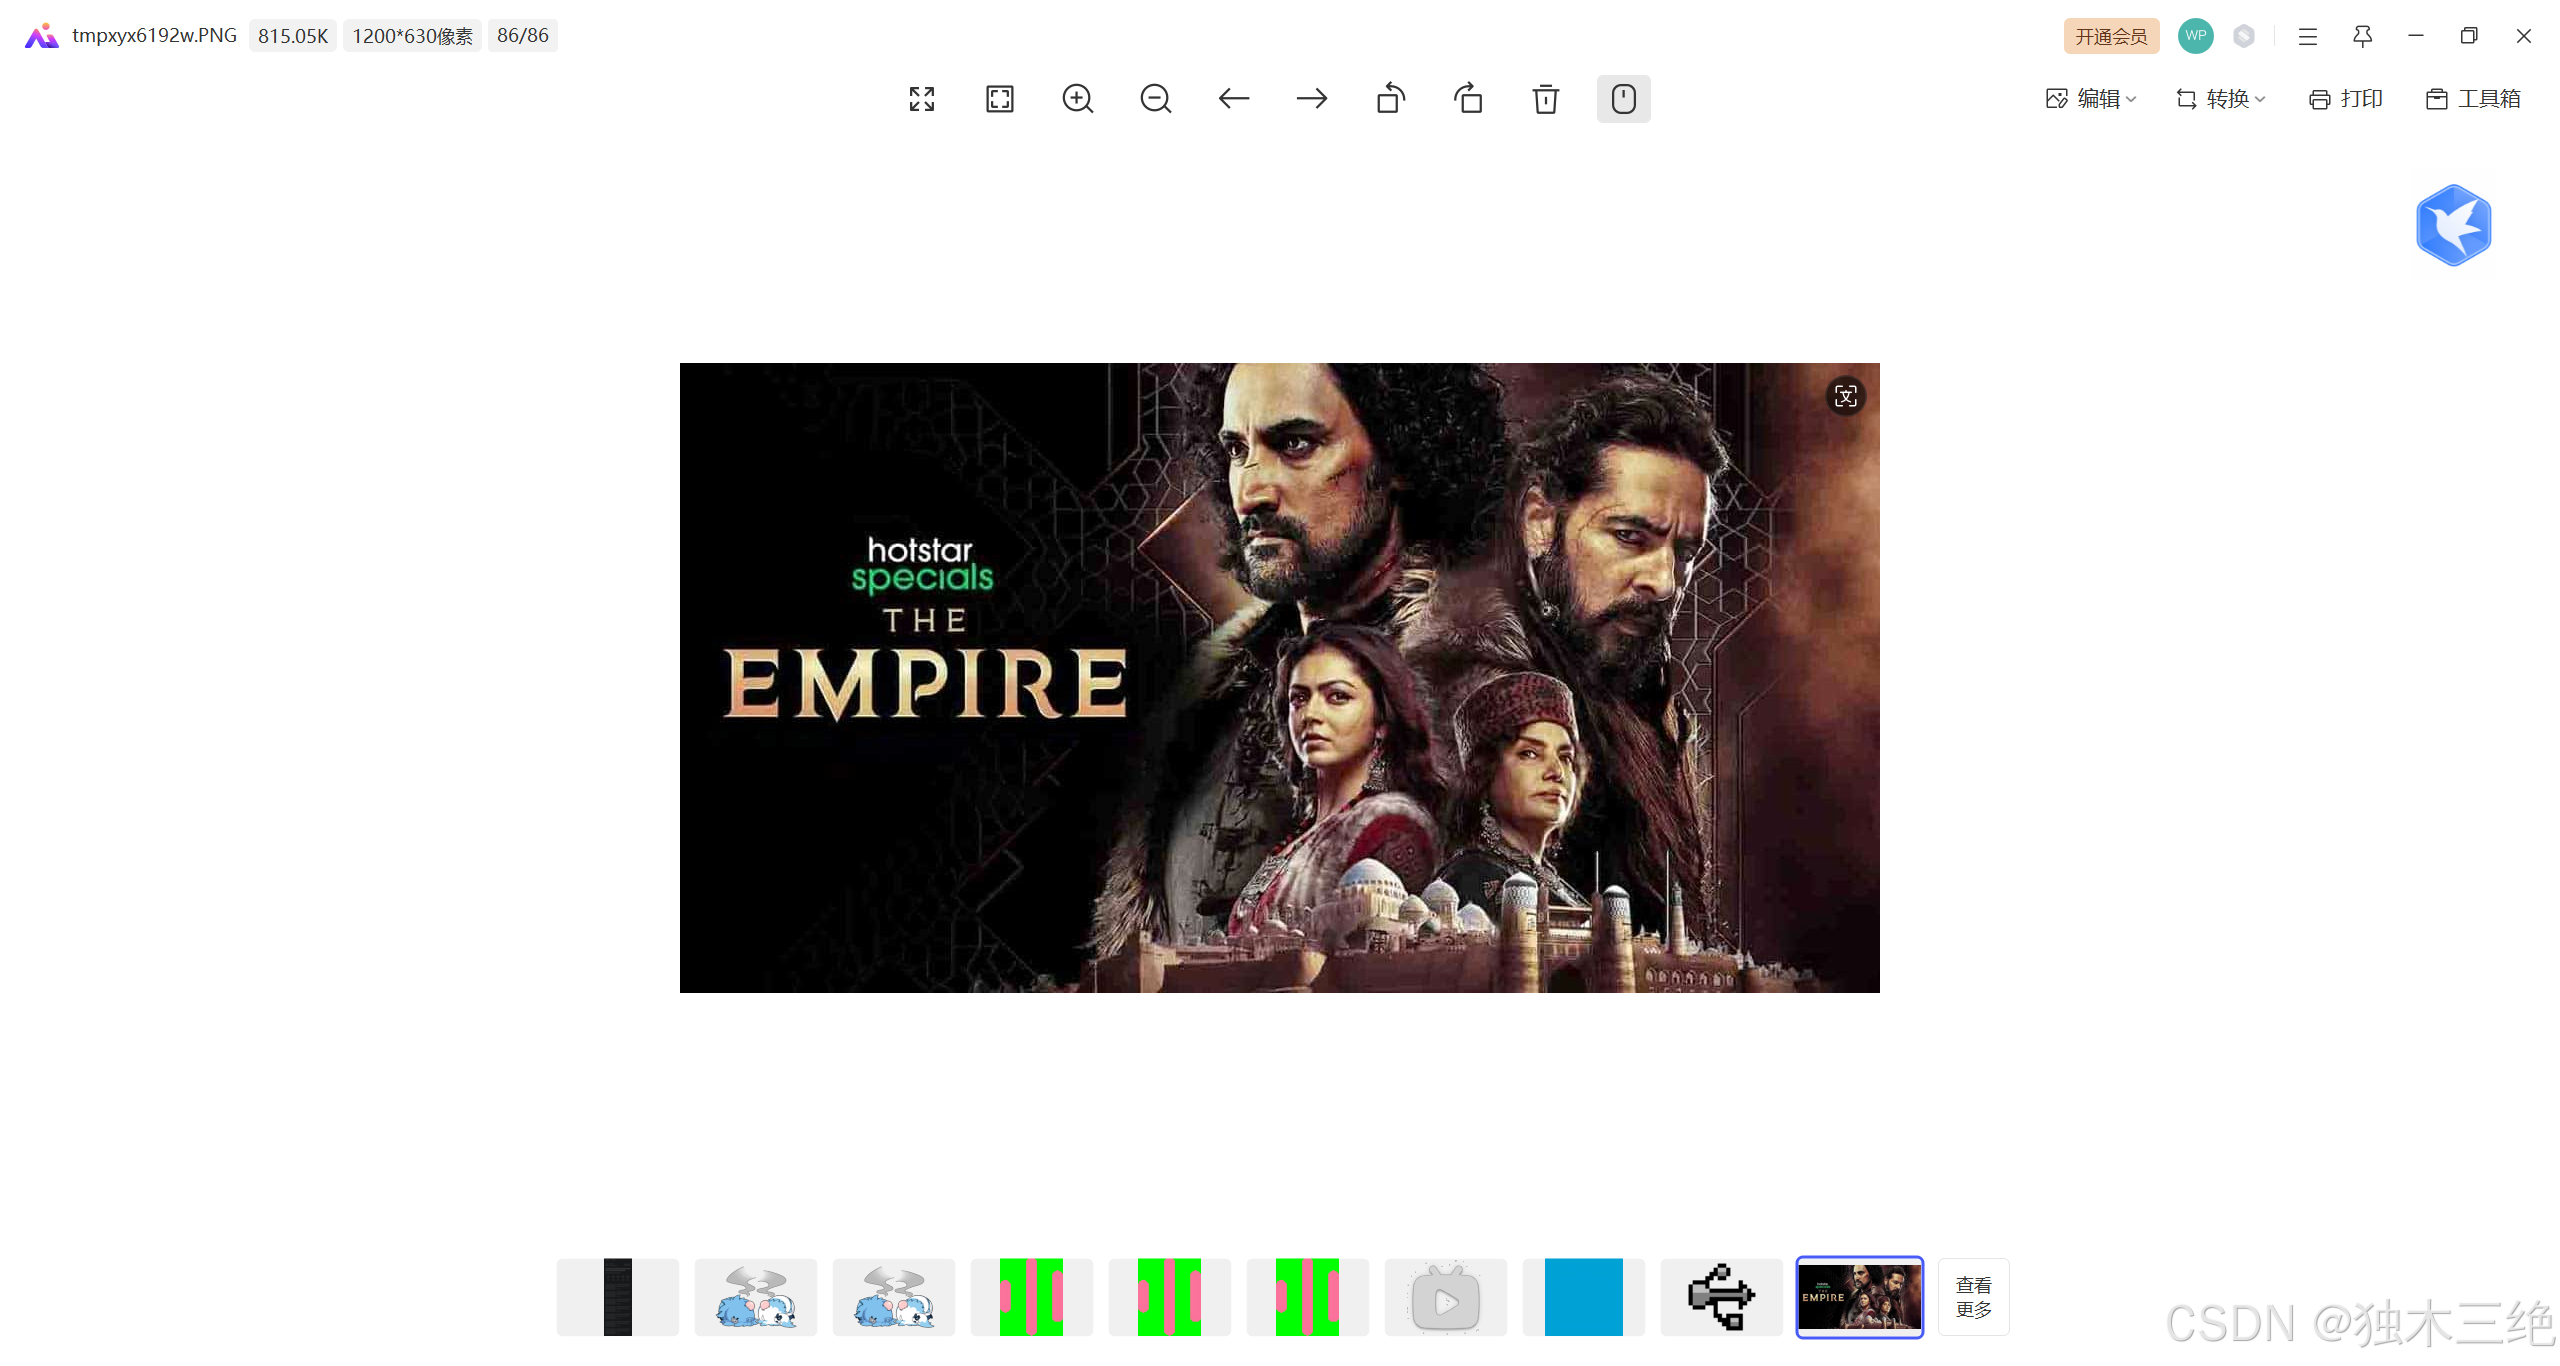
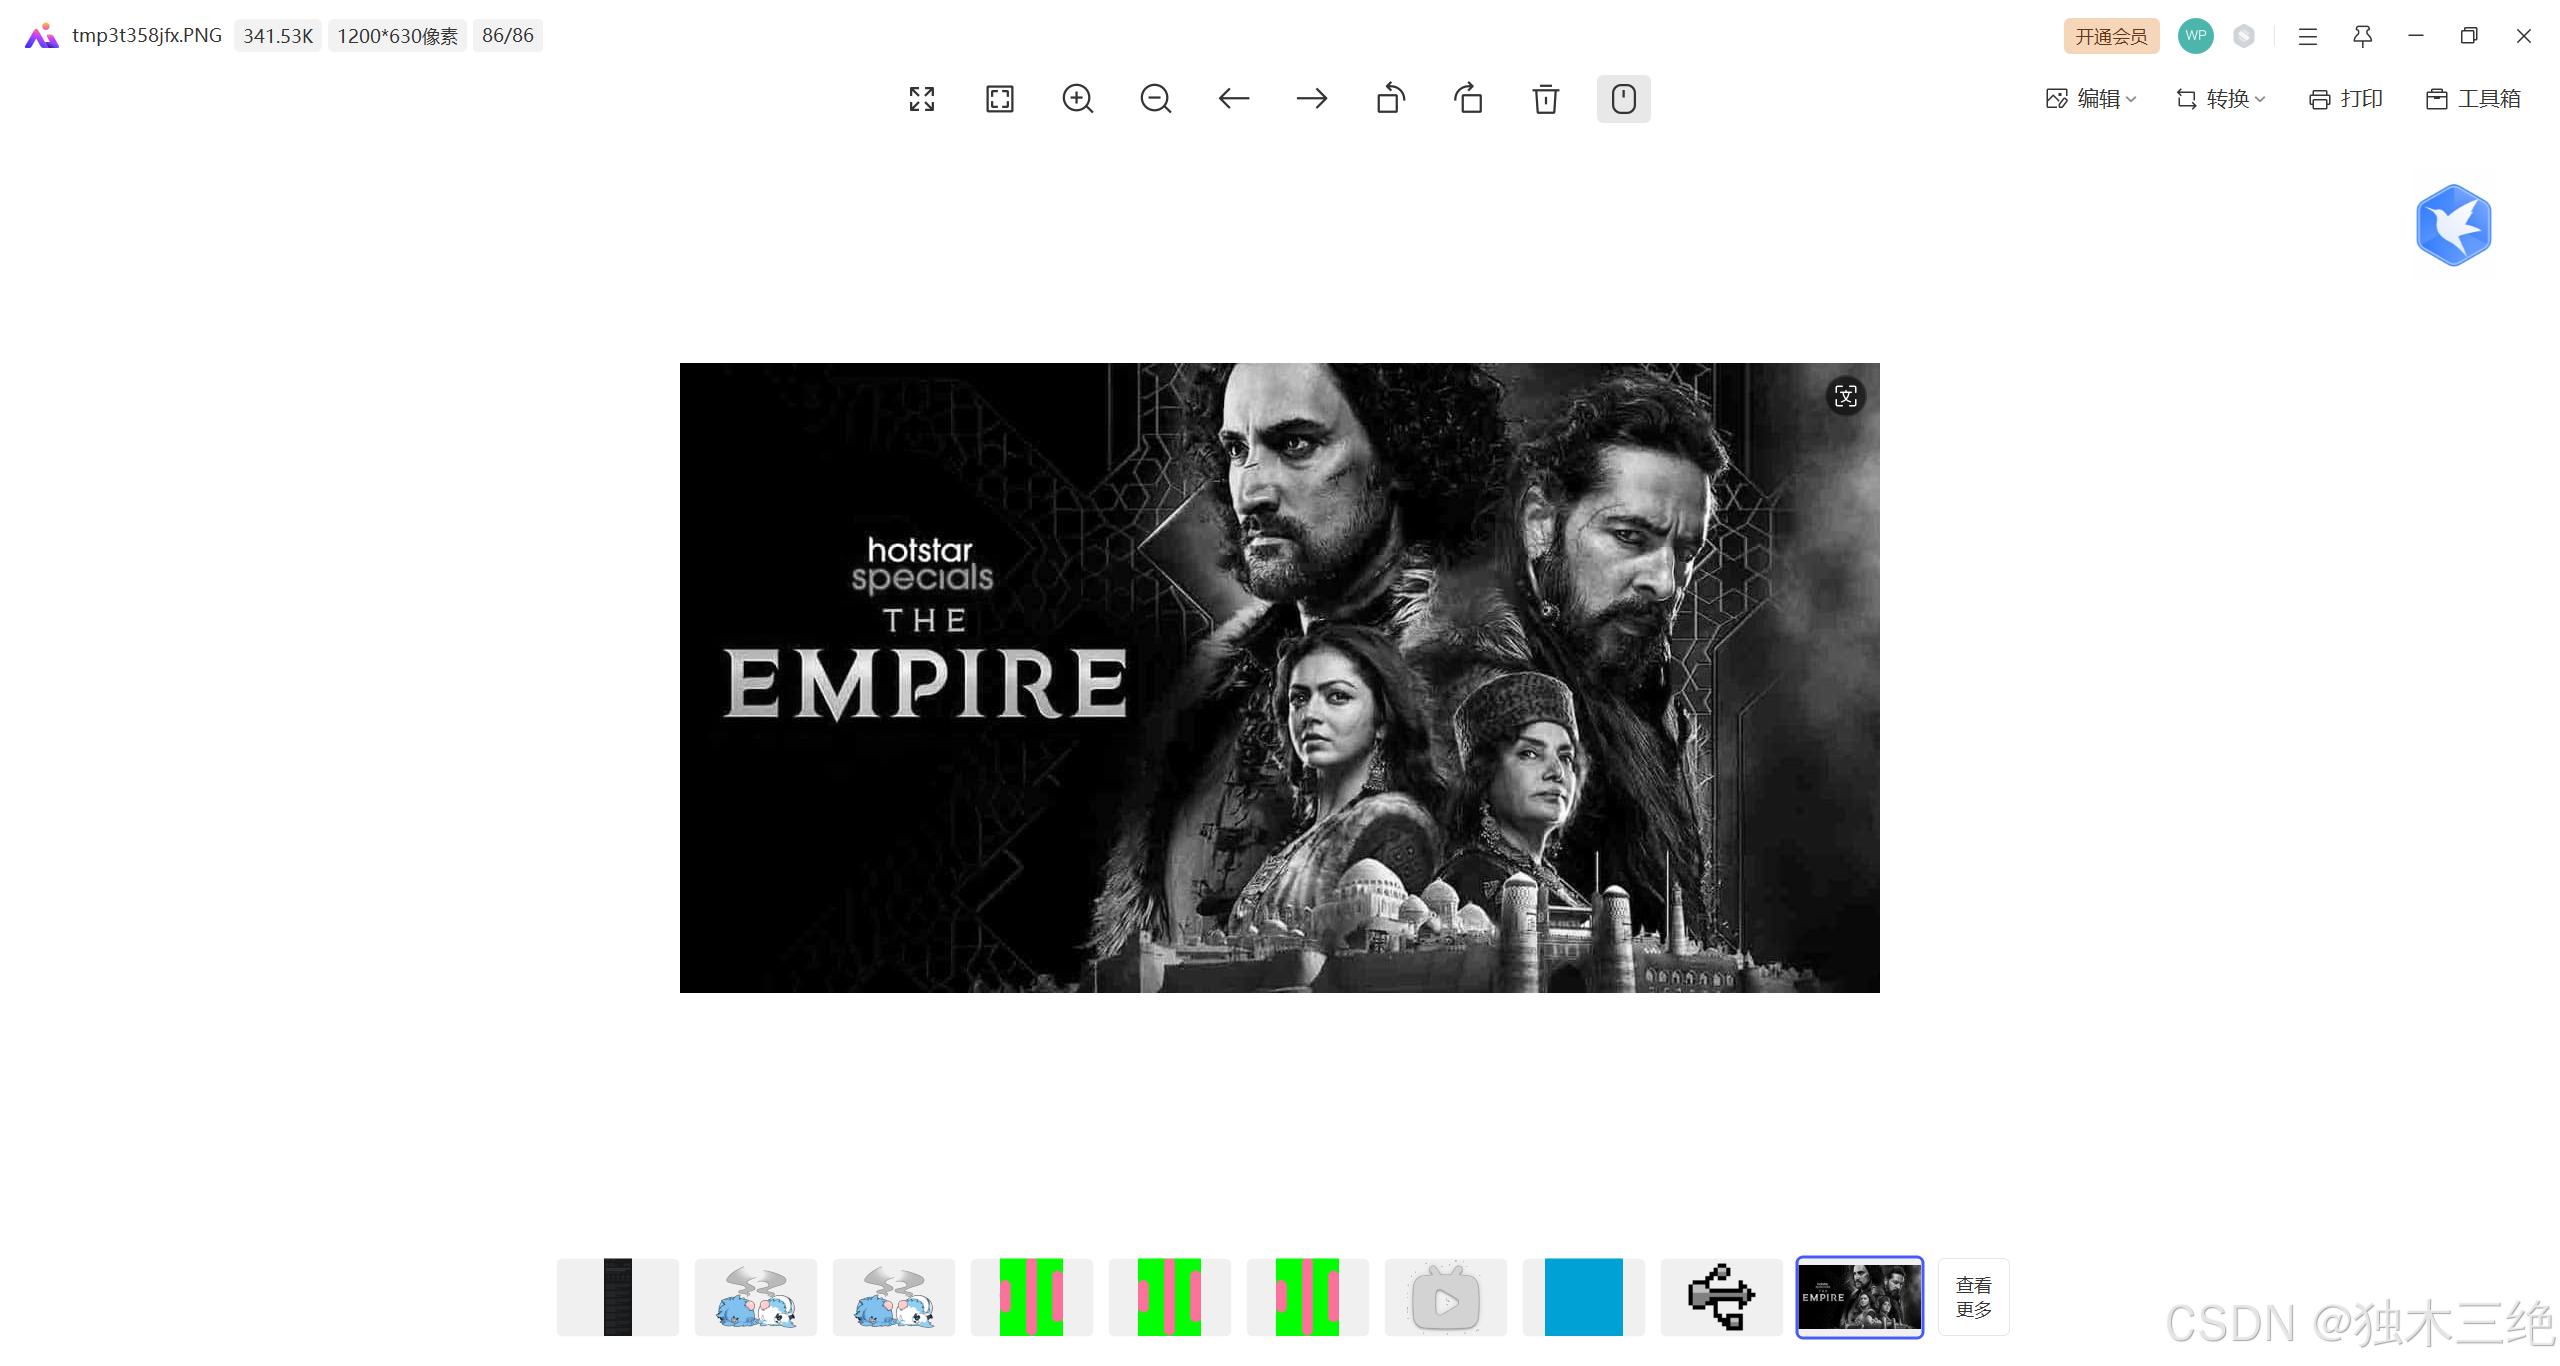
1.3 使用convert方法转换成灰度图像
from  PIL import Image
pil_img = Image.open("C:\\Users\\cgs\\Desktop\\empire.jpg").convert('L')
pil_img.show()
1.4显示灰度图像:
2.转换图像格式
2.1运行代码
import os
from PIL import Image
# 指定要处理的图像路径
input_img = "C:\\Users\\cgs\\Desktop\\empire.jpg" # 根据你的实际路径修改
# 打开原始图像
img = Image.open(input_img)
# 选择目标格式,这里以 PNG 为例
output_img = "C:\\Users\\cgs\\Desktop\\empire_converted.png" # 输出路径和格式
# 保存图像为新的格式
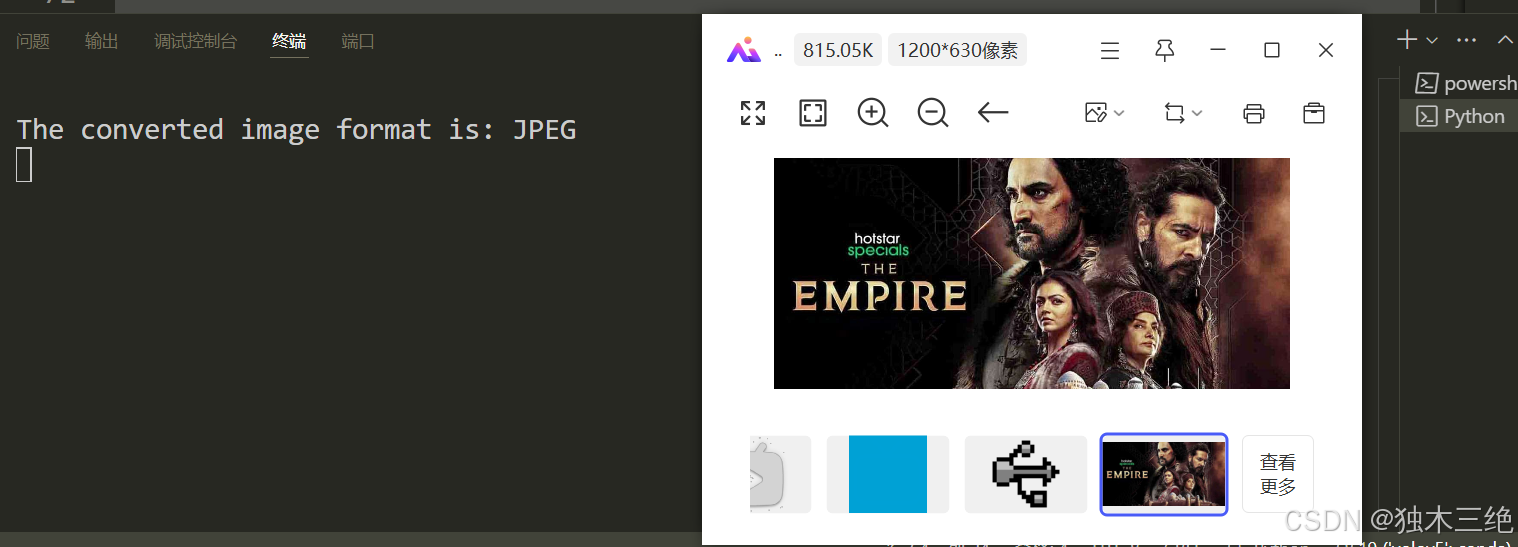
img.save(output_img, format='PNG')
# 打开转换后的图像并显示
img_output2 = Image.open(output_img)
img_output2.show()
# 打印转换后的图片格式
print(f"The converted image format is: {img.format}")
2.2转换图像格式后显示图像
3.创建缩略图
3.1 运行代码
from PIL import Image
# 指定图像路径
image_path = "C:\\Users\\cgs\\Desktop\\empire.jpg"
try:
# 打开图像
pil_img = Image.open(image_path)
# 创建缩略图
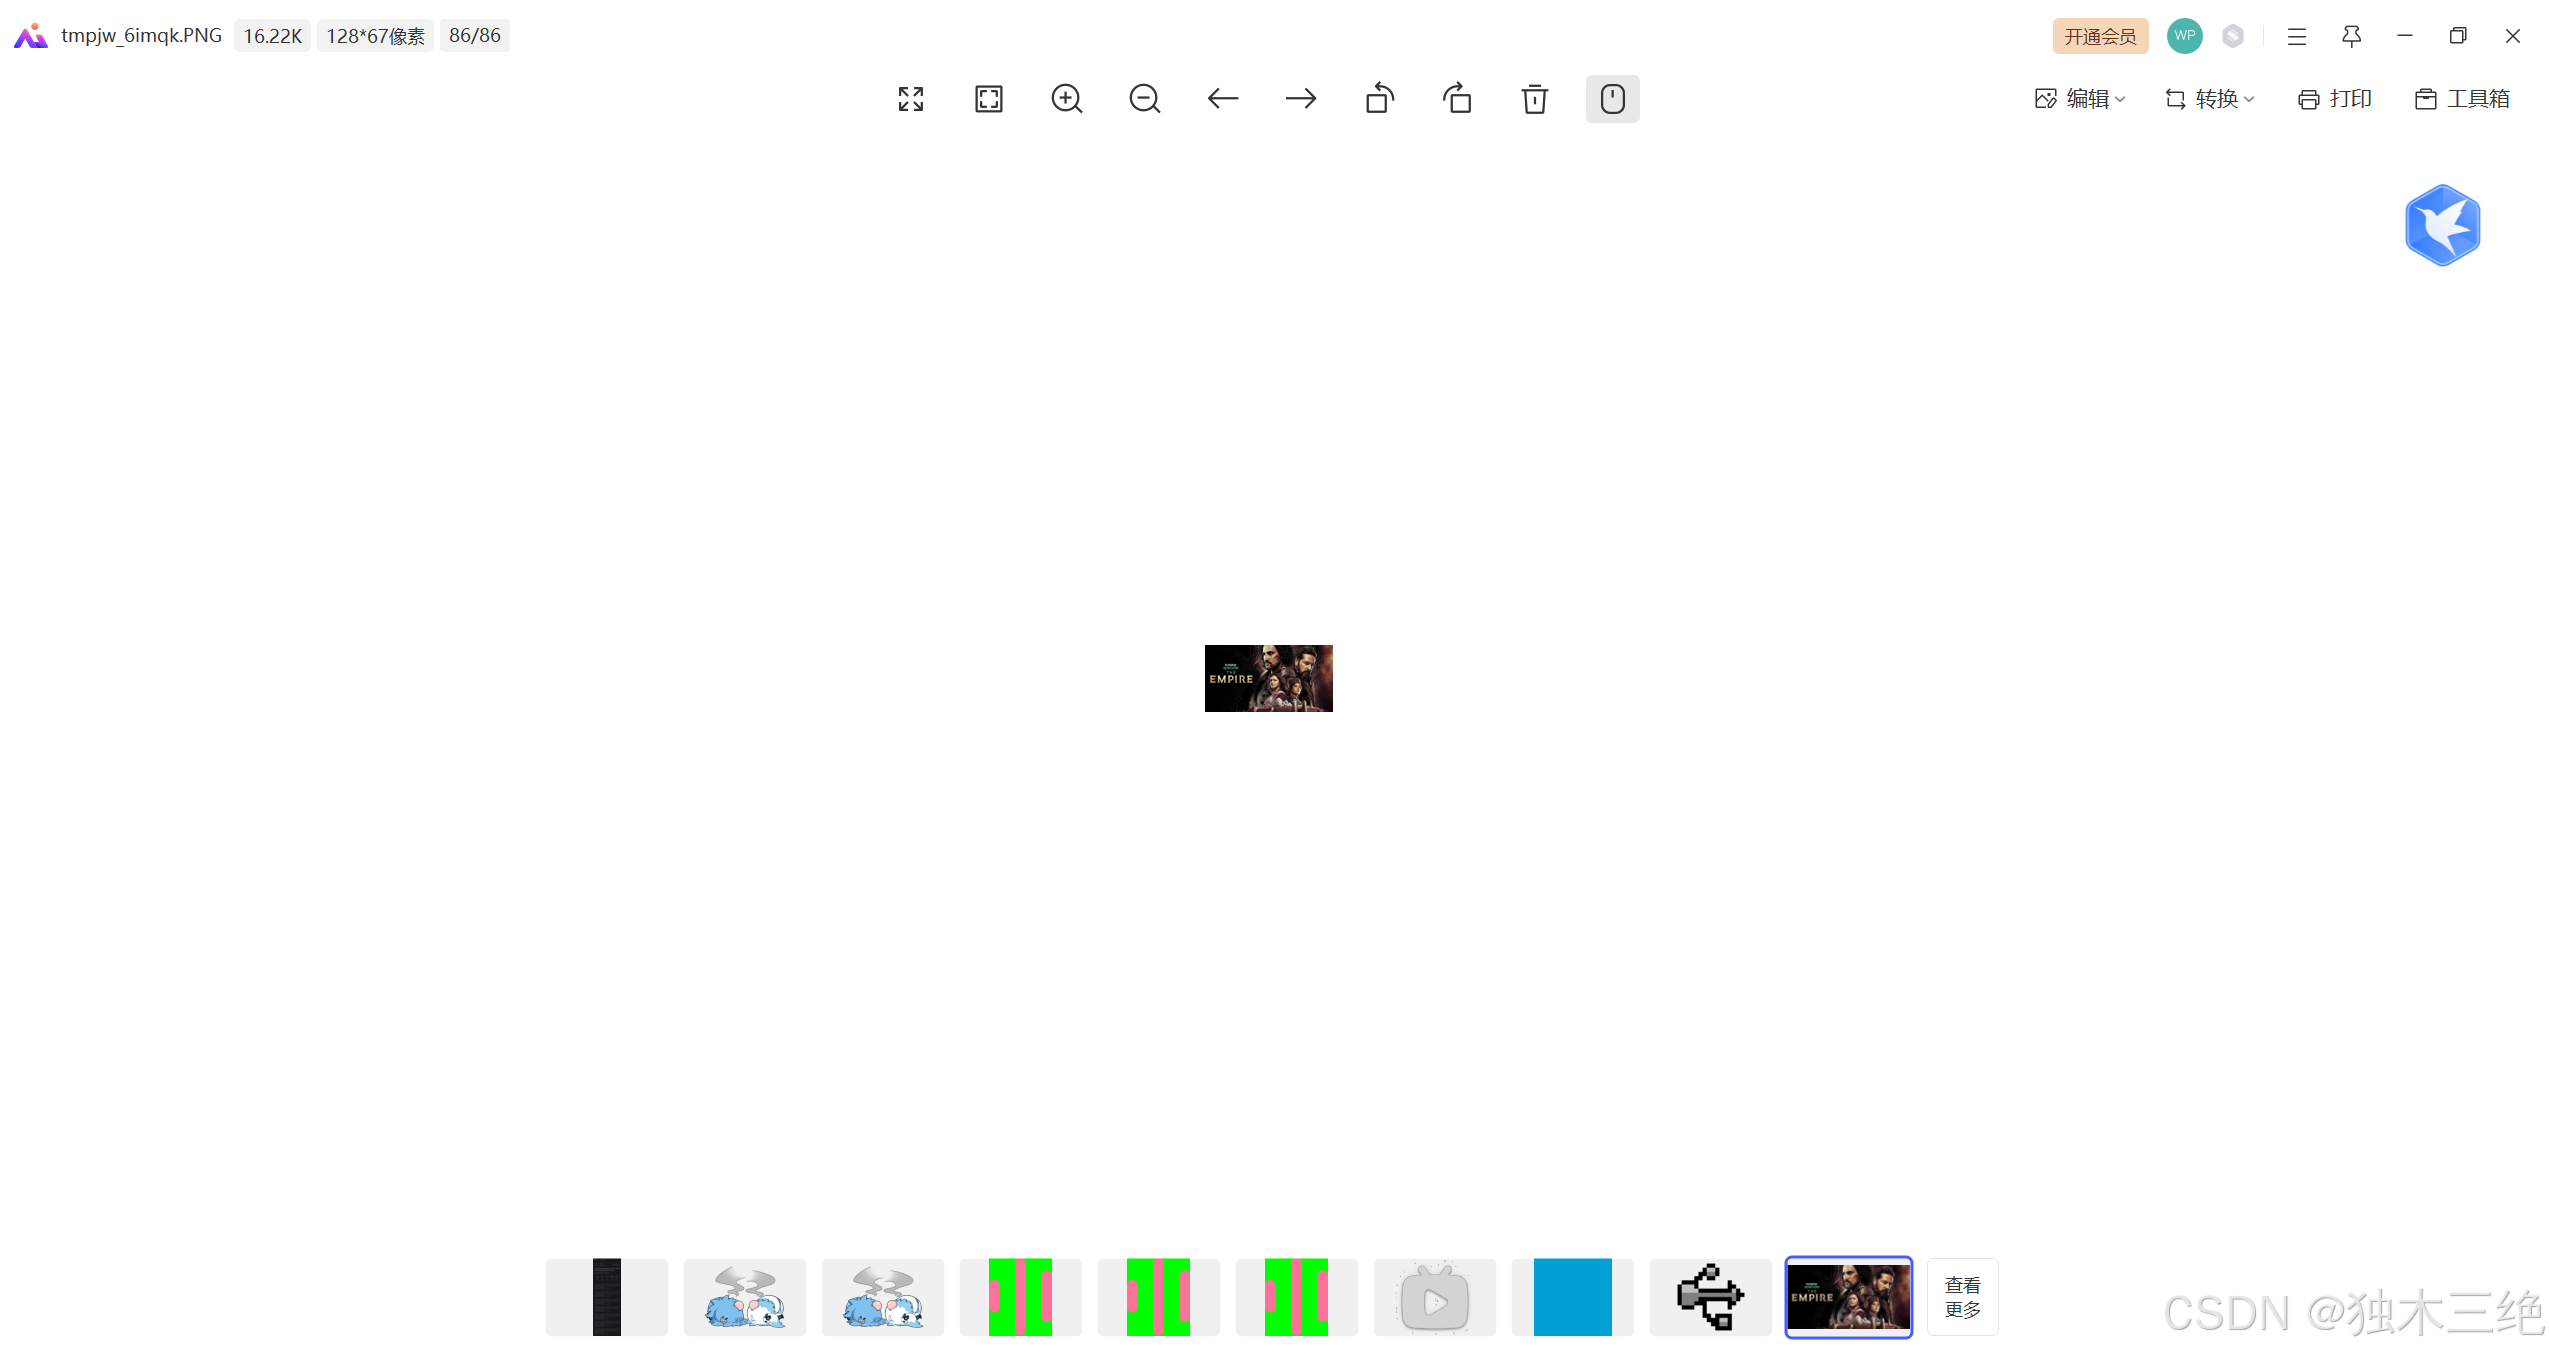
pil_img.thumbnail((128, 128))
# 显示图像
pil_img.show()
except FileNotFoundError:
print(f"File not found: {image_path}")
except IOError:
print(f"Cannot open or process the file: {image_path}")
3.2显示缩略图
4. 复制和粘贴图像区域
4.1 运行代码
from PIL import Image
pil_img = Image.open("C:\\Users\\cgs\\Desktop\\empire.jpg")
box = (200, 200, 400, 400)
region = pil_img.crop(box) # 裁剪指定区域
region = region.transpose(Image.ROTATE_180) # 旋转图像180度
pil_img.paste(region, box) # 粘贴回原区域
pil_img.show()
4.2 粘贴图像显示

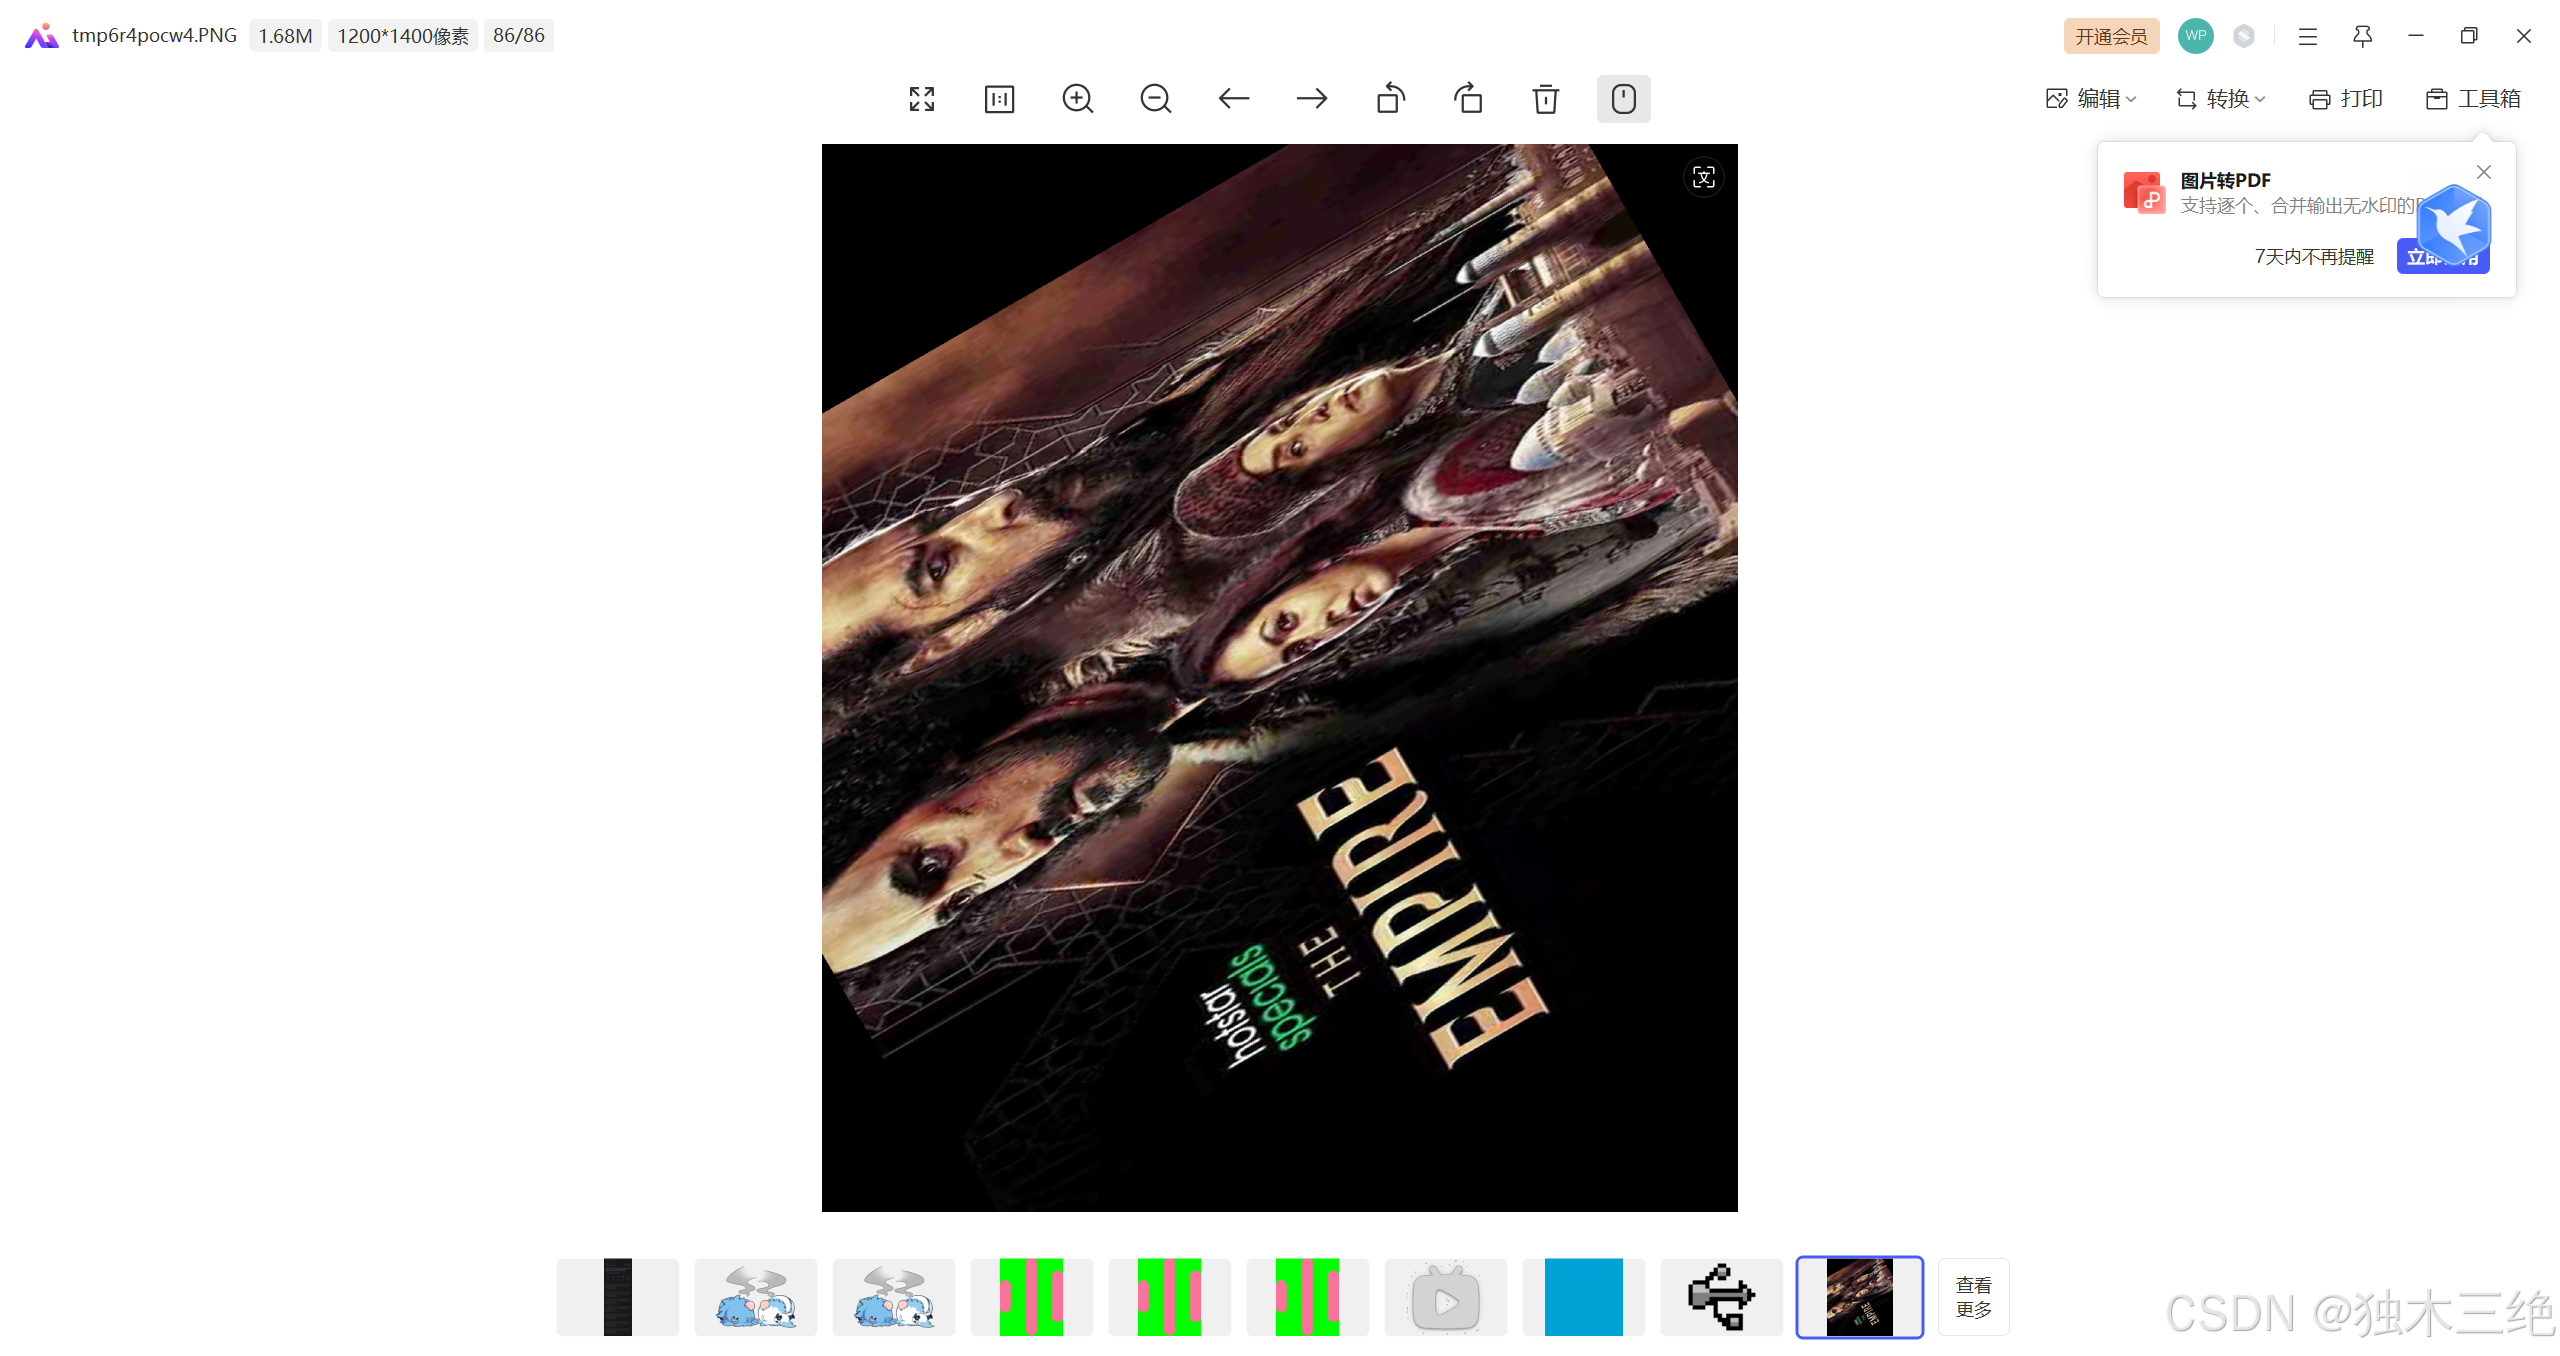
5.调整尺寸和旋转
5.1运行代码
from PIL import Image
pil_img = Image.open("C:\\Users\\cgs\\Desktop\\empire.jpg")
out_img = pil_img.resize((1200, 1400)) # 重新指定图像大小
out_img_turn = out_img.rotate(120) # 调用rotate()方法,逆时针旋转图像
out_img_turn.show()
5.2调整尺寸和旋转后显示图像


 1062
1062

 被折叠的 条评论
为什么被折叠?
被折叠的 条评论
为什么被折叠?
 到【灌水乐园】发言


