使用开源的 Llama 3 和 Elastic 构建 RAG
Llama 3 是 Meta 最近推出的开源大型语言模型。这是 Llama 2 的后继者,根据已发布的指标,这是一个重大改进。与 Gemma 7B Instruct、Mistral 7B Instruct 等最近发布的一些模型相比,它具有良好的评估指标。该模型有两个变体,分别是 80 亿和 700 亿参数。值得注意的是,在撰写这篇博客时,Meta 仍在训练 400B+ 版本的 Llama 3。

上图显示了与其他模型相比,Llama3 在不同数据集上的性能数据。为了针对现实世界场景进行性能优化,Llama3 还在高质量的人工评估集上进行了评估。

本博客将介绍使用两种方法实现的 RAG。
- Elastic、Llamaindex、Llama 3 (8B) 版本使用 Ollama 在本地运行。
- Elastic、Langchain、ELSER v2、Llama 3 (8B) 版本使用 Ollama 在本地运行。
配置 Ollama 和 Llama3
由于我们使用 Llama 3 8B 参数大小模型,我们将使用 Ollama 运行该模型。按照以下步骤安装 Ollama。
注意:Windows 版本目前处于预览阶段。
- 按照说明为你的操作系统安装和运行 Ollama。
- 安装后,按照以下命令下载 Llama3 模型。
ollama run llama3
这可能需要一些时间,具体取决于你的网络带宽。运行完成后,你将看到以下界面。

要测试 Llama3,请从新终端运行以下命令或在提示符下输入文本。
curl -X POST http://localhost:11434/api/generate -d '{ "model": "llama3", "prompt":"Why is the sky blue?" }'
在提示符下,输出如下所示。
 1.      ❯ ollama run llama3
2.      >>> Why is the sky blue?
3.      The color of the sky appears blue to our eyes because of a fascinating combination of scientific factors. Here's the short answer:

5.      **Scattering of Light**: When sunlight enters Earth's atmosphere, it encounters tiny molecules of gases like nitrogen (N2) and oxygen (O2).
6.      These molecules scatter the light in all directions, but they do so more efficiently for shorter wavelengths (like blue and violet light) than
7.      longer wavelengths (like red and orange light).

9.      **Rayleigh Scattering**: This scattering effect is known as Rayleigh scattering, named after the British physicist Lord Rayleigh, who first
10.      described it in the late 19th century. It's responsible for the blue color we see in the sky.

12.      **Atmospheric Composition**: The Earth's atmosphere is composed of approximately 78% nitrogen, 21% oxygen, and small amounts of other gases.
13.      These gases are more abundant at lower altitudes, where they scatter shorter wavelengths (like blue light) more effectively than longer
14.      wavelengths (like red light).

16.      **Sunlight's Wavelengths**: When sunlight enters the Earth's atmosphere, it contains a broad spectrum of wavelengths, including visible light
17.      with colors like red, orange, yellow, green, blue, indigo, and violet. The shorter wavelengths (blue and violet) are scattered more than the
18.      longer wavelengths (red and orange), due to Rayleigh scattering.

20.      **What We See**: As our eyes look up at the sky, we see the combined effect of these factors: the shorter wavelengths (blue light) being
21.      scattered in all directions by the atmospheric gases, while the longer wavelengths (red and orange light) continue to travel in a more direct
22.      path to our eyes. This results in the blue color we perceive as the sky.

24.      So, to summarize: the sky appears blue because of the scattering of sunlight's shorter wavelengths (blue light) by the tiny molecules in the
25.      Earth's atmosphere, combined with the atmospheric composition and the original wavelengths present in sunlight.

27.      Now, go enjoy that blue sky!

29.      >>> Send a message (/? for help)
我们现在使用 Ollama 在本地运行 Llama3。
Elasticsearch 设置
我们将为此使用 Elastic 云设置。请按照此处的说明进行操作。成功部署后,请记下 API 密钥和云 ID,我们将需要它们作为设置的一部分。
应用程序设置
有两个 notebooks,一个用于使用 Llamaindex 和 Llama3 实现的 RAG,另一个用于 Langchain、ELSER v2 和 Llama3。在第一个 notebook 中,我们使用 Llama3 作为本地 LLM 并提供嵌入。对于第二个 notebook,我们使用 ELSER v2 作为嵌入,使用 Llama3 作为本地 LLM。
方法 1:使用 Ollama 在本地运行 Elastic、Llamaindex、Llama 3 (8B) 版本。
步骤 1:安装所需的依赖项。
 1.      !pip install llama-index
2.      !pip install llama-index-cli
3.      !pip install llama-index-core
4.      !pip install llama-index-embeddings-elasticsearch
5.      !pip install llama-index-embeddings-ollama
6.      !pip install llama-index-legacy
7.      !pip install llama-index-llms-ollama
8.      !pip install llama-index-readers-elasticsearch
9.      !pip install llama-index-readers-file
10.      !pip install llama-index-vector-stores-elasticsearch
11.      !pip install llamaindex-py-client
以上部分安装了所需的 llamaindex 包。
第 2 步:导入所需的依赖项
我们首先导入应用程序所需的包和类。
 1.      from llama_index.core.node_parser import SentenceSplitter
2.      from llama_index.core.ingestion import IngestionPipeline
3.      from llama_index.embeddings.ollama import OllamaEmbedding
4.      from llama_index.vector_stores.elasticsearch import ElasticsearchStore
5.      from llama_index.core import VectorStoreIndex, QueryBundle
6.      from llama_index.llms.ollama import Ollama
7.      from llama_index.core import Document, Settings
8.      from getpass import getpass
9.      from urllib.request import urlopen
10.      import json
我们首先向用户提供提示,以捕获云 ID 和 API 密钥值。
 1.      #https://www.elastic.co/search-labs/tutorials/install-elasticsearch/elastic-cloud#finding-your-cloud-id
2.      ELASTIC_CLOUD_ID = getpass("Elastic Cloud ID: ")

4.      #https://www.elastic.co/search-labs/tutorials/install-elasticsearch/elastic-cloud#creating-an-api-key
5.      ELASTIC_API_KEY = getpass("Elastic Api Key: ")
如果你不熟悉如何获取云 ID 和 API 密钥,请按照上面代码片段中的链接来指导你完成该过程。
步骤 3:文档处理
我们首先下载 json 文档,然后使用有效负载构建 Document 对象。
 1.      url = "https://raw.githubusercontent.com/elastic/elasticsearch-labs/main/datasets/workplace-documents.json"
2.      response = urlopen(url)
3.      workplace_docs = json.loads(response.read())
4.      documents = [Document(text=doc['content'],
5.                                metadata={"name": doc['name'],"summary": doc['summary'],"rolePermissions": doc['rolePermissions']})
6.                       for doc in workplace_docs]
提取管道允许我们使用不同的组件组成管道,其中一个组件允许我们使用 Llama3 生成嵌入。
 1.      es_vector_store = ElasticsearchStore(index_,
2.                                           vector_field='content_vector',
3.                                           text_field='content',
4.                                           es_cloud_id=ELASTIC_CLOUD_ID,
5.                                           es_api_key=ELASTIC_API_KEY)

7.      # Embedding Model to do local embedding using Ollama.
8.      ollama_embedding = OllamaEmbedding("llama3")
9.      # LlamaIndex Pipeline configured to take care of chunking, embedding
10.      # and storing the embeddings in the vector store.
11.      pipeline = IngestionPipeline(
12.          transformations=[
13.              SentenceSplitter(chunk_size=512, chunk_overlap=100),
14.              ollama_embedding
15.          ], vector_store=es_vector_store
16.      )
ElasticsearchStore 定义了要创建的索引的名称、向量字段和内容字段。并且这个索引是在运行管道时创建的。
创建的索引映射如下:

管道使用以下步骤执行。管道运行完成后,索引 workplace_index 现在可供查询。请注意,向量字段 content_vector 被创建为维度为 4096 的密集向量。维度大小来自从 Llama3 生成的嵌入的大小。
pipeline.run(show_progress=True,documents=documents)
步骤 4:LLM 配置
我们现在设置 Llamaindex 以使用 Llama3 作为 LLM。正如我们之前介绍的那样,这是在 Ollama 的帮助下完成的。
 1.      Settings.embed_model = ollama_embedding
2.      local_llm = Ollama(model="llama3")
第 5 步:语义搜索
我们现在将 Elasticsearch 配置为 Llamaindex 查询引擎的向量存储。然后,查询引擎将使用来自 Elasticsearch 的上下文相关数据来回答你的问题。
 1.      index = VectorStoreIndex.from_vector_store(es_vector_store)
2.      query_engine = index.as_query_engine(local_llm, similarity_top_k=10)

4.      # Customer Query
5.      query = "What are the organizations sales goals?"
6.      bundle = QueryBundle(query_str=query,
7.      embedding=Settings.embed_model.get_query_embedding(query=query))

9.      response = query_engine.query(bundle)

11.      print(response.response)
以下是我以 Llama3 作为 LLM 并以 Elasticsearch 作为向量数据库收到的回复。
 1.      According to the "Fy2024 Company Sales Strategy" document, the organization's primary goal is to:

3.      * Increase revenue by 20% compared to fiscal year 2023.
4.      * Expand market share in key segments by 15%.
5.      * Retain 95% of existing customers and increase customer satisfaction ratings.
6.      * Launch at least two new products or services in high-demand market segments.
至此,基于使用 Llama3 作为本地 LLM 并生成嵌入的 RAG 设置就结束了。
现在让我们转到第二种方法,该方法使用 Llama3 作为本地 LLM,但我们使用 Elastic 的 ELSER v2 来生成嵌入并进行语义搜索。
方法 2:使用 Ollama 在本地运行 Elastic、Langchain、ELSER v2、Llama 3 (8B) 版本。
步骤 1:安装所需的依赖项。
 1.      !pip install langchain
2.      !pip install langchain-elasticsearch
3.      !pip install langchain-community
4.      !pip install tiktoken
以上部分安装了所需的 langchain 包。
第 2 步:导入所需的依赖项
我们首先导入应用程序所需的包和类。此步骤与上述方法 1 中的第 2 步类似。
 1.      from langchain.text_splitter import RecursiveCharacterTextSplitter
2.      from langchain_elasticsearch import ElasticsearchStore
3.      from langchain_community.llms import Ollama
4.      from langchain.prompts import ChatPromptTemplate
5.      from langchain.schema.output_parser import StrOutputParser
6.      from langchain.schema.runnable import RunnablePassthrough
7.      from langchain_elasticsearch import ElasticsearchStore
8.      from langchain_elasticsearch import SparseVectorStrategy
9.      from getpass import getpass
10.      from urllib.request import urlopen
11.      import json
接下来,向用户提供提示以捕获云 ID 和 API 密钥值。
 1.      #https://www.elastic.co/search-labs/tutorials/install-elasticsearch/elastic-cloud#finding-your-cloud-id
2.      ELASTIC_CLOUD_ID = getpass("Elastic Cloud ID: ")

4.      #https://www.elastic.co/search-labs/tutorials/install-elasticsearch/elastic-cloud#creating-an-api-key
5.      ELASTIC_API_KEY = getpass("Elastic Api Key: ")
步骤 3:文档处理
接下来,我们下载 json 文档并构建有效负载。
 1.      url = "https://raw.githubusercontent.com/elastic/elasticsearch-labs/main/datasets/workplace-documents.json"

3.      response = urlopen(url)
4.      workplace_docs = json.loads(response.read())
5.      metadata = []
6.      content = []
7.      for doc in workplace_docs:
8.          content.append(doc["content"])
9.          metadata.append(
10.              {
11.                  "name": doc["name"],
12.                  "summary": doc["summary"],
13.                  "rolePermissions": doc["rolePermissions"],
14.              }
15.          )
16.      text_splitter = RecursiveCharacterTextSplitter.from_tiktoken_encoder(
17.          chunk_size=512, chunk_overlap=256
18.      )
19.      docs = text_splitter.create_documents(content, metadatas=metadata)
此步骤与方法 1 不同,因为我们使用 LlamaIndex 提供的管道来处理文档。这里我们使用 RecursiveCharacterTextSplitter 来生成块。
 1.      es_vector_store = ElasticsearchStore(
2.          es_cloud_id=ELASTIC_CLOUD_ID,
3.          es_api_key=ELASTIC_API_KEY,
4.          index_,
5.          strategy=SparseVectorStrategy(
6.              model_id=".elser_model_2_linux-x86_64"
7.          )
8.      )
向量存储定义了要创建的索引以及用于嵌入和检索的模型。你可以通过导航到机器学习下的训练模型来检索 model_id。
这还会导致在 Elastic 中创建一个摄取管道,该管道在将文档摄取到 Elastic 时生成并存储嵌入。

我们现在添加上面处理过的文档。
es_vector_store.add_documents(documents=docs)
步骤 4:LLM 配置
我们设置要使用的 LLM,如下所示。这又不同于方法 1,在方法 1 中我们也使用 Llama3 进行嵌入。
llm = Ollama(model="llama3")
第 5 步:语义搜索
现在,所有必要的构建块都已准备就绪。我们将它们组合在一起,使用 ELSER v2 和 Llama3 作为 LLM 执行语义搜索。本质上,Elasticsearch ELSER v2 使用其语义搜索功能为用户问题提供上下文相关的响应。然后,用户的问题将通过 ELSER 的响应得到丰富,并使用模板进行结构化。然后,使用 Llama3 对其进行处理以生成相关响应。
 1.      def format_docs(docs):
2.          return "\n\n".join(doc.page_content for doc in docs)

4.      retriever = es_vector_store.as_retriever()
5.      template = """Answer the question based only on the following context:\n

7.                      {context}

9.                      Question: {question}
10.                     """
11.      prompt = ChatPromptTemplate.from_template(template)
12.      chain = (
13.          {"context": retriever | format_docs, "question": RunnablePassthrough()}
14.          | prompt
15.          | llm
16.          | StrOutputParser()
17.      )

19.      chain.invoke("What are the organizations sales goals?")
使用 Llama3 作为 LLM 并使用 ELSER v2 进行语义搜索的响应如下:
 1.      According to the provided context, the organization's sales goals for Fiscal Year 2024 are:

3.      1. Increase revenue by 20% compared to fiscal year 2023.
4.      2. Expand market share in key segments by 15%.
5.      3. Retain 95% of existing customers and increase customer satisfaction ratings.

7.      These goals are outlined under "Objectives for Fiscal Year 2024" in the provided document.
这结束了基于使用 Llama3 作为本地 LLM 和使用 ELSER v2 进行语义搜索的 RAG 设置。
如何系统的去学习大模型LLM ?
作为一名热心肠的互联网老兵,我意识到有很多经验和知识值得分享给大家,也可以通过我们的能力和经验解答大家在人工智能学习中的很多困惑,所以在工作繁忙的情况下还是坚持各种整理和分享。
但苦于知识传播途径有限,很多互联网行业朋友无法获得正确的资料得到学习提升,故此将并将重要的 AI大模型资料 包括AI大模型入门学习思维导图、精品AI大模型学习书籍手册、视频教程、实战学习等录播视频免费分享出来。
😝有需要的小伙伴,可以V扫描下方二维码免费领取🆓

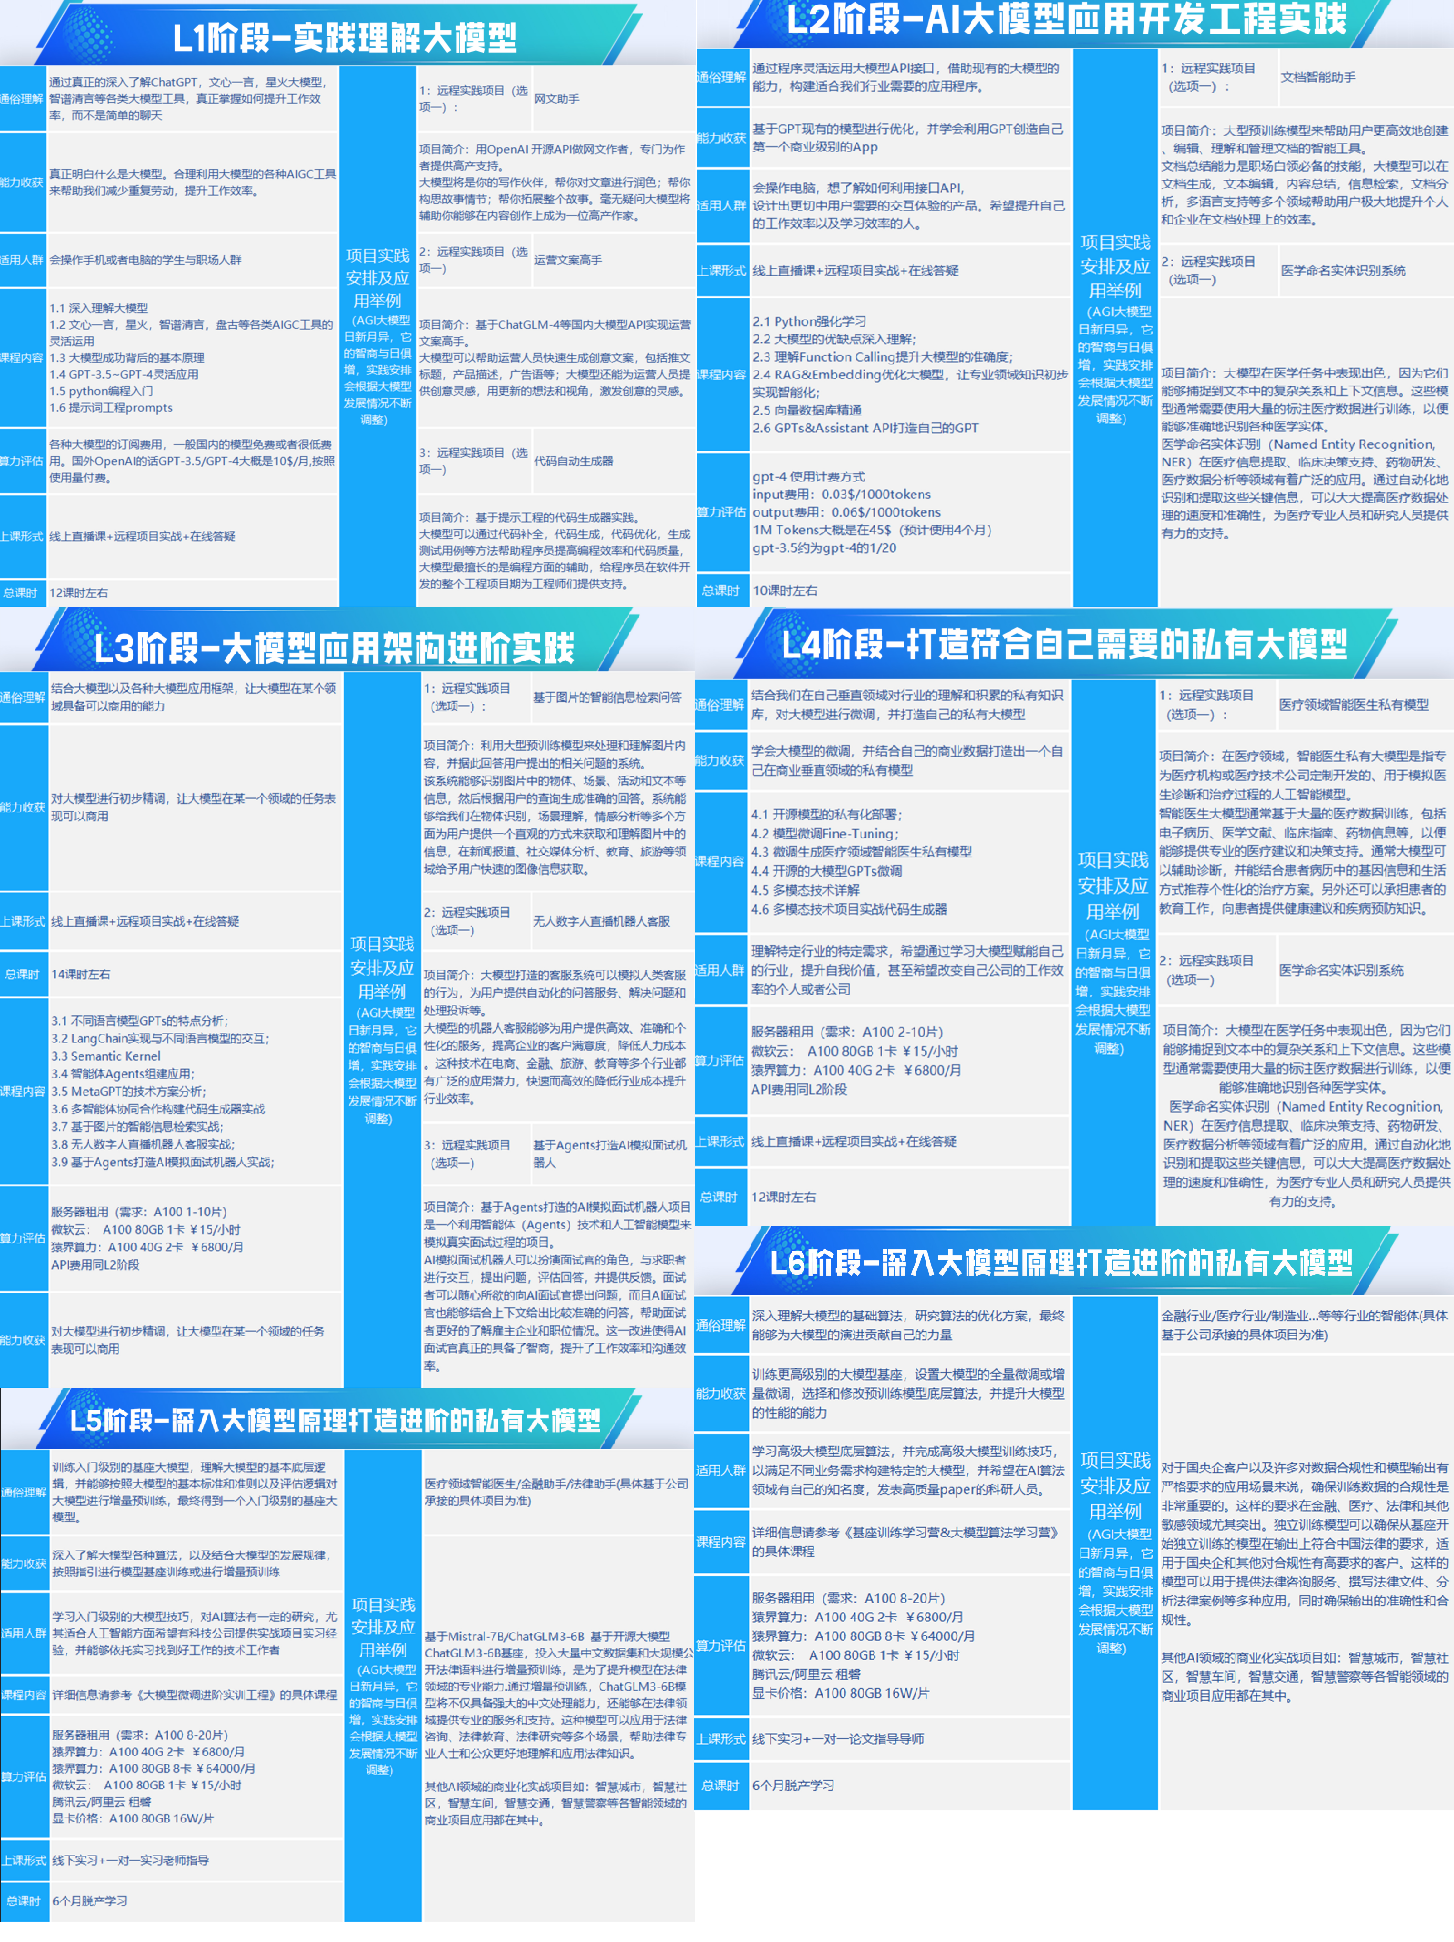
一、全套AGI大模型学习路线
AI大模型时代的学习之旅:从基础到前沿,掌握人工智能的核心技能!

二、640套AI大模型报告合集
这套包含640份报告的合集,涵盖了AI大模型的理论研究、技术实现、行业应用等多个方面。无论您是科研人员、工程师,还是对AI大模型感兴趣的爱好者,这套报告合集都将为您提供宝贵的信息和启示。

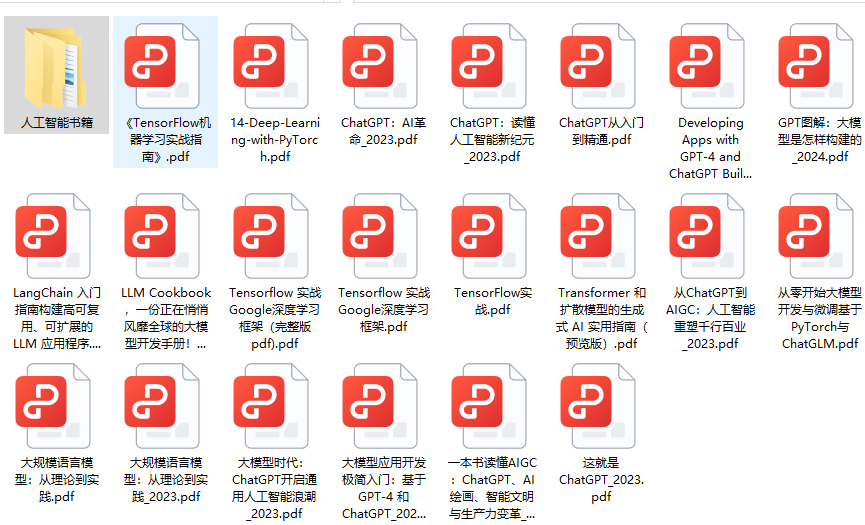
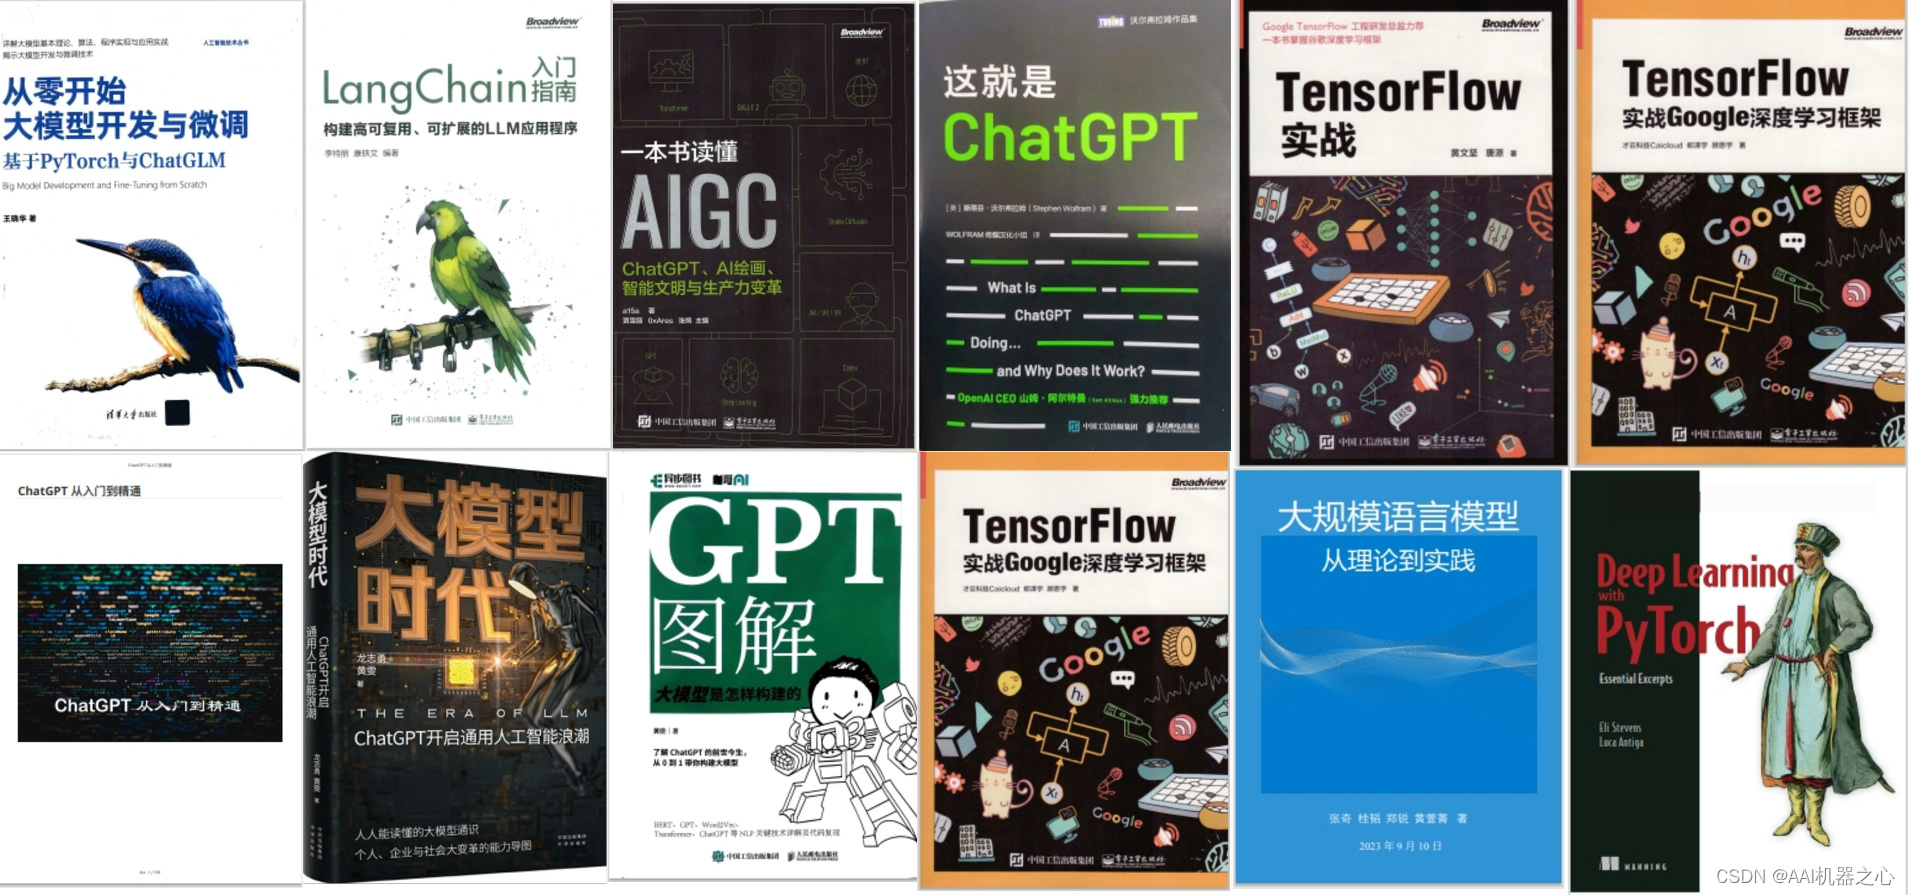
三、AI大模型经典PDF籍
随着人工智能技术的飞速发展,AI大模型已经成为了当今科技领域的一大热点。这些大型预训练模型,如GPT-3、BERT、XLNet等,以其强大的语言理解和生成能力,正在改变我们对人工智能的认识。 那以下这些PDF籍就是非常不错的学习资源。


四、AI大模型商业化落地方案

阶段1:AI大模型时代的基础理解
- 目标:了解AI大模型的基本概念、发展历程和核心原理。
- 内容:
- L1.1 人工智能简述与大模型起源
- L1.2 大模型与通用人工智能
- L1.3 GPT模型的发展历程
- L1.4 模型工程
- L1.4.1 知识大模型
- L1.4.2 生产大模型
- L1.4.3 模型工程方法论
- L1.4.4 模型工程实践
- L1.5 GPT应用案例
阶段2:AI大模型API应用开发工程
- 目标:掌握AI大模型API的使用和开发,以及相关的编程技能。
- 内容:
- L2.1 API接口
- L2.1.1 OpenAI API接口
- L2.1.2 Python接口接入
- L2.1.3 BOT工具类框架
- L2.1.4 代码示例
- L2.2 Prompt框架
- L2.2.1 什么是Prompt
- L2.2.2 Prompt框架应用现状
- L2.2.3 基于GPTAS的Prompt框架
- L2.2.4 Prompt框架与Thought
- L2.2.5 Prompt框架与提示词
- L2.3 流水线工程
- L2.3.1 流水线工程的概念
- L2.3.2 流水线工程的优点
- L2.3.3 流水线工程的应用
- L2.4 总结与展望
阶段3:AI大模型应用架构实践
- 目标:深入理解AI大模型的应用架构,并能够进行私有化部署。
- 内容:
- L3.1 Agent模型框架
- L3.1.1 Agent模型框架的设计理念
- L3.1.2 Agent模型框架的核心组件
- L3.1.3 Agent模型框架的实现细节
- L3.2 MetaGPT
- L3.2.1 MetaGPT的基本概念
- L3.2.2 MetaGPT的工作原理
- L3.2.3 MetaGPT的应用场景
- L3.3 ChatGLM
- L3.3.1 ChatGLM的特点
- L3.3.2 ChatGLM的开发环境
- L3.3.3 ChatGLM的使用示例
- L3.4 LLAMA
- L3.4.1 LLAMA的特点
- L3.4.2 LLAMA的开发环境
- L3.4.3 LLAMA的使用示例
- L3.5 其他大模型介绍
阶段4:AI大模型私有化部署
- 目标:掌握多种AI大模型的私有化部署,包括多模态和特定领域模型。
- 内容:
- L4.1 模型私有化部署概述
- L4.2 模型私有化部署的关键技术
- L4.3 模型私有化部署的实施步骤
- L4.4 模型私有化部署的应用场景
学习计划:
- 阶段1:1-2个月,建立AI大模型的基础知识体系。
- 阶段2:2-3个月,专注于API应用开发能力的提升。
- 阶段3:3-4个月,深入实践AI大模型的应用架构和私有化部署。
- 阶段4:4-5个月,专注于高级模型的应用和部署。
这份完整版的大模型 LLM 学习资料已经上传CSDN,朋友们如果需要可以微信扫描下方CSDN官方认证二维码免费领取【保证100%免费】
😝有需要的小伙伴,可以Vx扫描下方二维码免费领取🆓


 244
244


 被折叠的 条评论
为什么被折叠?


