


1.在anaconda中新建一个环境
打开Anaconda Prompt
conda create -n labelme python=3.8 2.安装pyqt库
conda install pyqt3.安装pillow库
conda install pillow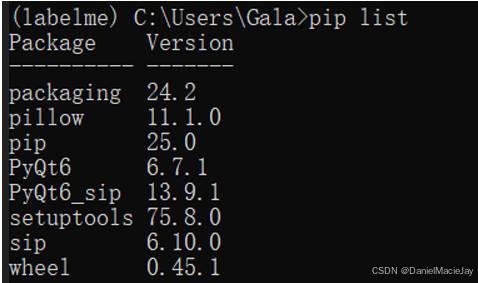
安装完之后差不多就是这么多的库
4.在自己电脑anaconda中的路径中到达这个文件夹(每个人的anaconda路径肯定不一样)
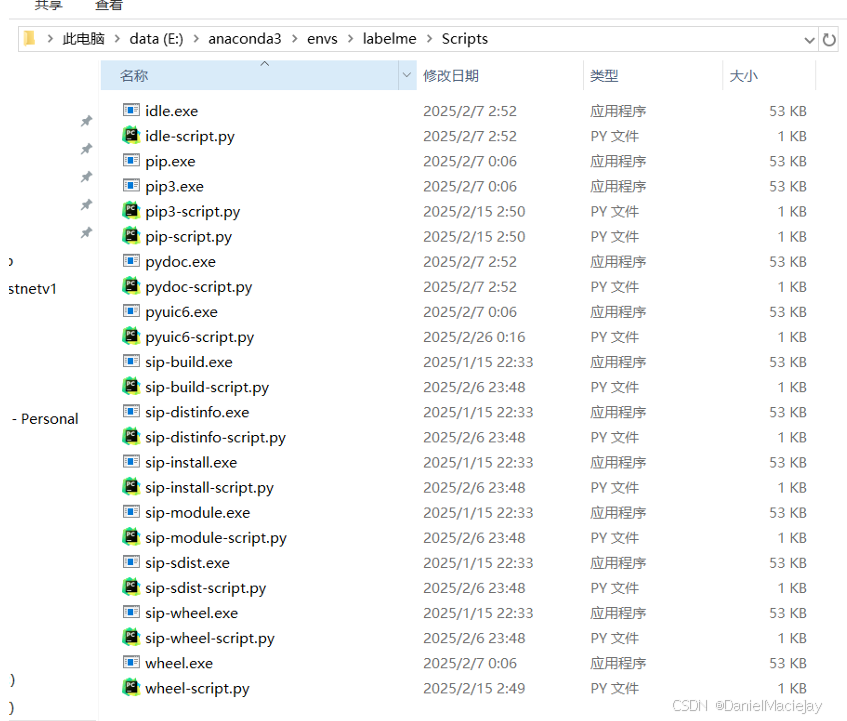 顶部文件夹路径那边双击 然后删除全部 搜索cmd
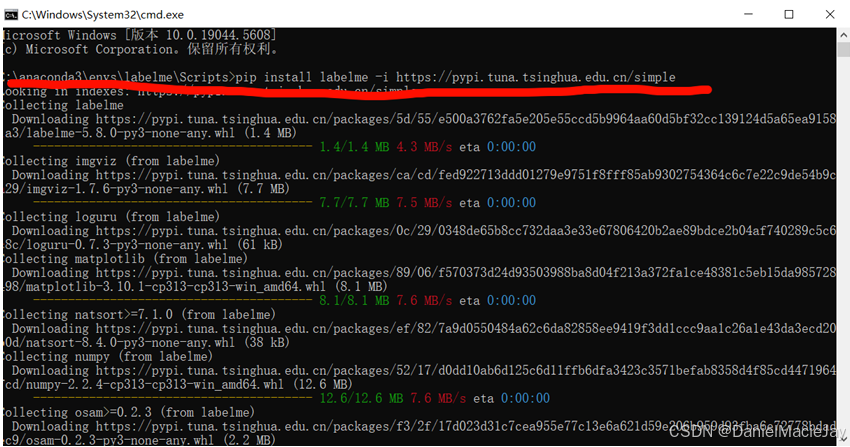
然后使用清华源安装labelme (不用清华源也行哈,要么就是开vpn,或者裸连)
pip install labelme -i https://pypi.tuna.tsinghua.edu.cn/simple
5.然后比较关键的一步来了,之前为什么创建环境的时候选择python=3.8呢? 因为我自己测试的时候python=3.9都可以安装成功,也能打开labelme,但是一旦标注完数据就闪退,搞不清楚具体原因。后来退版本就发现可以成功了,但要替换一处代码。
在E:\anaconda3\envs\label\Lib\site-packages\labelme\ai(每个人anaconda环境不一样对应 的也不一样)把其中的text_to_annotation.py中的代码全部替换成我们的代码
from typing import List, Tuple
import numpy as np
import osam
from loguru import logger

def get_rectangles_from_texts(
    model: str,
    image: np.ndarray,
    texts: List[str]
) -> Tuple[np.ndarray, np.ndarray, np.ndarray]:
    request: osam.types.GenerateRequest = osam.types.GenerateRequest(
        model=model,
        image=image,
        prompt=osam.types.Prompt(
            texts=texts,
            iou_threshold=1.0,
            score_threshold=0.01,
            max_annotations=1000,
        ),
    )
    logger.debug(
        f"Requesting with model={model!r}, image={(image.shape, image.dtype)}, "
        f"prompt={request.prompt!r}"
    )
    t_start = time.time()
    response: osam.types.GenerateResponse = osam.apis.generate(request=request)

    num_annotations = len(response.annotations)
    logger.debug(
        f"Response: num_annotations={num_annotations}, "
        f"elapsed_time={time.time() - t_start:.3f} [s]"
    )

    boxes: np.ndarray = np.empty((num_annotations, 4), dtype=np.float32)
    scores: np.ndarray = np.empty((num_annotations,), dtype=np.float32)
    labels: np.ndarray = np.empty((num_annotations,), dtype=np.int32)
    for i, annotation in enumerate(response.annotations):
        boxes[i] = [
            annotation.bounding_box.xmin,
            annotation.bounding_box.ymin,
            annotation.bounding_box.xmax,
            annotation.bounding_box.ymax,
        ]
        scores[i] = annotation.score
        labels[i] = texts.index(annotation.text)

    return boxes, scores, labels

def non_maximum_suppression(
    boxes: np.ndarray,
    scores: np.ndarray,
    labels: np.ndarray,
    iou_threshold: float,
    score_threshold: float,
    max_num_detections: int,
) -> Tuple[np.ndarray, np.ndarray, np.ndarray]:
    num_classes = np.max(labels) + 1
    scores_of_all_classes = np.zeros((len(boxes), num_classes), dtype=np.float32)
    for i, (score, label) in enumerate(zip(scores, labels)):
        scores_of_all_classes[i, label] = score
    logger.debug(f"Input: num_boxes={len(boxes)}")
    boxes, scores, labels = osam.apis.non_maximum_suppression(
        boxes=boxes,
        scores=scores_of_all_classes,
        iou_threshold=iou_threshold,
        score_threshold=score_threshold,
        max_num_detections=max_num_detections,
    )
    logger.debug(f"Output: num_boxes={len(boxes)}")
    return boxes, scores, labels

def get_shapes_from_annotations(
    boxes: np.ndarray,
    scores: np.ndarray,
    labels: np.ndarray,
    texts: List[str]
) -> List[dict]:
    shapes: List[dict] = []
    for box, score, label in zip(boxes.tolist(), scores.tolist(), labels.tolist()):
        text = texts[label]
        xmin, ymin, xmax, ymax = box
        shape = {
            "label": text,
            "points": [[xmin, ymin], [xmax, ymax]],
            "group_id": None,
            "shape_type": "rectangle",
            "flags": {},
            "description": json.dumps(dict(score=score, text=text)),
        }
        shapes.append(shape)
    return shapes
最后再在虚拟环境中激活labelme的环境,然后输入labelme即可打开
在labelme软件中,最主要的几个功能如下:
打开:只打开一张图像进行标注,建议通过第二个功能打开包含图像的文件夹,进行标注。
打开目录:点击后会弹出一个窗口,选择一个文件夹,文件夹中包含要进行标注的图像。
上一幅:在打开目录的情况下,点击后可切换到上一张图片,也可以使用快捷键a。
下一幅:在打开目录的情况下,点击后可切换到下一张图片,也可以使用快捷键d。
保存:在标注完成后,会生成标签文件。保存选项即选择本地的一个文件夹保存标签文件。建 议在选择完打开目录后,便选择一个文件夹路径保存将要生成的标签文件。
创建多边形:这一个功能是最重要的,选择了一张图像后便可以进行标注,选择这个功能后即 可这对界面中显示的图像进行分割标注,注意标注点要尽可能贴合目标,也可以使用快捷键w。


 6683
6683

 被折叠的 条评论
为什么被折叠?
被折叠的 条评论
为什么被折叠?
 到【灌水乐园】发言


