


手眼标定的原理
基坐标系(base_tree)和相机(camera_tree)两个坐标系属于不同的tree,通过将标签贴到手上,相机识别出标签的position和orention,并通过easy_handeye标定包得到tool0(机械手),进一步得到相对于base的位置关系。即子坐标系(camera_rgb_optical_frame)到父坐标系(base_link)之间的关系。
对于手眼标定,场景主要有以下两种,
eye-to-hand,眼在手外。
这种场景下我们已知机械臂终端end_link与base_link、相机camera_link与识别物体object_link之间的关系;
需要求解camera_link与base_link之间的变换。
eye-in-hand,眼在手上。
这种场景base_link和机械臂各关节joint_link、end_link已经通过URDF发布了;
只需要求解camera_link与end_link之间的变换。
在ros中相机的坐标系和相机光学成像坐标系是不一样的
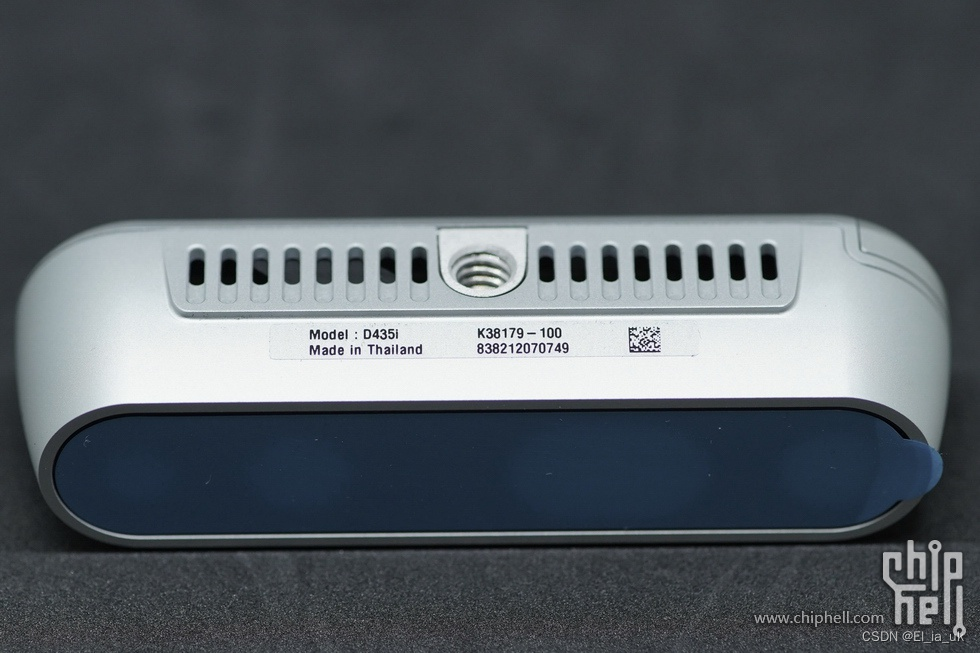
安装librealsense
# 下载安装包
git clone https://github.com/IntelRealSense/librealsense.git
cd librealsense

# 更新依赖库
sudo apt-get update && sudo apt-get upgrade && sudo apt-get dist-upgrade

# 安装依赖库
sudo apt-get install libudev-dev pkg-config libgtk-3-dev
sudo apt-get install libusb-1.0-0-dev pkg-config
sudo apt-get install libglfw3-dev
sudo apt-get install libssl-dev

# 运行Intel Realsense许可脚本
./scripts/setup_udev_rules.sh

# 下载并编译内核模块
./scripts/patch-realsense-ubuntu-lts.sh

# 编译SDK2.0
cd librealsense
mkdir build
cd build
cmake ../ -DBUILD_EXAMPLES=true
make
sudo make install
测试是否安装完成
方式一:
cd examples/capture
./rs-capture
方式二:
realsense-viewer安装librealsense-ros与easy_handeye
# 建立workspace
mkdir -p ~/realsense_ws/src
cd ~/realsense_ws/src/
catkin_init_workspace
cd ..
catkin_make
echo "source ~/realsense_ws/devel/setup.bash" >> ~/.bashrc
source ~/.bashrc

# 在realsense_ws/src/下载源程序
# 下载机械臂驱动
cd src
#安装realsense_ros
git clone -b ros1-legacy https://github.com/IntelRealSense/realsense-ros.git
# catkin_make编译
cd ~/realsense_ws && catkin_make

git clone https://github.com/UniversalRobots/Universal_Robots_ROS_Driver.git Universal_Robots_ROS_Driver
git clone -b calibration_devel https://github.com/fmauch/universal_robot.git fmauch_universal_robot

# aruco
git clone -b noetic-devel https://github.com/pal-robotics/aruco_ros.git

# vision_visp
git clone -b noetic-devel https://github.com/lagadic/vision_visp.git

# easy_hand_eye
git clone https://github.com/IFL-CAMP/easy_handeye

# 下载依赖
cd ..
sudo apt update
rosdep update
rosdep install --from-paths src --ignore-src -y
# empy
pip install empy
# pyqt
pip install PyQt5

# 编译
catkin_make
launch 文件配置:
标定过程需启动 ur5 机械臂的相关节点,realsense 节点,aruco 节点,easy_handeye 节点。
在xxx/realsense_ws/src/easy_handeye/easy_handeye/launch/eye_to_hand_calibration1.launch目录下,同时启动上述节点。
将launch文件修改成如下:
<launch>
<arg name="namespace_prefix" default="ur5_realsense_handeyecalibration" />
<arg name="robot_ip" doc="The IP address of the UR5 robot" />
<arg name="marker_size" doc="Size of the ArUco marker used, in meters" default="0.1" />#0.1为标定版的尺寸单位为m
<arg name="marker_id" doc="The ID of the ArUco marker used" default="571"/>#571为自己所使用的标定版号
<!-- start the realsen435 -->
<include file="$(find realsense2_camera)/launch/rs_camera.launch" >
<!-- <arg name="depth_registration" value="true" /> -->
</include>
<!-- 2. start ArUco -->
<node name="aruco_tracker" pkg="aruco_ros" type="single">
<remap from="/camera_info" to="/camera/color/camera_info" />
<remap from="/image" to="/camera/color/image_raw" />
<param name="image_is_rectified" value="true"/>
<param name="marker_size" value="$(arg marker_size)"/>
<param name="marker_id" value="$(arg marker_id)"/>
<param name="reference_frame" value="camera_color_optical_frame"/>
<param name="camera_frame" value="camera_color_optical_frame"/>
<param name="marker_frame" value="camera_marker" />
</node>
<!-- start the robot -->
<include file="$(find ur_robot_driver)/launch/ur5e_bringup.launch">
<arg name="robot_ip" value="192.168.1.11" />#value值为所使用机器人的ip
</include>
<include file="$(find ur5e_moveit_config)/launch/ur5e_moveit_planning_execution.launch">
</include>
<!-- 4. start easy_handeye -->
<include file="$(find easy_handeye)/launch/calibrate.launch" >
<arg name="namespace_prefix" value="$(arg namespace_prefix)" />
<arg name="eye_on_hand" value="true" />#使用眼在手上,value值为true,若使用眼在手外,则value=false
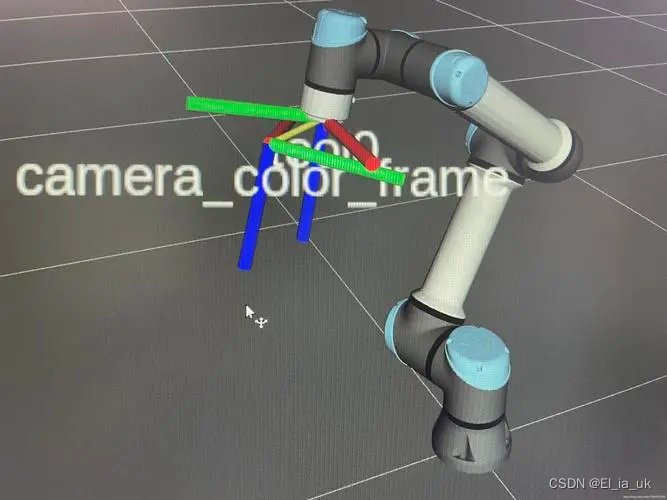
<arg name="tracking_base_frame" value="camera_color_frame" />
<arg name="tracking_marker_frame" value="camera_marker" />
<arg name="robot_base_frame" value="base" />
<arg name="robot_effector_frame" value="wrist_3_link" />
<arg name="freehand_robot_movement" value="false" />
<arg name="robot_velocity_scaling" value="0.5" />
<arg name="robot_acceleration_scaling" value="0.2" />
</include>
</launch>
1、Realsense435i节点
把rs_camera.launch文件<include>导入
2、ArUco节点
修改:/camera_info / /image / reference_frame 和 camera_frame
从https://chev.me/arucogen/中下载aruco二维码并打印出来
注意:
Dictionary 一定要选 Original ArUco
Marker ID 和 Marker size 自选,在launch 文件中做相应的修改
打印时注意选择原始大小,否则要测量一下打印出来的真实大小
3、easy_handeye节点
<arg name="eye_on_hand" value="true"/> :眼在手上时,value 为 true
tracking_base_frame :为相机坐标系 camera_color_frame
robot_base_frame :为机器人基座坐标系,示例里写的是 base_link,我在 rviz 中查看 base 才是真实的基座坐标系
robot_effector_frame:为工具坐标系,因为我安装了 robotiq相机/力传感器和夹爪,所以TCP 改变了
启动该launch文件进行手眼标定
cd realsense_wc
roslaunch easy_handeye eye_to_hand_calibration1.launch
出现如下窗口:
在启动的rvize中添加image,确认可以识别出aruco码。
同时在如下两个窗口进行标定

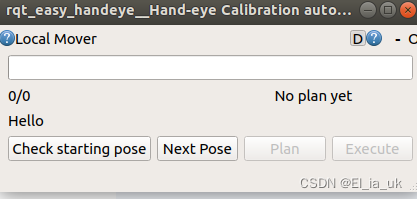
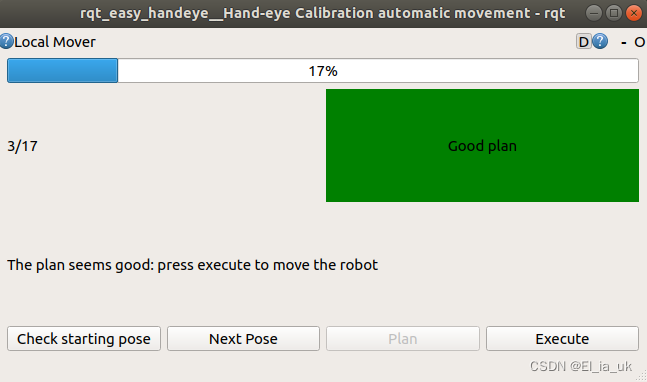
在第三个窗口点击next pose -> plan -> execute,当点完 plan ,出现绿色框,则说明规划成功,然后可以点击 execute让机械臂执行动作
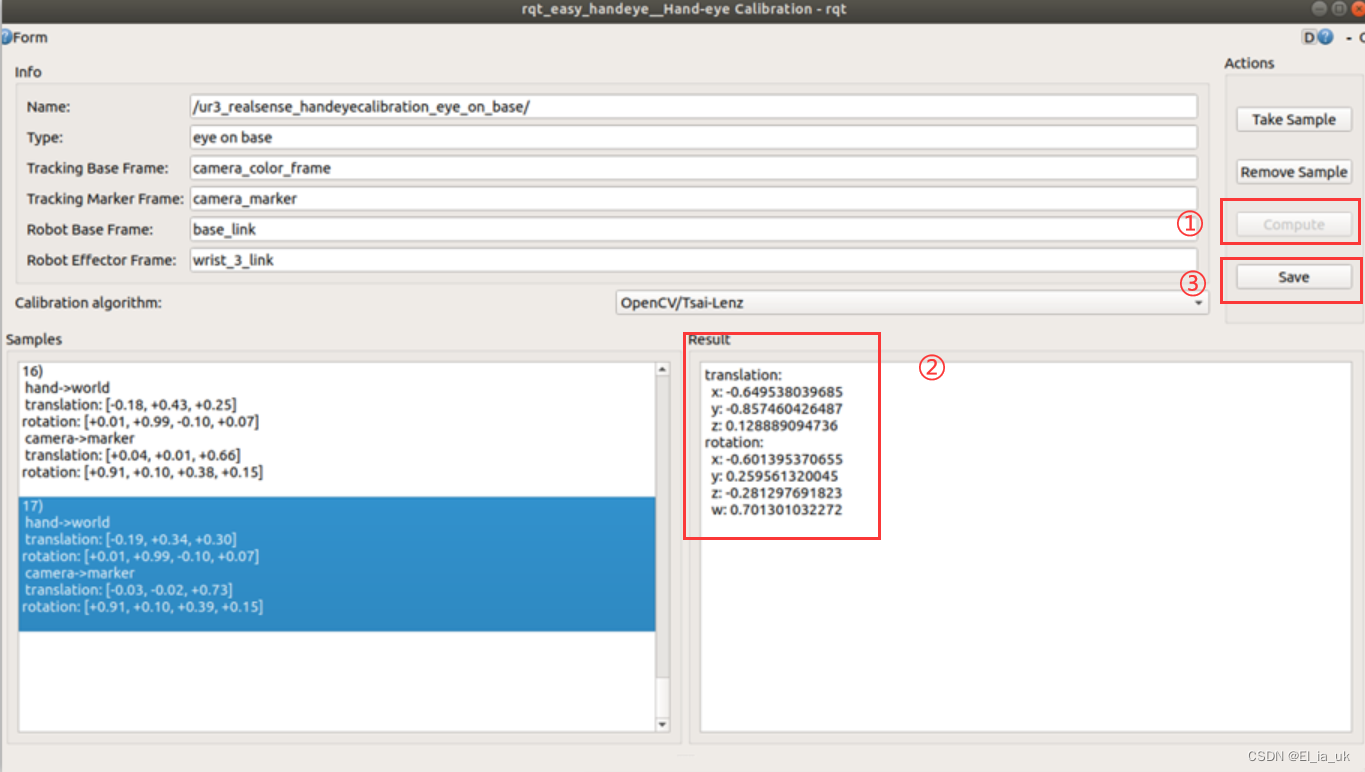
然后在第二个窗口,点击take sample采样
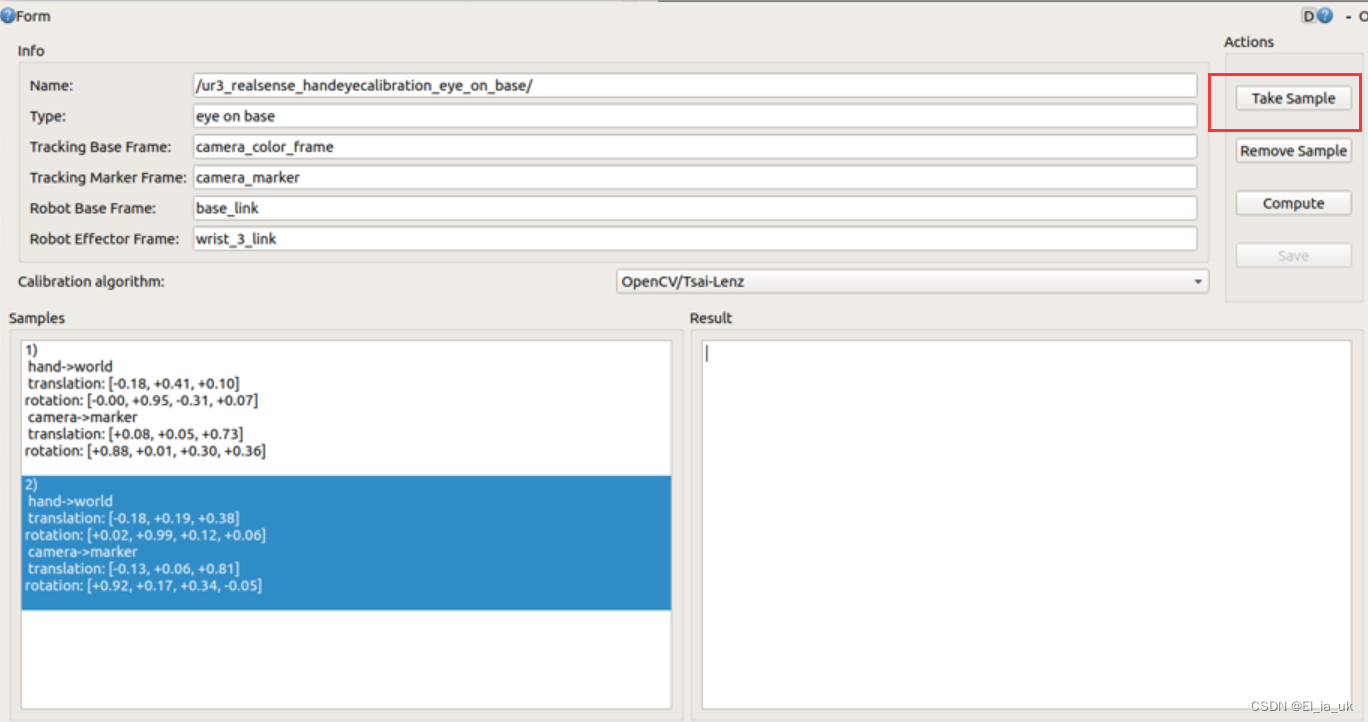
17个动作执行完成,回到第二个界面,点击compute,然后出现结果的姿态矩阵,然后可以点击save保存
参考链接:
[1]ros realsense ur5手眼标定_realsense 坐标系-CSDN博客
[2]UR+RealSense手眼标定(eye-to-hand)_normalizeimageillumination is unimplemented!-CSDN博客


 被折叠的 条评论
为什么被折叠?
被折叠的 条评论
为什么被折叠?
 到【灌水乐园】发言


