


Bert官方仓库:https://github.com/google-research/bert
1、准备用于训练的数据集
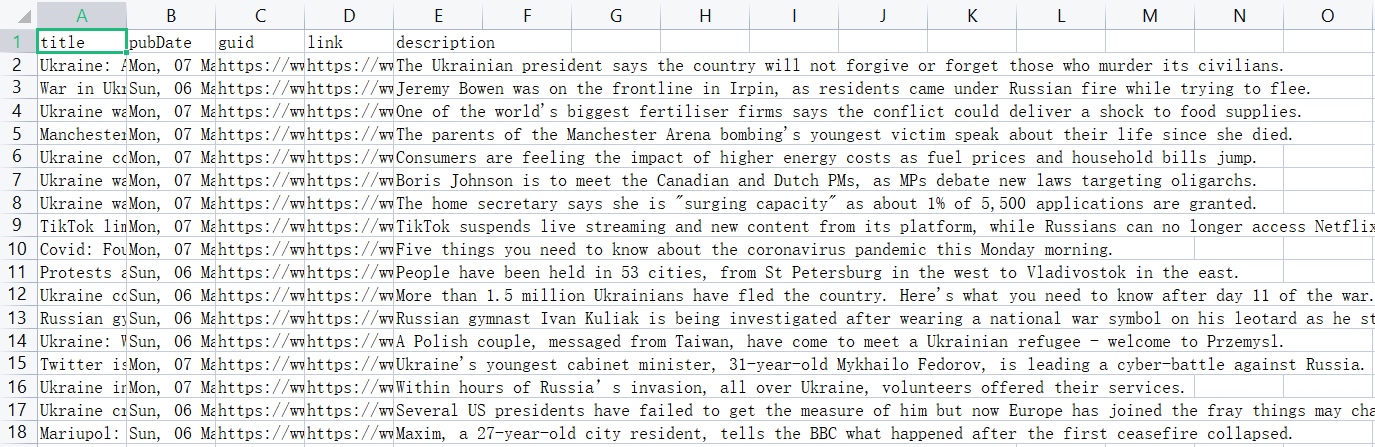
此处准备的是BBC news的数据集,下载链接:https://www.kaggle.com/datasets/gpreda/bbc-news
原数据集格式(.csv):
2、处理数据集
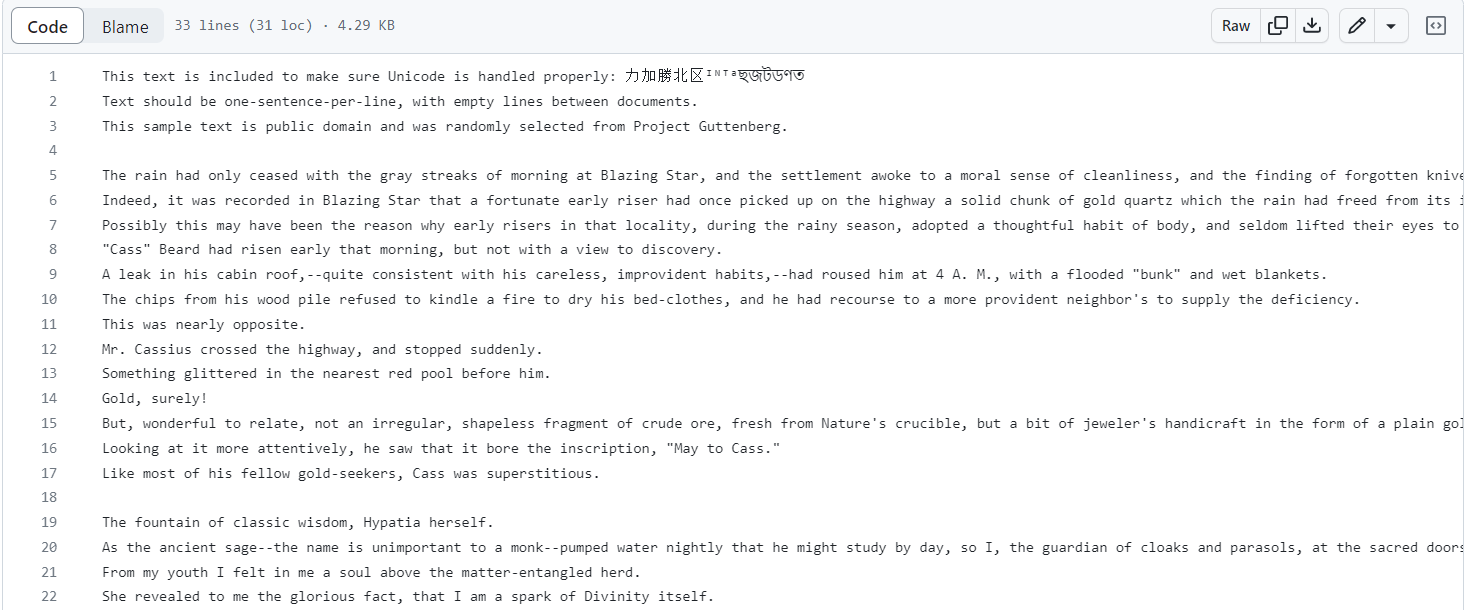
训练Bert时需要预处理数据,将数据处理成https://github.com/google-research/bert/blob/master/sample_text.txt中所示格式,如下所示:
数据预处理代码参考:
import pandas as pd

# 读取BBC-news数据集
df = pd.read_csv("../../bbc_news.csv")
# print(df['title'])
l1 = []
l2 = []
cnt = 0
for line in df['title']:
    l1.append(line)

for line in df['description']:
    l2.append(line)
# cnt=0
f = open("test1.txt", 'w+', encoding='utf8')
for i in range(len(l1)):
    s = l1[i] + " " + l2[i] + '\n'
    f.write(s)
    # cnt+=1
    # if cnt>10: break
f.close()
# print(l1)
处理完后的BBC news数据集格式如下所示:

3、克隆代码
使用git克隆仓库代码
http:
git clone https://github.com/google-research/bert.git
或ssh:
git clone git@github.com:google-research/bert.git
4、运行代码
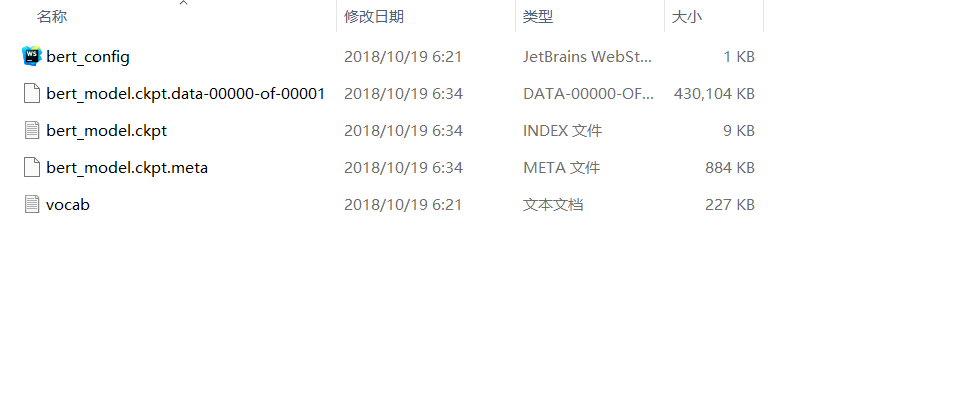
先下载Bert模型:BERT-Base, Uncased
该文件中有以下文件:
运行代码:
在Teminal中运行:
python create_pretraining_data.py \
  --input_file=./sample_text.txt(数据集地址) \
  --output_file=/tmp/tf_examples.tfrecord(处理后数据集保存的位置) \
  --vocab_file=$BERT_BASE_DIR/vocab.txt(vocab.txt文件位置) \
  --do_lower_case=True \
  --max_seq_length=128 \
  --max_predictions_per_seq=20 \
  --masked_lm_prob=0.15 \
  --random_seed=12345 \
  --dupe_factor=5
训练模型:
python run_pretraining.py \
  --input_file=/tmp/tf_examples.tfrecord(处理后数据集保存的位置) \
  --output_dir=/tmp/pretraining_output(训练后模型保存位置) \
  --do_train=True \
  --do_eval=True \
  --bert_config_file=$BERT_BASE_DIR/bert_config.json(bert_config.json文件位置) \
  --init_checkpoint=$BERT_BASE_DIR/bert_model.ckpt(如果要从头开始的预训练,则去掉这行) \
  --train_batch_size=32 \
  --max_seq_length=128 \
  --max_predictions_per_seq=20 \
  --num_train_steps=20 \
  --num_warmup_steps=10 \
  --learning_rate=2e-5
训练完成后模型输出示例:
***** Eval results *****
  global_step = 20
  loss = 0.0979674
  masked_lm_accuracy = 0.985479
  masked_lm_loss = 0.0979328
  next_sentence_accuracy = 1.0
  next_sentence_loss = 3.45724e-05
要注意应该能够在至少具有 12GB RAM 的 GPU 上运行,不然会报错显存不足。
使用未标注数据训练BERT
5、将ckpt模型转为bin模型使其可在pytorch中运用
上一步训练好后准备好训练出来的model.ckpt-20.index文件和Bert模型中的bert_config.json文件
创建python文件convert_bert_original_tf_checkpoint_to_pytorch.py:
# coding=utf-8
# Copyright 2018 The HuggingFace Inc. team.
#
# Licensed under the Apache License, Version 2.0 (the "License");
# you may not use this file except in compliance with the License.
# You may obtain a copy of the License at
#
#     http://www.apache.org/licenses/LICENSE-2.0
#
# Unless required by applicable law or agreed to in writing, software
# distributed under the License is distributed on an "AS IS" BASIS,
# WITHOUT WARRANTIES OR CONDITIONS OF ANY KIND, either express or implied.
# See the License for the specific language governing permissions and
# limitations under the License.
"""Convert BERT checkpoint."""


import argparse

import torch

from transformers import BertConfig, BertForPreTraining, load_tf_weights_in_bert
from transformers.utils import logging


logging.set_verbosity_info()


def convert_tf_checkpoint_to_pytorch(tf_checkpoint_path, bert_config_file, pytorch_dump_path):
    # Initialise PyTorch model
    config = BertConfig.from_json_file(bert_config_file)
    print("Building PyTorch model from configuration: {}".format(str(config)))
    model = BertForPreTraining(config)

    # Load weights from tf checkpoint
    load_tf_weights_in_bert(model, config, tf_checkpoint_path)

    # Save pytorch-model
    print("Save PyTorch model to {}".format(pytorch_dump_path))
    torch.save(model.state_dict(), pytorch_dump_path)


if __name__ == "__main__":
    parser = argparse.ArgumentParser()
    # Required parameters
    parser.add_argument(
        "--tf_checkpoint_path", default=None, type=str, required=True, help="Path to the TensorFlow checkpoint path."
    )
    parser.add_argument(
        "--bert_config_file",
        default=None,
        type=str,
        required=True,
        help="The config json file corresponding to the pre-trained BERT model. \n"
        "This specifies the model architecture.",
    )
    parser.add_argument(
        "--pytorch_dump_path", default=None, type=str, required=True, help="Path to the output PyTorch model."
    )
    args = parser.parse_args()
    convert_tf_checkpoint_to_pytorch(args.tf_checkpoint_path, args.bert_config_file, args.pytorch_dump_path)
在Terminal中运行以下命令:
python convert_bert_original_tf_checkpoint_to_pytorch.py \
--tf_checkpoint_path Models/chinese_L-12_H-768_A-12/bert_model.ckpt.index(.ckpt.index文件位置) \
--bert_config_file Models/chinese_L-12_H-768_A-12/bert_config.json(bert_config.json文件位置)  \
--pytorch_dump_path  Models/chinese_L-12_H-768_A-12/pytorch_model.bin(输出的.bin模型文件位置)
以上命令最好在一行中运行:
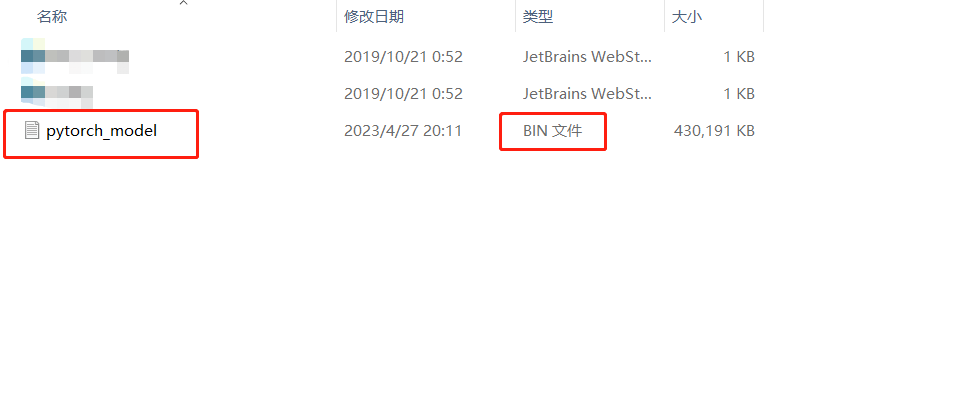
python convert_bert_original_tf_checkpoint_to_pytorch.py --tf_checkpoint_path bert_model.ckpt.index --bert_config_file bert_config.json --pytorch_dump_path pytorch_model.bin
然后就可以得到bin文件了


 4665
4665


 被折叠的 条评论
为什么被折叠?
被折叠的 条评论
为什么被折叠?
 到【灌水乐园】发言


