


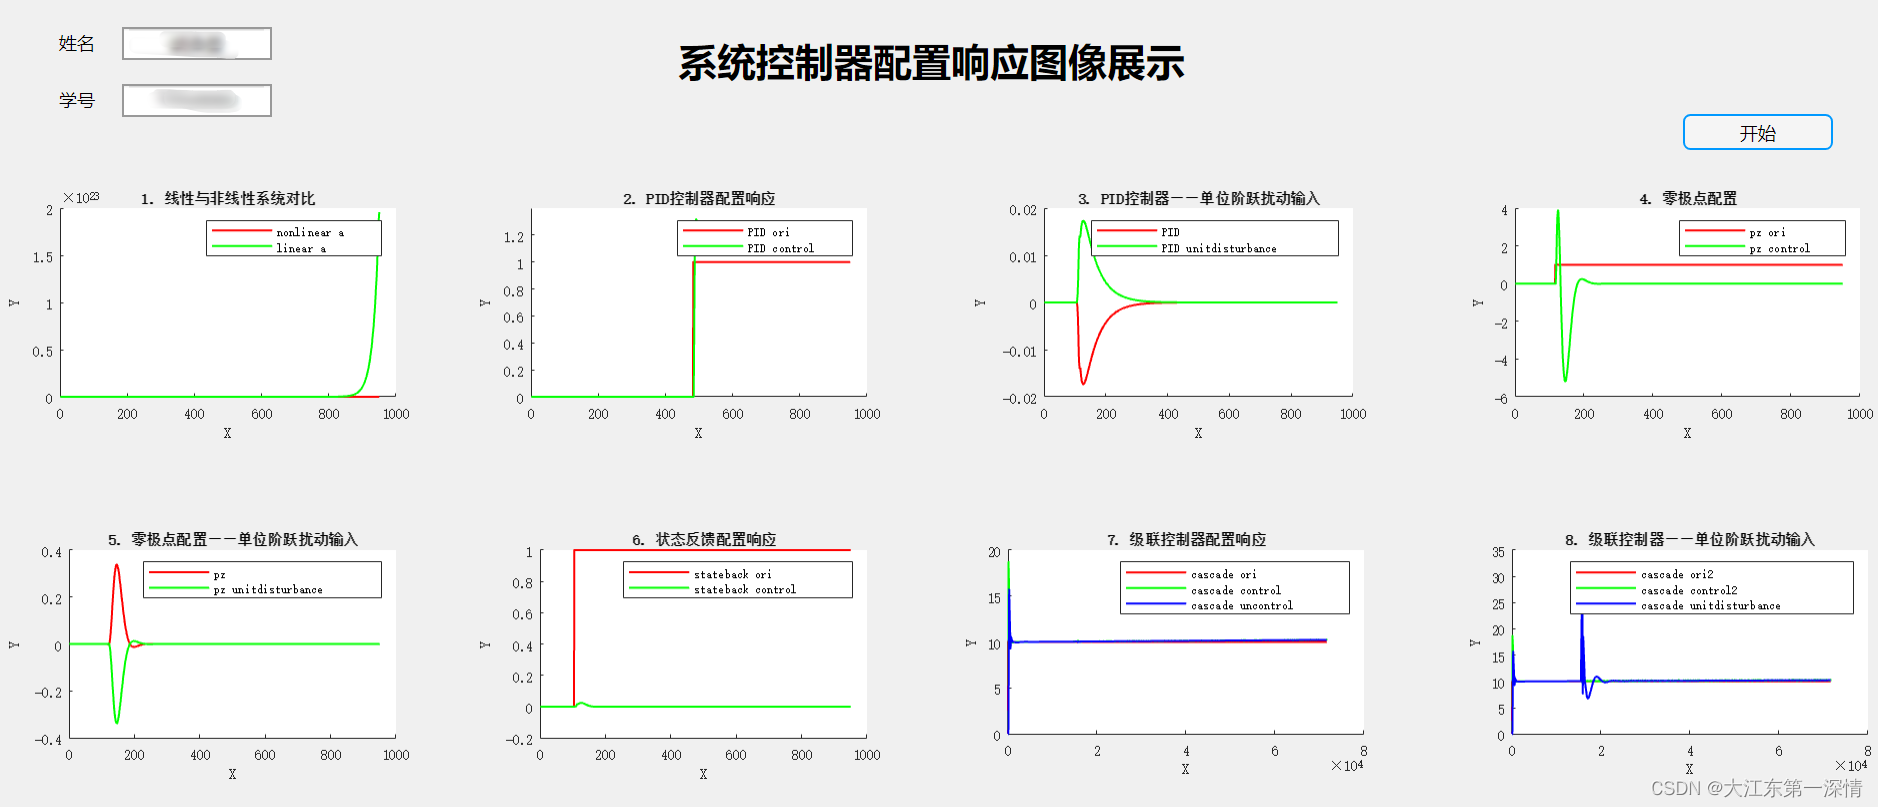
1. 效果展示
点击开始,显示数据:
2. 设计
2.1 框架设计
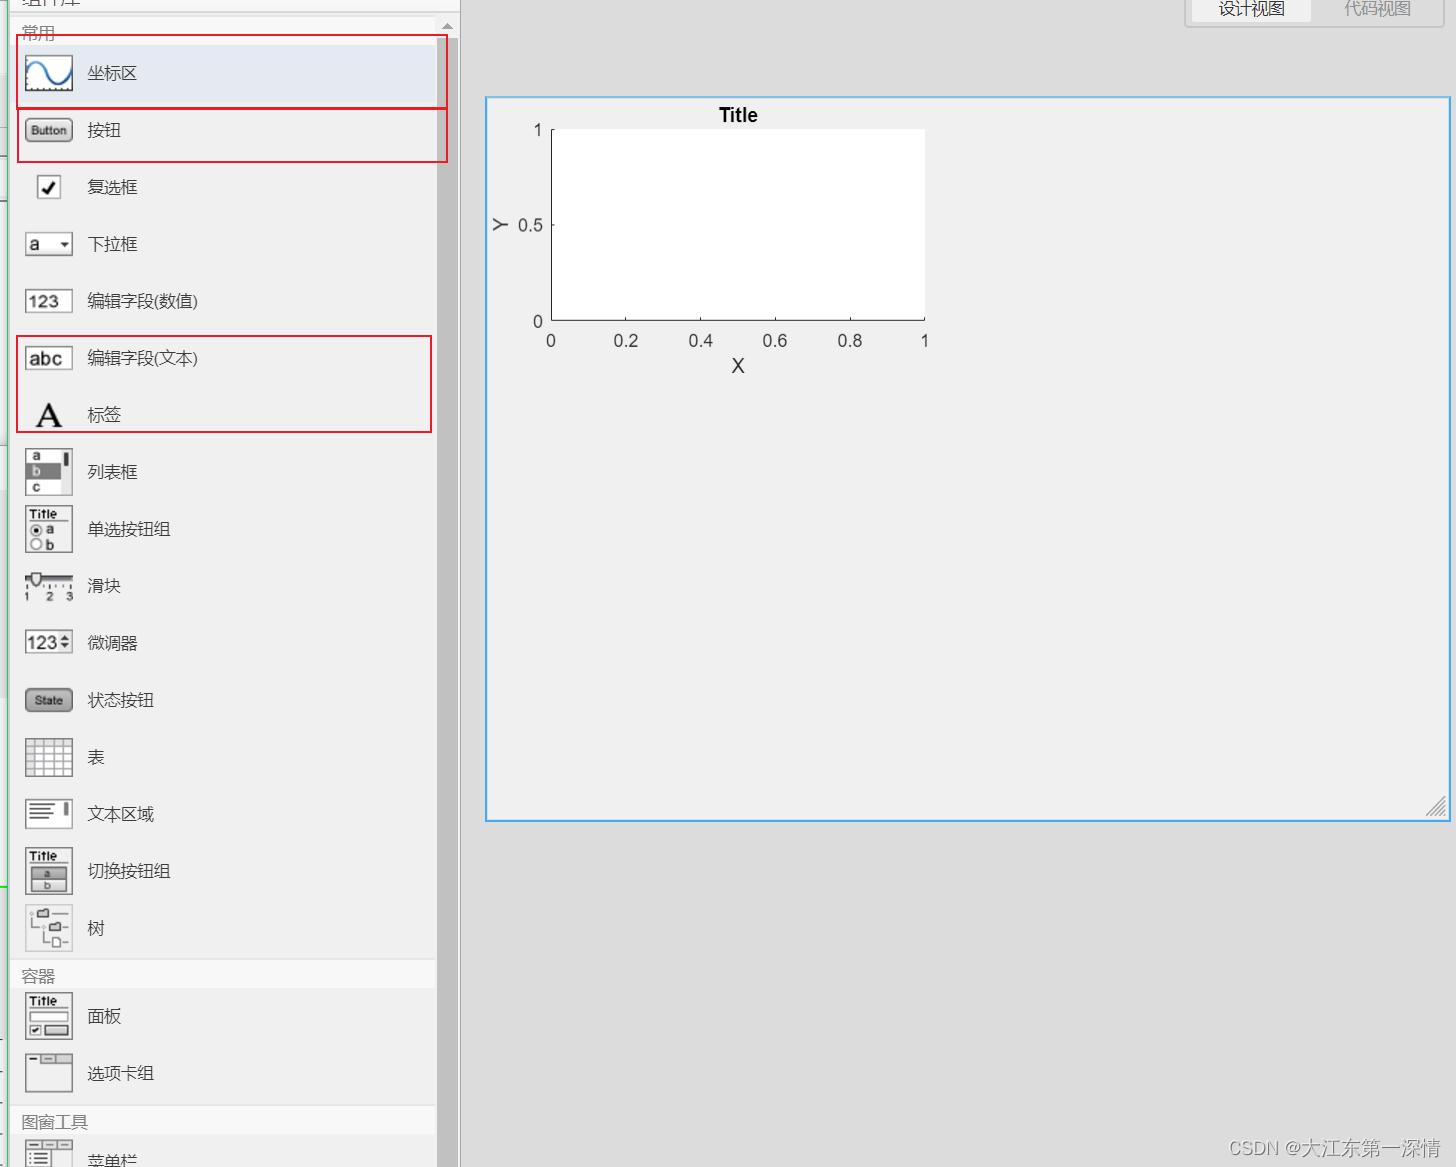
首先,搭建框架,输入appdesigner打开appdesigner界面,新建保存一个新的app,从左侧组件库拉出构件,如坐标区、编辑字段(姓名学号)、标签(大标题)和按钮(开始),然后自己进行相关排列布局:
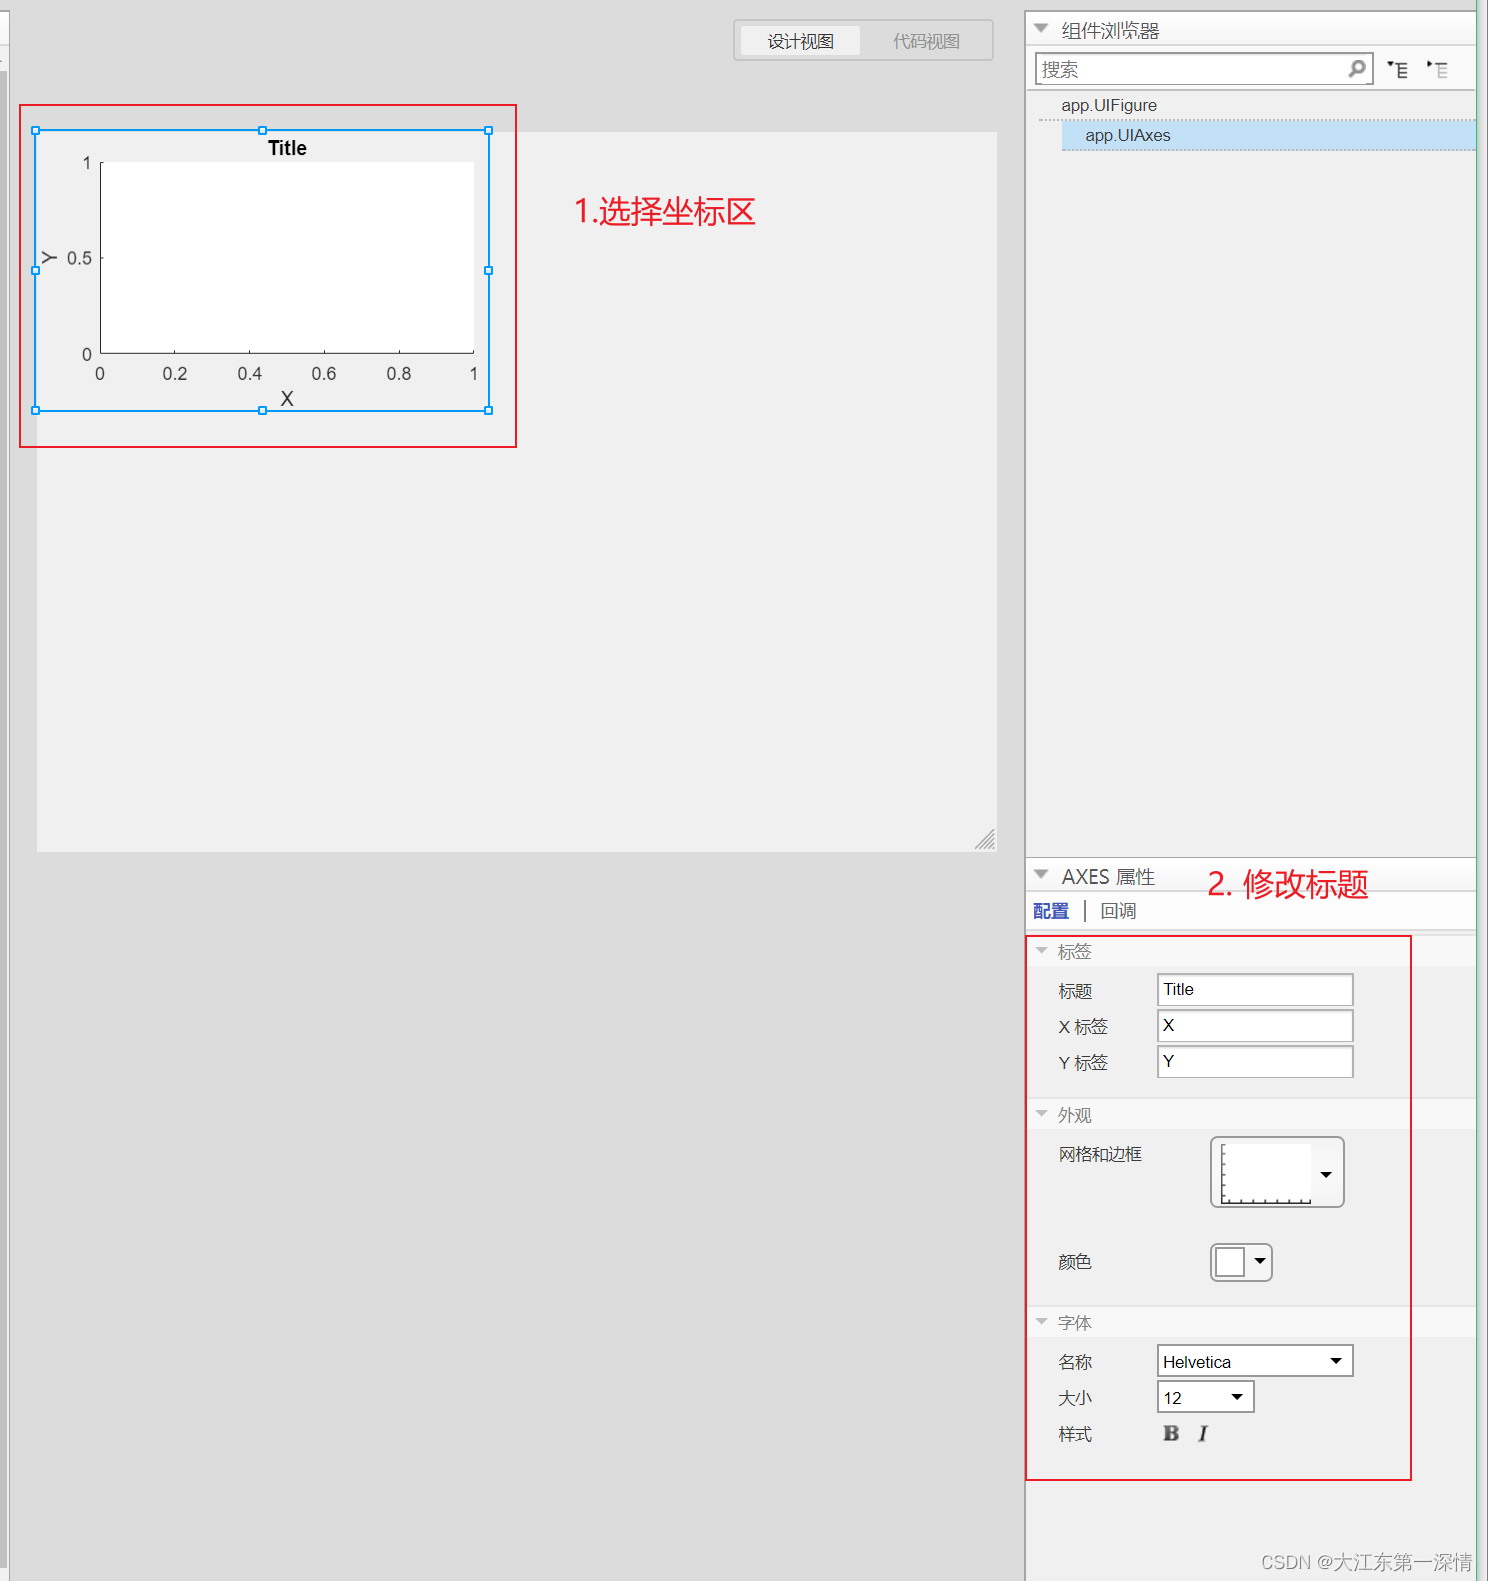
然后,点击每个构件,对每个构建的文字内容进行修改,例如坐标区的标题修改:
2.2 代码编写
2.2.1 代码视图
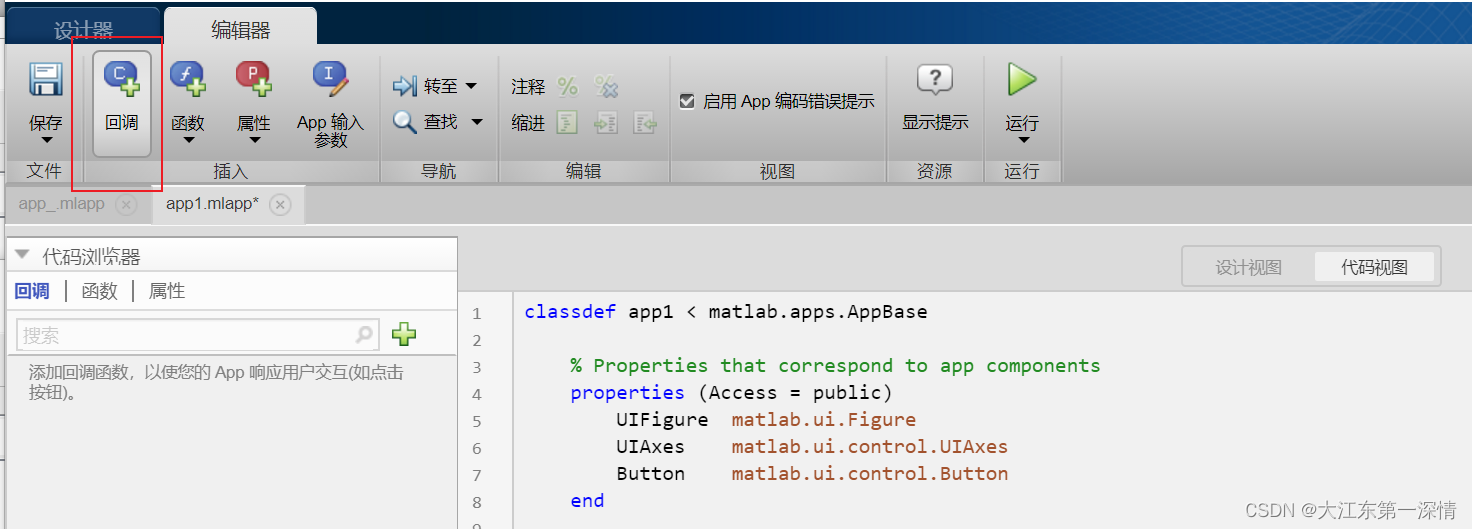
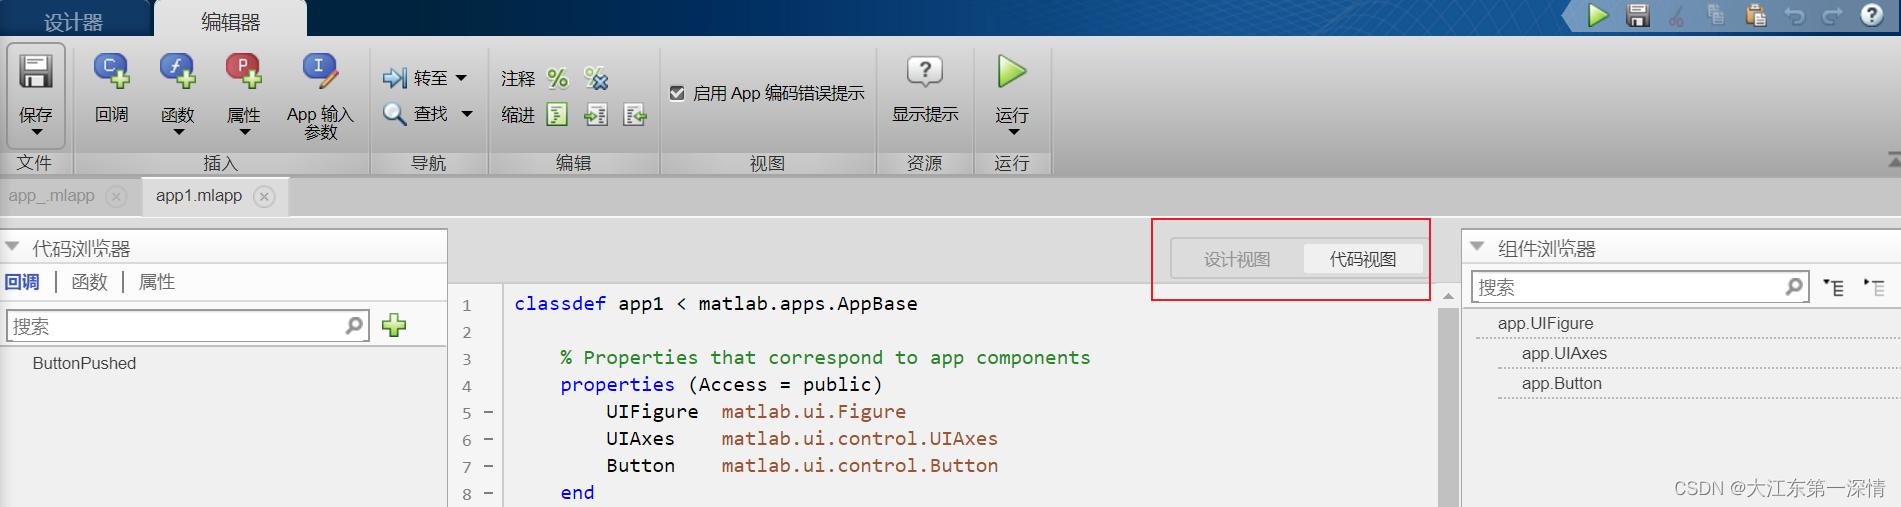
接着,去到代码视图,开始编写代码:

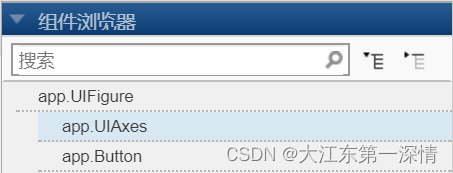
1. 在代码的前面部分,进行了参数定义:

可以看到,我们有一个坐标区(UIAxes),一个按钮(Button)和一个底层图像(UIFigure),我们想要做的是:点击按钮,图像显示,这是很简单的一个过程。
2.2.2 添加回调函数
首先,点击左上角“编辑器”中的“回调”:
出现如下界面:
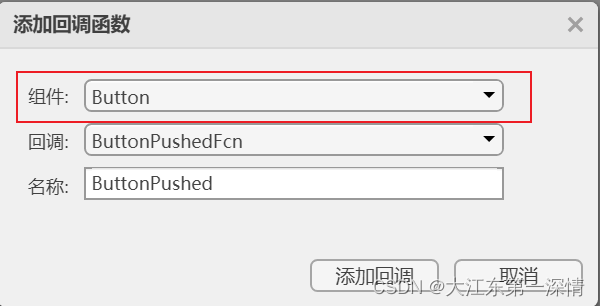
在组件中选择“Button”,再点击“添加回调”,得到一个回调函数:

我们就是要在这个回调函数中写我们想要执行的命令。
2.2.3. 编写代码
1. 获取数据“simout”
            %%PID数据提取
            PID_ori = evalin('base', 'simout1');
            PID_control = evalin('base', 'simout2');
其中,“simout1”和“simout2”是我们从Simulink仿真中得到的仿真数据,在Simulink中双击左键,输入“To Workspace”,则可以得到“simout”模块,如下图所示:
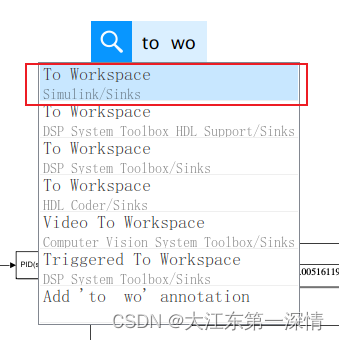
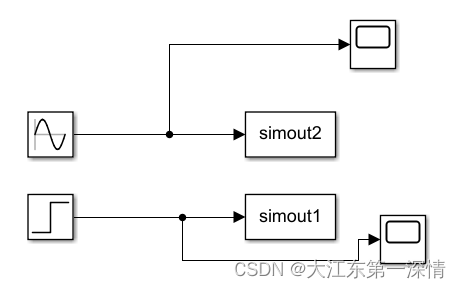
将得到的数据与“simout”连接则可以输出,这里我们以一个“step”模块和“sine wave”模块的输入信号分别作为“simout”值:
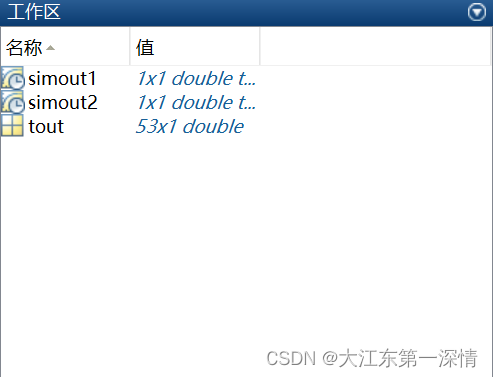
点击仿真按钮,去MATLAB的工作区查看,可以看到得到了两个参数:
2. 绘图
            %%数据展示
            plot(app.UIAxes,PID_ori.data , 'LineWidth',1, "Color",[1, 0 ,0]);
            hold(app.UIAxes, "on");
            plot(app.UIAxes, PID_control.data, "LineWidth",1,"Color",[0,1,0]);
            legend(app.UIAxes, ["PID ori", "PID control"]);
可以看到,还是使用plot函数,但是需要选择在哪一个“坐标区”上绘图 ,可以看到,这里我们是在“app.UIAxes”上绘图,这在我们“代码视图”的右边组件浏览器中可以看到名称:
当“坐标区”数量多于1时,系统会自动进行编码:app.UIAxes_2、app.UIAxes_3等。
hold on用法与.m文件一致;legend是图例。
3. 运行
点击运行,结果如下所示:

可以看到,运行成功,由于我并没有对位置进行规划之类的,所以UI有点惨不忍睹,如果想要修改,可以点击代码界面的右上角“设计视图”回到设计界面进行修改。
4. 总结
进行了一次简单的MATLAB的appdesigner用法讲解,设计了一个粗糙的UI界面,主要适用于一些小型课程设计的UI界面设计要求(这里是用于机电控制技术的Homework project),完全可以实现UI设计速成,有想法和改进欢迎进行联系交流,如果本篇文章对你有帮助,解决了你的疑惑或者问题,请不要吝啬你的点赞哦,谢谢!


 3829
3829


 被折叠的 条评论
为什么被折叠?
被折叠的 条评论
为什么被折叠?
 到【灌水乐园】发言


