


OSG 几何体的绘制
前言:今天按照书上撸了大部分绘制几何体的代码,感觉这样学习一点用都没有,这两天就当练手了吧,明天开始总结各个函数的使用和渲染的方法。
1.基本几何体绘制示例
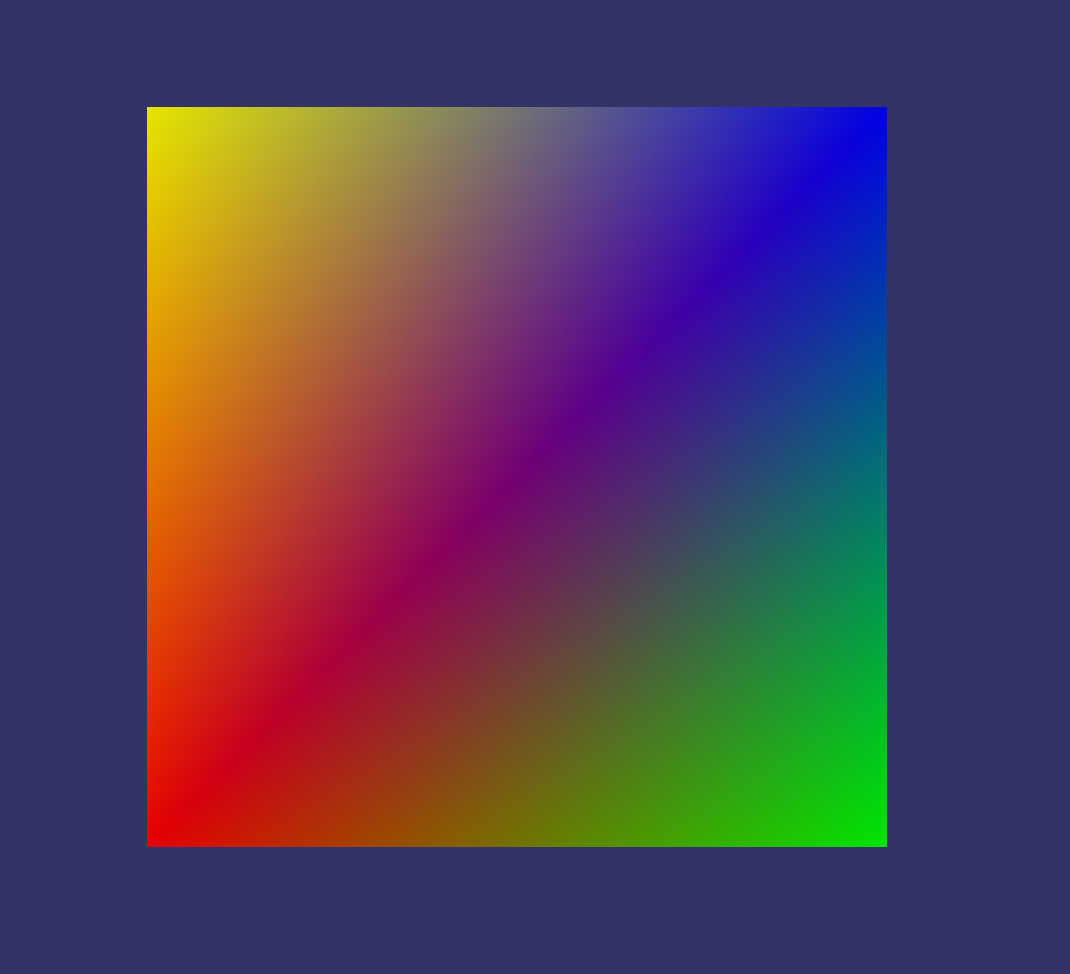
基本几何体绘制(osg::Geometry)示例演示了创建一个几何体的过程,示例中创建了最简单的四边形。
代码如下:
//2017.8.2
//绘制基本几何体
#include <osgViewer/Viewer>

#include <osg/Node>
#include <osg/Geode>
#include <osg/Group>

#include <osgDB/ReadFile>
#include <osgDB/WriteFile>

#include <osgUtil/Optimizer>

//创建一个四边形节点
osg::ref_ptr<osg::Node> createQuad()
{
	//创建一个叶节点对象
	osg::ref_ptr<osg::Geode> geode = new osg::Geode();

	//创建一个几何体对象
	osg::ref_ptr<osg::Geometry> geom = new osg::Geometry();

	//创建顶点数组,注意顶点的添加顺序是逆时针的
	osg::ref_ptr<osg::Vec3Array> v = new osg::Vec3Array();
	//添加数据
	v->push_back(osg::Vec3(0.0f, 0.0f, 0.0f));
	v->push_back(osg::Vec3(1.0f, 0.0f, 0.0f));
	v->push_back(osg::Vec3(1.0f, 0.0f, 1.0f));
	v->push_back(osg::Vec3(0.0f, 0.0f, 1.0f));

	//设置顶点数据
	geom->setVertexArray(v.get());

	//创建纹理坐标
	osg::ref_ptr<osg::Vec2Array> vt = new osg::Vec2Array();
	//添加数据
	vt->push_back(osg::Vec2(0.0f,0.0f));
	vt->push_back(osg::Vec2(1.0f,0.0f));
	vt->push_back(osg::Vec2(1.0f,1.0f));
	vt->push_back(osg::Vec2(0.0f,1.0f));

	//设置纹理坐标
	//geom->setTexCoordArray(0,vt.get());

	//创建颜色数组
	osg::ref_ptr<osg::Vec4Array> vc = new osg::Vec4Array();
	//添加数据
	vc->push_back(osg::Vec4(1.0f, 0.0f, 0.0f, 1.0f));
	vc->push_back(osg::Vec4(0.0f, 1.0f, 0.0f, 1.0f));
	vc->push_back(osg::Vec4(0.0f, 0.0f, 1.0f, 1.0f));
	vc->push_back(osg::Vec4(1.0f, 1.0f, 0.0f, 1.0f));

	//设置颜色数组
	geom->setColorArray(vc.get());
	//设置颜色的绑定方式为单个顶点
	geom->setColorBinding(osg::Geometry::BIND_PER_VERTEX);

	//创建法线数组
	osg::ref_ptr<osg::Vec3Array> nc = new osg::Vec3Array();

	//创建法线数组
	geom->setNormalArray(nc.get());
	//添加法线
	nc->push_back(osg::Vec3(0.0f, -1.0f, 0.0f));

	//设置法线数组
	geom->setNormalArray(nc.get());
	//设置法线绑定方式为全部为顶点
	geom->setNormalBinding(osg::Geometry::BIND_OVERALL);

	//添加图元,绘图基元为四边形
	geom->addPrimitiveSet(new osg::DrawArrays(osg::PrimitiveSet::QUADS, 0, 4));

	//添加到叶节点
	geode->addDrawable(geom.get());

	return geode.get();
}

int main()
{
	osg::ref_ptr<osgViewer::Viewer> viewer = new osgViewer::Viewer();
	osg::ref_ptr<osg::Group> root = new osg::Group();

	//添加到场景
	root->addChild(createQuad());

	//优化场景数据
	osgUtil::Optimizer optimizer;
	optimizer.optimize(root.get());

	//设置场景数据
	viewer->setSceneData(root.get());
	//初始化并创建窗口
	viewer->realize();
	//开始渲染
	viewer->run();
	return 0;
}
程序运行截图:
2.预定义几何体示例
代码如下:
//2017.8.2
//预定义几何体示例

#include <osgViewer/Viewer>

#include <osg/Node>
#include <osg/Geode>
#include <osg/Group>
#include <osg/ShapeDrawable>

#include <osgDB/ReadFile>
#include <osgDB/WriteFile>

#include <osgUtil/Optimizer>


//绘制多个预定义的几何体
osg::ref_ptr<osg::Geode> createShape()
{
	//创建一个叶节点
	osg::ref_ptr<osg::Geode> geode = new osg::Geode();

	//设置半径和高度
	float radius = 0.8f;
	float height  = 1.0f;

	//创建精细度对象,精细度越高,细分就越多
	osg::ref_ptr<osg::TessellationHints> hints = new osg::TessellationHints();
	//设置精细度为0.5f
	hints->setDetailRatio(0.5f);

	//添加一个球体,第一个参数是预定义几何体对象,第二个参数是精细度,默认为0
	geode->addDrawable(new osg::ShapeDrawable(new osg::Sphere(osg::Vec3(0.0f, 0.0f, 0.0f),radius),hints.get()));

	//添加一个正方体
	geode->addDrawable(new osg::ShapeDrawable(new osg::Box(osg::Vec3(2.0f, 0.0f, 0.0f),2*radius),hints.get()));

	//圆锥
	geode->addDrawable(new osg::ShapeDrawable(new osg::Cone(osg::Vec3(4.0f, 0.0f, 0.0f),radius,height),hints.get()));
	//圆柱体
	geode->addDrawable(new osg::ShapeDrawable(new osg::Cylinder(osg::Vec3(6.0f, 0.0f, 0.0f),radius,height),hints.get()));
    //太空舱
	geode->addDrawable(new osg::ShapeDrawable(new osg::Capsule(osg::Vec3(8.0f, 0.0f, 0.0f),radius,height),hints.get()));

	return geode.get();
}

int main()
{
	//创建Viewer对象
	osg::ref_ptr<osgViewer::Viewer> viewer = new osgViewer::Viewer();
	osg::ref_ptr<osg::Group> root = new osg::Group();

	//添加到场景
	root->addChild(createShape());

	//优化场景数据
	osgUtil::Optimizer optimizer;
	optimizer.optimize(root.get());

	//设置场景数据
	viewer->setSceneData(root.get());
	//初始化并创建窗口
	viewer->realize();
	//开始渲染
	viewer->run();

	return 0;
}
程序运行截图:


 609
609

 被折叠的 条评论
为什么被折叠?
被折叠的 条评论
为什么被折叠?
 到【灌水乐园】发言


