


使用Unity版本:2019.4.12f1
整体流程:
1添加一个quad object并添加一个无光照材质
2.相机投影模式设置为正交
3.调整quad使其完全显示在相机内
4.创建脚本并且使用计算着色器覆盖quad的纹理
5.创建一个compute shader
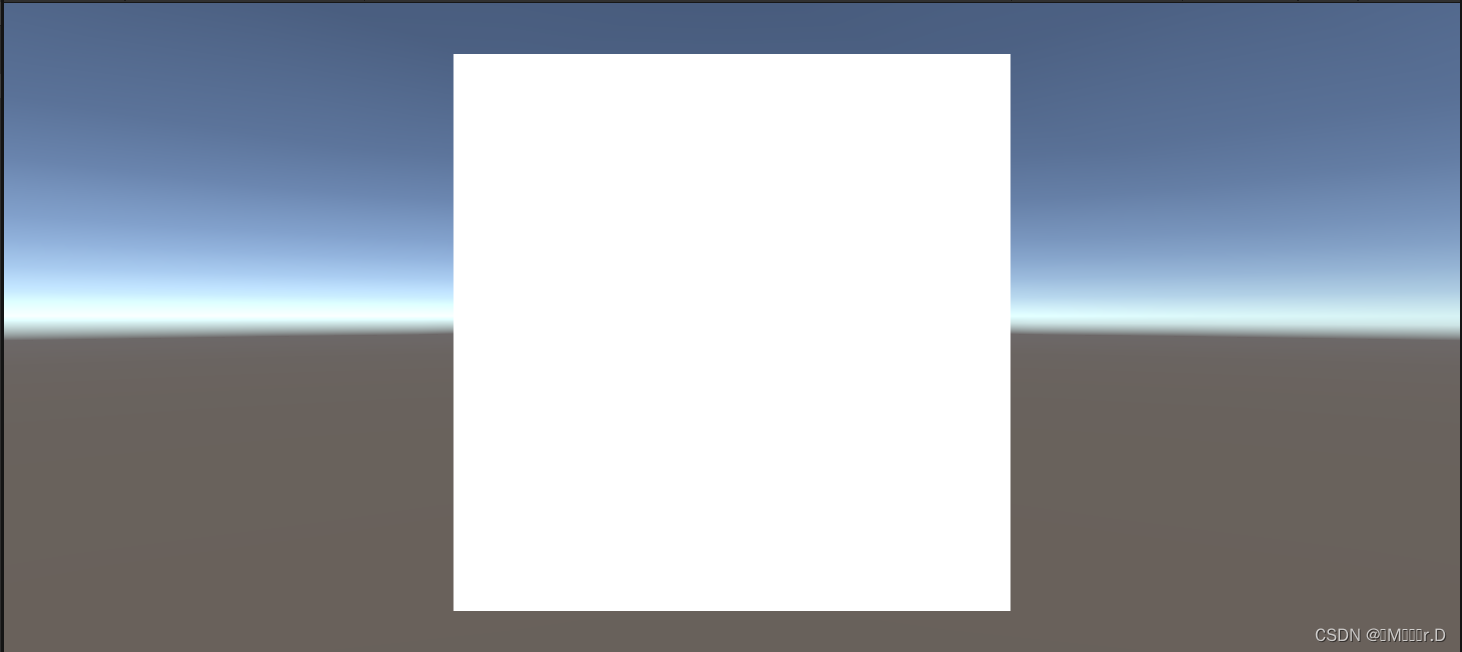
前三步完成以后结果应该是这样的:
创建脚本并且使用计算着色器覆盖quad的纹理
创建脚本并且命名为AssignTexture
using System.Collections;
using System.Collections.Generic;
using UnityEngine;

public class AssignTexture : MonoBehaviour
{
    public ComputeShader shader;
    public int texResolution = 256;

    Renderer rend;
    RenderTexture outputTexture;
    int kernoHandle;


    // Start is called before the first frame update
    void Start()
    {
        outputTexture = new RenderTexture(texResolution, texResolution, 0);//创建一个颜色纹理,第三个参数0表示不需要深度信息
        outputTexture.enableRandomWrite = true;//允许compute shader 去修改纹理
        outputTexture.Create();

        rend = GetComponent<Renderer>();//确保渲染器组件已经启用
        rend.enabled = true;

    }

    // Update is called once per frame
    void Update()
    {

    }
}
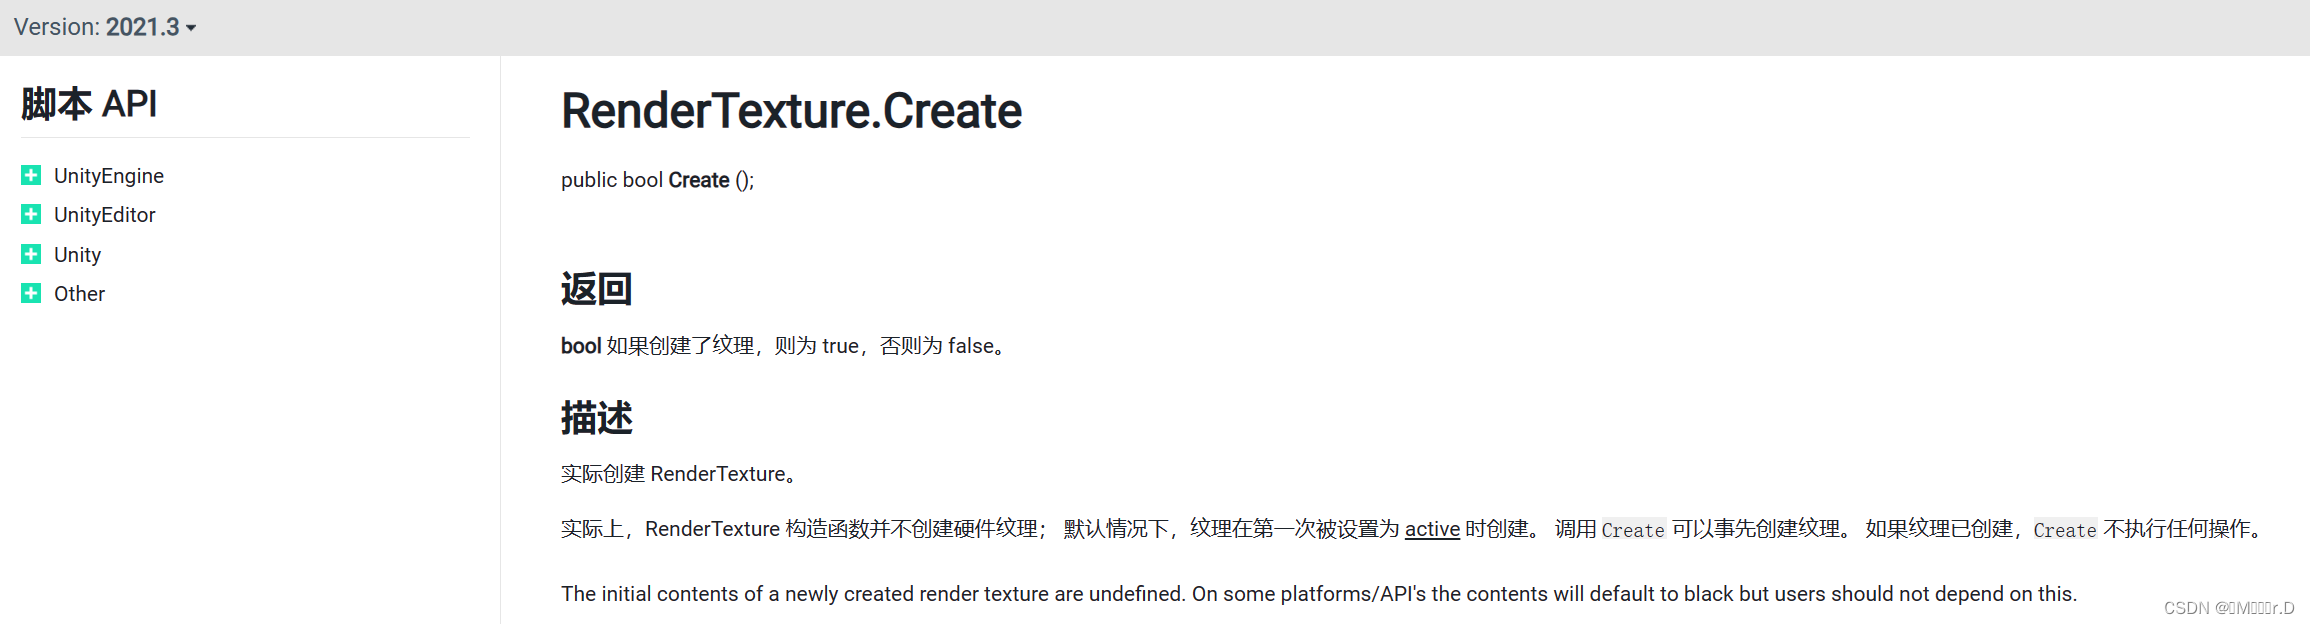
这里说下Render.Create()函数,引用下unity官方文档的解释。
也就是说创建实例的时候并不会创建纹理,只有在active状态的时候或者调用create函数的时候才会创建纹理(active状态比如纹理设置为相机的目标纹理或者被设置为渲染目标)
接下来把脚本附加给quad,然后创建一个compute shader附加到脚本上。
一个compute shader包含一个或者多个kernel。每个Kernel都可以通过mono behaviour 脚本调用,通过使用computeshader的dispatch方法。
一个默认的compute shader包含了以下内容:
// Each #kernel tells which function to compile; you can have many kernels
#pragma kernel CSMain

// Create a RenderTexture with enableRandomWrite flag and set it
// with cs.SetTexture
RWTexture2D<float4> Result;

[numthreads(8,8,1)]
void CSMain (uint3 id : SV_DispatchThreadID)
{
    // TODO: insert actual code here!

    Result[id.xy] = float4(id.x & id.y, (id.x & 15)/15.0, (id.y & 15)/15.0, 0.0);
}
每个kernel都需要一个pragma声明,然后是要调用的函数的名称。
接下来是声明一个纹理变量,这个纹理允许读和写每一个像素值
接下来这句话
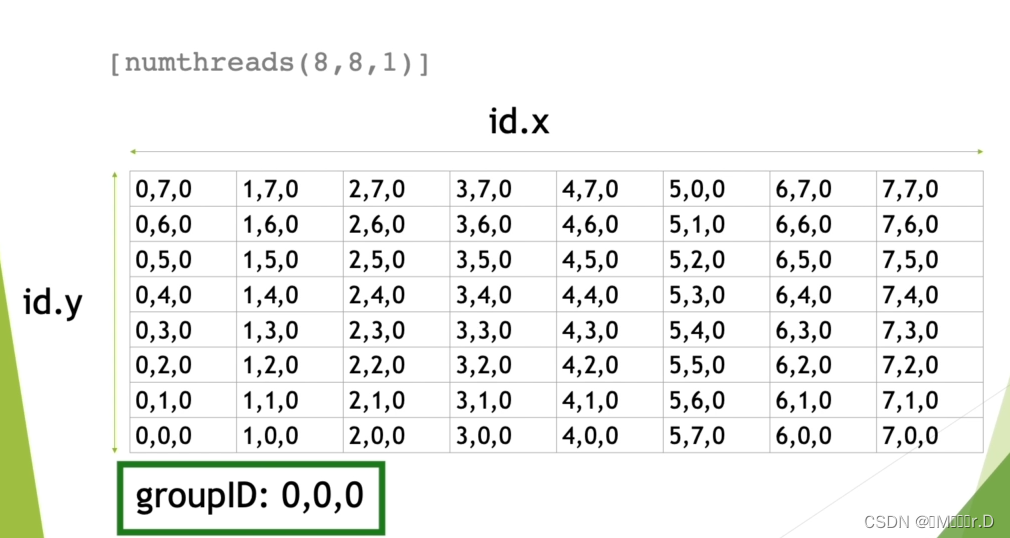
[numthreads(8,8,1)]说明了一个线程组(Thread Group)中可以被执行的线程(Thread)总数量。一共是8*8*1=64个线程
线程组ID是(0,0,0)对应的id.xy应该是下面这样的,这个时候id.x和y指向纹理的左下角,多线程在左下角处理一个8*8的像素
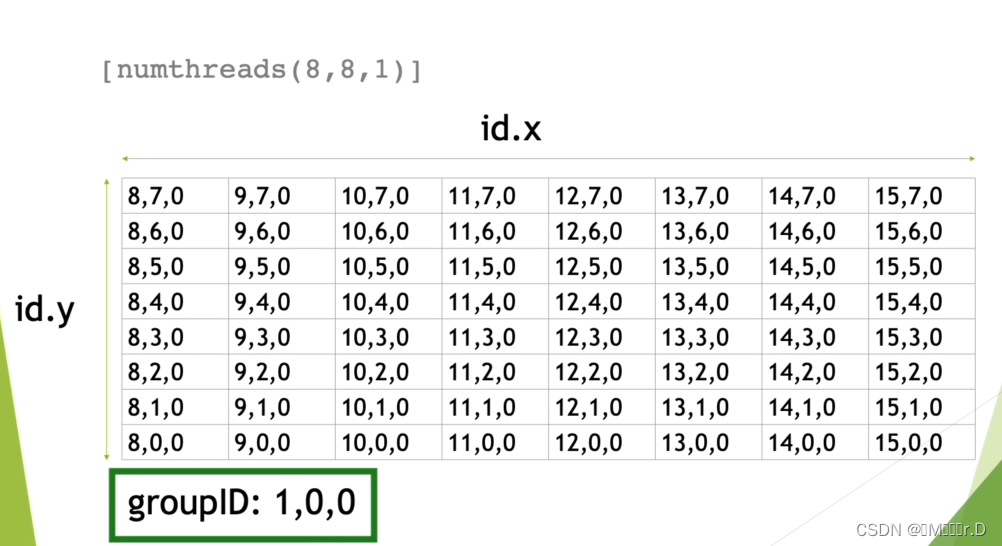
当线程组ID是(1,0,0)时
当线程组ID是(0,1,0)的时候
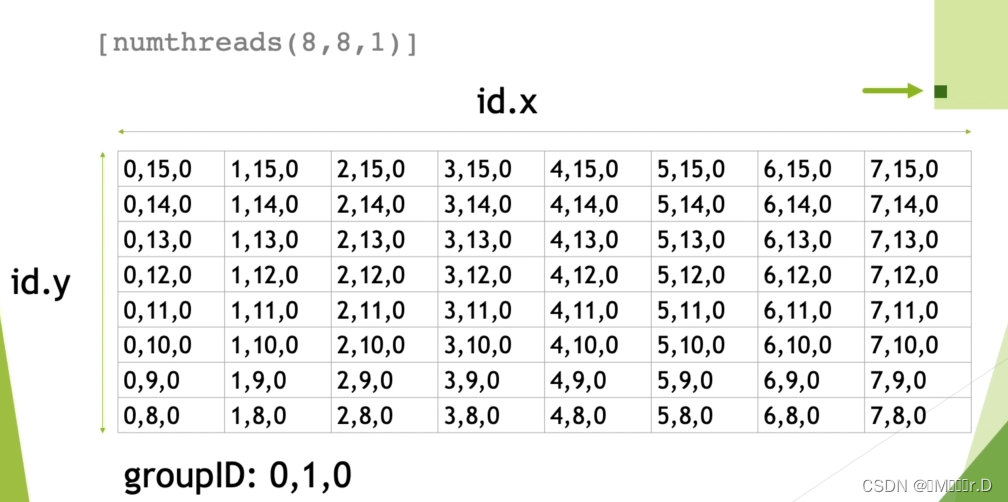 前面已经说过,每个线程组会有64个线程分别处理64(8*8)个像素, 如果我们要绘制一个256*256分辨率的纹理,就分别需要(256/8,256/8)个线程组
这里就要说下ComputeShader.Dispatch这个函数了,也就是帮我们分配并且启动线程组的函数。
引用下unity官方文档的解释:
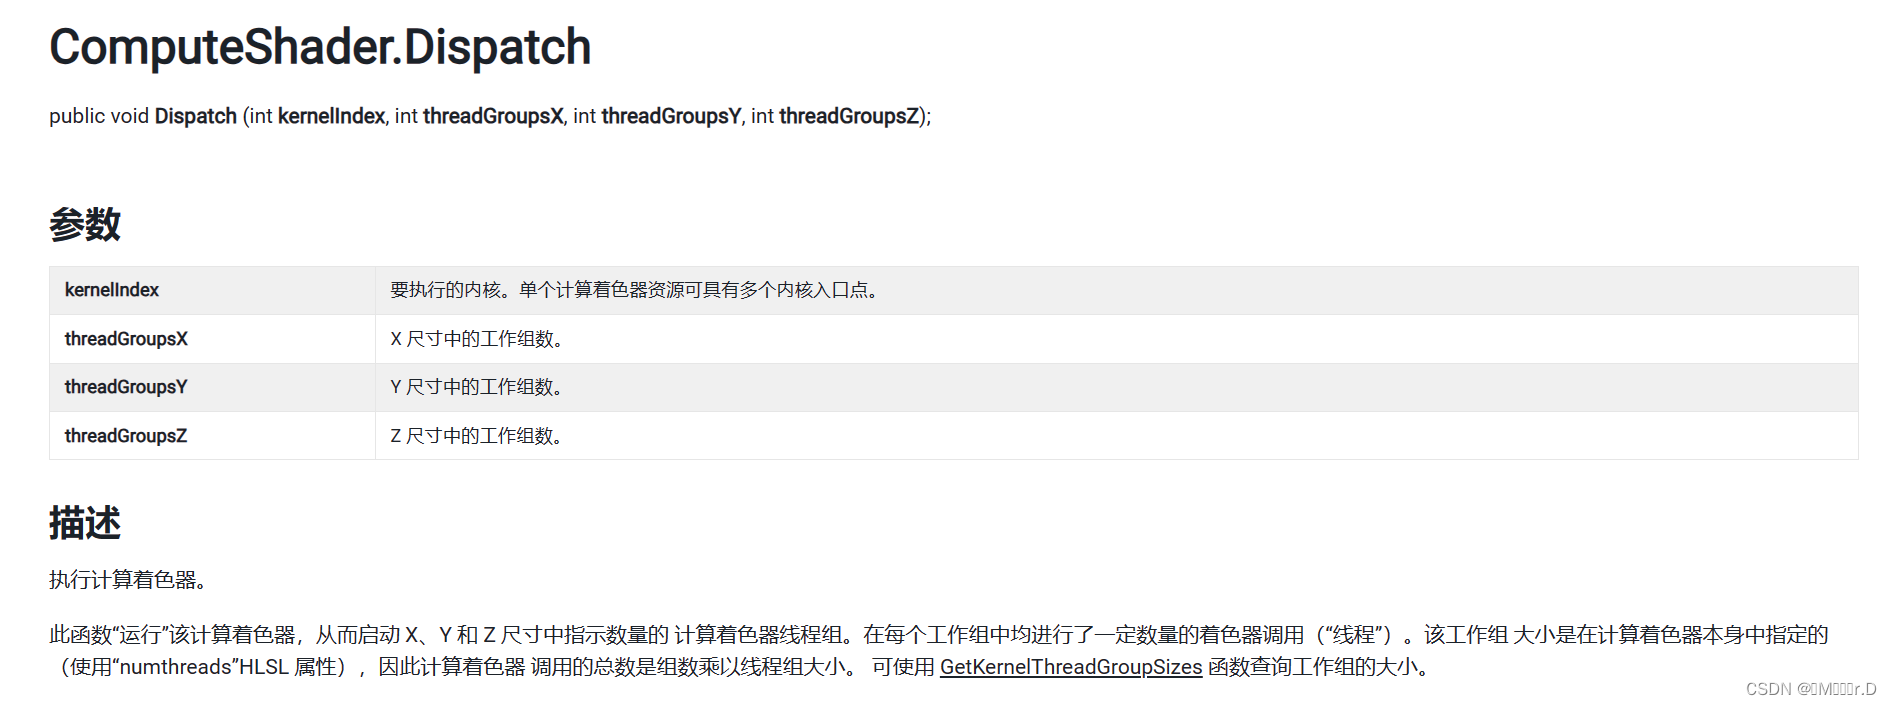
另外这三个参数必须都不为0计算着色器才会正常工作,也就是说z至少为1才可以。
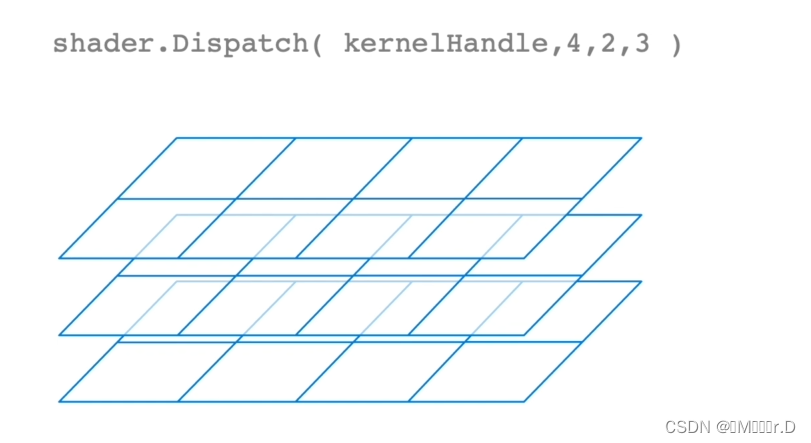
比如说x,y,z分别是(4,2,3),那么每个线程组都会被调用,一共调用4*2*3=24次
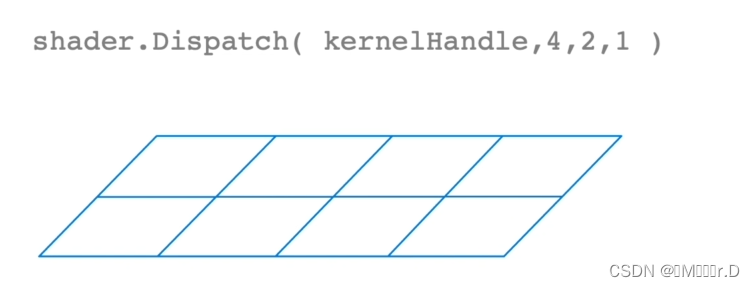
如果x,y,z分别是(4,2,1),那么每个线程组都会被调用,一共调用4*2*1=8次
如果在某个维度上指定线程组数量为0,就意味着在该维度上没有线程组进行计算,这将导致计算着色器无法执行任何计算任务。因此,至少需要一个线程组来确保计算着色器能够执行并发计算任务。
那么接下来完善我们的c#脚本:
using System.Collections;
using System.Collections.Generic;
using UnityEngine;
public class AssignTexture : MonoBehaviour
{
public ComputeShader shader;
public int texResolution = 256;
Renderer rend;
RenderTexture outputTexture;
int kernoHandle;
// Start is called before the first frame update
void Start()
{
outputTexture = new RenderTexture(texResolution, texResolution, 0);//创建一个颜色纹理,第三个参数0表示不需要深度信息
outputTexture.enableRandomWrite = true;//允许compute shader 去修改纹理
outputTexture.Create();
rend = GetComponent<Renderer>();//确保渲染器组件已经启用
rend.enabled = true;
InitShader();
}
// Update is called once per frame
void Update()
{
if (Input.GetKeyDown(KeyCode.U))
{
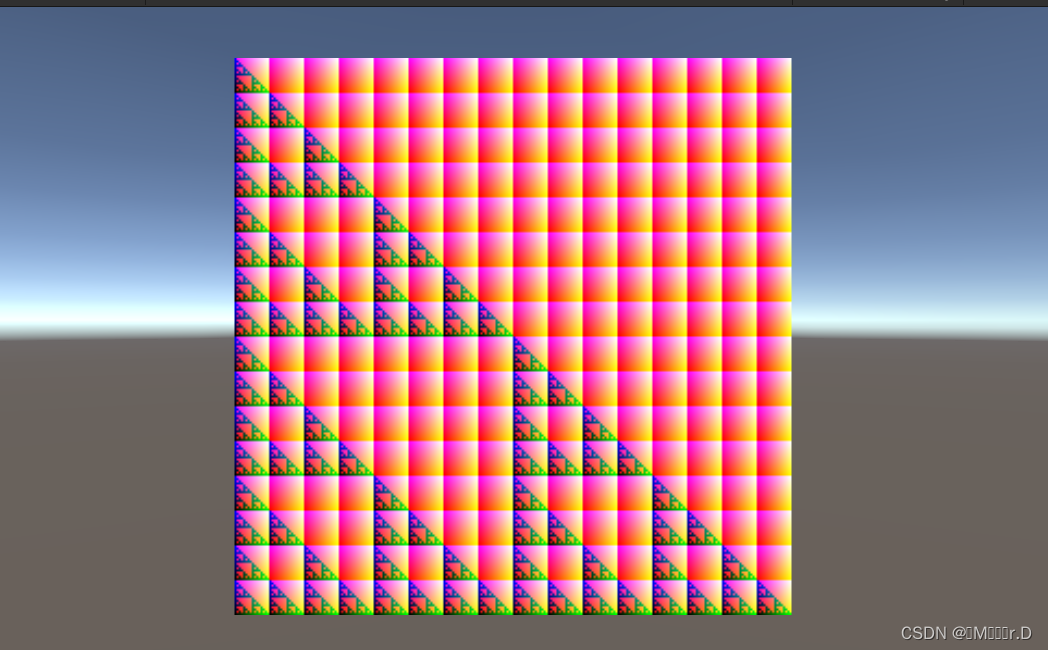
DispatchShader(texResolution / 8, texResolution / 8);
}
}
private void InitShader()
{
kernoHandle = shader.FindKernel("CSMain");
shader.SetTexture(kernoHandle, "Result", outputTexture);
rend.material.SetTexture("_MainTex", outputTexture);
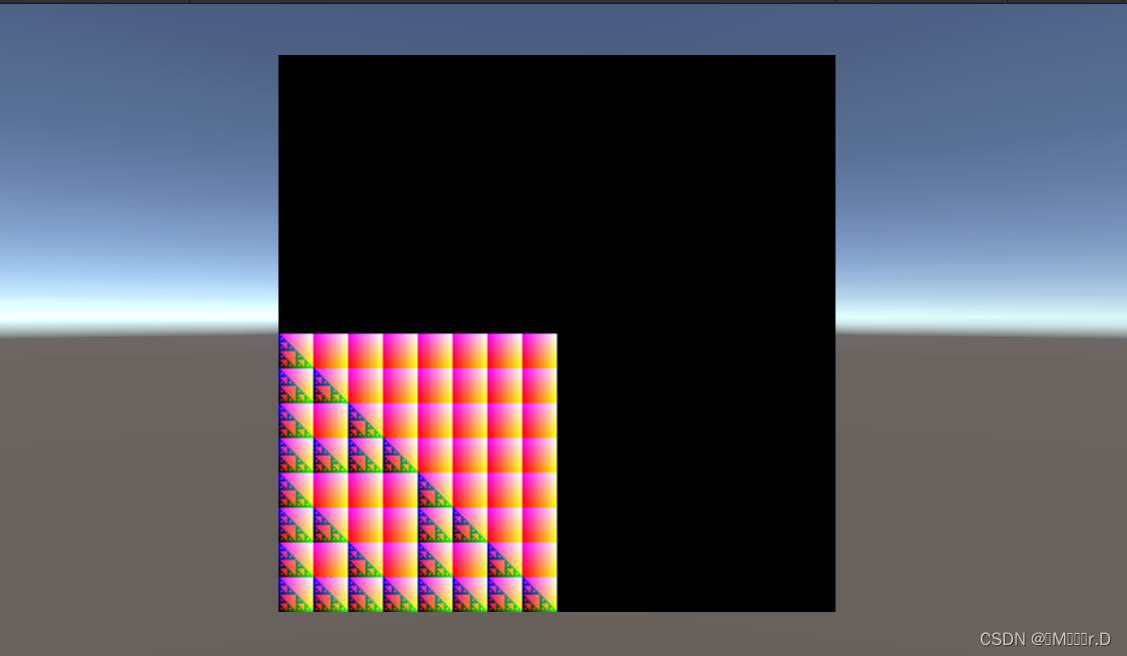
DispatchShader(texResolution / 16, texResolution / 16);
}
private void DispatchShader(int x,int y)
{
shader.Dispatch(kernoHandle, x, y, 1);
}
}
默认使用一半的线程组绘制的结果:
确实x和y方向都只绘制了一半的像素
正常绘制以后的结果:


 1196
1196


 被折叠的 条评论
为什么被折叠?
被折叠的 条评论
为什么被折叠?
 到【灌水乐园】发言


