


一、实验目的和要求
- 熟悉曲线的定义和相关性质、理解生成Bézier曲线的迭代算法;
- 使用鼠标在在屏幕中任意设置控制点,并生成曲线。
二、实验内容
利用迭代算法绘制Bézier曲线,并实现鼠标交互:鼠标点击左键出现控制点,达到3次后绘制Bézier曲线。
三、实验过程及代码
#include <math.h>
#include <gl/glut.h>

int SCREEN_HEIGHT = 480;//屏幕高度
						// 跟踪鼠标点击次数,达到3次后绘制Bezier曲线
int NUMPOINTS = 0;

//点
class Point {
public:
	float x, y;
	void setxy(float x2, float y2) { x = x2; y = y2; }
	const Point & operator=(const Point &rPoint) {
		x = rPoint.x;
		y = rPoint.y;

		return *this;
	}

};

Point abc[3];

void myInit() {
	glClearColor(0.0, 0.0, 0.0, 0.0);
	glColor3f(1.0, 0.0, 0.0);
	glPointSize(4.0);
	glMatrixMode(GL_PROJECTION);
	glLoadIdentity();
	gluOrtho2D(0.0, 640.0, 0.0, 480.0);

}

void drawDot(int x, int y) {
	glBegin(GL_POINTS);
	glVertex2i(x, y);
	glEnd();
	glFlush();
}

void drawLine(Point p1, Point p2) {
	glBegin(GL_LINES);
	glVertex2f(p1.x, p1.y);
	glVertex2f(p2.x, p2.y);

	glEnd();
	glFlush();
}

// 计算下一个Bezier曲线上的点
Point drawBezier(Point A, Point B, Point C, double t) {
	Point P;
	P.x = pow((1 - t), 2) * A.x + 2 * t * (1 - t) * B.x + pow(t, 2) * C.x;
	P.y = pow((1 - t), 2) * A.y + 2 * t * (1 - t) * B.y + pow(t, 2) * C.y;
	return P;
}

void myMouse(int button, int state, int x, int y) {
	//左键按下
	if (button == GLUT_LEFT_BUTTON && state == GLUT_DOWN) {
		//存储鼠标点击的点
		abc[NUMPOINTS].setxy((float)x, (float)(SCREEN_HEIGHT - y));
		NUMPOINTS++;

		// 绘制红点
		drawDot(x, SCREEN_HEIGHT - y);

		// 绘制Bezier曲线
		if (NUMPOINTS == 3) {
			glColor3f(1.0, 1.0, 1.0);
			// 绘制控制多边形
			drawLine(abc[0], abc[1]);
			drawLine(abc[1], abc[2]);
			Point POld = abc[0];
			//绘制Bezier曲线段,控制t的增量可以控制曲线精度
			for (double t = 0.0; t <= 1.0; t += 0.1) {
				Point P = drawBezier(abc[0], abc[1], abc[2], t);
				drawLine(POld, P);
				POld = P;
			}
			glColor3f(1.0, 0.0, 0.0);
			NUMPOINTS = 0;
		}
	}
}

void myDisplay() {
	glClear(GL_COLOR_BUFFER_BIT);
	glFlush();


}

int main(int argc, char *argv[]) {
	glutInit(&argc, argv);
	glutInitDisplayMode(GLUT_SINGLE | GLUT_RGB);
	glutInitWindowSize(640, 480);
	glutInitWindowPosition(100, 150);
	glutCreateWindow("Bézier曲线-学号姓名");
	glutMouseFunc(myMouse);
	glutDisplayFunc(myDisplay);
	myInit();
	glutMainLoop();
	return 0;
}
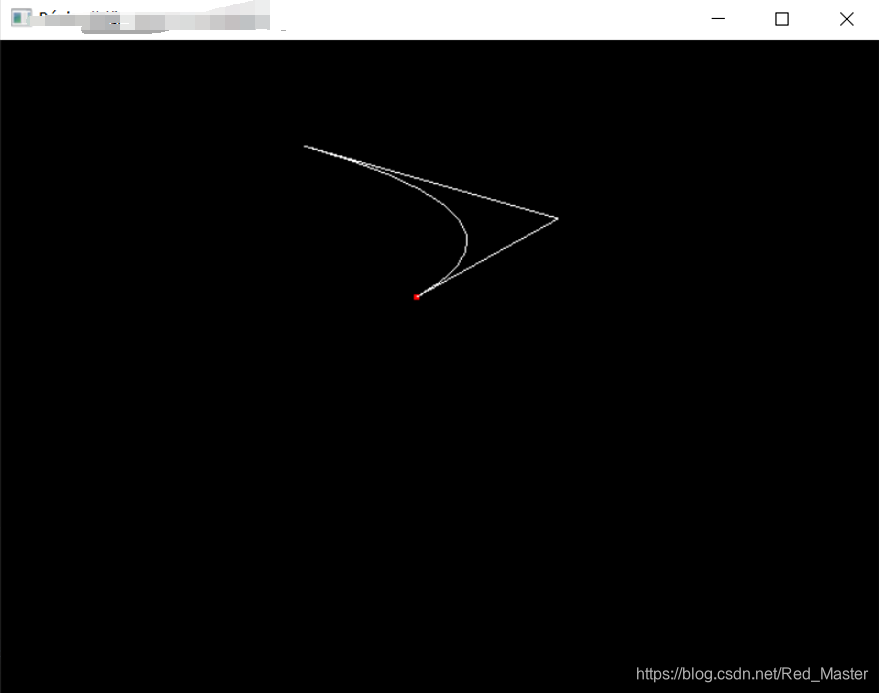
四、实验运行结果截图


 852
852


 被折叠的 条评论
为什么被折叠?
被折叠的 条评论
为什么被折叠?
 到【灌水乐园】发言


