


 本文介绍了如何在Python中使用gzip库解压缩MNIST数据集,并展示了如何加载和预览数据集中的图像。还演示了如何使用matplotlib显示部分MNIST图像及其标签。
百度网盘提取:
链接: https://pan.baidu.com/s/1zZpIfDLkyF3TMot-04ZUdA?pwd=6666 提取码: 6666 复制这段内容后打开百度网盘手机App,操作更方便哦
python解压缩文件:
注意修改文件路径
import numpy as np
import gzip

def load_data():
    # 加载图像数据
    with gzip.open('D:/Desktop/MNIST_data/train-images-idx3-ubyte.gz', 'rb') as f: #训练集
        X_train = np.frombuffer(f.read(), dtype=np.uint8, offset=16).reshape(-1, 28*28)

    with gzip.open('D:/Desktop/MNIST_data/t10k-images-idx3-ubyte.gz', 'rb') as f: #测试集标签
        X_test = np.frombuffer(f.read(), dtype=np.uint8, offset=16).reshape(-1, 28*28)

    # 加载标签数据
    with gzip.open('D:/Desktop/MNIST_data/train-labels-idx1-ubyte.gz', 'rb') as f: #训练集标签
        y_train = np.frombuffer(f.read(), dtype=np.uint8, offset=8)

    with gzip.open('D:/Desktop/MNIST_data/t10k-labels-idx1-ubyte.gz', 'rb') as f: #测试集标签
        y_test = np.frombuffer(f.read(), dtype=np.uint8, offset=8)

    return (X_train, y_train), (X_test, y_test)

# 加载MNIST数据集
(X_train, y_train), (X_test, y_test) = load_data()

# 查看键值
print("训练集键值:", X_train.shape, y_train.shape)
print("测试集键值:", X_test.shape, y_test.shape)
python显示部分图片:
import matplotlib.pyplot as plt
# 选择要显示的图像的索引
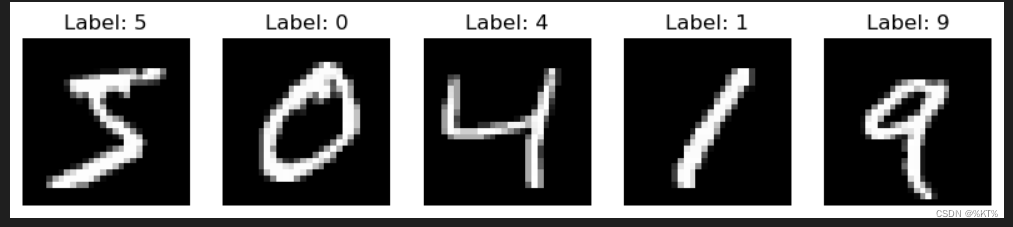
indices = [0, 1, 2, 3, 4] # 显示前5张图片
# 设置画布和子图的尺寸
plt.figure(figsize=(10, 3))
for i, index in enumerate(indices):
# 每个子图显示一张图片
plt.subplot(1, len(indices), i+1) # 参数1, len(indices), i+1 分别表示:行数, 列数, 当前子图编号
plt.imshow(X_train[index].reshape(28, 28), cmap='gray') # 将图像数据重塑为28x28,并使用灰度色图显示
plt.title('Label: ' + str(y_train[index])) # 显示图像对应的标签
plt.axis('off') # 不显示坐标轴
# 调整子图间距
plt.subplots_adjust(hspace=0.5)
# 显示整个画布
plt.show()显示结果:


 906
906

 被折叠的 条评论
为什么被折叠?
被折叠的 条评论
为什么被折叠?
 到【灌水乐园】发言


