


将json中标注的多边形提取为矩形标注并保存为txt格式,代码如下,适合一种类别,多种自己修改:
import json
import os
from os import listdir, getcwd
from os.path import join
import os.path
rootdir = '/home/lwf/下载/images' # 写自己存放图片的数据地址
def position(pos):
# 该函数用来找出xmin,ymin,xmax,ymax即bbox包围框
x = []
y = []
nums = len(pos)
for i in range(nums):
x.append(pos[i][0])
y.append(pos[i][1])
x_max = max(x)
x_min = min(x)
y_max = max(y)
y_min = min(y)
b = (float(x_min), float(x_max), float(y_min), float(y_max))
return b
def convert(size, box):
# 该函数将xmin,ymin,xmax,ymax转为x,y,w,h中心点坐标和宽高
dw = 1. / (size[0])
dh = 1. / (size[1])
x = (box[0] + box[1]) / 2.0 - 1
y = (box[2] + box[3]) / 2.0 - 1
w = box[1] - box[0]
h = box[3] - box[2]
x = x * dw
w = w * dw
y = y * dh
h = h * dh
return (x, y, w, h)
def convert_annotation(image_id):
load_f = open("/home/lwf/下载/json/%s.json" % (image_id), 'r') # 导入json标签的地址
load_dict = json.load(load_f)
out_file = open('/home/lwf/下载/txt/%s.txt' % (image_id), 'w') # 输出标签的地址
# keys=tuple(load_dict.keys())
w = load_dict['imageWidth'] # 原图的宽,用于归一化
h = load_dict['imageHeight']
# print(h)
objects = load_dict['shapes']
nums = len(objects)
# print(nums)
# object_key=tuple(objects.keys()
for i in range(0, nums):
labels = objects[i]['label']
# print(i)
if (labels in ['apple']):
# print(labels)
pos = objects[i]['points']
b = position(pos)
bb = convert((w, h), b)
cls_id = 0 # 类别设为0
out_file.write(str(cls_id) + " " + " ".join([str(a) for a in bb]) + '\n')
# print(type(pos))
#以下用不到
elif (labels in ['car', 'truck', 'bus', 'caravan', 'trailer']):
# print(labels)
pos = objects[i]['polygon']
b = position(pos)
bb = convert((w, h), b)
cls_id = 1 # 我这里把各种类型的车都设为类别1
out_file.write(str(cls_id) + " " + " ".join([str(a) for a in bb]) + '\n')
def image_id(rootdir):
a = []
for parent, dirnames, filenames in os.walk(rootdir):
for filename in filenames:
filename = filename.strip('.jpg')
# print(filename)
a.append(filename)
return a
names = image_id(rootdir)
for image_id in names:
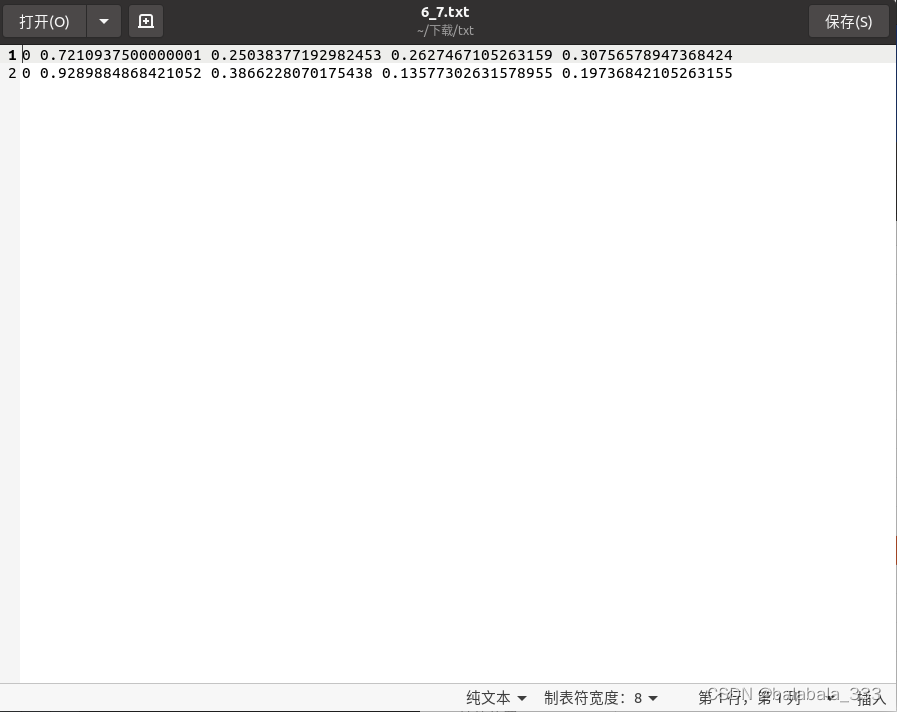
convert_annotation(image_id)得到的格式如下:
----------------------------------------分割线-----------------------------------------------------------------------------
再将yolo标签画在图片上,可以预览,也可以批量保存下来,代码如下:
实现代码一:
import os
import cv2

def main():
	# 总的检测根目录
    path_root_labels = '/home/lwf/下载/txt'
    # 总的检测根目录
    path_root_imgs ='/home/lwf/下载/数据/JPEGImages'
    type_object = '.txt'
    #保存画框后的图片路径
    path_save_imgs ='/home/lwf/下载/数据/save_image'

    for ii in os.walk(path_root_imgs):
        for j in ii[2]:
            type = j.split(".")[1]
            if type != 'jpg' and type != 'png':
                continue
            path_img = os.path.join(path_root_imgs, j)
            print(path_img)
            label_name = j[:-4]+type_object
            path_label = os.path.join(path_root_labels, label_name)

            if os.path.exists(path_label) == True:
                f = open(path_label, 'r+', encoding='utf-8')
                img = cv2.imread(path_img)
                img_tmp = img.copy()
                w = img.shape[1]
                h = img.shape[0]
                new_lines = []
                while True:
                    line = f.readline()
                    if line:

                        msg = line.split(" ")
                        # print(x_center,",",y_center,",",width,",",height)
                        x1 = int((float(msg[1]) - float(msg[3]) / 2) * w)  # x_center - width/2
                        y1 = int((float(msg[2]) - float(msg[4]) / 2) * h)  # y_center - height/2
                        x2 = int((float(msg[1]) + float(msg[3]) / 2) * w)  # x_center + width/2
                        y2 = int((float(msg[2]) + float(msg[4]) / 2) * h)  # y_center + height/2
                        print(x1,",",y1,",",x2,",",y2)
                        cv2.rectangle(img_tmp,(x1,y1),(x2,y2),(0,0,255),2)
                    else :
                        break
                # cv2.imwrite(path_save_imgs + '/'+j[:-4]+'.jpg', img_tmp)#保存图片
                cv2.imshow('test',img_tmp)#预览画框的图片
                cv2.waitKey(0)
                print(img_tmp)


if __name__ == '__main__':
    main()
实现代码二:
二更为简洁
import cv2
import numpy as np
import os

# 定义可视化函数
def visualize(image_path, label_path, class_names):
    # 读取图片
    image = cv2.imread(image_path)

    # 获取图片的大小
    height, width, _ = image.shape

    # 读取标签文件
    with open(label_path, "r") as f:
        lines = f.readlines()

    # 遍历每个标签
    for line in lines:
        # 解析标签
        class_id, x, y, w, h = map(float, line.split())
        class_name = class_names[int(class_id)]

        # 计算 bounding box 的坐标
        left = int((x - w / 2) * width)
        top = int((y - h / 2) * height)
        right = int((x + w / 2) * width)
        bottom = int((y + h / 2) * height)

        # 绘制 bounding box
        cv2.rectangle(image, (left, top), (right, bottom), (0, 255, 0), 2)

        # 绘制类别名称
        text_size, _ = cv2.getTextSize(class_name, cv2.FONT_HERSHEY_SIMPLEX, 0.5, 2)
        cv2.putText(image, class_name, (left, top - text_size[1]), cv2.FONT_HERSHEY_SIMPLEX, 0.5, (0, 255, 0), 2)
        a =save_show_path+image_path.split("/")[-1]
        cv2.imwrite(save_show_path+image_path.split("/")[-1], image)

# 获取文件夹下所有的图片和标签文件
image_folder = r"E:\wgisd_data/images/"
label_folder = r"E:\wgisd_data/labels/"
class_names = ["grape", "class2", "class3"]  # 请替换为你的类别名称列表
image_files = os.listdir(image_folder)
# label_files = os.listdir(label_folder)
save_show_path= "E:\projects\json\show_path/"


# 循环可视化每张图片和对应的标签
i = 0
while i < len(image_files):
    image_path = os.path.join(image_folder, image_files[i])
    label_file = os.path.splitext(image_files[i])[0] + ".txt"
    label_path = os.path.join(label_folder, label_file)
    visualize(image_path, label_path, class_names)
    i += 1
效果如下:

参考博文:


 5313
5313


 被折叠的 条评论
为什么被折叠?
被折叠的 条评论
为什么被折叠?
 到【灌水乐园】发言


