


课前预习
12.1 LNMP架构介绍 12.2 MySQL安装
12.3/12.4 PHP安装
12.5 Nginx介绍
12.6 Nginx安装
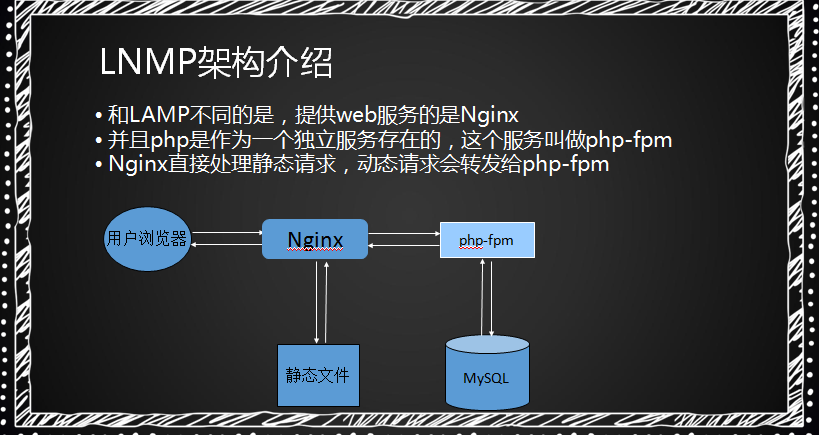
12.1 LNMP架构介绍
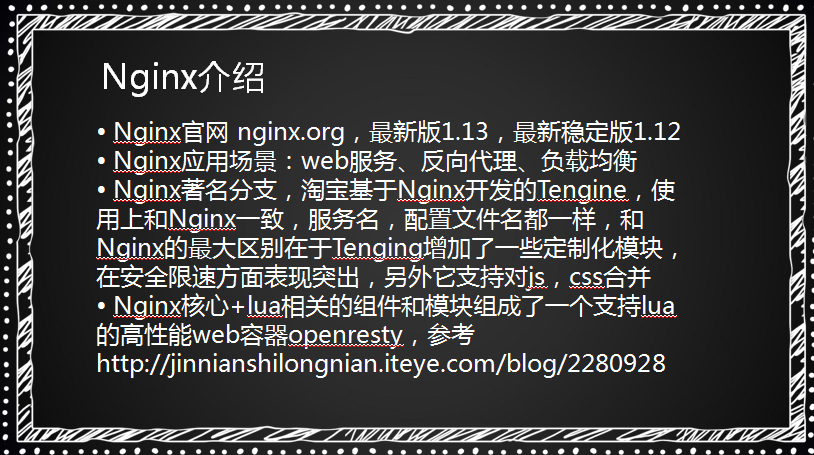
和LAMP唯一不同的是,LNMP中的N指的是 Nginx(类似于 Apache的一种Web服务软件)。目前这种环境的应用也非常多。 nginx设计的初衷是提供一种快速、高效、多并发的web服务软件。在静态页面的处理上, Nginx较 Apache更胜一筹;但在动态页面的处理上, nginx并不比 Apache有优势。但是目前还是有很多爱好者对 Nginx比较热衷。随着 nginx技术的逐渐成熟,它在web服务软件领域的地位也
会越来越高。
12.2 MySQL安装
lnmp中mysql的安装步骤跟lamp安装步骤基本一致
在安装mysql之前,因我们之前下载过mysql的包,所以要先删除掉mysql的目录,还有启动脚本,如下:
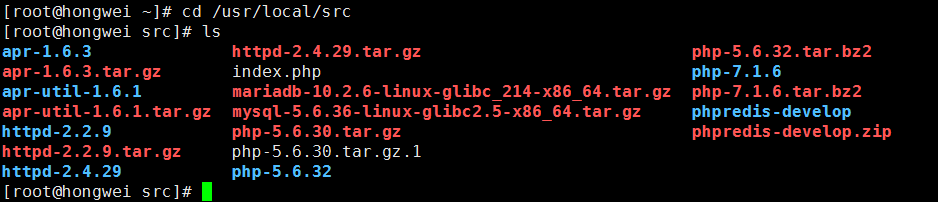
1.首先进入到src目录下:
2.下载二进制免编译包:
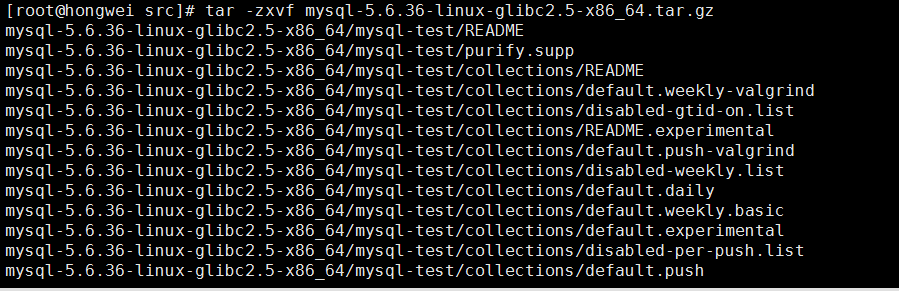
3.解压包:
4.解压完之后,把这个包放到/usr/local/src目录下面去,并且改名字为mysql
5.我们执行完上一步操作后,要检查一下,是否操作正确:
6.然后进入到mysql目录下面去:
7.因为我们之前在安装lamp中安装的时候,创建了data目录,所以要删除掉他们:
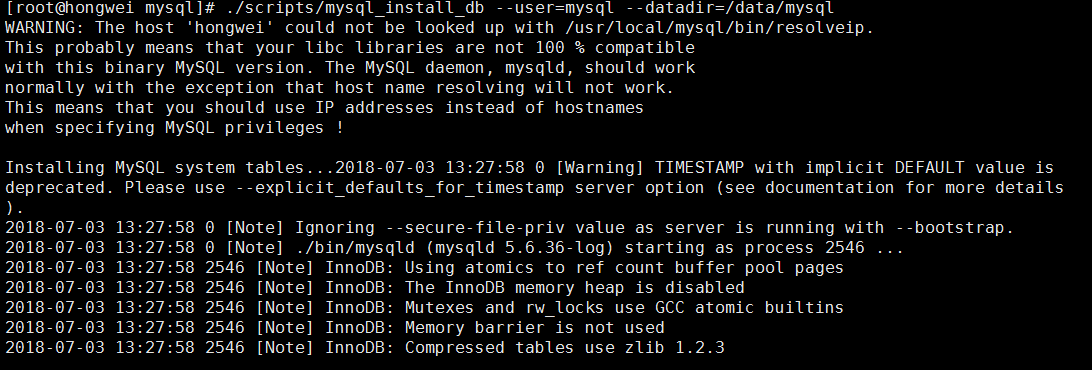
8.然后就是初始化了:
9.然后看一下,是否有错误:
10。然后在把配置文件拷贝过去:
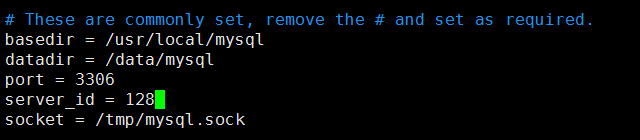
11.编辑配置文件,修改datadir basedir:
12.拷贝启动脚本:
13.编辑启动脚本,修改basedir datadir:
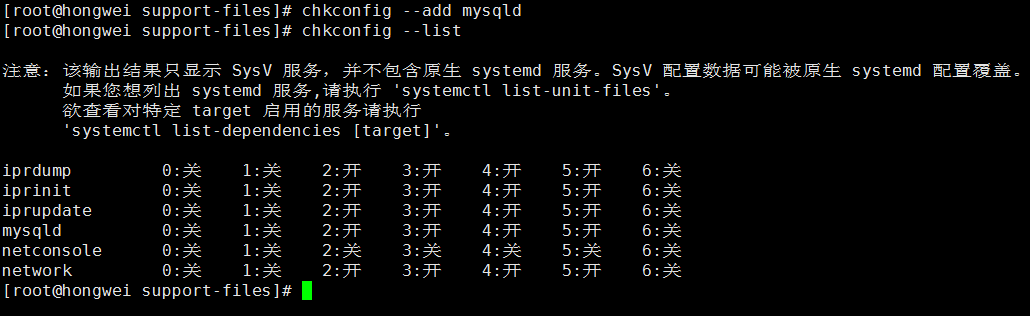
14.然后把启动脚本加到系统服务项,设定开机启动,并启动mysql:
15.启动mysqld
16.查看mysql是否启动成功。


12.3/12.4 PHP安装
针对 Nginx的PHP安装和上一章的PHP安装是有区别的。因为 Nginx中的PHP是以 fastcgi的方式结合 Nginx的,可以理解为Ngnx代理了PHP的 fastcgi,而htpd是把PHP作为自己的模块来调用的。PHP的官方下载地址为:htp:/www.php.net/downloads.php。使用5.6版本,其安装过程如下所示
1.首先进入到src目录下
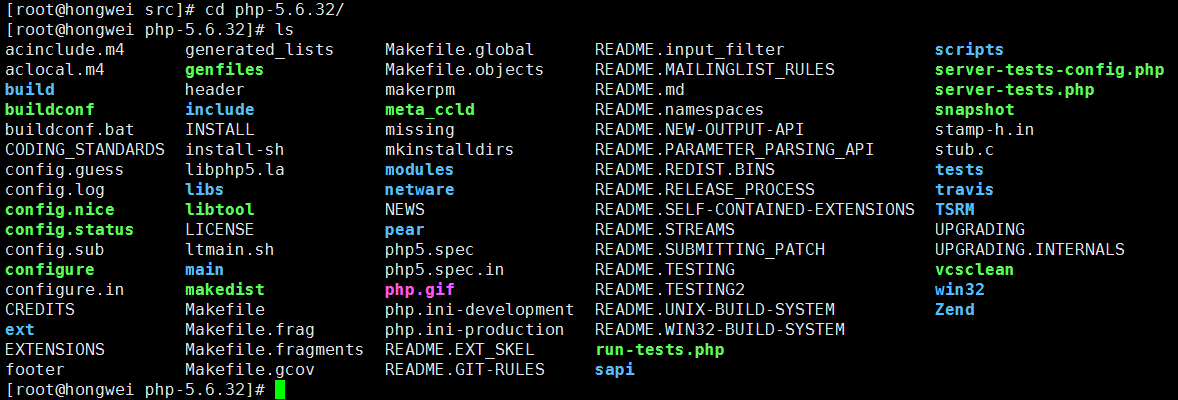
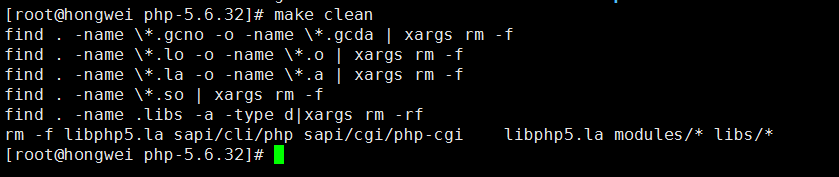
2.因为之前下载完成并且解压。所以这次需要进入到php-5.6.32目录下面去,然后make clean一下,清除之前编译过的。
3.然后编译选项:
4出现错误:
5.使用yun安装:
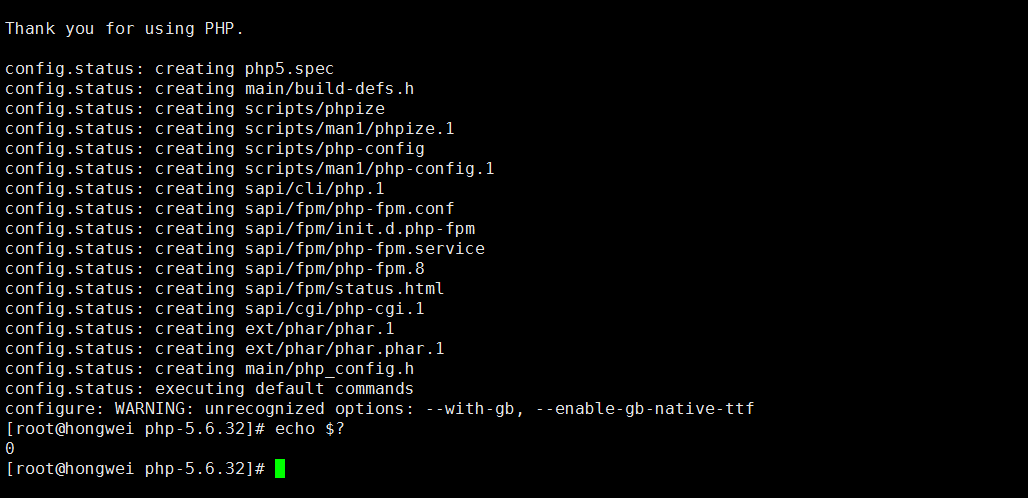
6.然后再次执行编译:出现下面的页面,表示编译成功。
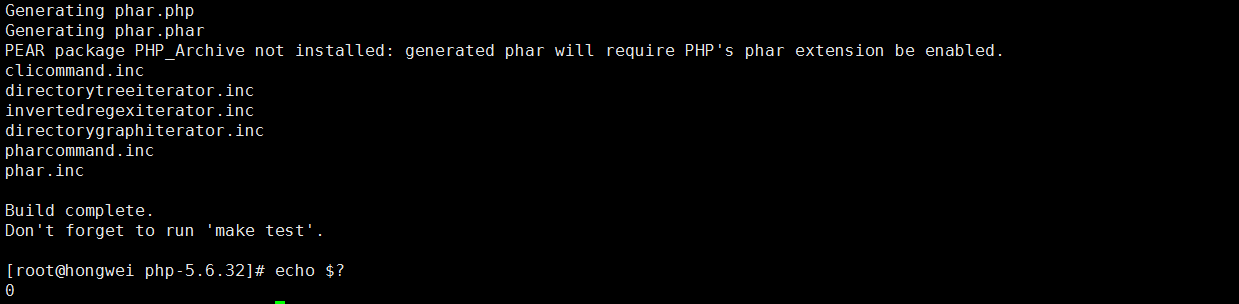
7,。然后make,等待大约10分钟,make完成,然后echo $?看一下,没有错误,
8.然后,继续make install
没有问题 编译完成。
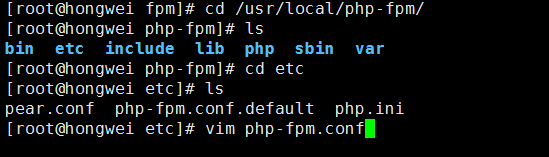
9,。然后拷贝配置文件:
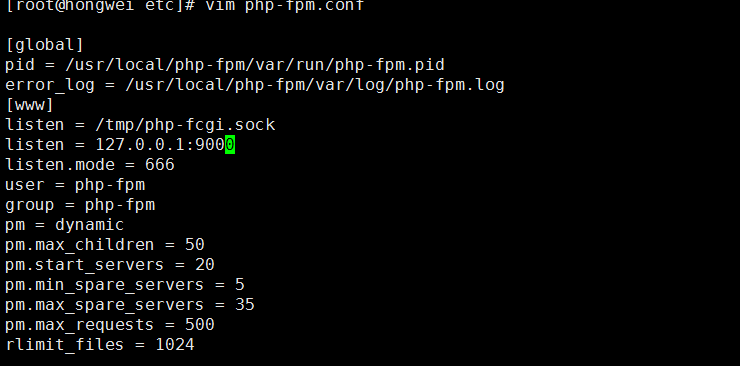
10.然后我们进入到这个目录下面去,在下面添加如下内容:
写完之后,还要查看是否有语法错误:显示如下就是成功了。
11.之后,我们拷贝启动脚本
12.然后改权限755
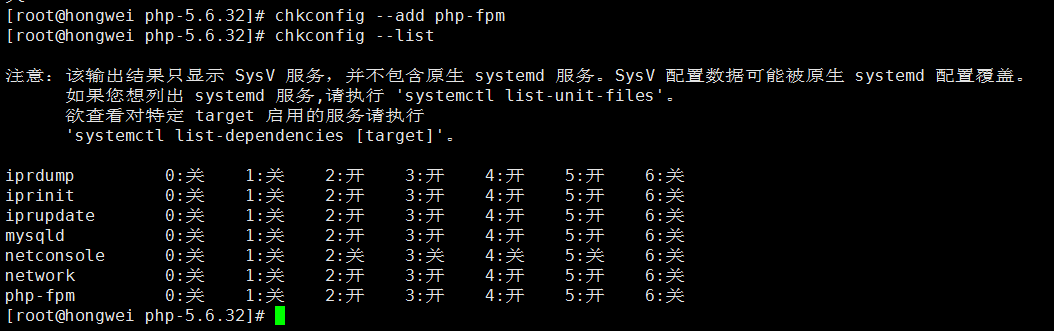
13.加入到系统服务列表:
14.让它开机启动:
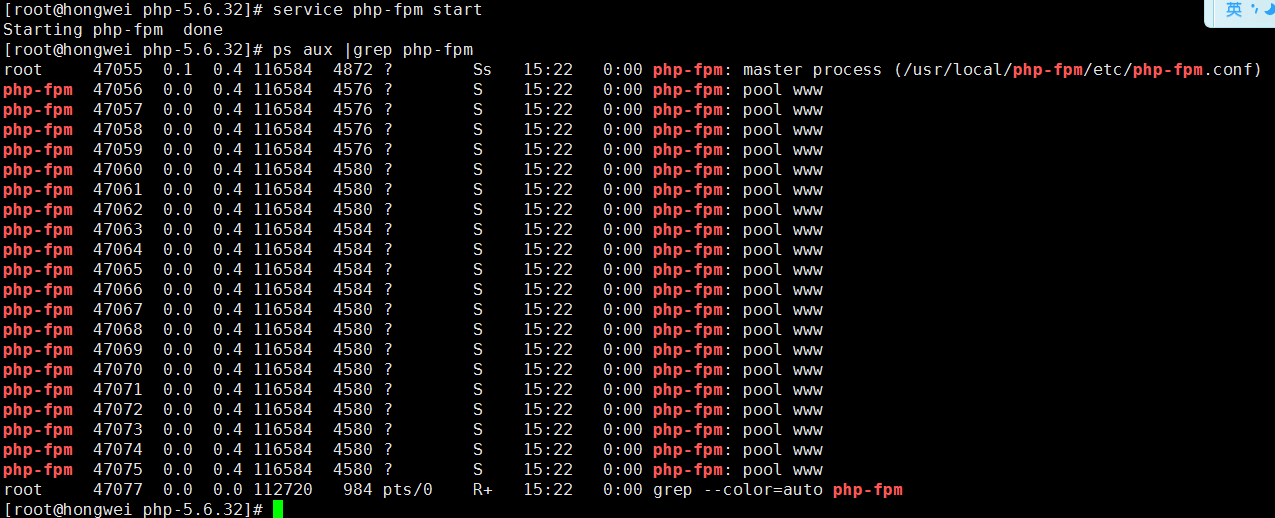
15.在启动php-fpm时,出现错误,表示没有创建用户。所以就创建用户:
16.再次启动,成功了。


12.5 Nginx介绍
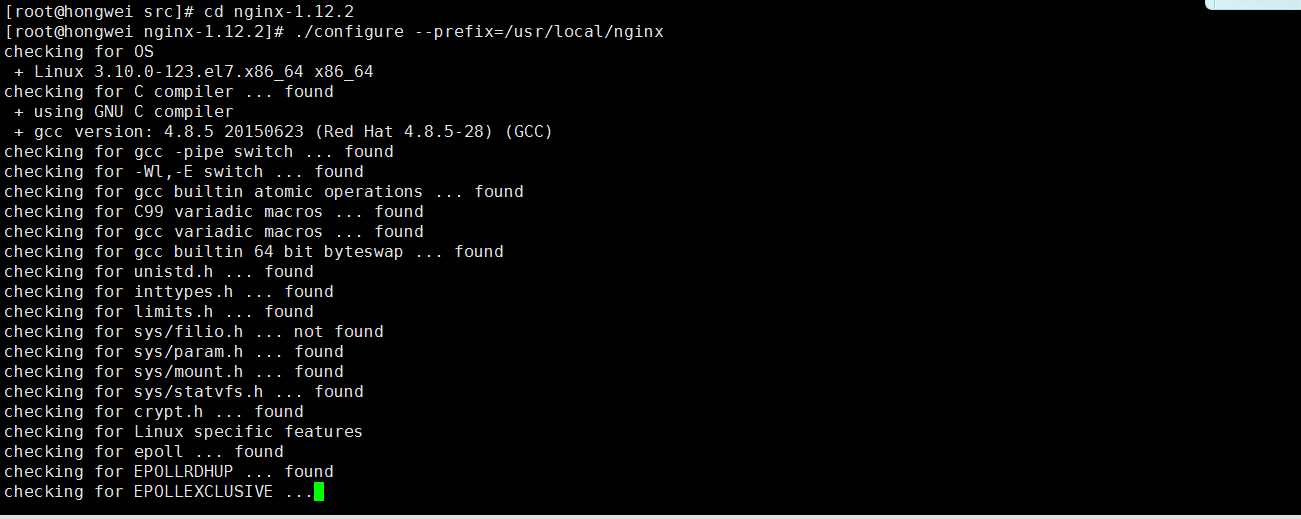
12.6 Nginx安装
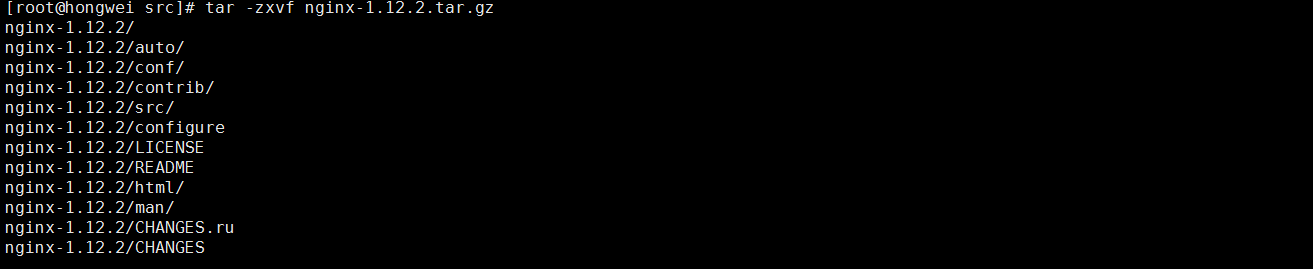
1。进入到src目录下面去:
2.下载二进制免编译包:
3.解压:
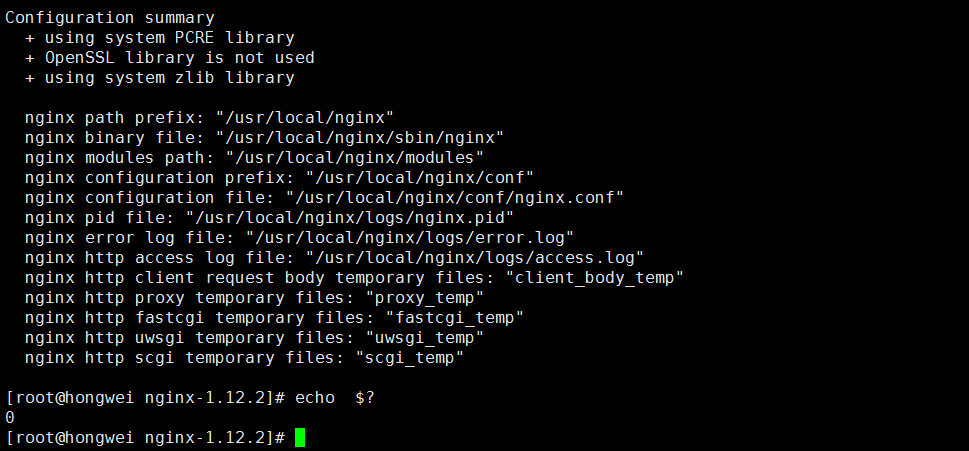
4.配置编译选项:
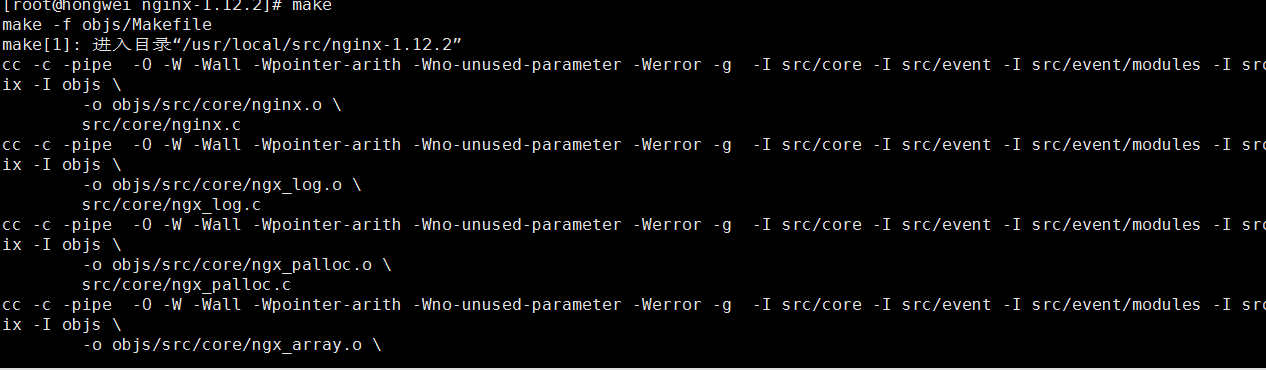
5,。make
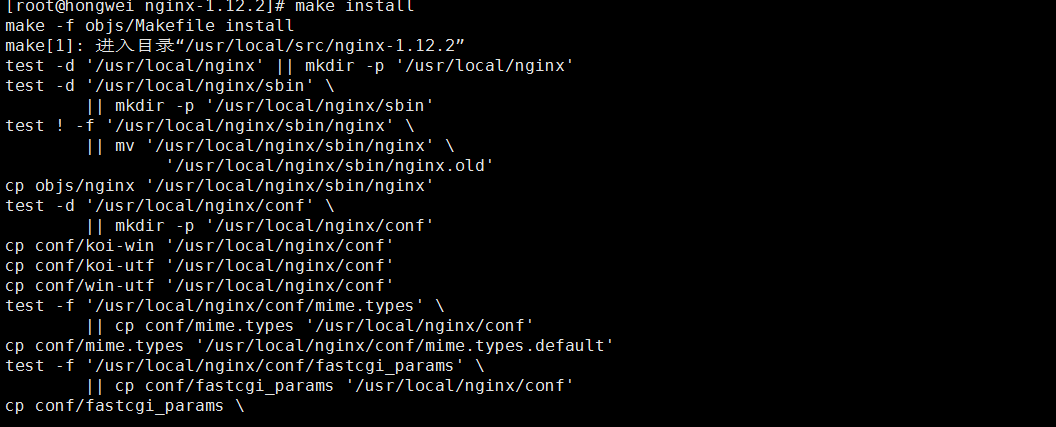
6.make install
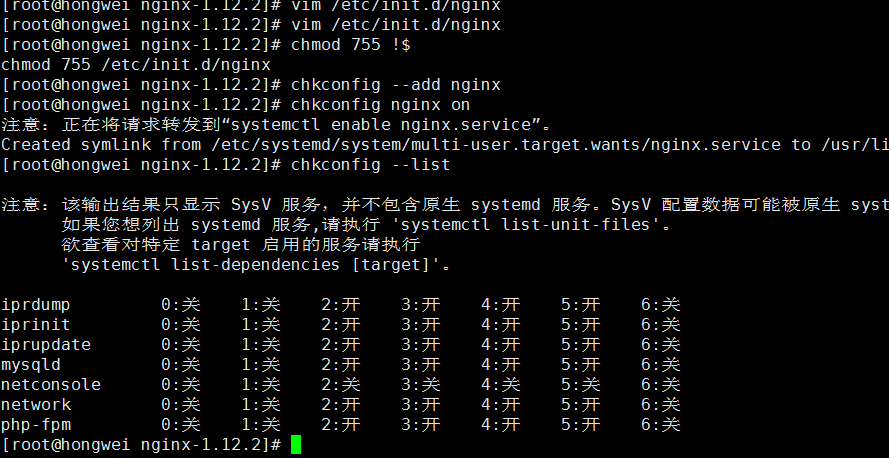
7.然后编辑启动脚本,加入如下内容:
[root@hongwei nginx-1.12.2]# vim /etc/init.d/nginx

    start
}

configtest()
{
    $NGINX_SBIN -c $NGINX_CONF -t
    return 0
}

case "$1" in
  start)
        start
        ;;
  stop)
        stop
        ;;
  reload)
        reload
        ;;
  restart)
        restart
        ;;
  configtest)
        configtest
        ;;
  *)
        echo $"Usage: $0 {start|stop|reload|restart|configtest}"
        RETVAL=1
esac

exit $RETVAL
-- 插入 --
8.然后更改权限755,设置开机启动,加入到服务列表中去:
9.然后拷贝一下配置文件,并且改名字为nginx.conf.1
10.然后编辑配置文件:
[root@hongwei conf]# vim nginx.conf

user nobody nobody;
worker_processes 2;
error_log /usr/local/nginx/logs/nginx_error.log crit;
pid /usr/local/nginx/logs/nginx.pid;
worker_rlimit_nofile 51200;

events
{
    use epoll;
    worker_connections 6000;
}

http
{
    include mime.types;
    default_type application/octet-stream;
    server_names_hash_bucket_size 3526;
    server_names_hash_max_size 4096;
    log_format combined_realip '$remote_addr $http_x_forwarded_for [$time_local]'
    ' $host "$request_uri" $status'
    ' "$http_referer" "$http_user_agent"';
    sendfile on;
    tcp_nopush on;
    keepalive_timeout 30;
    client_header_timeout 3m;
    client_body_timeout 3m;
    send_timeout 3m;
    connection_pool_size 256;
    client_header_buffer_size 1k;
    large_client_header_buffers 8 4k;
    request_pool_size 4k;
    output_buffers 4 32k;
    postpone_output 1460;
    client_max_body_size 10m;
    client_body_buffer_size 256k;
    client_body_temp_path /usr/local/nginx/client_body_temp;
    proxy_temp_path /usr/local/nginx/proxy_temp;
    fastcgi_temp_path /usr/local/nginx/fastcgi_temp;
    fastcgi_intercept_errors on;
    tcp_nodelay on;
    gzip on;
    gzip_min_length 1k;
    gzip_buffers 4 8k;
    gzip_comp_level 5;
    gzip_http_version 1.1;
    gzip_types text/plain application/x-javascript text/css text/htm
    application/xml;

    server
    {
        listen 80;
        server_name localhost;
        index index.html index.htm index.php;
        root /usr/local/nginx/html;

        location ~ \.php$
        {
            include fastcgi_params;
            fastcgi_pass unix:/tmp/php-fcgi.sock;
            fastcgi_index index.php;
            fastcgi_param SCRIPT_FILENAME /usr/local/nginx/html$fastcgi_script_name;
        }
    }
}

-- 插入 --
11.启动nginx服务:
12.
[root@liuhongwei conf]# curl localhost
<!DOCTYPE html>
<html>
<head>
<title>Welcome to nginx!</title>
<style>
    body {
        width: 35em;
        margin: 0 auto;
        font-family: Tahoma, Verdana, Arial, sans-serif;
    }
</style>
</head>
<body>
<h1>Welcome to nginx!</h1>
<p>If you see this page, the nginx web server is successfully installed and
working. Further configuration is required.</p>

<p>For online documentation and support please refer to
<a href="http://nginx.org/">nginx.org</a>.<br/>
Commercial support is available at
<a href="http://nginx.com/">nginx.com</a>.</p>

<p><em>Thank you for using nginx.</em></p>
</body>
</html>
[root@liuhongwei conf]#


 2150
2150

 被折叠的 条评论
为什么被折叠?
被折叠的 条评论
为什么被折叠?
 到【灌水乐园】发言


