


目录
2.标准网格材质(MeshStandardMaterial)
1.基础网格材质(MeshBasicMaterial)
一个以简单着色(平面或线框)方式来绘制几何体的材质。这种材质不受光照的影响。
1.1 构造函数(Constructor)
MeshBasicMaterial( parameters : Object )
parameters - (可选)用于定义材质外观的对象,具有一个或多个属性。材质的任何属性都可以从此处传入(包括从Material继承的任何属性)。
属性color例外,其可以作为十六进制字符串传递,默认情况下为 0xffffff(白色),内部调用Color.set(color)。
1.2 属性(Properties)
共有属性请参见其基类Material。

 1.3 纹理加载案例:
import * as THREE from "three";
// 导入轨道控制器
import { OrbitControls } from "three/examples/jsm/controls/OrbitControls";
// 目标:基础材质与纹理

// 1、创建场景
const scene = new THREE.Scene();

// 2、创建相机
const camera = new THREE.PerspectiveCamera(
  75,
  window.innerWidth / window.innerHeight,
  0.1,
  1000
);

// 设置相机位置
camera.position.set(0, 0, 10);
scene.add(camera);

// 导入纹理
const textureLoader = new THREE.TextureLoader();
const doorColorTexture = textureLoader.load("./textures/door/color.jpg");

// 添加物体
const cubeGeometry = new THREE.BoxBufferGeometry(1, 1, 1);
// 材质设置
const basicMaterial = new THREE.MeshBasicMaterial({
  color: "#ffff00",
  map: doorColorTexture,//.map颜色贴图
});
const cube = new THREE.Mesh(cubeGeometry, basicMaterial);
scene.add(cube);

// 初始化渲染器
const renderer = new THREE.WebGLRenderer();
// 设置渲染的尺寸大小
renderer.setSize(window.innerWidth, window.innerHeight);

// 将webgl渲染的canvas内容添加到body
document.body.appendChild(renderer.domElement);

// 创建轨道控制器
const controls = new OrbitControls(camera, renderer.domElement);
// 设置控制器阻尼,让控制器更有真实效果,必须在动画循环里调用.update()。
controls.enableDamping = true;

// 添加坐标轴辅助器
const axesHelper = new THREE.AxesHelper(5);
scene.add(axesHelper);


function render() {
  controls.update();
  renderer.render(scene, camera);
  //   渲染下一帧的时候就会调用render函数
  requestAnimationFrame(render);
}

render();

// 监听画面变化,更新渲染画面
window.addEventListener("resize", () => {
  //   console.log("画面变化了");
  // 更新摄像头
  camera.aspect = window.innerWidth / window.innerHeight;
  //   更新摄像机的投影矩阵
  camera.updateProjectionMatrix();

  //   更新渲染器
  renderer.setSize(window.innerWidth, window.innerHeight);
  //   设置渲染器的像素比
  renderer.setPixelRatio(window.devicePixelRatio);
});
实现效果:

1.4 纹理常用属性
在纹理设置中,可以对其基本属性尽心设置,例如偏移量、旋转、重复等,其基于Textures类,具有Textures的属性。

1)设置纹理偏移
// 设置纹理偏移
// doorColorTexture.offset.x = 0.5;
// doorColorTexture.offset.y = 0.5;
// doorColorTexture.offset.set(0.5, 0.5);
2)设置纹理旋转
// 纹理旋转
// 设置旋转的原点
// doorColorTexture.center.set(0.5, 0.5);
// // 旋转45deg
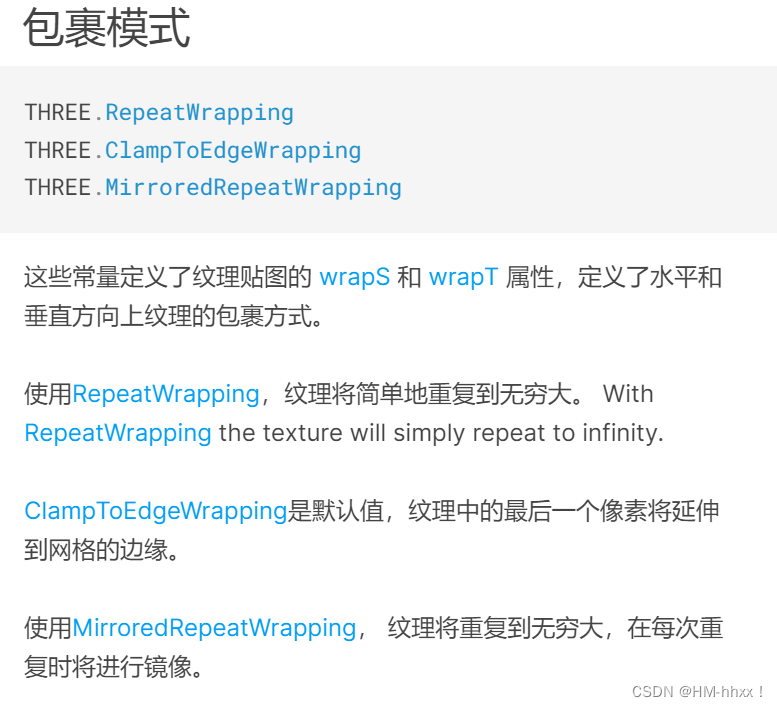
// doorColorTexture.rotation = Math.PI / 4;3)设置纹理重复
// 设置纹理的重复
// doorColorTexture.repeat.set(2, 3);
// // 设置纹理重复的模式
// doorColorTexture.wrapS = THREE.MirroredRepeatWrapping;
// doorColorTexture.wrapT = THREE.RepeatWrapping;
THREE.LinearFilter效果:
THREE.NearestFilter效果

1.5 透明纹理

// 导入纹理
const textureLoader = new THREE.TextureLoader();
const doorColorTexture = textureLoader.load("./textures/door/color.jpg");
const doorAplhaTexture = textureLoader.load("./textures/door/alpha.jpg");
// 添加物体
const cubeGeometry = new THREE.BoxBufferGeometry(1, 1, 1);
// 材质
const basicMaterial = new THREE.MeshBasicMaterial({
  color: "#ffff00",
  map: doorColorTexture,
  alphaMap: doorAplhaTexture,
  transparent: true,
  //opacity: 0.3,
  //   side: THREE.DoubleSide,//渲染两面
});
basicMaterial.side = THREE.DoubleSide;//渲染两面
const cube = new THREE.Mesh(cubeGeometry, basicMaterial);
scene.add(cube);
实现效果:
1.6 AO环境遮挡贴图

// 导入纹理
const textureLoader = new THREE.TextureLoader();
const doorColorTexture = textureLoader.load("./textures/door/color.jpg");//材质贴图
const doorAplhaTexture = textureLoader.load("./textures/door/alpha.jpg");//透明度贴图
const doorAoTexture = textureLoader.load(
  "./textures/door/ambientOcclusion.jpg"
);//环境遮挡贴图

// 添加物体
const cubeGeometry = new THREE.BoxBufferGeometry(1, 1, 1);
// 材质
const basicMaterial = new THREE.MeshBasicMaterial({
  color: "#ffff00",
  map: doorColorTexture,
  alphaMap: doorAplhaTexture,
  transparent: true,
  aoMap: doorAoTexture,//AO环境遮挡贴图
  aoMapIntensity: 1,//环境遮挡强度
});
basicMaterial.side = THREE.DoubleSide;
const cube = new THREE.Mesh(cubeGeometry, basicMaterial);
scene.add(cube);
// 给cube添加第二组uv
cubeGeometry.setAttribute(
  "uv2",
  new THREE.BufferAttribute(cubeGeometry.attributes.uv.array, 2)
);
实现效果:

2.标准网格材质(MeshStandardMaterial)
一种基于物理的标准材质,使用Metallic-Roughness工作流程。
基于物理的渲染(PBR)最近已成为许多3D应用程序的标准,例如Unity, Unreal和 3D Studio Max。
这种方法与旧方法的不同之处在于,不使用近似值来表示光与表面的相互作用,而是使用物理上正确的模型。 我们的想法是,不是在特定照明下调整材质以使其看起来很好,而是可以创建一种材质,能够“正确”地应对所有光照场景。
在实践中,该材质提供了比MeshLambertMaterial 或MeshPhongMaterial 更精确和逼真的结果,代价是计算成本更高。
计算着色的方式与MeshPhongMaterial相同,都使用Phong着色模型, 这会计算每个像素的阴影(即在fragment shader, AKA pixel shader中), 与MeshLambertMaterial使用的Gouraud模型相比,该模型的结果更准确,但代价是牺牲一些性能。
请注意,为获得最佳效果,您在使用此材质时应始终指定environment map。
2.1构造函数(Constructor)
MeshStandardMaterial( parameters : Object )
parameters - (可选)用于定义材质外观的对象,具有一个或多个属性。 材质的任何属性都可以从此处传入(包括从Material继承的任何属性)。
属性color例外,其可以作为十六进制字符串传递,默认情况下为 0xffffff(白色),内部调用Color.set(color)。
2.2 属性(Properties)


2.3 位移贴图
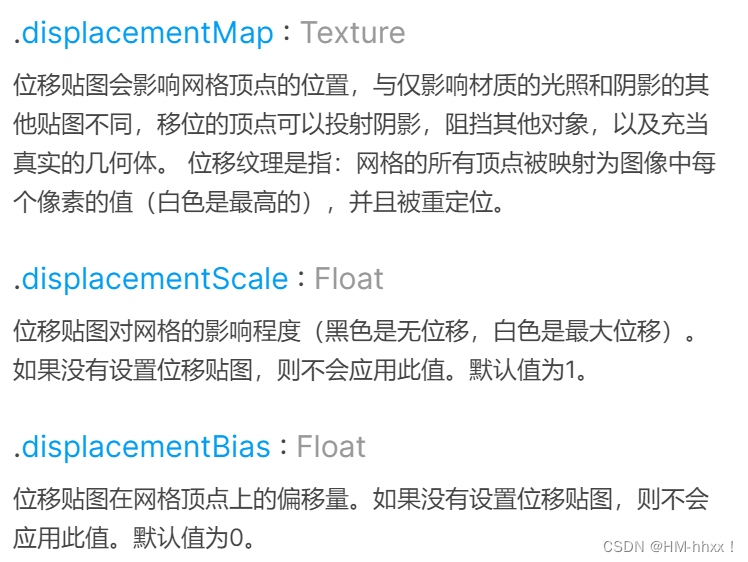
一种按深度绘制几何体的材质。深度基于相机远近平面。白色最近,黑色最远。通过导入深度网格材质,可以对其色调的不同,赋予不同的高度,从而实现物体的凹凸起伏效果。位移贴图会影响网格顶点的位置,与仅影响材质的光照和阴影的其他贴图不同,移位的顶点可以投射阴影,阻挡其他对象, 以及充当真实的几何体。位移纹理是指:网格的所有顶点被映射为图像中每个像素的值(白色是最高的),并且被重定位。
// 导入纹理
const textureLoader = new THREE.TextureLoader();
const doorColorTexture = textureLoader.load("./textures/door/color.jpg");
const doorAplhaTexture = textureLoader.load("./textures/door/alpha.jpg");
const doorAoTexture = textureLoader.load(
  "./textures/door/ambientOcclusion.jpg"
);
//导入置换贴图
const doorHeightTexture = textureLoader.load("./textures/door/height.jpg");

// 添加物体
const cubeGeometry = new THREE.BoxBufferGeometry(1, 1, 1, 100, 100, 100);
// 材质
const material = new THREE.MeshStandardMaterial({
  color: "#ffff00",
  map: doorColorTexture,
  alphaMap: doorAplhaTexture,
  transparent: true,
  aoMap: doorAoTexture,
  aoMapIntensity: 1,
  displacementMap: doorHeightTexture,
  displacementScale: 0.1,
  //   opacity: 0.3,
  //   side: THREE.DoubleSide,
});
console.log(material);
material.side = THREE.DoubleSide;
const cube = new THREE.Mesh(cubeGeometry, material);
scene.add(cube);
// 给cube添加第二组uv
cubeGeometry.setAttribute(
  "uv2",
  new THREE.BufferAttribute(cubeGeometry.attributes.uv.array, 2)
);
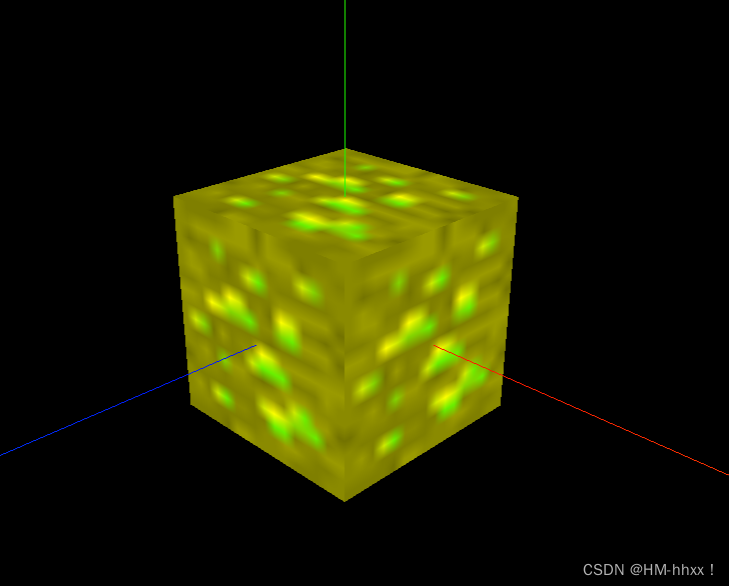
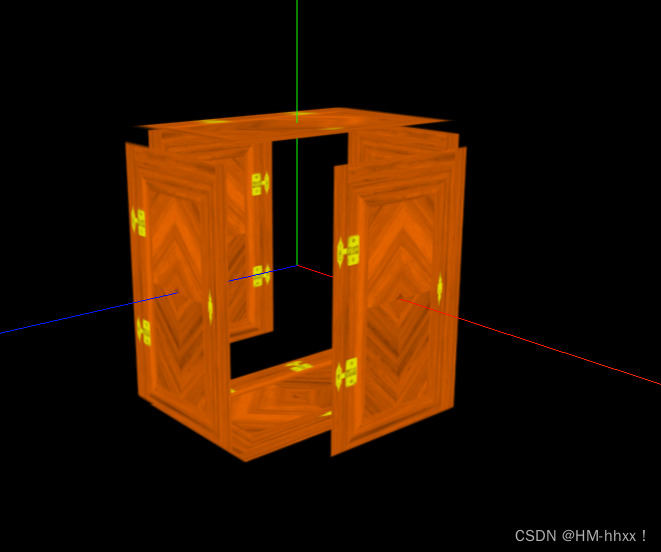
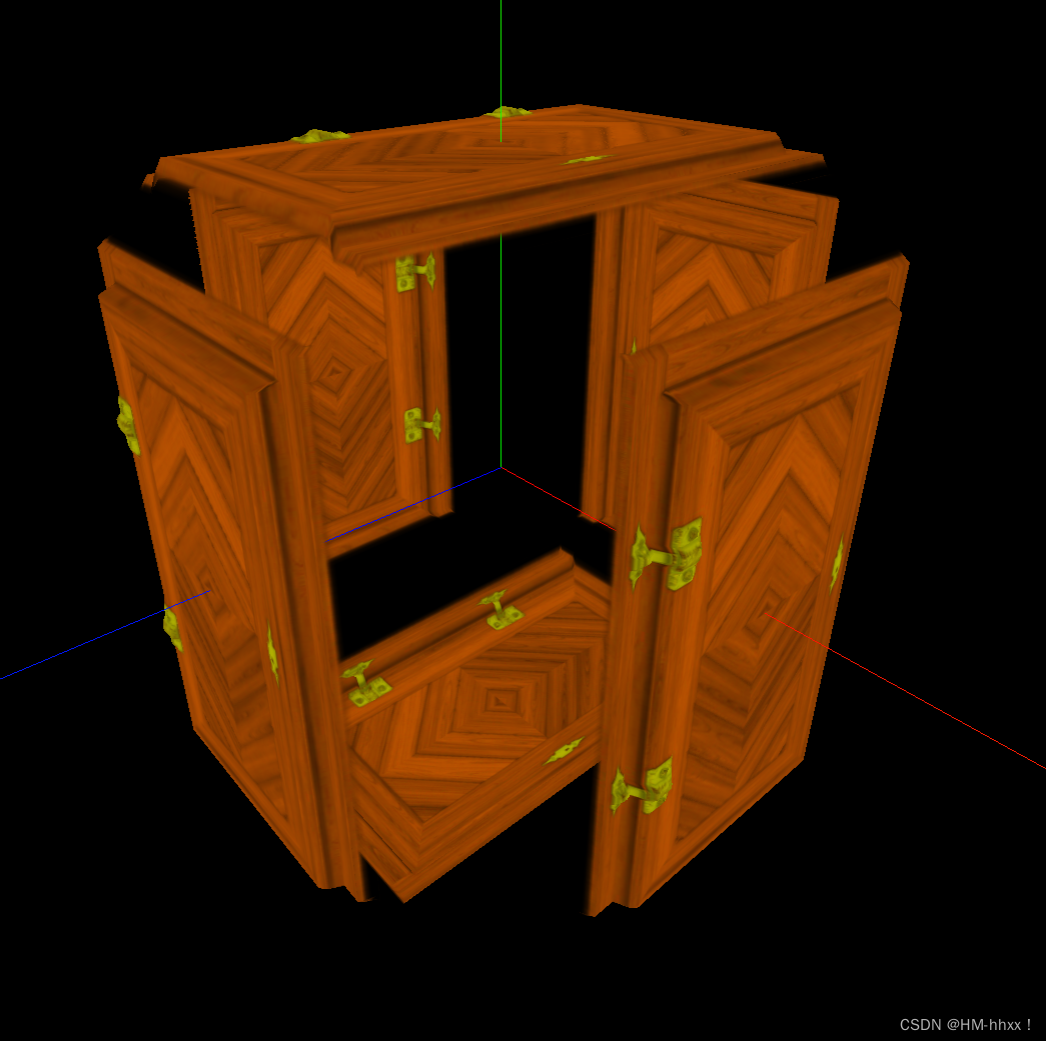
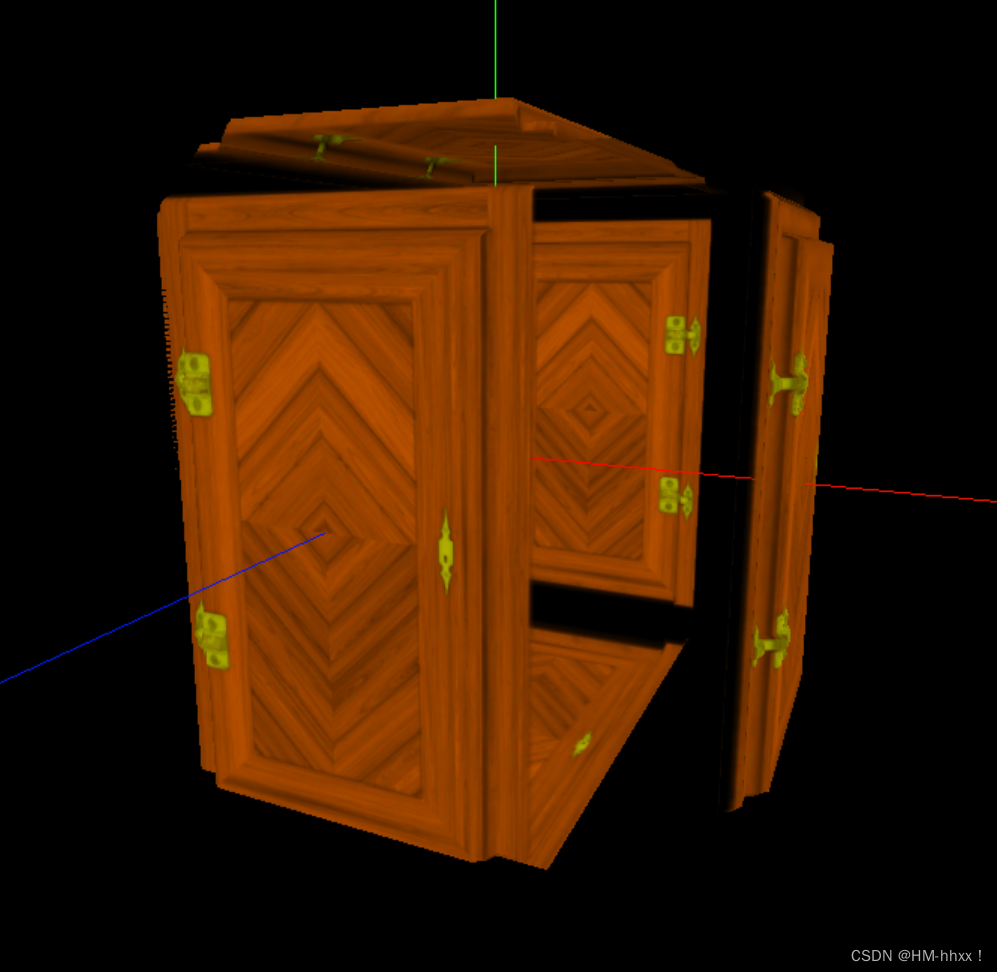
实现效果:
导入位移材质贴图后,会根据该贴图的灰度不同,设置各个部分的位移量,实现立体效果。
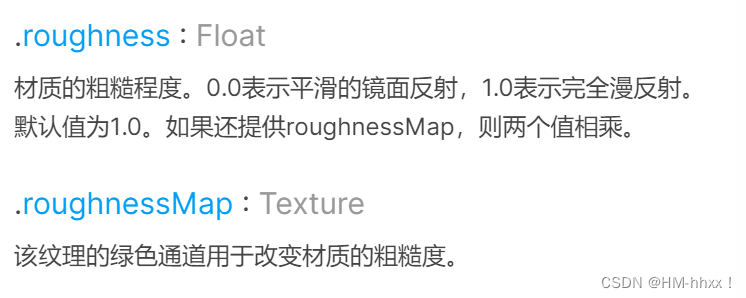
2.4 粗糙度与粗糙度贴图
该纹理的绿色通道用于改变材质的粗糙度。
// 导入粗糙度贴图
const roughnessTexture = textureLoader.load("./textures/door/roughness.jpg");
// 材质
const material = new THREE.MeshStandardMaterial({
color: "#ffff00",
map: doorColorTexture,
alphaMap: doorAplhaTexture,
transparent: true,
//AO遮挡材质
aoMap: doorAoTexture,
aoMapIntensity: 1,
//位移材质
displacementMap: doorHeightTexture,
displacementScale: 0.1,
//粗糙度材质
roughness: 1,
roughnessMap: roughnessTexture,
});实现效果:
导入粗糙度贴图后,可以改变该示例门的粗糙度,使其不产生镜面反射,会发生类似于木制的漫反射效果。
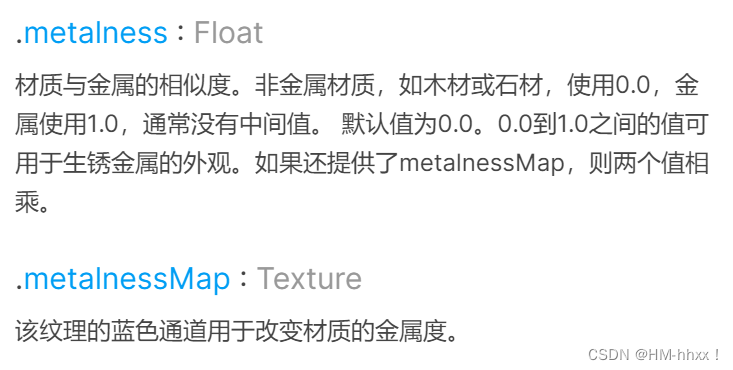
2.5 金属贴图
材质与金属的相似度。非金属材质,如木材或石材,使用0.0,金属使用1.0,通常没有中间值。 默认值为0.0。0.0到1.0之间的值可用于生锈金属的外观。如果还提供了metalnessMap,则两个值相乘。
示例:
// 导入金属贴图
const metalnessTexture = textureLoader.load("./textures/door/metalness.jpg");
const material = new THREE.MeshStandardMaterial({
color: "#ffff00",
map: doorColorTexture,
alphaMap: doorAplhaTexture,
transparent: true,
//
aoMap: doorAoTexture,
aoMapIntensity: 1,
//
displacementMap: doorHeightTexture,
displacementScale: 0.1,
//粗糙度材质
roughness: 1,
roughnessMap: roughnessTexture,
//金属材质
metalness: 1,
metalnessMap: metalnessTexture,
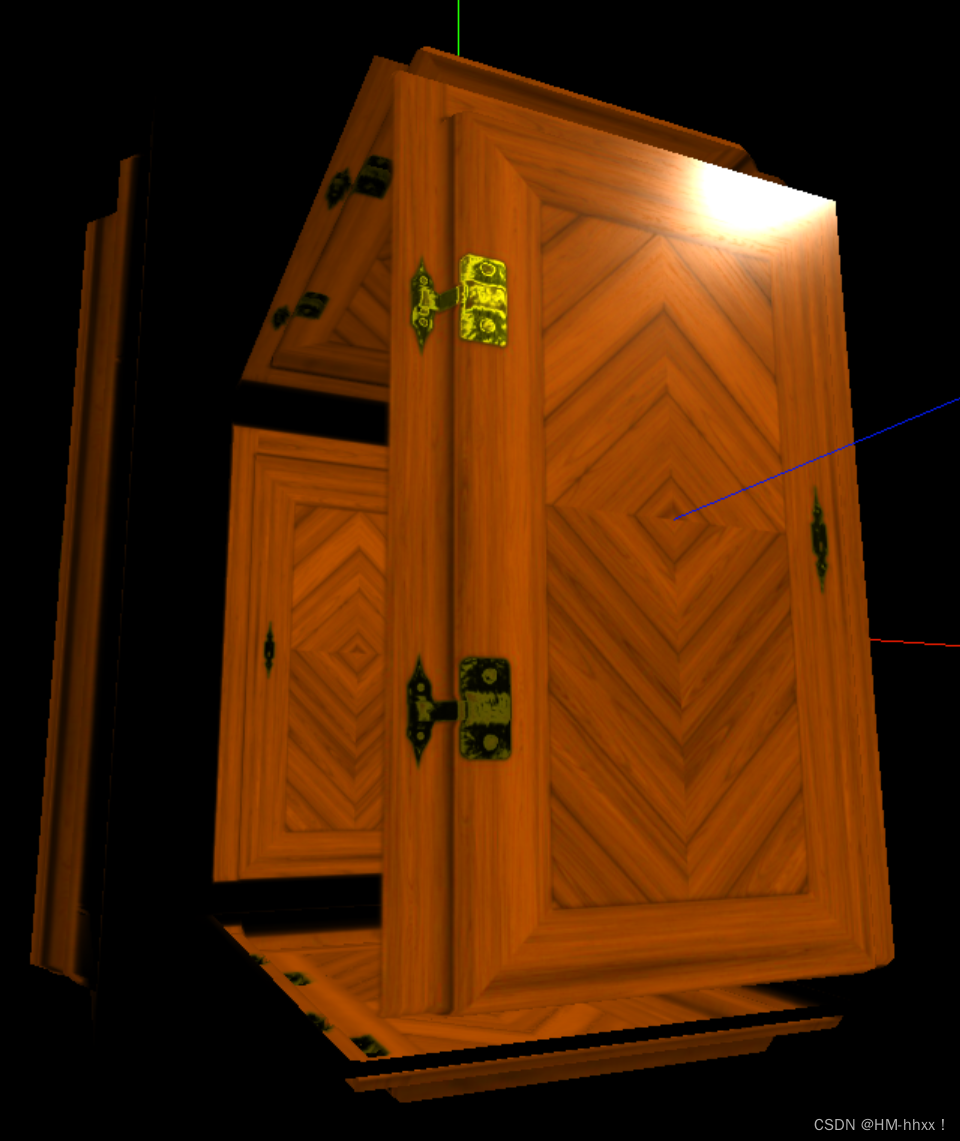
});实现效果:
门合页处金属会呈现不同的光照效果。
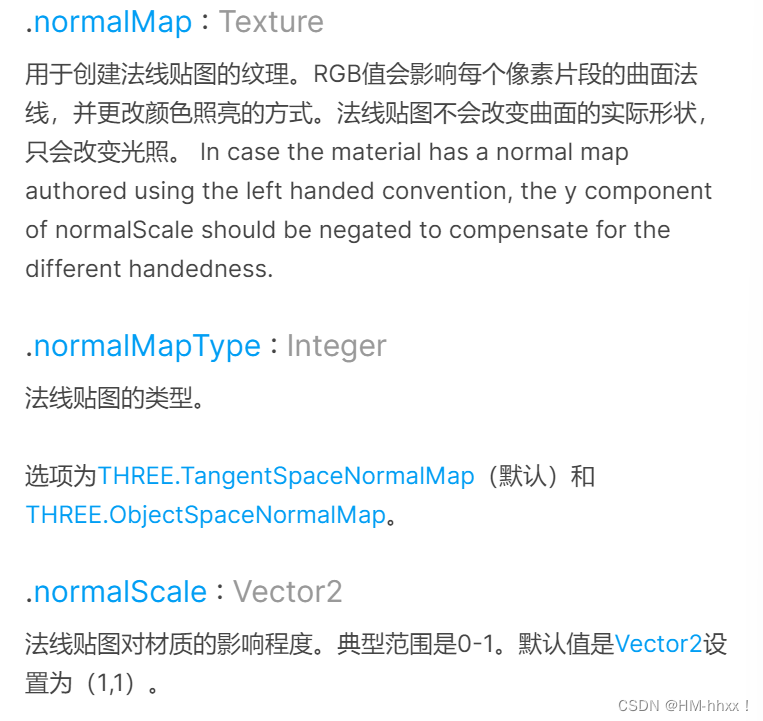
 2.6 法线贴图
用于创建法线贴图的纹理。RGB值会影响每个像素片段的曲面法线,并更改颜色照亮的方式。法线贴图不会改变曲面的实际形状,只会改变光照。
示例:
// 导入法线贴图
const normalTexture = textureLoader.load("./textures/door/normal.jpg");

// 材质
const material = new THREE.MeshStandardMaterial({
  color: "#ffff00",
  map: doorColorTexture,
  alphaMap: doorAplhaTexture,
  transparent: true,
  //
  aoMap: doorAoTexture,
  aoMapIntensity: 1,
  //
  displacementMap: doorHeightTexture,
  displacementScale: 0.1,
  //粗糙度材质
  roughness: 1,
  roughnessMap: roughnessTexture,
  //金属材质
  metalness: 1,
  metalnessMap: metalnessTexture,
  //法线贴图
  normalMap: normalTexture,
});
实现效果:
加入法线贴图后,该示例门的纹路出会出现基于法线的反光效果,实现纹路的设置。


 5467
5467


 被折叠的 条评论
为什么被折叠?
被折叠的 条评论
为什么被折叠?
 到【灌水乐园】发言


